An Easy Split-Toning Edit for Photos With Amazing Color (VIDEO)
Split Toning is a powerful post-processing technique that’s available in Lightroom and other image editing apps. This method is easy enough for users of all skill levels, and it’s a great way to transform boring photos into images with unique color.
The result of this method is an eye-catching look that is often referred to as “cinematic,” and instructor Neil Borg demonstrates the step-by-step process using a rather dull street scene captured at night. He kicks of the episode like this: “Turn your dark and boring night street photos into cinematic masterpieces in seconds!”
While watching him work his magic keep in mind that split toning can used for all sorts of images, shot throughout the day, whether they’re landscapes, nature scenes, or travel and wildlife shots. Borg explains why it’s helpful to make a few basic adjustments to the original photo before proceeding with the split-toning technique.
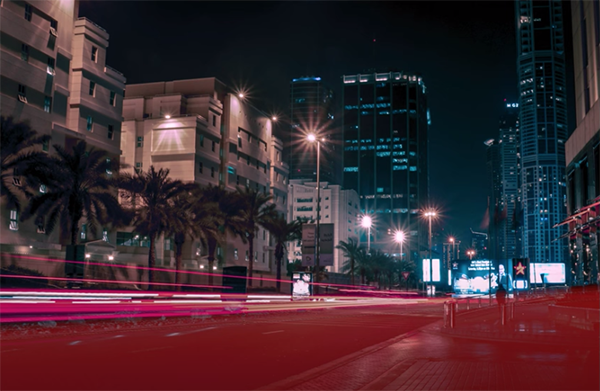
Borg’s goal for the sample image is to create an effect in which the red car trails in the foreground are emphasized with strong magenta tones, while the sky and elements in the background have intense blue color colors. He begins with a few basic enhancements to prepare the image for the magic that follows.
Preliminary adjustments include reducing highlights and blacks for heightened contrast, and opening shadows to retain more details in these areas. He also increases Clarity, reduces Vibrance, and modifies overall Color Temperature to balance everything out.
Borg then turns to Lightroom’s Color Mixer to further emphasize the colors he’s after, while eliminating those he doesn’t want, like green tones, oranges in the lights, and purples that detract from his intended effect.
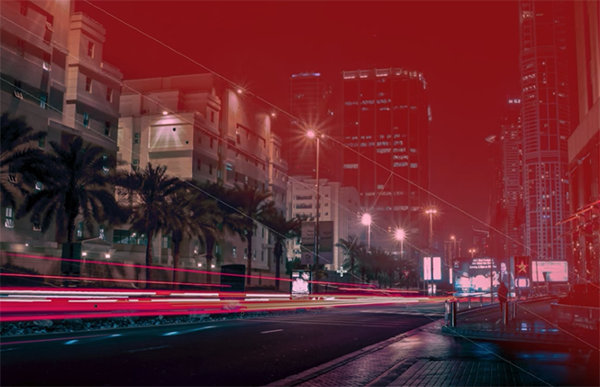
Now it’s time for the split-toning process that transforms the image into something really special, and he walks you through the quick-and-easy process in barely a minutes Borg then concludes the eye-popping edit with a few local adjustments, careful sharpening and denoise, and a final tweak to color balance.
There’s much editing and shooting advice on Borg’s instructional YouTube channel, so don’t forget to pay a visit and dig through his videos.
And don’t miss an earlier tutorial we posted from another imaging expert who demonstrates five simple Photoshop techniques and shortcuts that he says, “every beginning photographer should know.”