Munich’s medieval Old Town (Altstadt) is the heart of the Bavarian capital. Its cobblestone streets, medieval squares, beer gardens, quaint shops, and Gothic buildings are just some of its wonders.
The Old Town was heavily bombed in World War II, but reconstruction preserved its medieval streets and restored key buildings. Now, visitors and locals can explore over 800 years of history on foot.
If you’re visiting the Bavarian capital in 2026, we highly recommend joining a free walking tour of Munich where a knowledgeable guide will tell you the stories behind the key sights in the Altstadt. These guided tours last between one and three hours, and are a great option for visitors with limited time.
If you have a little more time to spare, this guide highlights six of Munich’s Old Town wonders you shouldn’t miss in 2026.
Old Town Hall

Old Town Hall, Munich
The Old Town Hall (Alte Rathaus) dates back to the 14th century. However, the plain facade makes it appear more modern than the neo-Gothic New Town Hall that sits just 150 metres away.
The city council moved out of the Old Town Hall in 1874, but some ceremonies and commemorations are still held here. In addition, the Toy Museum, spread across four floors of the building, offers visitors insight into ‘how play has changed over time’ and features dolls, trains, steam engines, bears, airplanes, wooden toys, and robots.
New Town Hall
The neo-Gothic New Town Hall (Neue Rathaus) in Marienplatz was completed in 1905, and now over 600 city employees work across its 400 rooms.
Many historic rooms are also open to the public, including the 10-metre high Law Library, and you can ascend 85 metres via a lift in one of the towers for a panoramic view of Munich (and sometimes, as far as the Alps).

Munich’s world-famous Glockenspiel
In another tower is Munich’s world-famous Glockenspiel, a huge solar-powered mechanical clock with 43 bells and 32 life-size figures. Every day at 11am, 12pm, and 5pm (the latter only between March and October), large crowds gather outside the New Town Hall to watch the glockenspiel reenact scenes from famous 16th-century Munich stories.
St Peter’s Church
St. Peter’s Church (Peterskirche) is Munich’s oldest place of worship. Its stunning white-and-gold interior is filled with treasures, including the glass-encased skeleton of St. Munditia, a revered Christian martyr.
Its tower, known as ‘Alter Peter’ (‘Old Peter’) by locals, stands at nearly 200 feet tall. From its viewing platform, visitors can enjoy 360-degree views of Munich and beyond.
Court Garden
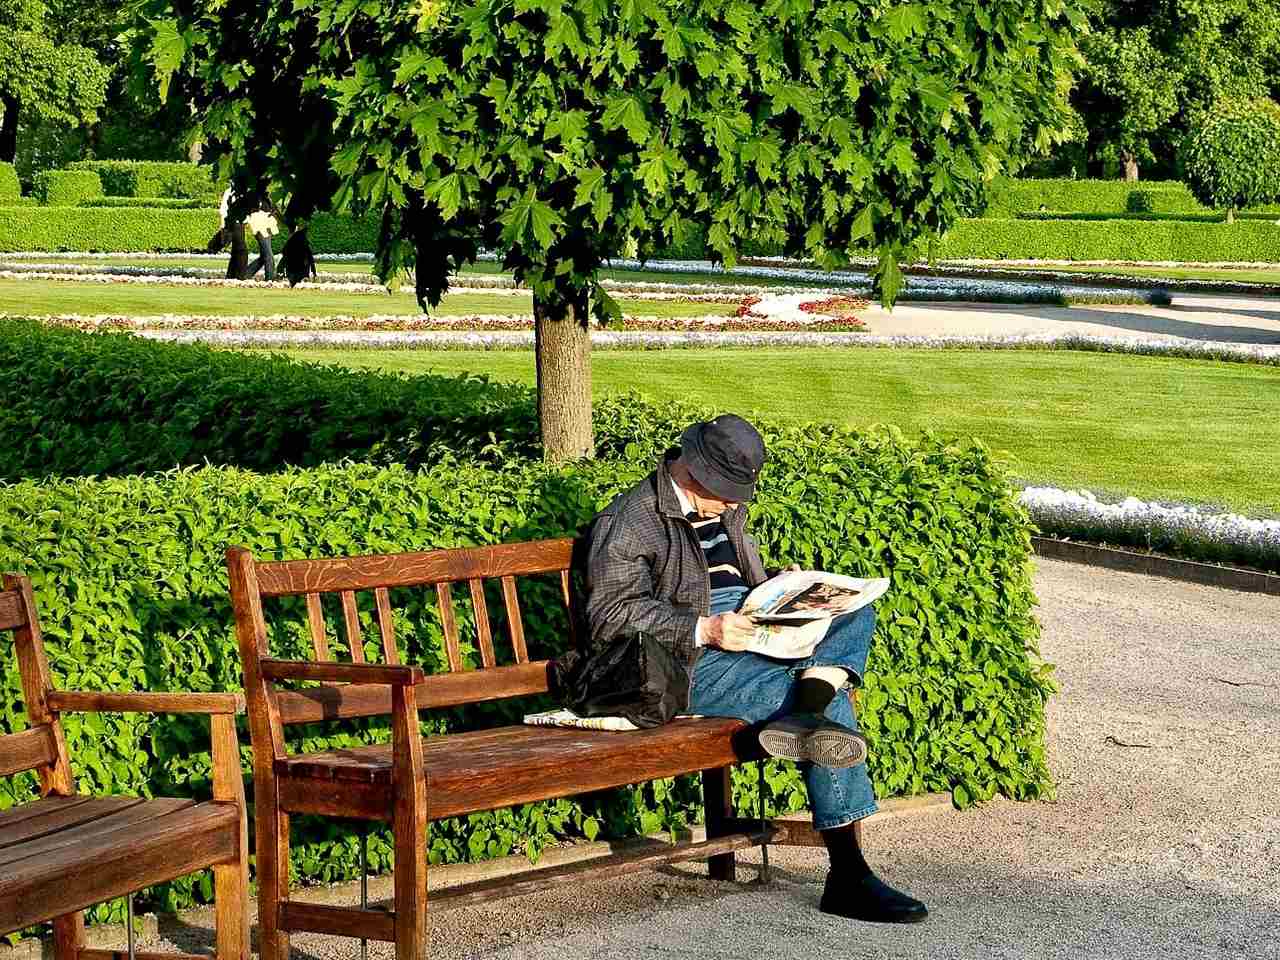
When you’re on a European city break, you don’t always expect to see such beautiful greenery so close to the centre. Court Garden (Hofgarten) is a free park filled with benches, gravel paths, flowerbeds, and fountains. In the centre is the rounded Diane Temple (Dianatempel), which sometimes hosts tango dancers and spontaneous classical music concerts.
Hofbräuhaus
The Hofbräuhaus in Munich’s Old Town is known as the ‘world’s most famous tavern’, and is a wonder not to be missed if you fancy immersing yourself in true Bavarian culture.
Hofbräuhaus was founded in 1589 for the sole purpose of supplying beer to the Bavarian court and opened to the public in 1828. With more than 3,500 regular guests, daily Bavarian tavern music, world-famous beer, and homemade cuisine, Hofbräuhaus offers an authentic blend of tradition, culture, and hospitality.
St Mary’s Square
St Mary’s Square (the Marienplatz) is a former market square, named after Bavaria’s patron saint, Mary. In medieval times, it hosted markets and jousting tournaments.
Today, it houses both town halls, a historic open-air food market (Viktualienmarkt), and endless restaurants, cafes, and shops.
During Advent, there are several Christmas markets around the Old Town, but the Christkindlmarkt at Marienplatz is the most traditional, dating back to the 14th century. The historic square is filled with sparkling lights and stalls selling seasonal food, mulled wine, and festive gifts.
Your Cultural Guide for 2026
Germany is among the top 10 most visited countries worldwide, likely thanks to its rich history and culture, fascinating architectural styles, world-class Christmas markets, famous Oktoberfest celebrations, snowy mountains for winter sports, and rolling countryside.
No matter the season, the medieval streets of Munich’s Old Town remain lively with culture, tradition, and atmosphere.
The post Munich’s Old Town Wonders: Your Guide for 2026 appeared first on The Travel Magazine.


