Hold off on Hue, Saturation & Luminance: Try These Color Tools Instead (VIDEO)
Today’s Lightroom tutorial is all about enhancing the color in your images, and we want to start with a question: What Lightroom tools do you reach for when tackling this common task? The answer from many photographers is Hue, Saturation, and Luminance (HSL). Some users may also add Lightroom’s new Point Color tool into the mix.
But guess what? HSL sliders aren’t the only way to make effective color adjustments, and today you’ll learn three alternative methods that one pro says, “make a really, really big and nice impact.” These techniques are very straightforward and may deliver superior results than the workflow you’ve used until now.
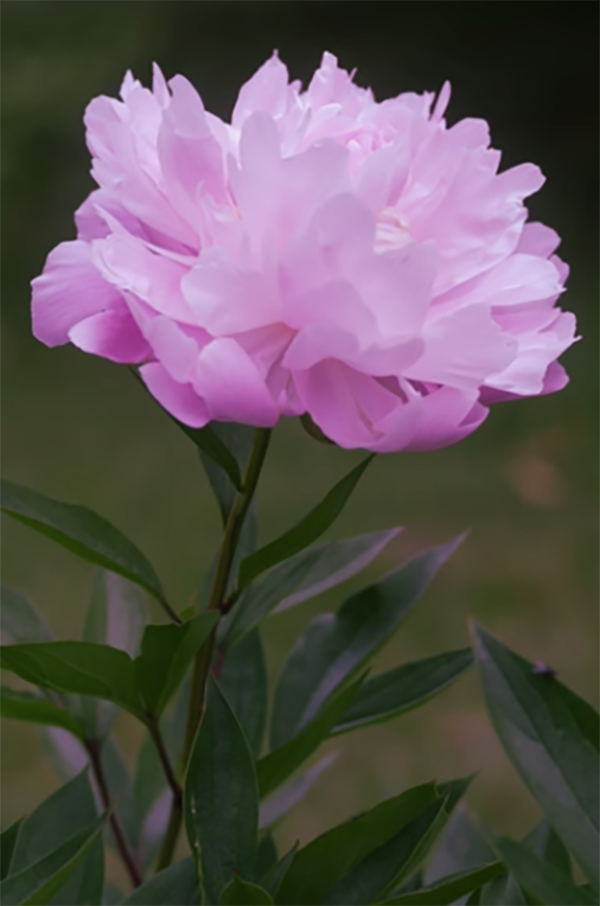
Instructor Lori Lankford is an accomplished photographer specializing in nature, flower, and macro imagery. She’s also a professional photo editor with more than a few tricks up her sleeve. So forget about HSL sliders for the next nine minutes and learn how she employs a trio of other tools to get the job done with precision.

Lankford’s first recommendation is to consider Color Temperature, and Tint, “which is an important part of color and white balance.” She demonstrates how Color Temperature and Tint modifications enable you to easily change the tonal values of an image by making them warmer cooler, greener, or a bit more magenta.
She also explains a how to use simple masks in combination with Temperature and Tint tools to create a soft, ethereal effect. Next on the list is editing color with Lightroom’s powerful Tone Curve tools—an approach Lankford uses frequently. The advantage here is the fact that there are three color channels that can be adjusted: red, green, and blue.
Another benefit of the Tone Curve is that it’s particularly useful for making “micro-adjustments” to color. She provides the example of adding more red tones to just the highlights of a photo—in this case a bright white blossom. Likewise, it’s easy to target the background of the same shot by slightly darkening the greens to draw attention to the key subject in the foreground.
The video concludes by explaining a color grading method that you may find very helpful, depending upon the types of photos you shoot most. Lankford doesn’t use this approach often for her style of shooting, but it could be very powerful for you.
After watching the view pay a visit to Lankford’s instructional YouTube Channel where there are many more helpful tips and tricks to be found.
We also suggest that you check out the tutorial we featured recently, in which another pro explains what he considers to be Lightroom’s “most powerful masks” for maximizing the quality of just about every photograph you capture outdoors.