Sharpen Your Photo Skills At A Farmers’ Market: Here Are 5 Tips
It’s harvest time throughout most of the country. That means farmers’ markets are ripe with opportunities for photographers to sharpen their camera skills. Here are five tips to help you maximize the experience. This advice applies equally to street fairs, flea markets, fall festivals and other similar events.
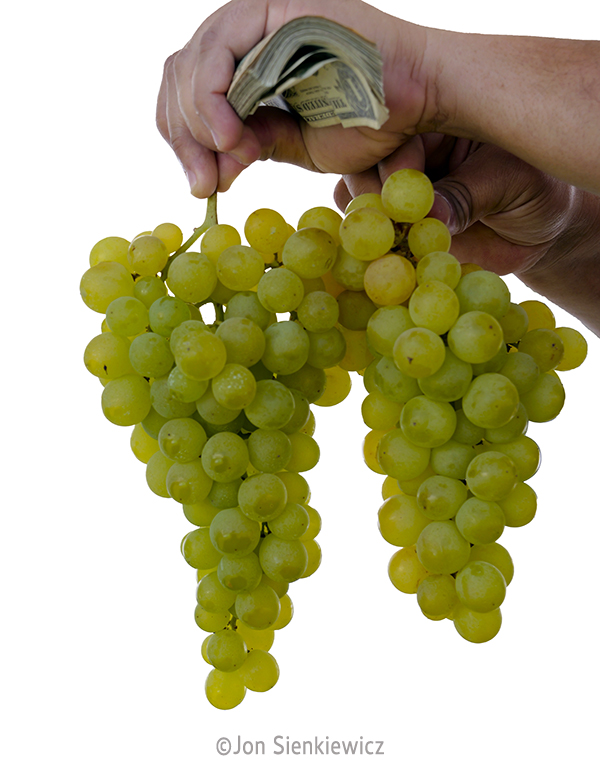
More than just a source for fresh, locally grown food, a farmers’ market is a microcosm of our photogenic world. The year-round event near us offers everything from live entertainment, homemade empanadas and limited-batch hot sauce, to knife sharpening, handmade Japanese salad dressings and vegan cheese. And it attracts the most amazing assortment of people, pets and photo possibilities.
Because of the broad variety of objects, colors and textures found at a farmer’s market, they’re great places to experiment with the under-explored features of your camera, particularly the special effects options. And that Lensbaby lens (or fisheye, or graduated filter) you haven’t used since spring? Find it and give it a workout.

Farmers’ markets are likewise fertile ground for reaping a bushel of intriguing image files you can use when exploring Adobe’s Generative Fill, Generative Expand and other Adobe Firefly features.
1. The Gear
Our approach is packing three lenses: a macro, a wideangle and a short zoom. But, hey, it’s up to you and your equipment stable. The logic behind our choice is explained in the points below.
If you’re a smartphone-only user, these tips are still somewhat applicable, but you’ll have to amend them to match your device.
2. Three Tours
While some farmers’ markets sprawl across seemingly endless acreage, most are smallish and can easily be covered in a leisurely 15-minute stroll. To amplify the opportunities we always make at least three complete tours, each with a different lens and different set of objectives.
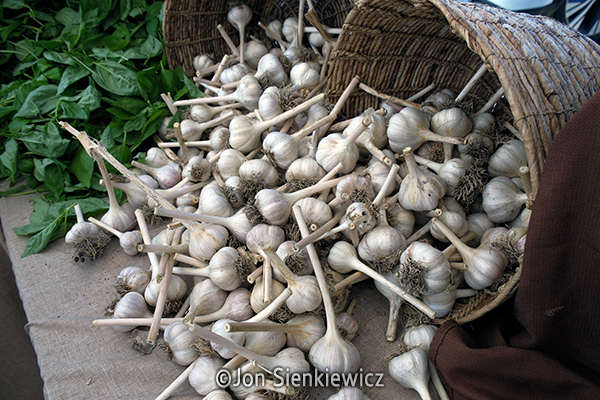
Our first mission is to canvass the scene and capture the low-hanging fruit. Here’s where the short zoom shows off its versatility. A lens in the 24-70 or 28-75 range is just right in most cases.
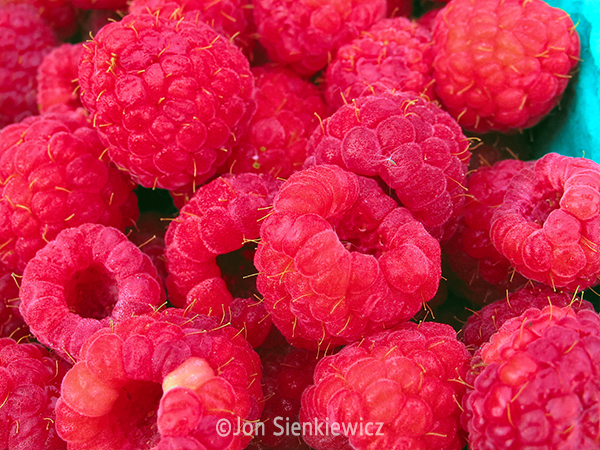
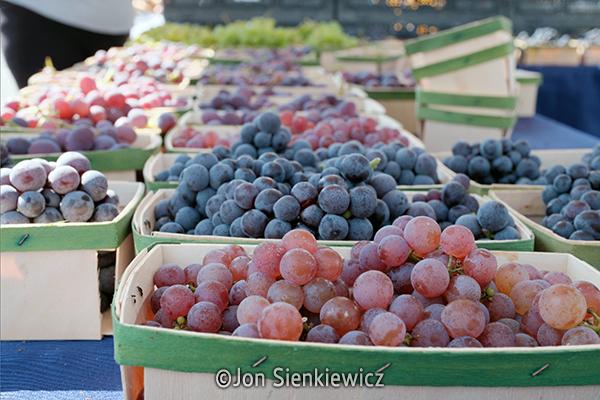
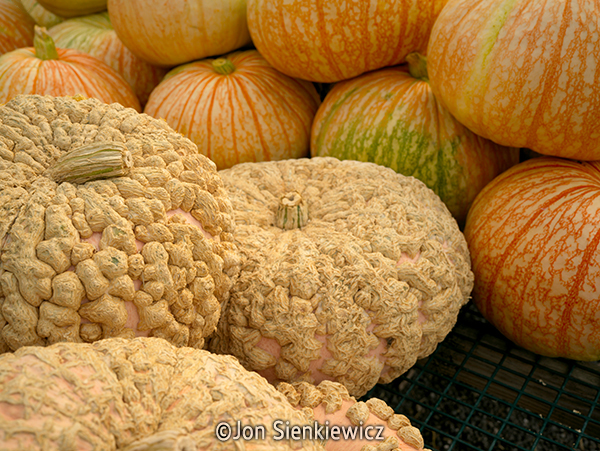
3. Get Close
On the second pass we switch to a macro lens and zero in on the details. A 90mm macro is optimal because you can shoot life-size images and still be farther away from the subject than you would be if you used a 50mm macro.

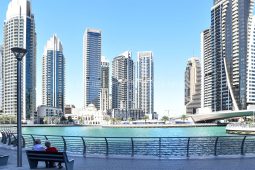
4. Go Wide, Capture the Spirit
The wideangle tour, our third pass, is shot a bit more from the edges with an attempt to capture the essence of the event with one single photo.
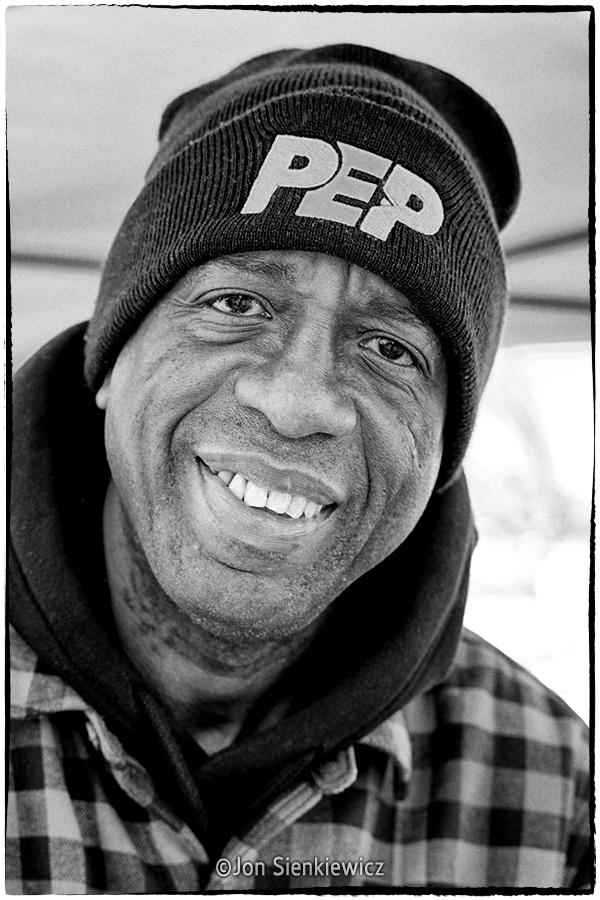
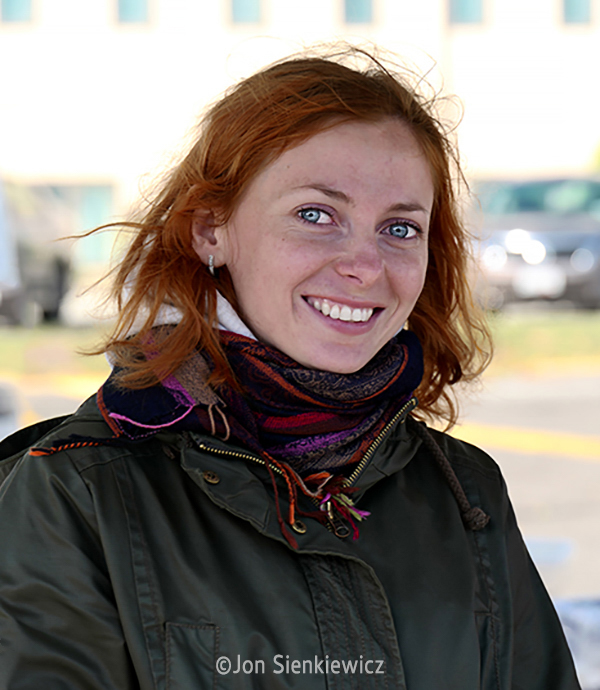
5. Meet New People
One of the most important things to us is to capture portraits of sellers and shoppers in this unique environment. Sellers are usually flattered, but ask permission anyway, and offer to email the image. Many appreciate this contribution to their social media efforts.
Summary
Reap the harvest of the season. Winter’s on Her way. Pack three lenses. Make three tours. Buy fresh vegetables and make soup. Freeze some for January when it’s -6°.
Want to Become a Better Photographer?
Begin by taking more pictures. Carry a camera everywhere you go and shoot even when you’re 100% sure the picture won’t turn out. Review all of your images with a critical eye and share them with others – and that includes posting the best on our Gallery. Subscribe to our newsletter (see sign-up form on our homepage) and bookmark Shutterbug as a Favorite on your browser so you can check back often. We’re in this for the same reason as you – we love photography, and we’re learning more about it every day.
—Jon Sienkiewicz