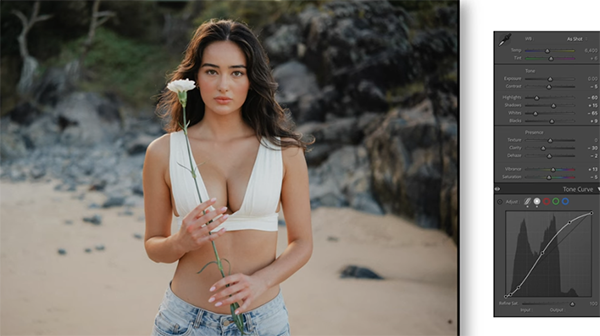
2 Basic Photo-Editing Tools That Work Better When Used Together (VIDEO)
The most common practice among many inexperienced Lightroom users is to start with the Basic adjustment and Tone Curve tools. And some photographers only take one approach or the other because of a misconception that they both do the same thing.
That’s because the Basic adjustment and Tone Curve tools enable you to modify highlights and shadows, as well as blacks and white points to optimize contrast and exposure for a well-balanced image. But here’s the deal: According to instructor Gerrard Needham, there’s a “massive” difference in results if you employ these tools together rather than individually.
Needham is an eclectic pro whose YouTube channel offers straightforward tutorials spanning the gamut from landscape and sports photography techniques to those for portrait and fashion shooters. This episode explains when and how the powerful tools mentioned above behave differently and why “they are only truly effective when they’re used in combination.”

These explanations and intsructions are based upon Needham’s personal experience as well as input from experts at Adobe and other professional sources, and he walks you through his workflow for using Basic Adjustment and Curves tools “to enhance dynamic range in my Raw files and achieve tone and contrast that’s similar to film.”
Of course, you can apply his approach to achieve just about any effect, mood, or look that’s appropriate for the particular task at hand.
Be sure to stick around through the end of the video where Needham switches gears and demonstrates two post-processing techniques for boosting Color Contrast to make photographs far more compelling. There’s a simple approach for novices, and an advanced method that provides more control for experienced users. So just pick an option that works best for you.

Bottom line: In the next 15-minutes your guesswork will be a thing of the past if you follow Needham’s step-by-step advice. Be sure to check out his YouTube channel once you’re done where you’ll find a wide array of instructional videos like this one.
And if, like most of us, you want photographs that exhibit perfect sharpness every time, don’t miss a tutorial we featured with another post-processing expert who demonstrates a fast-and–foolproof workflow that performs with precision.


