Is gingham over? Interior designer, Banjo Beale, reveals the trend that will take its place
It’s probably this trend’s turn to take a dance around the block
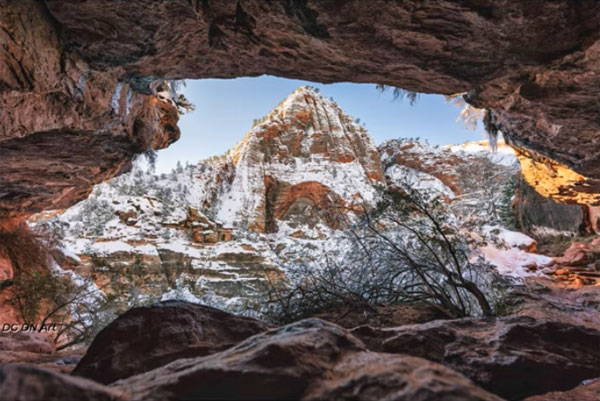
The first thing most landscape photographers do upon arriving on location is reach in their bag and grab a favorite wide–angle lens. But what if the vista is so expansive that a 28mm or 35mm won’t include the entire scene?
Under these circumstances you have a couple choices. One is to shoot multiple images and stitch them together during the editing process. Our preference, on the other hand, is to pull out an ultra-wide lens, and capture the image in the camera.
Ultra-wide lenses tend to fall into the “exotic glass” category and are often quite expense, but they’re capable of making truly breathtaking images; that’s if you understand how to use them properly. If you’re new to the world of ultra-wide photography, or the images you shoot are disappointing, the following video tutorial from B&H Photo Video is exactly what you need.

Instructor Matt Zefi is an accomplished photographer/filmmaker, and in the quick tutorial below he shares his “best practices” and a few helpful tips for shooting incredible images with an ultra-wide lens. So if you’re new to the game or just need a bit of help, it’s all at your fingertips in barely four-minutes.
Zefi defines ultra-wide lenses as those with a focal length wider than 28mm on a full-frame system—say from 10mm to 25mm. For the purpose of this video he avoids the more specialized fisheye optics that we’ll save for a future discussion.
As you’ll see, ultra-wide lenses require special attention if you want to take advantage of their best characteristics. And there are a few pitfalls to avoid when they’re used incorrectly.

Zefi discusses how to deal with the distortion inherent to ultra-wide glass. Typically the goal is to shoot in a way that minimizes distortion, but other times accentuating distortion yields really eye-catching effects. You’ll also pick up some important advice on the best ways to compose outdoor scenes when using these unique lenses.
Other topics include how to use ultra-wide lenses for quirky portraits, complications when employing lens filters, and much more.
The B&H Photo Video YouTube channel is a great source of information, and you can view Zefi’s impressive imagery on his website.
We also recommend watch a video tutorial we posted earlier, explaining how to embellish outdoor photos by capturing sunstars in the camera.
Have you ever captured what you thought was a great photograph, only to discover ugly white edges when viewing the image on your computer? These image-killing artifacts are known as “halos,” and today you’ll learn how to quickly eradicate them in Photoshop.
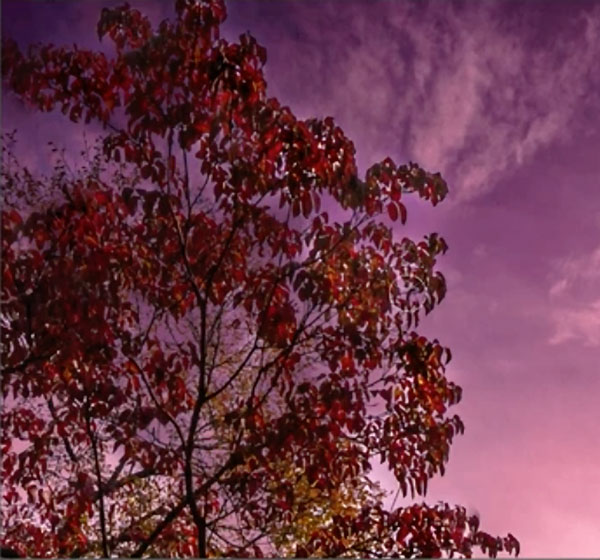
Haloing is common to landscape photos and even outdoor portraits, and they often occur in areas of high contrast—like the borders of dark trees against a bright sky. These distractions also appear as the result of heavy-handed editing like over-sharpening or the excessive use of HDR adjustments.
This is one of those unfortunate circumstances in which more editing is required to repair an image that was damaged by poor editing in the first place, Fortunately, as you’ll see in the tutorial below from Arkansas-based pro Cherokee Turner, the rehabilitation process is straightforward and effective.

Turner says, “I use Photoshop to create amazing artwork for the masses.” Like many of us, he sometimes relies upon Photoshop for some final cleanup to get things just right. After watching the tutorial below you’ll know exactly what to when a portrait subject’s head is ringed with a thin white line, or a majestic mountain is separated from the sky by weird edges.
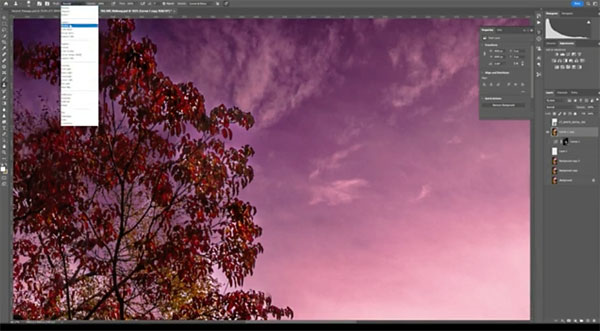
Turner begins by rasterizing his landscape shot and turning it into a Smart Object. Then he pulls up Photoshop’s Clone Stamp tool to darken the halos without affecting edges of the foliage. Before proceeding it’s important to click on the Mode button atop the screen and select the Darken option from the dropdown menu.
Now annoying bright edges are selectively removed from whatever portions of the image you sample. Not only is this a quick and easy fix, but when you compare Turner’s before/after images you’ll see how effective it is.

Of course it’s always preferable to get things right in the camera, but there’s no sin in turning to Photoshop unless you make things even worse with sloppy editing. But the next time you make a make a mistake you’ll know that to do. Remember, halos are only for angels.
After watching the video take a look at Turner’s interesting YouTube channel where there are many more tips and tricks to learn.
And be sure to check out the tutorial we posted recently from another pro, explaining how create amazing images with the creative use of Intentional Camera Movement (ICM).
