This Editor-loved Shark air purifier is currently reduced by an incredible £250
Shark’s two top-performing air purifiers are currently under £100, just in time to battle summer allergies
Hot spots and highlight blowouts are the bane of portrait photographers and others. They can occur with images shot in the studio under artificial illumination, as well as those captured with natural light outdoors. Fortunately there’s a simple and effective Photoshop fix, as you’ll see in the quick tutorial below.
This nine-minute episode comes from the f64 Academy, an instructional YouTube channel with the goal of presenting “the best Photoshop tutorials for photographers of all skill levels.” This one pays off on that promise, and is easy enough for anyone to accomplish.
If you’ve watched previous lessons from image-editing expert Blake Rudis you know that Selective Color is one of his favorite Photoshop tools for a variety of tasks. Today he begins with an exuberant question: “How in the heck can Selective Color fix a highlight blowout or portrait hot spot?”
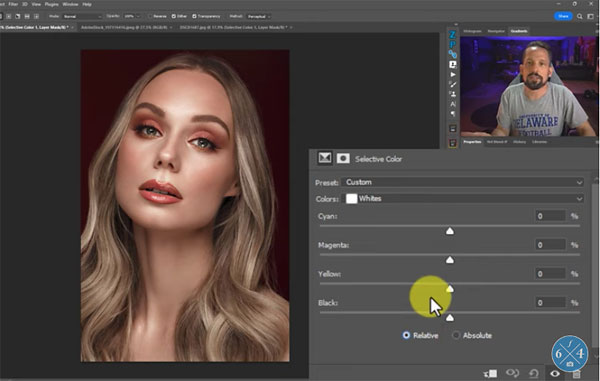
The typical approach for these kinds of corrections is Luminosity masking. But Rudis insists that the method you’ll learn today “will blow any Luminosity Mask out of the water.” In fact, he has a three-word description for the image he repairs here using Selective Color: “WOW that’s insane.”
As you’ll see, this remedial effort employs Selective Color for two purposes: One to eliminate hot spots on the model’s face, and another to color grade the distracting highlight blowouts. Rudis says he recently experimented with the absolute values of a Selective Color layer in terms of tonal values, “and I was shocked, I mean shocked, at what I was able to do.”
If this tool elicits that response from a pro like Rudis, it’s definitely a method the rest of us to should learn how to use. And the implications range far beyond portraiture alone—including landscape photography as he demonstrates near the end of the video. So give his tips a try and take care not to shock yourself too much when viewing your results.
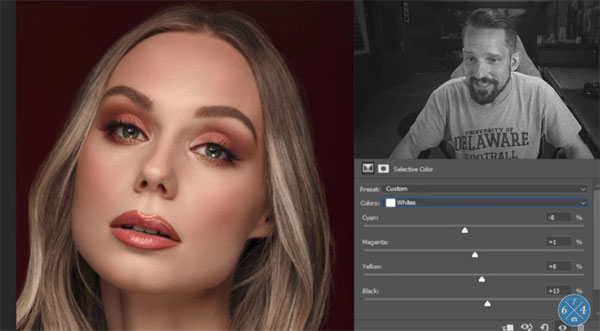
Rudis describes the difference between relative and absolute values, and explains why you should rely upon the latter for these particular tasks. He then walks you through the simple step-by-step procedure for getting the job done.
We encourage you to visit the f/64 YouTube channel frequently, especially if you’re a regular Photoshop user, where there are many more techniques to learn. It’s also a great source of solutions whenever you run into a problem.
And be sure to check out the tutorial we posted from another image-editing expert, explaining how to eliminate ugly bright halos in landscape photos.
Hyperfocal distance is an important photographic concept, particularly for landscape shooters, that enables you to obtain maximum depth of field by focusing on a specific point within the frame—somewhere between the foreground and background.
Unlike focus stacking, which involves capturing multiple images and merging them during the editing process (see yesterday’s tutorial), hyperfocal distance is an in-camera technique. The tutorial below demystifies the simple process and demonstrates exactly how it works.
Photographer and educator Booray Perry is a favorite among Shutterbug readers who appreciate both his straightforward tips and his humorous approach to teaching basic photographic techniques. So if you want to learn about maximizing depth of field with minimum effort, and have some fun in the process, take a look at today’s six-minute episode.
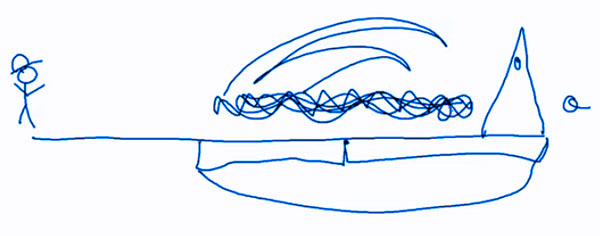
Perry says that hyperfocal distance is one of things things that’s not used regularly by some photographers (himself include). He does admit, however, that he could have improved many of his earlier photos by taking this technique to heart.
In his words, this concept describes “the closest distance that allows infinity to be reasonably sharp.” The term “reasonable sharp” is a subjective one, and Perry discusses what he means. In any case, reasonably sharp is much better than soft. By using hyperfocal distance your main subject will be in focus, the background will be reasonably sharp, as will a predictable zone in front of the subject,
In simple terms, by focusing on a distant subject at infinity (like a mountain) you’re “wasting depth of field” because at any given aperture there’s a zone of sharpness in front of and behind the spot upon which you focus. So by strategically focusing on a point in front of infinity, the mountain will still be sharp, as will areas closer to the camera.
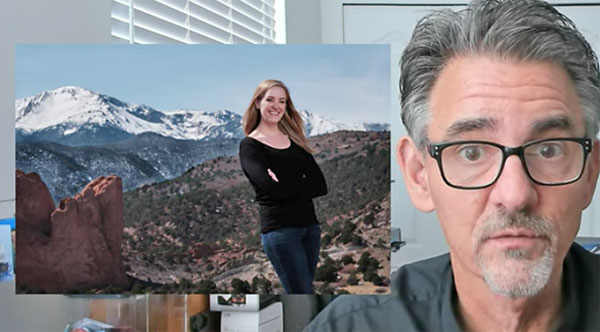
The trick, of course, is knowing where that specific point is, and making this determination is actually quite simple. Perry walks you through how it’s done. Using this technique is unnecessary with some scenes you encounter, but when it’s called for it really works.
You can find more simple tips and tricks by visiting Perry’s YouTube channel, so be sure to take a look.
And don’t miss the tutorial we mentioned above, explaining an easy focus stacking technique for achieving completely sharp photos from front to back.
If you don’t realize that your Adobe Creative Cloud subscription incudes a wealth of helpful free tools, it’s time to wise up and grab what you need. Many of these freebies aren’t readily apparent, and they’re easy to get and put to use.
Image editing impresario Anthony Morganti explains what’s available in barely six minutes. You’ll find a variety of options for creative effects, improving your workflow, finding answers to common problems, and much more.
All you have to do is open the Creative Cloud app and click on the Apps tab (the second tab on the top left of your screen). Once you do that another screen opens up, showing the apps you’ve already installed—from Photoshop, Lightroom, and Creative Raw, to elements like Bridge, InDesign, and whatever else you use.
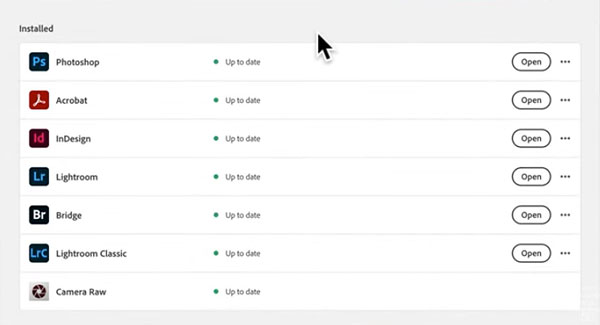
Now here’s where the fun begins. When you hover over any of the installed apps, one or more icons appear. Using Lightroom Classic as an example, Morganti demonstrates that five icons appear. If you select the first one you’ll be taken to a number of helpful video tutorials on a wide variety of editing topics.
Similarly by clicking on the third button next to Lightroom Classic, you’ll find a selection of powerful plug-ins that are there for the taking. Other buttons have equally valuable (and free) assets for various tasks, like presets for giving images a unique look.
Your other installed applications offer more great stuff, and one of the best ways to start is by hovering over Photoshop in your list where you be amazed by what you find. It’s important to note that some of what’s available isn’t free, so be sure to check that as you proceed. You can also filter offerings by clicking on “top rated.”
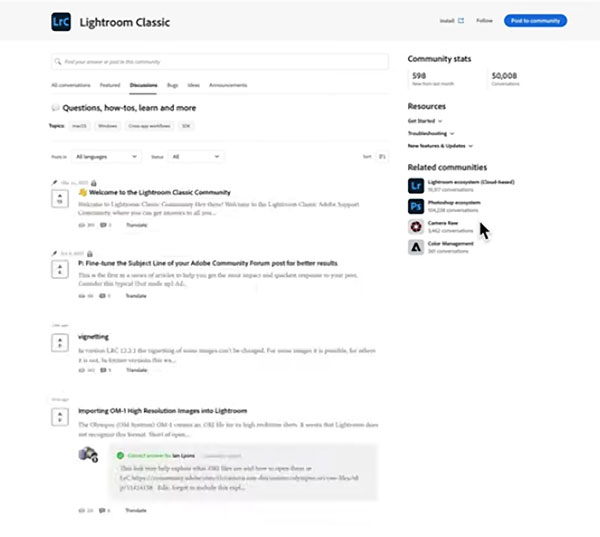
Another important button adjacent to any installed app is the second button from the right. This takes you a support community where you can find clear and concise suggestions for solving problems with any Adobe app installed on your system. Morganti says,“This is the first thing you should do” when confronting any difficulty.
Morganti’s instructional YouTube channel contains a wealth of information on processing images, so pay a visit when you have time,
And be sure to check out another tutorial we posted recently, explaining how to create and use simple Photoshop Actions to streamline your workflow.
