What is the ‘move-out’ method? The latest decluttering trend explained by pro organisers
Making sense of the newest buzz word in the decluttering space
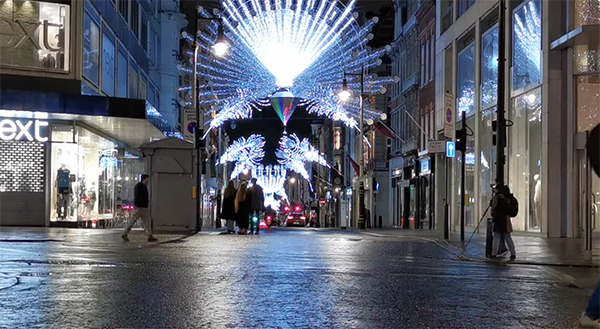
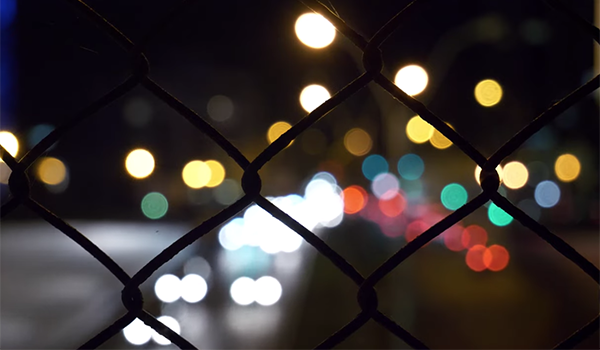
If you never venture out with a camera after dark, you’re missing out on a bunch of great photo opportunities. Landscapes can take on an awe-inspiring look, and urban scenes that appear boring during the day transform into magical tableaus full of sparking lights, interesting reflections, and vivid colors.
Unfortunately some photographers pack it in as soon as the sun drops below the horizon because of a misconception that night photography is beyond their skills. This eight-minute primer will disabuse you of that notion and provide the necessary confidence for to get out there and prove that nighttime is the right time.
Instructor Justin Carey just launched a new YouTube channel that explores the rewards of his creative life with a camera. In this episode he describes the basics of night photography and explains the necessary camera settings so you can immediately begin making beautiful photos in any low-light situation. He designed this lesson for beginners, but experienced photographers will pick up a helpful tip or two as well.

Carey admits that this genre can be intimidating to the uninitiated because some of the typical rules don’t apply. For those wondering why they should bother learning these new techniques, Carey says this: “First everything looks more interesting at night. Secondly, nighttime creates a landscape all its own, with the craziest things that you never see during the day.”
Bottom line, the more time you spend shooting at night, the more weird and wonderful scenes you’ll discover. No special gear is required to capture dramatic photos, so whatever camera you own will do fine. Even most point-and-shoot cameras and modern mobile phones include custom night photography modes. And, yes, a tripod or other form of camera support is important.
Carey describes the camera settings he prefers, being careful to note that these aren’t absolute rules, but rather suggestions for a starting point that’s subject to experimentation. Some “purists” may disagree, but Carey recommends starting in Aperture Priority mode—at least until you get the hang of things.

After covering exposure and other technical matters Carey discusses a few other important considerations for shooting at night. These include advice for keeping yourself (and your gear) comfortable and safe—especially when you find yourself in unfamiliar or “dodgy” territory.
After watching the lesson head over to Carey’s new channel and give it some support. Then check back often to see what else he has to offer.
And don’t miss the tutorial we posted earlier from another of our contributors, with a very helpful primer on using your camera’s light meter to capture perfectly exposed photos.
Lightroom’s HSL sliders are so easy to use that it’s rather surprising that so many photographers ignore them when editing their work. If you’re among that camp, today’s quick tutorial will likely change your mind.
As the acronym HSL suggests, these simple sliders enable you to quickly modify the Hue, Saturation, and Luminance of a photo. By using these tools in tandem you’ll be able to quickly enhance a photo—often turning a ho-hum shot into one that really grabs attention.
The video below is episode seven of a 20-part series explaining basic Lightroom tips for photographers of all skill levels. It only takes instructor Klaire Dixius five minutes to explain what HSL sliders do, and how to put them to work.

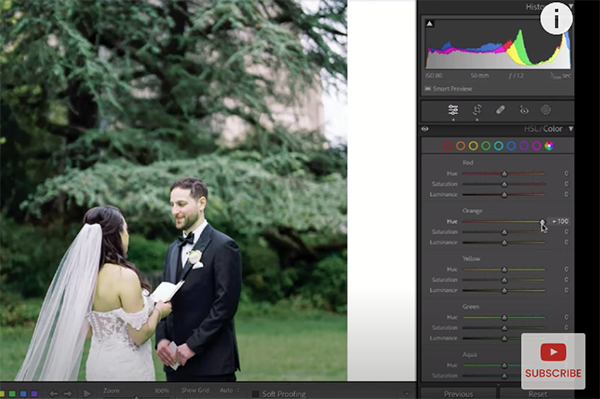
While his lesson is targeted at portrait and wedding photographers, the techniques you’ll learn can be used to enhance just about any photos you shoot. Dixius says HSL adjustments may not be necessary for every edit, but they are extremely helpful in certain situations—like in her example of an environmental portrait where vivid green grass biases skin tones of the bride and groom.
Dixius pulls up the HSL sliders, found within Lightroom’s Develop Module, to demonstrate the quick fix. The panel enables you to observe colors individually, but Dixius explains why she prefers to examine all of them at once. She notes further that, “When I’m trying solve color casts on skin, I’m really looking at those orange and yellow areas.”
You’ll see how she eliminates the unnatural green hues in this photo by “doing the opposite.” In other words, she brings down the reds to a value of -10 while slightly dropping Saturation and slightly increasing Luminance to lighten the effect. She also decreases yellow Luminance and Saturation.

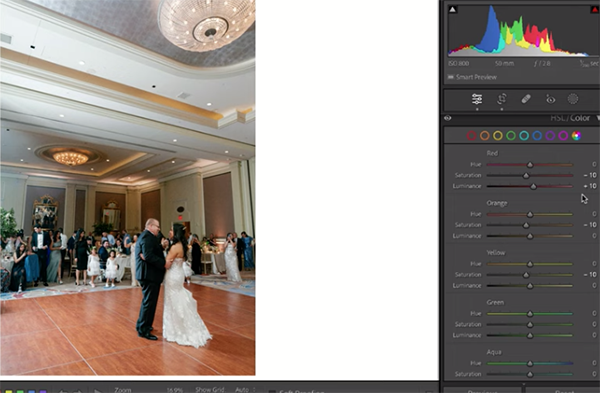
Dixius also explains of how to fine-tune your results by using Lightroom’s Hue Slider. Then she provides an example of how Lightroom’s HSL sliders can make a big difference when shooting photos indoors. The example here is a bride and her father dancing on a hardwood floor with a decidedly orange tone that provides an unnatural cast to the skin tones of her subjects,
What makes HSL tools so easy to use is that you can simply experiment by moving the sliders, while watching the effects on your screen, until you achieve the exact look you’re after. Typically the goal is a natural looking image, but simple special effects or different moods can also be achieved.
After watching this quick lesson take a look at Dixius’ YouTube channel where you can view past and future installments of this popular Lightroom series.
And don’t miss the tutorial we posted from a top pro recently, explaining a simple Lightroom method for transforming boring cityscapes into amazing Blue Hour photos.
