Shocking new report reveals renting is now cheaper than first-time mortgages for the first time in 13 years
Is renting better than buying? For the first time in over 10 years it might be according to Zoopla’s new report
Whether you’re photographing wildflowers and plants in the forest, or shooting these colorful subjects in your backyard, we have some simple tips and techniques for getting the job done. With this straightforward advice you can also capture beautiful photos at a nearby park or nursery.
Instructor Toma Bonciu is a Romanian pro specializing in travel, landscape, and adventure photography. Today he steps out of his comfort zone with seven easy-to-follow suggestions, including camera settings, for depicting flowers and plants as they appear in nature.
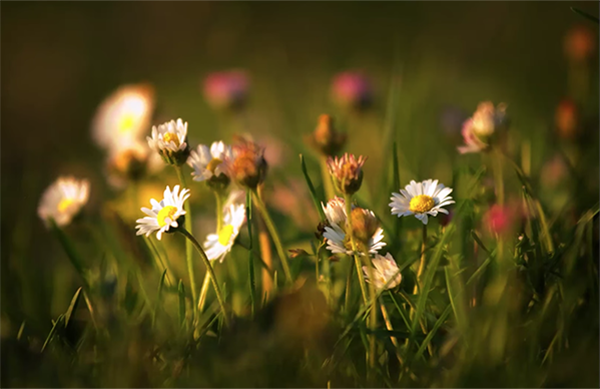
Tip #1 is shooting from a low camera position, like experienced photographers do when making images of young children and pets. If you think of blossoms as having and eye, and shooting from that level, the concept immediately makes sense. As Bonciu explains, by taking this approach you’ll create separation between your subject and the background that really grabs attention.

Bonciu also recommends shooting with a wide aperture that will further make a flower stand out by giving a soft, pleasing blur to everything else in the scene by limiting depth of field. Here, a fast prime lens really helps to exaggerate the effect.
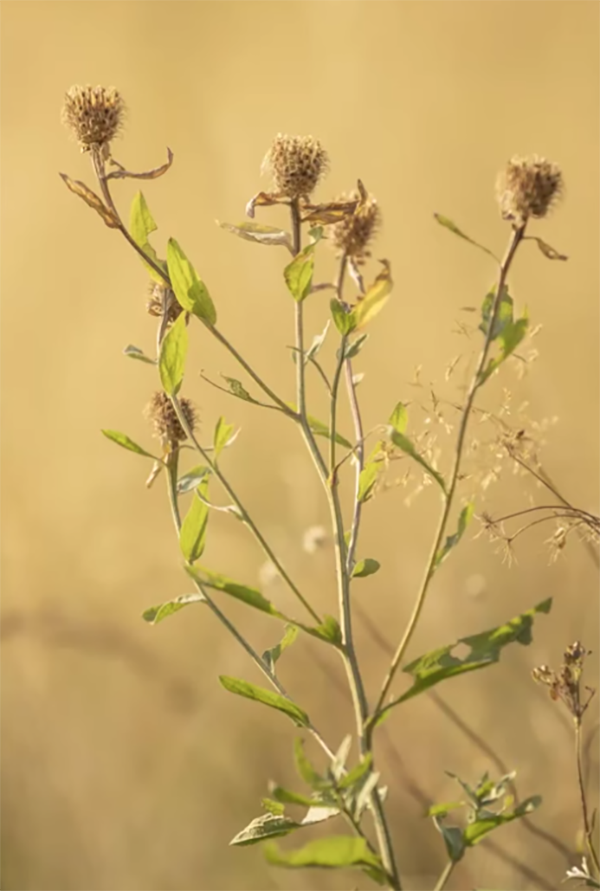
Another way to minimize depth of field is to move back a bit from your subject and shoot with a telephoto lens, taking care that your shutter speed is fast enough avoid subject movement especially on windy days. By doing this you’ll also achieve a compressed perspective depending upon the focal length you use.
Tips #4 is to follow the old maxim that if your photographs aren’t good enough, you’re not close enough. In other words, fill the frame with the plant or flower that’s the subject of your shot. Bonciu says to think of the photograph as a tight portrait and take care to compose the shot so there’s limited empty space above the flower. This is easy to do if you position the flower in the upper portion of the shot.

Bonciu also suggests using a diffusor to soften harsh light. He says that if you don’t own a purpose-built diffusor a simple household umbrella will work fine. Slightly overcast days can be perfect in this regard if you think of the sky as a huge diffusor that softens light falling on your subject.
Another simple accessory that you likely have at home is a small spray bottle filled with water. If you’re photographing when there’s no dew on the plants, a quick spray from the bottle to create small droplets on a flower will add interest and impact to a photo.
Bonciu’s final tip is to experiment with breaking tip number #1. In other words, try shooting from a high perspective while pointing your lens downward on the top of a bloom. This technique works particularly well with relatively flat and symmetrical flowers like daisies. After watching the tutorial head over to Bonciu’s instructional YouTube channel where you’ll find many more tips and tricks.
And on a related note, be sure to watch the tutorial we posted from another accomplished pro, explaining how to use contrast and color to add depth and impact to nature photos.
