These are the veggies supermodel Kate Moss is growing in her garden’s vegetable patch right now
Is Kate Moss the new gardening trend setter?
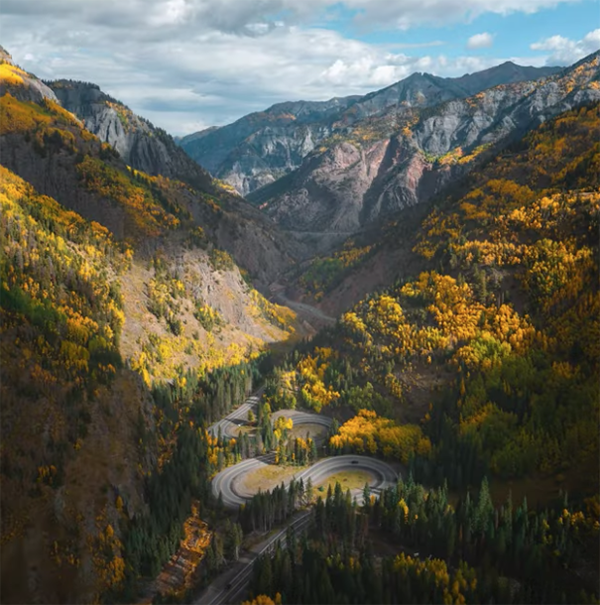
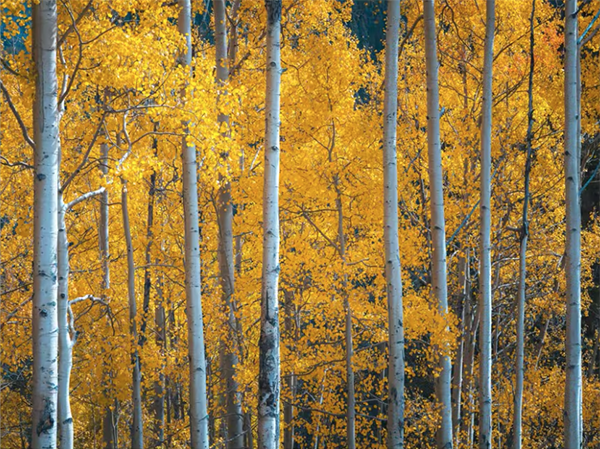
Ask a bunch of experienced photographers to name their favorite season for shooting landscapes, and what do you get? Typically the emphatic responsive will be a resounding “autumn” or “fall.” Most of the time even the best colorful warm-toned images can be improved a bit during the editing process, and that’s what you’ll learn how to do below.
Instructor Mark Denney says he’s a fan of vans, cameras, and photographing the great outdoors, not necessarily in that order. In today’s 13-minute episode he shares the simple editing technique he uses to enhance fall photos, and he says it’s a “game changer” for bringing your images to life.”
Denney admits to being “a complete nerd when it comes to anything related to the fall season—from Halloween and Thanksgiving to pumpkin spice, cool weather, long pants, and of course the gorgeous colors that set landscapes ablaze this time of year. You’re on your own when it comes choosing the right pants, but Denney’s Lightroom workflow will definitely help you up your game.

Autumn may be the “best” season for shooting in the field, but there are definitely some challenges that need to be addressed for faithfully capturing the splendor of what you saw through the viewfinder. Denney uses two of his images to demonstrate his workflow, and the transformations are quite impressive.
One of the biggest issues with fall photographs is achieving a correct White Balance. This is because the unique tones of autumn landscape scenes are what makes them so breathtaking, so its imperative to get them right. If you shoot using the Auto White Balance setting there’s a good chance the camera will get things wrong, but Denney explains how to quickly restore the natural tones in Lightroom.
Denney makes several basic global adjustments that represent a good start. He then demonstrates how employing a few masks is very effective for refining an images with selective enhancements to various areas within the frame. This approach enables you to adjust the sky, background, foreground, and other important elements of a photo independently of one another for perfect balance and tones throughout.

Another technique that’s as important as enhancing colors involves adjusting the light in photos that look somewhat flat. By following Denney’s straightforward advice your enhancements will enable you to create images that really jump off the screen in an almost three-dimensional way. Our only point of disagreement with Denney is his love of everything pumpkin spice—be it food, candles, or drinks!
You can find more great tips on shooting and editing landscape photos by paying a visit to Denney’s instructional YouTube channel.
We also suggest watching a tutorial we posted recently from another accomplished landscape photographer, explaining several pro techniques for shooting draw-dropping photographs in harsh, midday light.
Just about everyone owns a home printer capable of outputting high-quality images, but all too often this practical device is used for nothing more than printing documents. That’s a real shame because there are several benefits of printing your best imagery if you understand the best practices for getting the job done.
Framing and hanging favorite photos is a great way to decorate your home or office and share your hard-earned work with others. But there’s more to it than that, because scrutinizing large prints is a great way to evaluate an image to learn what you did right or wrong.
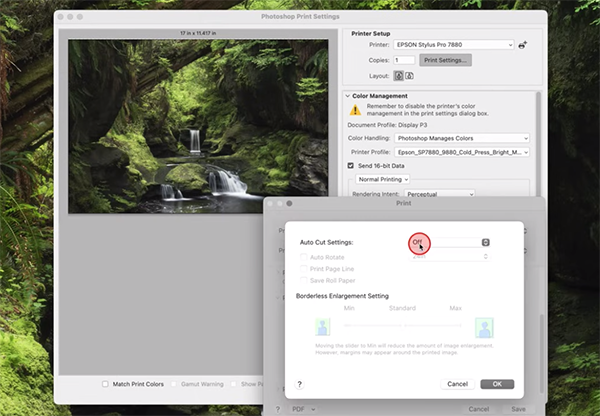
This helpful tutorial from the Quiet Light Photo YouTube channel is a step-by-step guide to the everything you need to know for making prints with predictably great results without guessing or experimentation. The lesson includes everything from adjusting and sizing images properly, to setting up a printer, choosing the proper settings, and even how to frame and display the results.

Instructor Adam Gibbs in a professional landscape photographer based in Wester Canada. The simple tips he reveals in this comprehensive episode are based upon the straightforward methods he’s used for years to make the best prints possible. The advice Gibbs provides will prove extremely valuable even if you don’t own a high-end professional quality printer.
Gibbs says he’s made more than 1,000 prints over the past year. He’s a firm believer that “the only way to enjoy the nuances and details of a photograph s by printing it.” One thing to keep in mind is that your prints will never look exactly the same as what you see on a computer screen. In basic terms that’s because a monitor emits light while a print reflects light.
Another key point is that you’ll achieve optimum results and consistent prints by using a calibrated monitor. Gibbs discusses the various calibration devices available and explains why he settled on the one that he ultimately chose after being disappointed by others. He also has some tips for those don’t want to invest in a calibration device, one of which is to reduce the brightness of your computer screen for reasons he explains. He also notes the importance of paper selection, and why this variable is so important to understand.

With the preliminary observations out the way Gibbs jumps into the specifics, and you’ll be surprised to learn that his 14-year-old printer still produces great output today. This should ally any concerns you have if you want to stick with whatever printer you already own. You’ll learn how to select a photograph and get it ready for printing by adjusting and sizing it properly.
Correctly configuring a printer and choosing the proper settings on the computer is absolutely essential. To that end Gibbs has a bunch of helpful suggestions for avoiding frustration and achieving repeatable results so that you don’t waste valuable paper trying to get things right. A beautiful print isn’t of much good unless it’s framed and displayed for everyone (including yourself) to appreciate. Gibbs provides some great tips for doing this too.
You’ll find more great lessons on Gibbs’ popular YouTube channel, so pay a visit and explore whenever you have time.
Keep in mind that you can’t print a photo if you can’t find it, so we urge you to watch the tutorial we posted recently that demonstrates the best way to organize your Lightroom photo catalog, so all your images are at your fingertips.
