Shoppers are raving about this £26 portable air cooler from Amazon – it has over 1,000 five-star reviews
Fans are so impressed by this handy device they’re buying two!
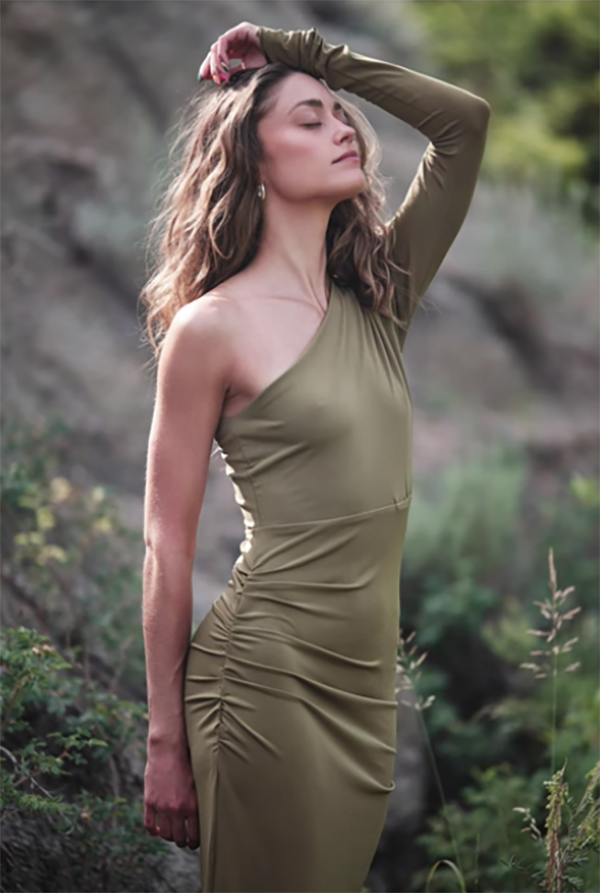
We can’t always pick the time of day when we’re shooting in the field, and that sometimes means making the most of harsh midday light. This can be a serious problem for all sorts of photography, and it’s particularly challenging when making environmental portraits. Distracting shadows, squinting models, and abundant contrast all contribute to this challenging task.
Instructor Nathan Elson is a highly acclaimed portrait specialist who typically works in the studio where he takes advantage of sophisticated (and expensive) professional lighting gear, so today’s episode is somewhat of a departure. He heads out in the field armed with nothing more than his camera and lens, and a compact scrim that emits a pleasant diffuse lighting effect similar to that of a cumbersome softbox.
Just wait until you see the stunning images he captures under “terrible” light. Elson arrived on location to confront sweltering temperatures, and to make matters worse he took a tumble, destroyed the ND filter on his lens, and “jacked up” his arm. Nonetheless, he continued with the session and created this very helpful tutorial to demonstrate how to capture excellent portraits when the light isn’t right.

Along the way you’ll pick up valuable advice on camera settings, composition, and the best ways to pose a subject in complicated light. He first captures beautiful images without the one accessory he brought along, and then employs the simple scrim to make them even more compelling.
Elson experiments with a few different locations within North Dakota’s Badlands. His first spot combined the desert feel of the Badlands juxtaposed against a bit of lush greenery. Shooting with nothing but natural light he demonstrates how to position a subject relative to the sun and achieve attractive hair light on the model.
Then he employs the scrim to “bring out more dynamic range, detail and, and a polished look to the shot,” while still preserving a realistic appearance. For this technique you’ll need to bring along a friend to hold the scrim in the position Elson suggests. He also describes how he employs the popular Reblum software to “create super, natural looking retouches in seconds.”

Elson then move on to other nearby locations that present different challenges, and he walks you through a step-by-step procedure for solving each of the problems to capture flattering portraits during midday. You’ll be able to do the same by following his straightforward advice.
If you’re interested in learning more about portraiture, indoors or out, do yourself a favor and check out Elson’s instructional YouTube channel.
And don’t miss a tutorial we featured recently with another accomplished pro who demonstrates a simple post-processing technique for creating all sorts of outdoor photographs with perfect color.
We’ve spent a lot of time singing the virtues of shooting in the Raw file format, and there are numerous reasons why doing so delivers both optimum image quality and greater versatility during post processing. But in this quick tutorial from the Better Pix YouTube channel you’ll learn the benefits of shooting Jpeg files, along with several helpful tips for creating amazing images.
Our unnamed instructor is an accomplished pro certified by the Professional Photographers of America, and in this six-minute episode he discusses the advantage and disadvantages of Jpeg images and he illustrates his tips with convincing visual examples. It all has to do the situation at hand, how you intend to use the photos you capture, and understanding a few simple techniques that will greatly increase your odds of success.
Most photographers know that Jpegs require far less storage space that their Raw file counterparts, and why they’re all you really need for posting images online. Less well understood is how shooting Jpegs at maximum resolution can deliver perfect exposures with good quality when you take the right approach.

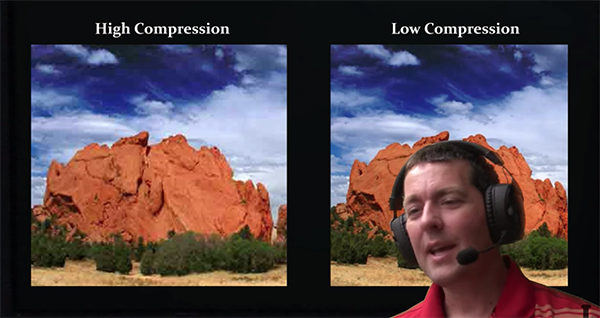
Another key consideration is using the proper settings to achieve correct White Balance in the camera. The concept of image compression is also important to understand. The instructor puts it like this, “With higher compression an image tends to fall apart because we’re losing important details that contributes to sharpness and other aspects of image quality.”
You’ll also want to remember that unlike with Raw files, image quality is lost every time you save, close, and reopen a Jpeg. This practice can take a heavy toll if you’re in the practice of doing this often. Bottom line, Raw files are a much better option if you re-edit your images frequently to experiment with different effects.
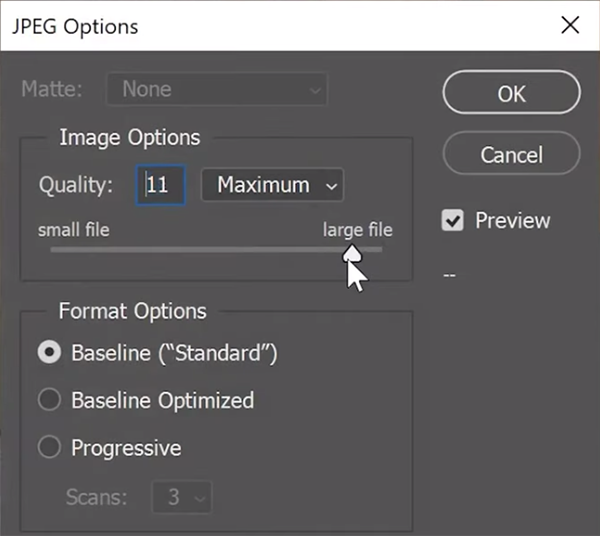
You’ll also learn how under- and overexposing a shot will factor into the equation. Overall, the recommendation for Jpegs is to “use a high file size and a low compression rate” if maximum quality straight out of the camera is the goal.

At this point you’re only halfway through the lesson, and there are more helpful tips for when Jpegs are the name of the game. By the time this video concludes you may ask yourself, “Why NOT shoot Jpegs?”
The Better Pix YouTube channel is a great source of information, especially if you’re a beginner or an inexperienced amateur photographer. So check what’s available that will help you expand your evolving skills.
We also recommend watching another tutorial we featured recently that explains how to use one “essential” lens filter to significantly improve the impact of every photograph you capture in the great outdoors.
