This £10 hack can cut your water bill in half, according to experts
A tap aerator reduces the water flowing through your pipes, lowering your water consumption in the process

We all spend hours cultivating our skills, to say nothing about the hard-earned cash we invest in the best gear we can afford. So it’s often quite traumatic when we lose some or all of our work due to incorrect storage techniques or the improper care of memory cards and backup devices.
Today’s tutorial with instructor Forest Chaput de Saintonge concentrates on the latter concern rather than the “3-2-1 Backup Rule” that we’ve discussed in the past. He’s a professional photographer, acclaimed educator, and former Director of the Rocky Mountain School of photography while serving as an Adobe Lightroom Advisory Board Member in his “spare time.”
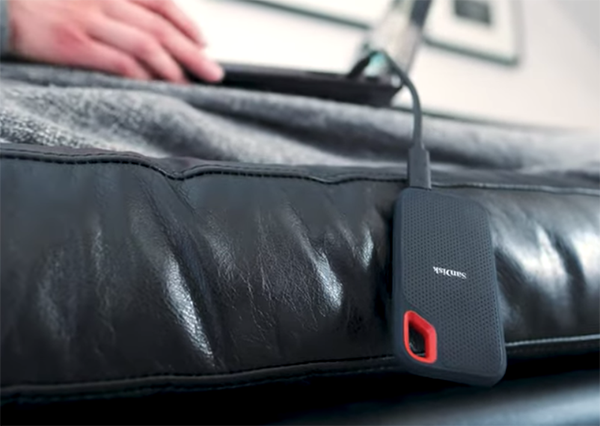
Forest covers nine critical issues in less than nine minutes beginning with something as simple as the cord attach to the portable drive that you carry in the field or while traveling. The warning it to always remove the cord before stashing the drive in your bag or pack. As Forest explains, “I’ve seen more ports broken off the inside of a portable hard drive than crashed drives.”

That’s because these ports are fragile and can be easily damaged when an attached connector bangs against other gear in a bag. Next is another practice many of us have been guilty of in the past; namely, editing photos while sitting on the coach or bed with our computer in our laps.
As Forest says of this contentious recommendation, “Of all the things I see that causes image corruption and catalog corruption is when a hard drives comes unplugged during an editing session while working on a soft surface.” For those of you who are a committed “couch” editor” he reveals a simple accessory that will keep you and your imagery out of trouble.
Forest demonstrates other common problems and solutions as the eight-minute lesson proceeds and they’re all intended to help you avoid the largest headache ever. His discusses best practices for memory card formatting and sharing, and the importance of keeping multiple drives separate. There’s also this blunt statement: “No more dongles.”
The video includes a discussion of USB hubs, using dual card slots in cameras with this capability, and some specific concerns with backing up on the Cloud. Make yourself a checklist of everything you learn, follow it carefully, and your photos and other files will be a safe as can be.
Forest’s instructional YouTube channel is jam-packed with other how-to videos you won’t want to miss.
We also recommend watching a tutorial we featured recently with another knowledgeable photographer who explains how new AI technology can eliminate time-consuming snags when organizing, culling, and processing your photographs.
Here’s another quick post-processing tutorial from instructor Scott Davenport that photographers of all skill levels can use to significantly enhance cityscape photos, landscape scenes, and adjust any other outdoor images that need a bit more oomph. It’s all about when and how to use Lightroom’s powerful Dehaze tool.
This straightforward adjustment can also be accomplished with ON1 Photo Raw, Luminar Neo, and any other editing software you use that includes a Dehaze slider. Davenport is a notable outdoor photographer specializing in seascape imagery, architectural photos, and images shot in the urban environment.
Here’s Davenports promise for today’s how-to video that runs less than five minutes: “I’ll show you how your Dehaze tool transforms flat, dull architecture and cityscape photos into vivid dynamic images” in ways that are equally appropriate for other types of dull photos shot in the field that are less impactful than they could be.

Davenport begins with a quick explanation of how haze is often caused by atmospheric conditions or pollution, and the manner in which it effects your photos in different ways. The typical problem is that haze tends to wash out important details and reduce contrast—especially in the midtones of an image.
In the latter regard, you’ll learn how to selectively apply the Dehaze tool only where needed, rather to the overall shot, to increase Clarity and strategically reduce the abundance of middle grays. Doing so makes subjects “POP” by enhancing dimensionality and increasing the perception of depth throughout the frame.
But what about those rare instances when the Dehaze approach falls short of 100% perfection? Davenport has another trick up his sleeve: “”When Dehaze is not enough, double down on reducing middle grays with Curves. You can also use Curves to address midtone-heavy images to deepen shadows and have textures reemerge. And you’ll see exactly what to do.

The bottom line is this: it’s easy to accentuate lines and interesting shapes with just a few thoughtful adjustments. There’s much more to learn about outdoor photography techniques on Davenport’s instructional YouTube channel.
We also recommend watching the recent tutorial we featured with another post-processing expert who demonstrates the power of Contrast Masking for editing snow-covered landscapes, bright beach photographs, and other outdoor scenes with an unusually wide range of tones.


