Lightroom can seem overwhelming to inexperienced users because there’s a vast array of tools and techniques for achieving different types of enhancements. To complicate matters further, there are other tools that appear to fulfill similar tasks but aren’t quite the same.
Such is the case with Lightroom’s Remove, Heal, and Cone tools, and it’s important to understand the differences, exactly what they do, and which one is the appropriate choice for the specific challenge at hand.
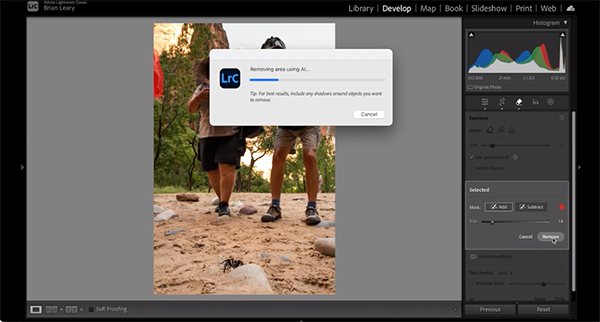
Today’s instructor Brian Leahy begins by explaining that the Healing Bush and the Remove panel are accessed by clicking on the Remove icon under the histogram in Lightroom’s Develop module. You’ll be then presented with three simple tools—the Clone Stamp, a Healing Brush, and the Remove tool.
The Clone Stamp is the original and it works by taking an exact representation of the unwanted pixels, and a clean nearby source area with similar tones, and then using using the latter to replace the problem distractions. He demonstrates this technique with a nicely framed landscape shot with dramatic rock formations in the foreground and an interesting sky overhead.
Leary says the Healing Brush, on the other hand, is a variation of the foregoing, but it works by melding those pixels together to achieve a reasonable compromise, rather than simply replicating pixels from one area to another. And you’ll see how easy it is to modify or delete your selection points on the fly without starting over.
He also demonstrates why the Healing Brush isn’t your best choice for eliminating something (like a speck of dust) that’s really close to a defined edge within the frame. Otherwise you may end up with an unsightly halo effect.
Leary pulls up another compelling landscape to demonstrate the benefits of Lightroom’s versatile Remove tool. Now that the overview is complete, he takes you along on a deeper dive into the specifics of this important trio of tools, using his beautiful imagery to illustrate the techniques involved.
The Light Source Journeys YouTube channel is a great repository of information and inspiration for everyone who shoots in the field, so be sure to take a look when you have time to explore,
We also encourage you to watch a recent tutorial we featured recently with an experienced wildlife photographer who demonstrates how to create and use in-camera Custom modes for capturing spectacular photographs of mammals and birds. This one-time task will save you from missing a fleeting opportunity while fumbling around with incorrect settings.
Today’s tutorial from the Photography Explained YouTube channel begins with this warning: “Your autofocus is probably failing you way more than you realize. This uncomfortable news may be exactly what you need to hear if you’re tired of missing moments that matter because your camera just won’t focus where you want it to.
Our unnamed British instructor explains the dilemma based upon personal experience: “After missing countless shot that I’ll never get back—wildlife moments, perfect expressions, once-in-a-lifetime lighting—I discovered something that most photographer never figure out. Your camera’s autofocus system my be incredibly sophisticated, but almost nobody knows how to use it properly.”
The 11-minute video discusses a number of oft-ignored settings that are available in every modern camera and explains how to put them to work for fast-and-precise subject acquisition under various conditions. In short, these are confidence-boosting tricks regularly used by professionals that will dramatically increase your “hit rate.”
So stop fighting your camera’s autofocus system, learn how to use it properly, and start capturing images that make you proud on a consistent basis. Then take a trip to the popular Photography Explained YouTube channel where you’ll find numerous how to videos for expanding your skills.
And speaking of configuring your camera properly, don’t miss the recent tutorial we featured with another accomplished pro who provides an eight-minute primer for fixing your camera settings that “90% of beginners get wrong” when it comes to controlling depth of field.