We frequently preach our strong preference for fixing a disappointing photo instead of deleting it—especially when the image captured a rare and spectacular moment that won’t be repeated. Not only can this exercise create a great image for your gallery, but it’s also a valuable teaching moment so that you don’t repeat shooting mistakes in the future.
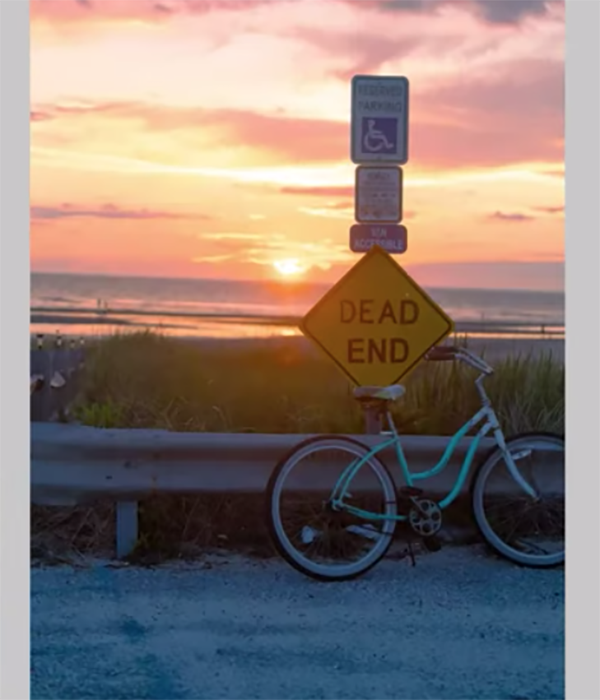
Today’s quick tutorial with photographer Jesse Allan rehabilitates an intentionally underexposed image using a Lightroom workflow designed for beginners and experienced shooters alike. His promise goes like this: “I’ll walk you through exactly how to transform this dark, ugly, and boring sunset into something amazing that you actually want to hand on a wall.”
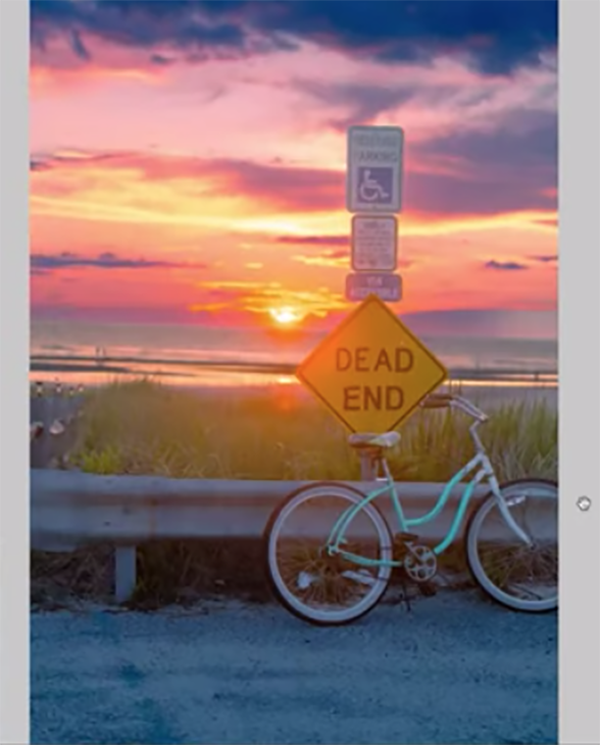
Not only will Allan accomplish the mission in barely six minutes, but he does so without presets or gimmicks—just simple Lightroom tools used in the correct way. As you’ll see, this straightforward edit yields a skillfully composed photograph with beautiful color and exposure. And you can easily do the same by following Allan’s advice.
Allan begins with simply sliders to open the shadows and drop highlights and whites for more details in the foreground and bright sky. He then opens Lightroom’s Curves panel to modify the overall lows and highs. Before dispensing with Curves, he then make individual adjustments to specific color channels.
We’ll let Allan describe the remainder of this super effective process, so watch how it’s done and then add this approach to your Lightroom bag of tricks. Be sure to check out Allan’s instructional channel for more shooting and image editing tips.
And if you’re ready for a welcome surprise, watch the earlier tutorial we featured with another popular instructor who reveals why understanding the finer points of your camera’s Auto ISO mode is “the secret tool for better exposure in any light.”