Shutter Priority and Manual are the two exposure modes that stand out for capturing sharp images of fast-moving subjects, whether you’re shooting sports, birds in flight, or energetic kids running around the house. This important tutorial from the Hamed Photography YouTube channel demonstrates how each mode works and when one delivers better results than the other.
Hamed regularly shares tips for mastering shooting techniques, demystifying camera settings, and improving visual story telling skills, and today’s episode checks off all the boxes. In less than nine minutes he reveals the benefits and drawbacks of these two exposure modes and explains why your choice “can make the difference between a sharp, frozen moment and a burry disappointment.”
You’ll also learn how to employ Auto ISO with both modes to achieve perfect exposures without compromising on shutter speed or depth of field. Hamed also discusses why enabling Burst mode and AF Tracking can be a big benefit too.
Hamed begins with an overview of how Shutter Priority works, situations where this mode is your best choice, and a few shooting techniques to employ. He describe this mode as “fast, flexible and beginner friendly:” You simply select an appropriate shutter speed and the camera automatically adjusts the aperture to get the light right.
As Hamed explains, Shutter Priority is ideal when motion-freezing is the top priority and when lighting conditions are changing rapidly. This mode is especially advantageous when you need to react quickly and don’t have time to fumble around with other camera settings. One of the limitations, however, is when your lens is already wide open and dim light causes you’re photos to be underexposed.
This is when Manual mode comes into play and provides maximum creative control for predictable results. As he says, “this level of precision is perfect for situations where lighting is unchanging and you want your results to be repeatable across multiple shots.” Manual mode is also a great choice in backlit and other trickly lighting scenarios when consistent exposure is a primary goal.
Be sure to visit the Hamed Photography YouTube channel when this lesson concludes and check back frequently for more tips and techniques.
And on a related note, don’t miss our earlier tutorial from a mobile photography expert who explains everything you need to know for capturing dramatic iPhone photos of subjects in motion.
Today’s enlightening tutorial from British pro James Feaver recounts how much he struggled with post processing when first embarking on his photography journey, and he describes his dismay like this: “I would spend hours and hours editing my photos, wake up the next morning hating what I’ve done, and have to start over.”
It turns out that instructor James Feaver was employing the appropriate tools, but not in the correct way. Today’s comprehensive episode will help you avoid similar grief, by “sharing the top seven editing mistakes made by a lot of photographers (including myself) and explain how you can avoid them yourself.”
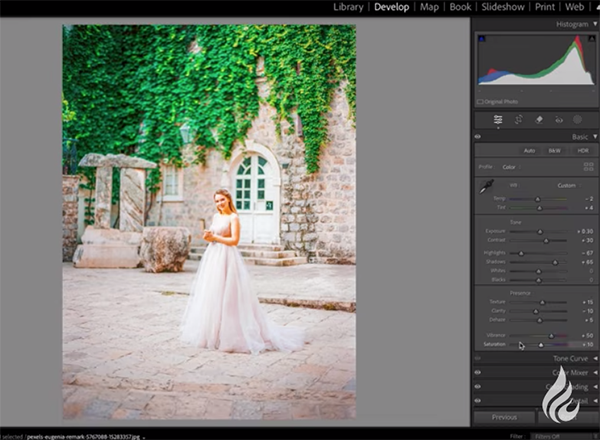
Mistake #1 is what Feaver refers to crushing colors. By this he means pushing colors too far and ending up with weird banding issues in an image—regardless if you captured the shot as a Jpeg or Raw file. He illustrates this image-killing problem by zooming in on the Color Mixer tool at which point it’s easy to notice unwanted banding that didn’t appear in the original shot.
Next on the list is falling into the trap of introducing too much clarity. Lightroom’s Clarity slider is a very powerful tool as long as you follow Feaver’s instructions and don’t take a heavy-handed approach when attempting to sharpen a photo. He also reveals an interesting trick for using clarity negatively instead of positively—something he does with most of his edits.
As the lesson proceeds you’ll learn why incorrect adjustments can be worse than doing nothing at all. One good example is what Feaver refers to as “dynamic range doom.” He says this mistake occurs when using the incorrect sliders to affect exposure. As he says, “if you use the wrong slider you can actually decrease dynamic range or introduce too much and cause clipping.”
Feaver describes several other mistakes that will degrade image quality in every photo you process, unless you follow his straightforward suggestions—one of which is the “100 Rule” he recommends that’s as simple as “not using any Lightroom slider to its 100% percent maximum.” Otherwise, bad things start happening in a hurry.
There are three more harmful mistakes and effective solutions remaining, and all seven will greatly improve the Lightroom enhancements you make. So be sure to update your workflow accordingly. Then head over to the instructional Photo Feaver YouTube channel where you’ll find an abundance of shooting and editing advice.