As I was being whisked away from Lisbon Airport to Cascais, my driver, Antonio, tried to teach me how to pronounce it properly. “If you fall in love with Cascais, you will know how to say it by the end of your stay,” he said. I vowed to get it right.
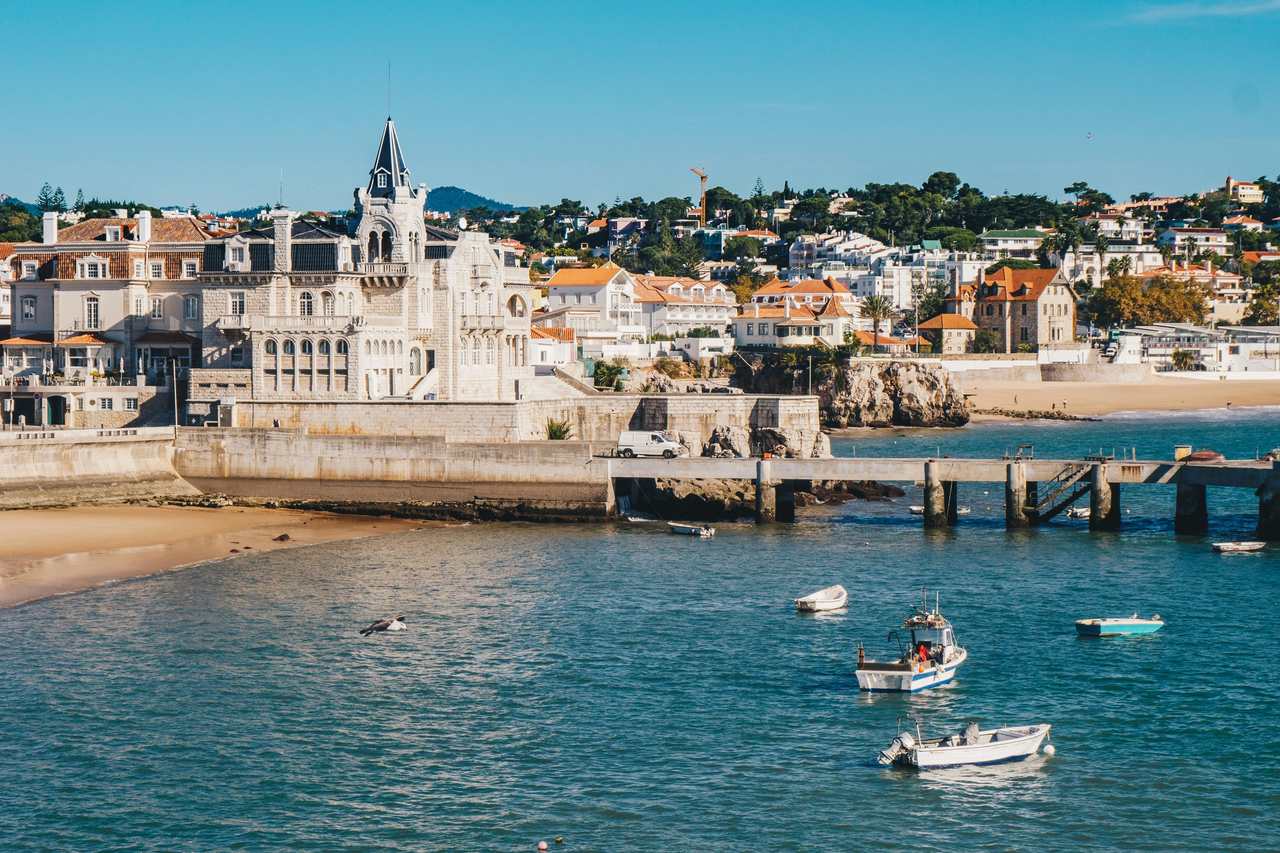
Less than 40 minutes later, arriving in this gorgeous fishing town, I felt like I was discovering a hidden gem; slightly upscale yet with a laid-back, beach vibe.
Cascais is rich in culture, with incredibly well-preserved 19th-century architecture. It boasts spectacular weather, dazzling blue skies, high temperatures, long stretches of golden beaches – combined with Atlantic waters that are neither calm nor wild but always refreshingly cold for a swim.
Cascais is busy all year round and comes alive in the summer with an events calendar packed with parties, art, craft fairs, music, sports tournaments, food and family-friendly events. A trip to the seaside of Cascais might be a welcome chance to escape from its crowded streets.
Walking around the town, where cafes, eateries and boutiques nestle, and diners enjoy long lunches on terraces or stroll through manicured leafy green park squares. Wealthy people live here and commute to work in Lisbon, and some of their beautiful villas and walled gardens are visible from the immaculately clean winding, milky, limestone cobble streets.
Situated along the stretch of coastline from Caravelos to the windswept Guincho, on the edge of the Sintra mountains, Cascais is just past the Monaco-like wealth enclave of Estoril, and is a great base to explore the entire Lisbon coast.
It has been known as the Portuguese Riviera since King Luís I, in the second half of the 19th century, chose to spend the latter half of his summers in Cascais rather than in the countryside. This brought the royal court and high society. Then Cascais became a refuge for Portuguese nobility, Europe’s elite, country heads and diplomats during WWII and a hub for spies and worldwide espionage due to Portugal’s neutral stance in the war. I’m sure that most would have been happy to sit out the misery of those years on one of the cool urban Riviera beaches of Cascais.
James Bond creator Ian Fleming was captivated by its charm in the 1950s, staying at the Casino Estoril. It inspired the former British Navy officer and spy to write his first novel, Casino Royale, in 1953. Fast forward to 1969, scenes in the Bond movie On Her Majesty’s Secret Service were filmed locally at Estoril’s Hotel Palacio, and featured their bell boy José Diogo, who was, until recently, still the concierge of the hotel. Now 77, he has relished reliving those moments by visiting 007 aficionados on Spy Tours.
Exploring Cascais
The main town beach in Cascais Bay — overlooking the fishing boats and harbour is so central and convenient that you can take a dip right in front of the Centro Historico, which features the distinctive black and white Portuguese mosaic pavement known as calçada Portuguese. It can be seen in various impeccable public spaces, including the town square and along pedestrian walkways.
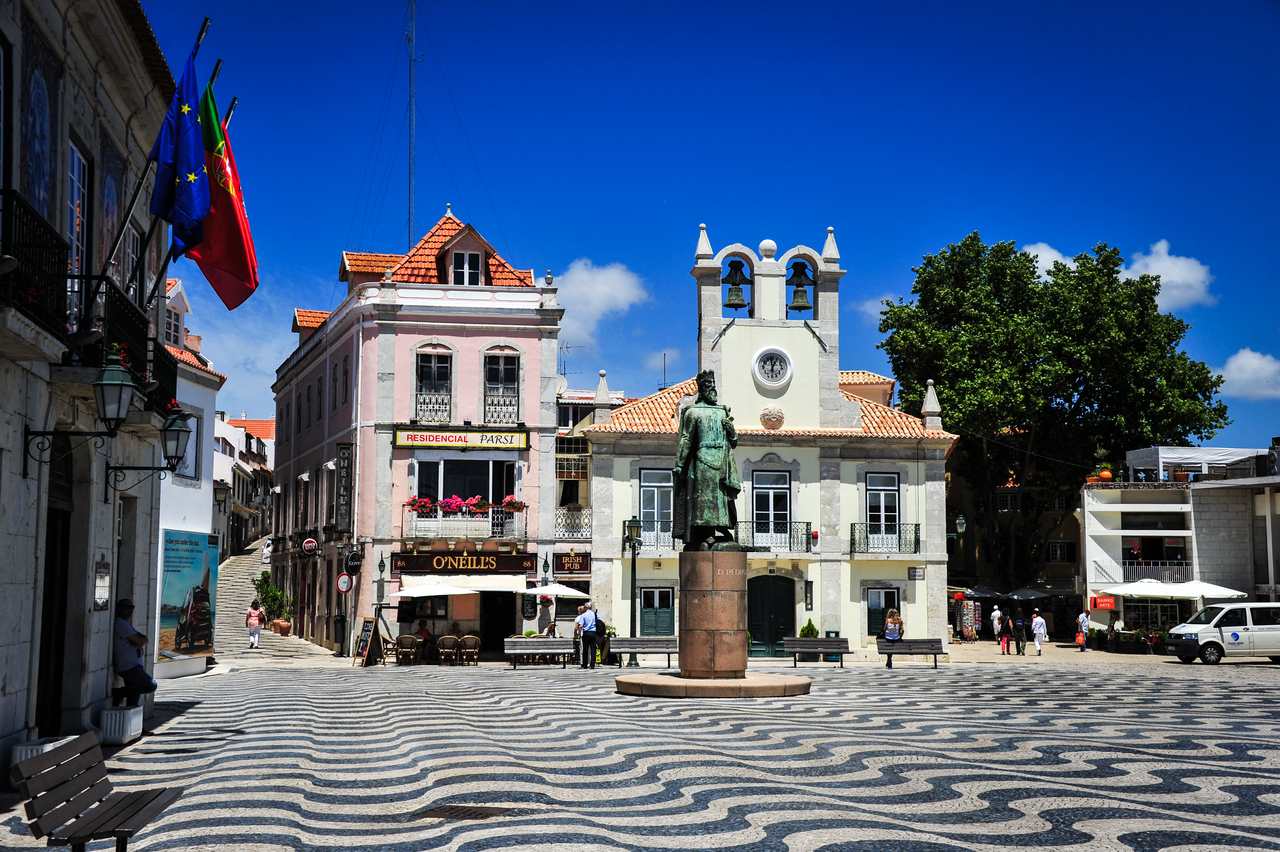
Cascais – Centro Cascais_Paulo SilvaTurismo Cascais
Or you can take a short walk along the sea, a nice paved path winds its way past the old Portuguese fort with its elegant galleries, then out to the Boca do Inferno, a sea cave.
Another stroll takes you to the Marina de Cascais. It has been transformed in recent years into one of the beautiful and fashionable areas of the city with yacht clubs, expensive restaurants and stores, creating a luxurious atmosphere that could make you think you are in Miami Beach.
One afternoon, I boarded a yacht and spent a blissful two hours on the sea, whipped along the coastline, sipping a glass of Prosecco in the expert hands of my PalmaYachts skipper Luís Leite. To add to the delight of the experience, a pod of bottleneck dolphins suddenly appeared out of nowhere and started playing hide and seek, diving under the yacht, squeaking and jumping in synchronisation. Bucket list moment? Tick.
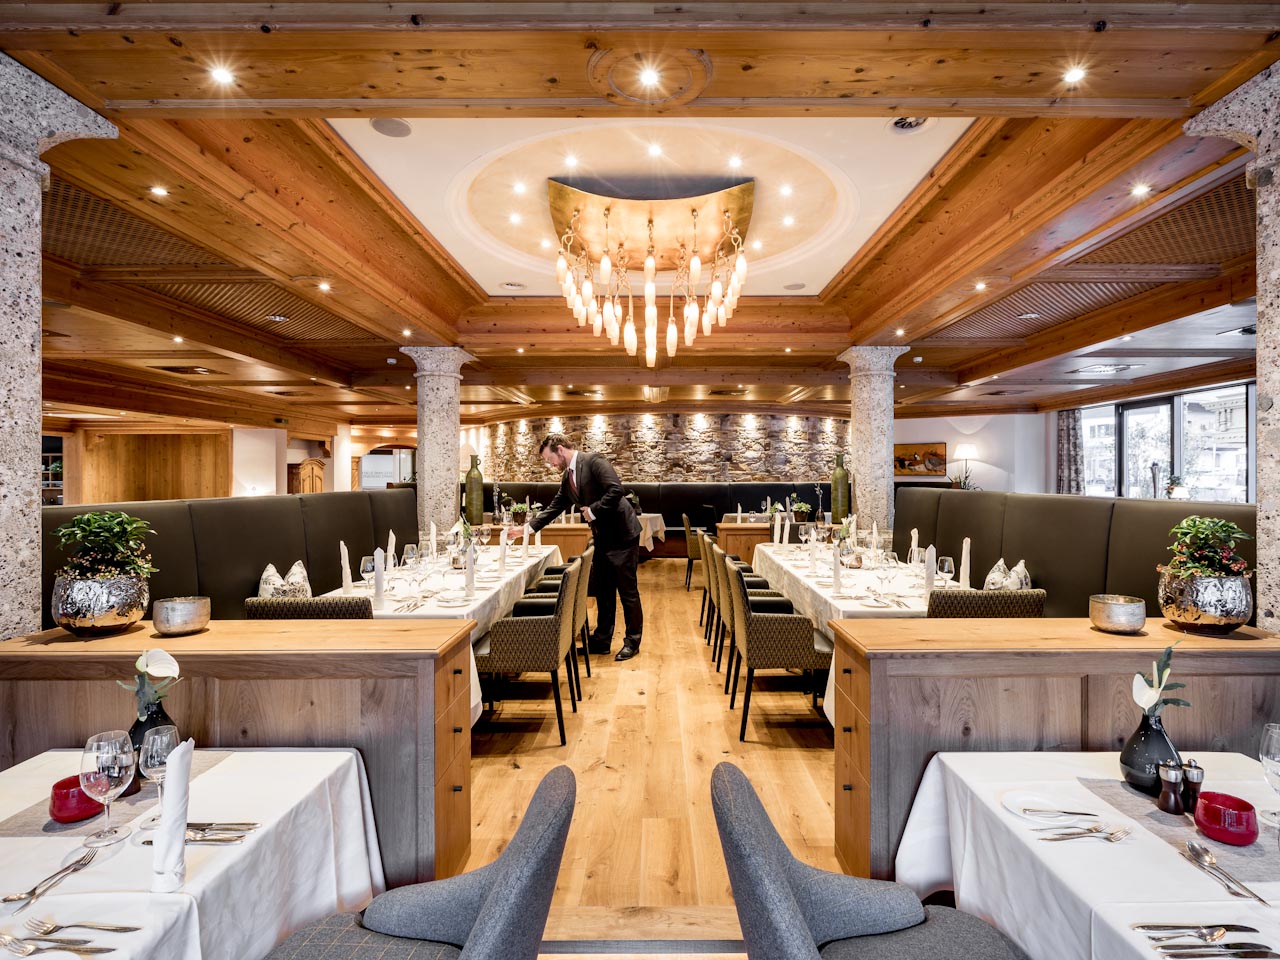
Dining in Cascais
Praia do Guincho — Guincho Beach – is wild, windy, breathtaking and renowned as one of the best beaches in Portugal. Dining at The Spot at Fortaleza do Guincho, on the cliffs above Guincho Beach, was a treat. There is also the gastronomie restaurant in the hotel, which has a Michelin-starred menu, inspired by seafood of the Atlantic, and the most spectacular sunset, which blows you away. And the food is perfection too. The gastronomie restaurant has held its star since 2001, and is now under the guidance of chef Gil Fernandes. On some weekdays at The Spot the menu includes dishes from the Michelin-starred sister restaurant and is more affordable.
Quite frankly, the local food scene in Cascais is a revelation. Dining one evening at the Cantinho do Avillez, the restaurant had an intimate and cosy vibe which belied its amazing cuisine. Its owner, restaurateur and chef José Avillez, is one of the most famous chefs in Portugal. His food flavours and textures evoke his childhood in Cascais, where he is seen as a bit of a rock star. My main course of seafood moqueca, a delicious combination of white fish, prawns with palm oil and coriander, was a crowd pleaser.
Another gem was Pescador, an old fisherman’s tavern, located between the sea and the fish market, which also boasts a fabulous wine cellar. The mischievous staff love a banter, are attentive, and some have been there for decades. I enjoyed an equally delicious octopus dish at Marisco na Prada inside Cascais’ traditional covered market, which dates from 1952 and was modernised in 2014. Its stalls still sell freshly-caught fish and local produce as they did in the old days, but it has been joined by contemporary restaurants and bars.
A unique culinary experience was at Sintra-Cascais Natural Park inside Pisão Farm. The 380-hectare park was refurbished by Cascais City Council to allow visitors to experience a variety of natural wonders, offering space for history, nature, biodiversity with agricultural activity, and nature conservation.
I met the FoodLab team, who work together with the Council and aim to preserve the gastronomic heritage of the municipality of Cascais. I was fortunate to be given a private tour of the park’s edible plants to “taste the landscape” with charismatic herbalist and plant author Fernanada Botelho (corr). Who knew that you could make hamburgers out of acorns? And that the Horsetail plant (which resembles a horse tail) is great for strengthening bones, nails and hair and is a great diuretic when infused in a tea?
The walking tour was followed by a convivial and delicious lunch under a beautiful canopied terrace situated by the park’s vegetable garden using its organic produce. It was a slice of heaven.
Ageas Cooljazz festival
A big reason to come to Cascais in the summer is the prestigious Ageas Cooljazz festival. It takes place throughout July in two spots; the Hipódromo Manuel Possolo and Parque Marechal Carmona. Top musicians play to crowds of 20,000 people in the lush, beautiful parks, and Cooljazz has gained traction since it was launched by powerhouse promoter Karla Campos (corr) 21 years ago. Previous performers have included musical superstars Sting, Lionel Ritchie, John Legend, Chaka Khan and Tom Jones.

Ezra Collective
I knew I had to go. And watching BRIT award-winning jazz quintet Ezra Collective from a VIP area? Another Bucket List tick.
The event is spread across several dates. This year, it ran from July 4th to 31st, with multiple performances each day featuring a diverse line-up spanning various genres like jazz, soul, R&B, and Brazilian pop music. It’s a festival that unfolds over time, and also includes free-entry DJ sets every Sunday. Van Morrison has appeared twice, and he’s the only artist to start early at 8.30 pm. But I suppose a veteran musical legend is allowed to dictate terms.
Grammy winner Seal’s show last month was a sell-out out as was Ezra Collective. The earworm of their greatest hit God Gave Me Feet For Dancing has lingered with me since I saw their live performance. To use a cliché, they got the joint rocking.
At the end of my stay in Cascais, not only could I pronounce it properly (please note Antonio), – in Portugal is said as Kushkash Kushkash in English it’s generally pronounced as Kashkai – but believe it is one of Portugal’s best-kept secrets.
But shush. Let’s just keep that strictly between ourselves..
Fact File
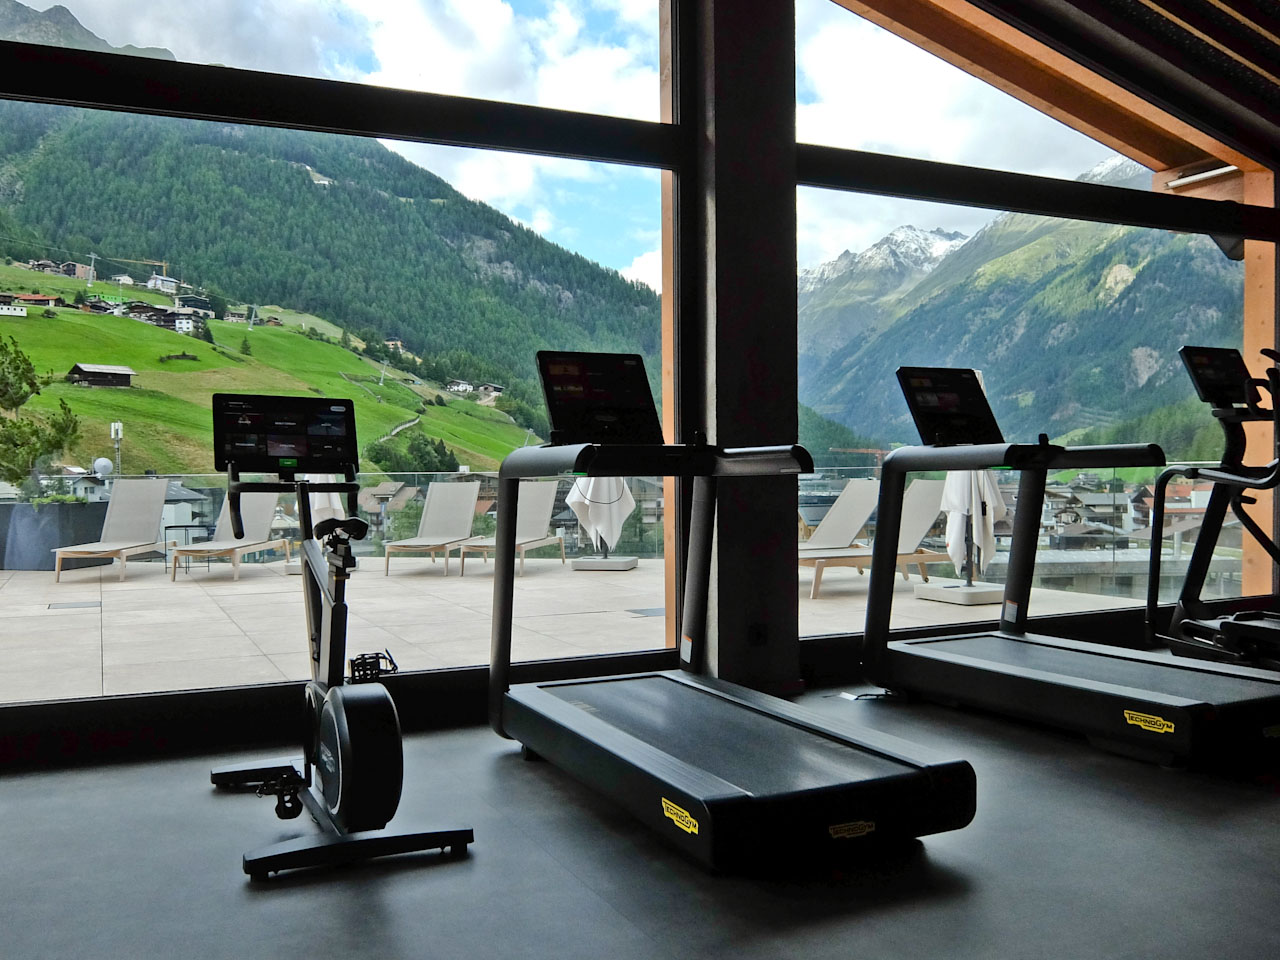
STAY: I stayed at the delightful coastline Vila Galé Hotel, which gazes over the glistening ocean and my light, spacious balcony room overlooked the pool below.
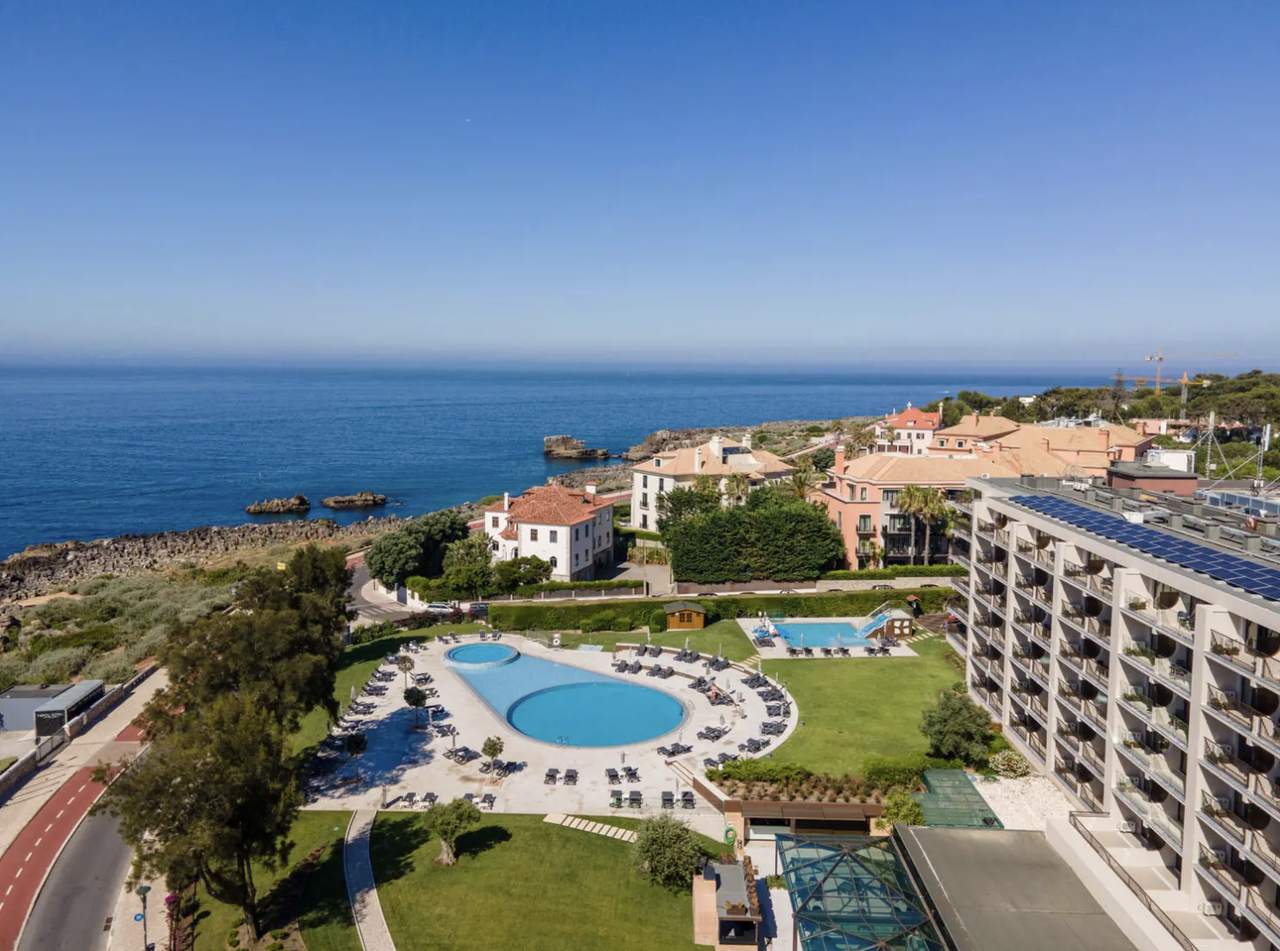
Vila Galé Cascais
FLY: Several airlines fly to Lisbon
TRANSFER: You can rent a car or take a 20-minute ride on the commuter train – line 19001 train – from Lisbon, which will drop you smack in the middle of town and the beach.
You may also like to read: 24 hours in Lisbon
The post Discover the cool little beach town of Cascais, nr Lisbon, Portgual appeared first on The Travel Magazine.


")