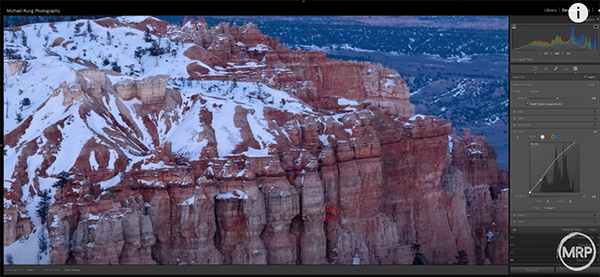
Lightroom’s Tone Curve Primer: From Basic to Advanced (VIDEO)
Lightroom’s recently updated Tone Curve is a powerful component of what Adobe enables you to achieve when processing photos. Unfortunately, this versatile tool is frequently avoided because some users find it rather intimidating.
Today’s comprehensive tutorial is designed to eliminate your trepidation by describing everything the Tone Curve can do to facilitate both basic and advanced techniques. The video is easily understandable but it covers a lot of ground, so we recommend taking a few notes while you watch.
Instructor Michael Rung is a full-time landscape photographer based in Fort Worth who says, “I’ve achieved my greatest satisfaction from teaching and developing the skills of others.” By the time you’re done watching this detailed tutorial you’ll have all the knowledge you need to harness the power of the Tone Curve in Lightroom, Lightroom Classic, and Adobe Camera Raw.

Rung covers everything necessary for photographers of all skill levels, beginning with an overview of how the Tone Curve works. As the lesson proceeds he describes more and more advanced techniques so you can start with the easy stuff and then experiment with increasingly sophisticated methods as your comfort level expands.
The myriad of tips Rung provides are illustrated with standard test patterns and real-word images so you’ll understand both the theory and practical applications. You’ll learn how to make global Tone Curve adjustments, as well as powerful masking techniques, to really refine contrast and color enhancements within your images.
Rung discusses Lightroom’s Parametric Curve and the Targeted Adjustment tool, and then moves on to a helpful explanation of the important Point Curve tool and the proper way to read it. You’ll also see how RGB Curve works and the best way to use Lightroom’s simple Refine Saturation slider. Once you get the basics under your belt, you’ll be ready for Rung’s tips on using the Tone Curve in conjunction with masking for ultimate control.

Along the way Rung provides useful keyboard shortcuts for speeding up the process, and some great examples of Tone Curve adjustments on finished images.
Bottom line: Far from being intimated by this “essential” tool, you’ll become very comfortable with everything it can do and your Lightroom workflow will become more effective than ever.
Once you’re done watching head over to Rung’s instructional YouTube channel where you’ll find other lesson’s that simplify seemingly complicated tasks.
We also recommend watching the tutorial we posted from another image-editing expert recently, demonstrating six easy Lightroom techniques for making your favorite fall photographs even better.


