Photoshop Basics: Understanding White Balance & Color (VIDEO)
New Photoshop users are often bewildered by the vast array of available features and tools. Today’s quick tutorial will help you understand the basic concepts of White Balance and Color.
Instructor Barry Beckham regularly posts straightforward post-processing lessons designed to help amateur shooters up their game. As he says, “You can’t become and accomplished photographer without image-editing skills, but we can make it easier and a lot more fun to develop these skills.”
Beckham explains that White Balance is all about making sure that the white portions of an image appear truly white—regardless of lighting conditions when the photo was captured. This is extremely important because “if the whites aren’t white, all the other colors won’t be correct either.”
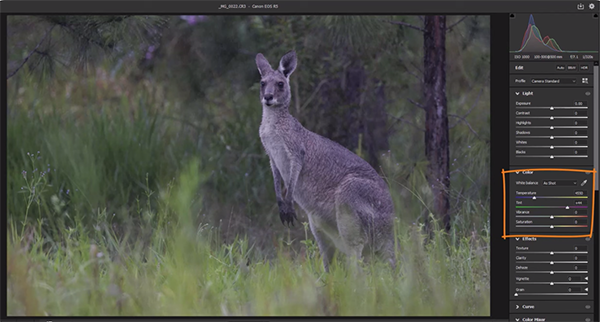
An image of a curious kangaroo is used to explain why the shot has a strong and unsightly magenta cast, even though it was shot with a modern state-of-the art camera. It turns out the error was caused by light streaming through storm clouds on a rainy day. Fortunately, you’ll see how easy this is to correct the color bias in this shot.

Beckham provides other examples with Color Balance problems, one of which is a seascape photo. For this one he places Photoshop’s Eyedropper over an area that should appear pure white, but once again the shot misses the mark.
So what should you do when working on an image with incorrect White Balance, where nothing in the scene should obviously be white? For situations like this Beckham provide a click-and-drag zoom trick that helps analyze and fix the problem. He also reveals simple keyboard shortcuts for speeding up the process.
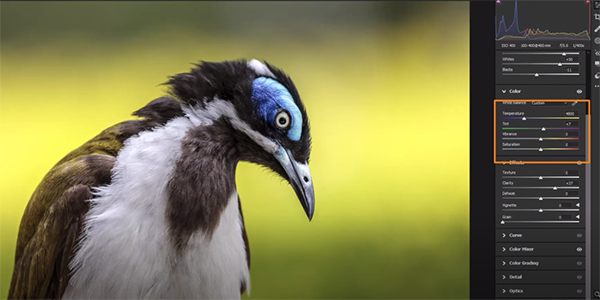
Beckham includes a couple more examples to drive home simple techniques for solving other Color Balance issues. One is a tight shot of a beautiful bird with colors that look very realistic. The problem here is that an out-of-focus green hedge behind the subject is overly saturated due to strong light falling on the background. But, once again, there’s a quick fix.

The final image in the series is also quite informative as well and is quickly transformed by using Beckham’s simple techniques. After watching the video take a look at Beckham’s instructional YouTube channel—especially if you’re just getting started in Photoshop.
We also suggest watching the image-editing tutorial we posted recently with another expert, explaining how to use Photoshop’s amazing new Photo Restoration filter to quickly rehabilitate all your old, damaged images.


