How to Retouch Skin in Portrait Photos in Just Four Minutes (VIDEO)
You may be surprised to learn that many top models aren’t blessed with a perfect complexion. As a result, some of the gorgeous images you see owe their impact to both good shooting skills and a knowledge of basic skin-retouching techniques for their flattering and natural looking effect.
This tutorial from the In Your Fayes YouTube channel addresses the latter concern with several editing tips that anyone can master, as evidenced by the fact that they take barely four minutes to explain. You’ll want to pay close attention, even if portraiture isn’t a top priority, because sooner or later you’ll asked to shoot people pictures, so why not make them as eye-catching as possible?
Instructor Faye, the namesake of the channel, is a portrait pro who’s also worked as a model since she was 16 years old. As a result, she’s very experienced on both sides of the camera and very adept at processing her images. Her advice is particularly valuable for amateur photographers, those new to portraiture, and others who lack access to an experienced makeup artist.

Faye’s workflow may be basic, but what you’ll learn are the techniques she employs to enhance her stunning professional-quality portraits. She describes her post-capture approach like this: “it’s the cherry on the top because it makes my photos look very clean with minimal distractions.”
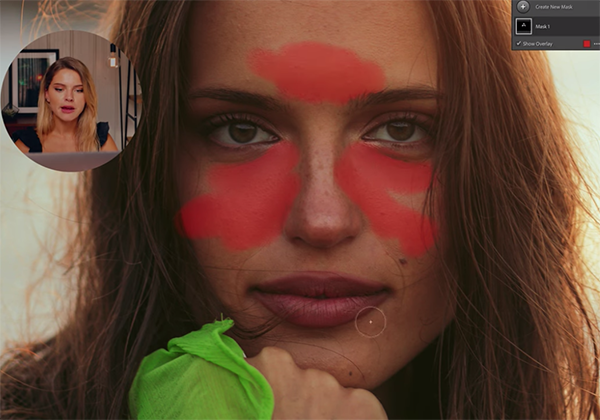
Today’s sample image was captured on a “magical” beach in New Zealand, and her beautiful model Natalie has pretty good skin, but there’s a bit of work to do. This can easily be accomplished with Faye’s presets (there’s a link beneath the video), but you’ll learn how get the job done manually with minimum fuss.
Faye begins with a quick demonstration of how to use Photoshop’s Healing tool to eliminate flaws in Natalie’s complexion. Along the way she takes a quick detour to illustrate how a simple crop improves the overall impact in the shot.

With the blemishes repaired the next step is gently softening the skin while retaining sufficient detail for a realistic look. She employs the Soften Skin Lite preset, but by observing the sliders in the adjustment panel you’ll see how they can be moved to create the same effect. She also demonstrates how simple modifications to Texture and Clarity provide an appealing soft look to the skin.
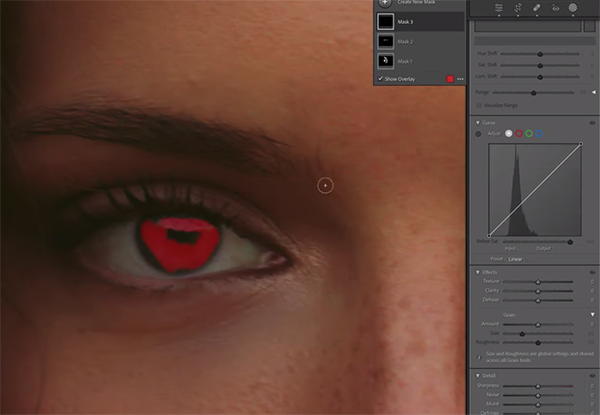
Another trick at this point is using selective masking to make certain adjustments to one part of the face, and other enhancements to different areas that need work. Faye is what you might call a perfectionist, so there are a few more steps to complete the subtle but impressive transformation.
Be sure to visit the In Your Fayes YouTube channel where you’ll find many more tips for shooting and editing portrait photos. And on a related topic, don’t miss the tutorial we posted recently from another expert, with a basic guide to using off-camera flash to improve portrait photographs captured outdoors in challenging light. It’s much easier than you think.


