
Use Selective (Not Global) Adjustments for Optimum Photo Edits (VIDEO)
There’s a common post-processing oversight that sacrifices the quality of every photograph you edit; namely making global adjustments to the entire photo rather than selective (otherwise known as local) enhancements to different areas within the frame.
The technique isn’t difficult to learn and delivers vastly superior results, as you’ll see in this eight minute tutorial from instructor Robin Whalley. He demonstrates the pitfalls of global adjustments, and then uses the same sample image to illustrate how editing selectively with a few simple masks makes a world of difference.
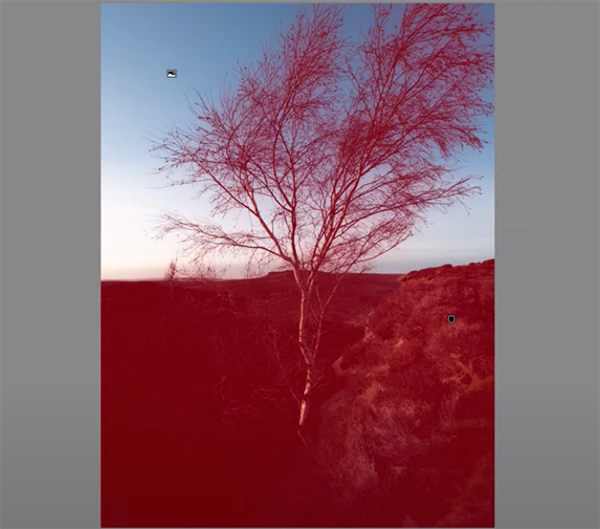
Whalley uses Lightroom to get the job done, but this method can be accomplished in much the same way with most full-featured editing software. At first glance his simple shot looks like a throwaway, with a foreground that’s way too dark. To make matters worse, the beautiful warm light he saw through the viewfinder is nowhere to be found.

He tries rehabilitating the image using nothing but global adjustments, and that approach proves futile. Increasing exposure opens up the foreground, but the sky becomes far too bright. He then tries employing the Highlights slider to no avail, because now his photo looks really flat. Other global enhancements like increasing contrast are equally disappointing.
In other words, the resulting image is a very poor compromise, “because we’ve used global adjustment controls to fix what are really localized problems in the image.” And when you do that with photos like this one there are unwanted effects on portions of the scene that were OK as they were or required a totally different fix.
Whalley compares employing global adjustments to “using a sledgehammer to crack a nut.” Hence, the “better way” of selective enhancements that target specific portions of the shot—each with a thoughtful and unique approach.
This way, for example, you can open up shadows without blowing out highlights, warm up areas that appear too cool without affecting blue tones, and add Texture, Clarity, and other missing attributes only where they’re needed. And Whalley demonstrates a straightforward procedure that you’ll likely use time and time again.
Check out Whalley’s popular YouTube channel where you’ll find other great tips for shooting impressive landscape photographs and editing them to perfection.
We also recommend watching the tutorial we featured recently from another accomplished pro who demonstrates how to leverage the power of Photoshop’s Style Transfer tools to create spectacular photographs with ease.


