
B&W Conversions Made Easy & Photos with a Vintage Look (VIDEO)
Over the years we’ve discussed why some photographs are more compelling when converted to b&w and how some processing methods are more complicated than others. And this holds true for landscape scenes, portrait photos, nature images, and other popular genres.
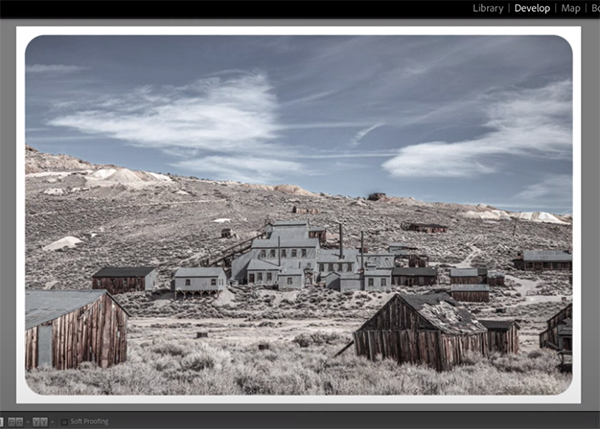
Today’s Lightroom Classic tutorial from photographer Julieanne Kost reveals what to look for before converting color images to monochrome, and then she demonstrates several techniques for converting color to b&w with precision and control. You’ll also learn how easy it is to complete the task of creating a vintage look in the process.
Kost begins In Lightroom’s Basic panel and explains how the Saturation slider can be used to quickly strip all color from a photo. She then notes that “Lightroom has several other tools that will allow us to convert our images with a lot more control. She then proceeds to explain how they work and which option may be best depending upon the specific photo at hand.

The first approach involves using one of Lightroom’s several B&W Presets. These include specific options for portraits, as well as adding B&W Styles. You can hover your cursor over any of these presets to see a preview of what to expect before deciding to applying it. There’s also an icon on the panel that enables you to see the different adjustments that were made. This particular feature can be toggled on or off.
Kost moves on to creating manual monochrome conversions that ignore presets altogether. This approach provides maximum control because it allows you to make important decisions while adjusting an image for the specific effect that you desire. You can opt for soft and moody, compelling high contrast, along with a number other powerful effects.
This process begins by changing the Lightroom profile to Adobe Monochrome for a standard look. You can explore a variety of other b&w profiles within Lightroom’s Profile Browser where you’ll find options for more or less Contrast and controlling Dynamic Range by lifting or lowering the blacks.
There are even Profiles for emulating the effect that occurs when adding color filters to the front of a lens. And there’s a straightforward method for refining the look according to your taste by making a few simple adjustments.
The video concludes with a step-by-step demonstration of giving your b&w conversion an interesting vintage look that really sets it apart. Sometimes this means adding a vignette, while other techniques involve customizing Saturation and Luminance values to impart a strong vintage appearance.
Kost is an acknowledged expert in all thing Adobe, and we encourage you to visit her instructional YouTube channel where you’ll find helpful videos on just about any post-processing technique imaginable.
We also suggest checking out a related tutorial we featured recently with another image-editing specialist who explains why your b&w photographs are disappointing and how to bring them to life in Lightroom or Adobe Camera Raw (ACR).


