Want Perfectly Sharp Photos? This Edit Workflow Gets it Done Fast (VIDEO)
There are several ways to sharpen photos during post processing, and some common methods are just plain wrong. This video demonstrates a “foolproof” technique for making the sharpest images possible while explaining several essential considerations that Photoshop and Lightroom users of all skill levels should know.
Instructor Mark Dumbleton is a South African wildlife photographer whose shooting and image-editing tutorials are designed to help amateurs improve every photo they make. Understanding the concept of sharpening and exactly what it does is important for mastering the workflow you’ll learn today, and this is where today’s 10-minute episode begins.
According to Dumbleton, “sharpening works by creating contrast along edges” and he illustrates this point with a simple graphic that contain light and dark gray boxes. As you’ll see, when sharpening is increased beyond reasonable limits, the edge between the two gray boxes looks really nasty—especially when you zoom in for a close look.

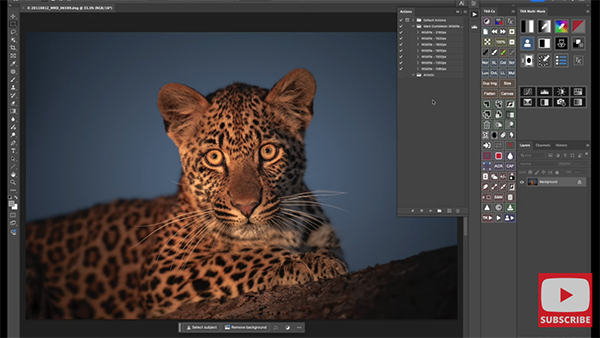
Dumbleton demonstrates his preferred method by dividing the process into three categories: Raw Details, Master Sharpening, and Output Sharpening. Then he pulls up a photo of a beautiful leopard that’s unfortunately a bit soft. The preliminary step is cleaning up the shot to remove noise and other unwanted distractions.
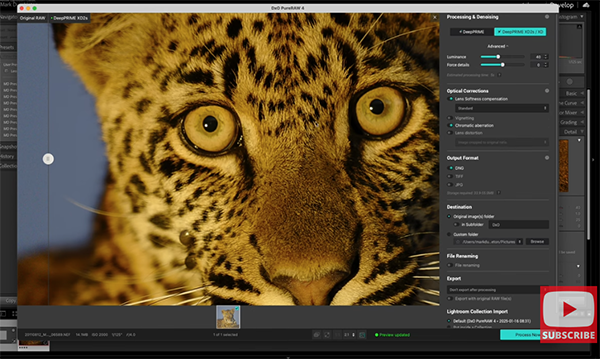
Step number two calls upon a popular Lightroom plugin known as DxO Pure Raw 4 that you can download via a link beneath the video where there’s also a link to Dumbleton’s in-depth review of the software. Here he adjusts the Raw data by applying Noise Reduction and using Lens Softness Compensation to sharpen up Raw Detail and eliminate chromatic aberration.
Dumbleton then processes the file back into Lightroom and proceeds from there, demonstrating the straightforward steps that are involved—while taking advantage of a custom sharpening technique he developed himself.

Here too, there’s a link in the description beneath the video to a deep-dive tutorial on exactly how these actions can be applied for a clean and precise sharpening effect. There’s a lot more shooting and post-processing advice on Dumbleton’s instructional YouTube channel, so be sure to take a look when you have time to explore.
And don’t miss the helpful primer we featured recently with another image-editing specialist who demonstrates a straightforward Lightroom and Photoshop technique for correcting perspective problems in outdoor photographs with converging vertical elements.


