
Advanced Color Tools That Everyone Can Use to Create Jaw-Dropping Photos (VIDEO)
Lightroom is loaded with sophisticated tools that enable anyone to adjust colors to perfection. Unfortunately, many inexperienced users shy away from these transformational techniques because of a misconception that “advanced” means “too complicated for me.”
This comprehensive post-processing lesson with instructor Austin James Jackson will disabuse you of this common notion by explaining that the only thing advanced about these tools is the remarkable results they provide, and not any difficulty with putting them to use. Today’s 19-minute primer is demonstrated with Lightroom Classic, but Adobe Camera Raw (ACR) offers many of these tools and technique as well.
Jackson is a professional landscape photographer based in Southern, Utah. He’s also an image-editing expert and kicks of the video like this: “This workflow falls outside most of the basic tips you’ve heard elsewhere, and I’m going to explain Point Color and how make selective adjustments with the Masking tool to refine colors in all types of outdoor photos.”
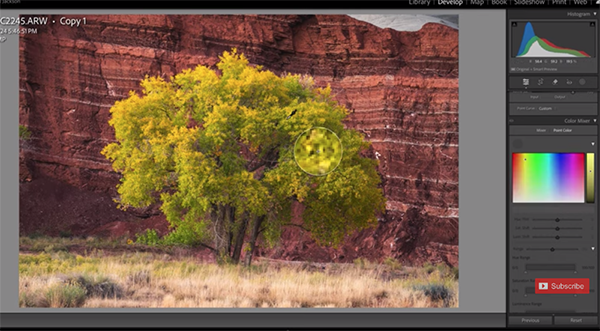
Not all landscape scenes require the same approach, which is why Jackson illustrates his tips with images that have different color-balance problems that need to be resolved. His first example demonstrates why HSL sliders simply aren’t good enough to provide absolutely precise results. This is partly due to the fact that these global enhancement introduce the same tones through the entire frame.
It’s easy to resolve this familiar problem by understanding how Lightroom’s Point Color tool works with selections. In simple terms, this is the process: Click on the Eyedropper and sample from the photo to create a swatch. “Then, that’s the color that will be adjusted whenever you click on similar colors within the frame—even if they’re not adjacent or in close proximity.
You’ll also learn how to control Range, either broader or more restrictive, based upon the swatch you’ve selected. This technique enables you to refine hue, saturation or luminance (or all three). It’s important to remember that “these adjustments only affect the selection, not the entire image.”
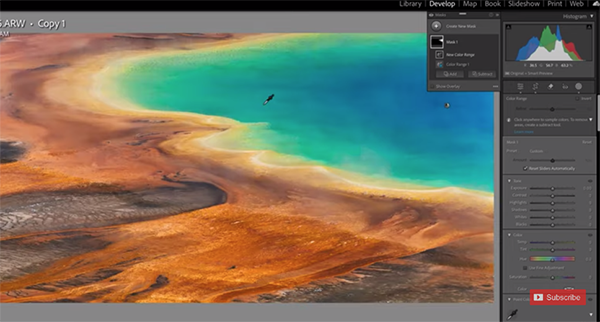
The lesson proceeds with step-by-step directions for employing masks for other selective adjustments and culminates with a demonstration of how to employ your newfound knowledge “to make the color in sunsets photos “pop” while retaining a natural-looking result.
Jackson’s popular YouTube channel is full of instructional videos for everyone who shoots in the field and edits their results for optimum results.
We also recommend watching a tutorial we featured recently with another post-processing expert who demonstrates an “essential” preliminary editing step that many shooters ignore, thereby limiting the effectiveness of every adjustment that follows.


