
Wildlife & Pet Photos with Enchanting Golden Hour Light (VIDEO)
It’s not always possible to be out in the field when Golden Hour paints the landscape and our subjects with soft, glowing light. This video below the popular PHLOG Photography YouTube channel demonstrates how easy it is to mimic the beautiful effect with a straightforward c
Instructor Christian Mohrle is a highly acclaimed German photographer who’s popular among Shutterbug readers who appreciate his no-nonsense post-processing tutorials. He’s previously shared methods for embellishing landscape photos with Golden Hour tones, but today he turns his attention to pets and wildlife subjects captured in dull, boring light.
The technique you’ll learn in the next 12 minute will also work wonders when shooting environmental people portraits throughout the day. We suggest downloading his demonstration Raw file with a link beneath the video so you can follow along and make the changes yourself as they’re explained.
Mohrle begins by improving his composition with a tighter crop that removes large chunks from the bottom and left side of the frame. Next comes several global adjustments to create the best possible base image for the color grading and masking magic that follows. He starts by changing the profile from Adobe Color to Adobe Standard which lessens contrast and provides more control during the masking process.
Mohrle also boosts exposure, drops highlights to avoid clipping, increases whites and blacks, and modifies shadows. Other preliminary modifications include increasing texture, reducing clarity and dehaze, and bumping up saturation. He also raises color temperature and corrects a slight bluish cast on the dog’s fur.
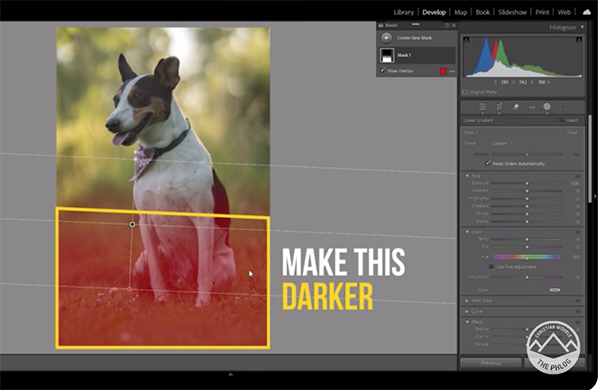
Now the real fun begins as Mohrle employs a few masks to selectively enhance different portions of the portrait with specific adjustments only where they’re needed. He walks you through the step-by-step process that you can emulate with the file you downloaded earlier.

All that remains to complete the eye-catching transformation is a bit of final color grading and very careful sharpening. A quick comparison of the before/after examples will convince you to add this technique to your Lightroom bag of tricks.
On a related note, be sure to watch the earlier tutorial we featured with another post-processing expert who demonstrates three easy Lightroom hacks for creating outdoor photographs with perfectly balanced colors in any light.


