Become a Master of Exposure Bracketing in Just 9 Minutes (VIDEO)
Are you struggling to get correct exposures when shooting landscapes and other outdoor scenes? Well, join the club, because this can be a real challenge with ever-changing light, and a wide range of tones from highlights to shadows.
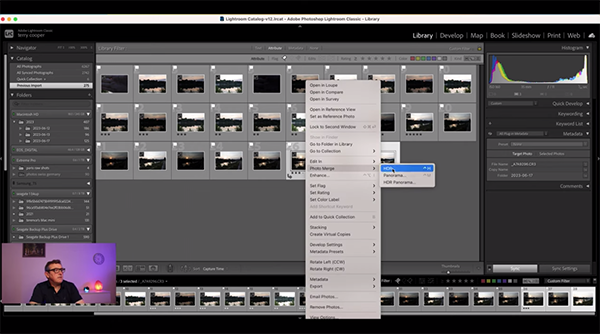
Fortunately, there’s a straightforward shooting technique known as “exposure bracketing” that goes a long way toward consistently getting the light right. With this approach you shoot multiple images of the same scene at slightly different exposures, and then merge them together during the editing process.
Sometimes your goal is an exposure that looks “correct,” while other times you want to create a unique look by intentionally over- or under-exposing the shot. After shooting a bracketed set of images you can then combine them for a final result that reflects your creative vision.

The video below from the Camera Focus YouTube channel will get you up and running with the basics of exposure bracketing in less than a handful of minutes. As you see, this approach isn’t appropriate for all types of photos, but with the right subjects (like landscape and nature scenes) it works really well.
Instructor Terry Cooper is a landscape pro and an expert at visually storytelling. He says that “exposure bracketing is a great way to get better exposures without having to spend hours in front of your camera adjusting settings.” He also promises that after watching this nine-minute lesson you’ll “be a master” of this important technique.
Cooper explains why bracketing should be reserved for days when the wind is really still, especially when shooting under low-light conditions. His typical approach is to shoot three images; one at the exposure recommended by the camera, another one stop under, and the third one stop over. As he says, “it’s always best to capture the scene in one shot, but it’s nice to know that there’s another technique you can use if that doesn’t work.”

You’ll see how easy it is to dig into the camera’s menu to set up your series of shots. Along the way, Copper provides helpful tips on composing a scene properly for the best possible result. As he notes, the goal is to achieve maximum detail in both highlights and shadows.
While some cameras do all the work for you by capturing an HDR image, Cooper says he prefers the technique demonstrated here, “because it gives me more control and leeway in post processing” for reasons he explains.
After watching the lesson head over to Cooper’s instructional YouTube channel where there’s much more to learn. And don’t miss the tutorial we posted earlier, explaining how to edit sunrise photos in Lightroom for dramatic results.


