
How To Have Photo Fun In The Winter
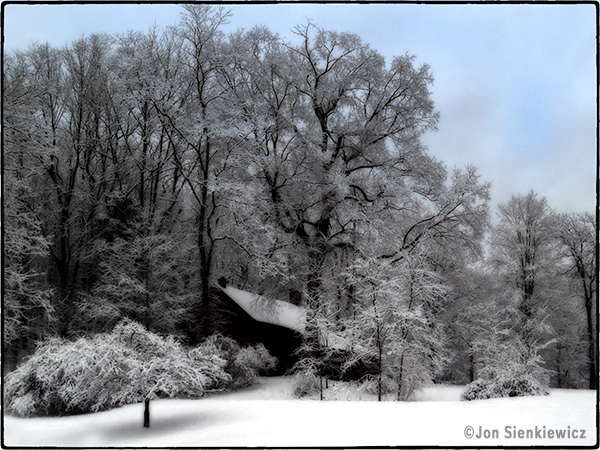
Photo fun when it’s colder than a polar bear’s tail and snowing like a feather pillow shoved into a woodchipper? Yes, it’s possible. Winter is unavoidable, but the perils it presents can be greatly minimized. Here are some tips to keep you clicking in cold weather.
Is that your shutter snapping or your teeth chattering? If cold weather is bad for your body, it’s even worse for your camera body. Moisture of any kind is a camera killer. And freezing temperatures contribute to everything from internal condensation to diminished battery performance.
I hate cold weather. I grew up in Chicago and my first complete sentence was “&#$%! it’s cold!” I remember one weekend it was so cold that our Alderman had his hands in his own pockets. Thugs had to resort to robbing snowbanks. Da Bears defeated the Green Bay Packers and—come to think of it, nobody even noticed the weather. You get the idea. Ice and snow made it pretty glum around the old igloo.
If you live in the land of perpetual sunshine, good for you. I hate you, but good for you. For the rest of us, winter means: think warm, think dry, think weather forecast, and don’t stop moving.

Think Protection
There are several types of protective covers for cameras and lenses. The best I’ve seen so far for DSLRs and mirrorless cameras is The Shell from Peak Design. It comes in three sizes: large costs about $55 and they come with a Lifetime Warranty. The waterproof fabric conforms to the shape of your camera and lens without increasing the overall size or mass significantly. I like it because it works (that’s #1) and because it’s small and light enough to keep in the car in case it’s snowing when you happen to spot Elvis chasing a Yeti through a Starbuck’s parking lot. Order from Amazon. Visit the Official Peak Design Store at amazon.com.
Think Power
Batteries are delicate little &#*@$!s, despite their considerable weight and mass. They’re apt to break if you drop them, explode if you cook them and underperform in cold weather. Loose batteries should always be kept separated, preferably with their electrical contacts covered by the protective plastic cap they come with. Cold temps retard the chemical reactions that keep batteries humming, so keep the cells warm in an inside pocket—but never in the same pocket with coins, keys or any other conductive material. If I appear paranoid about battery safety it’s because I’ve seen what can happen. Trust me, it ain’t pretty.

Think Portable Heat
Grab a 10-piece bag of HotHands chemical pocket warmers from Amazon for less than $8. They’re odorless, disposable and TSA approved. The heat lasts for about 18 hours and when the winter wind howls, they’re better than a fireplace and hot toddy. Tip: before you go out to shovel snow, put HotHands Toe Warmers in each boot—beneath your socks, not next to your skin—and your toes will not turn blue and fall off.
Think Sling
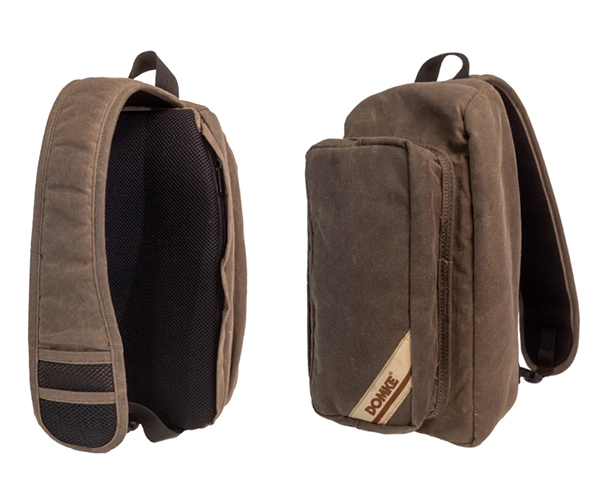
The Domke Sling Bag (my favorite bag of 2024 — read my detailed review here) — comes in classic black ballistic nylon or Domke’s exclusive RuggedWear brown. It offers 6L (liters) of storage and accommodates an 11-inch tablet. One L equals 61.02 cubic inches, slightly smaller than a cube that’s 4 x 4 x 4 inches. The volume of a standard half-gallon milk carton is about 1.9L, so judge accordingly. I like the Domke Sling Bag because it’s very comfortable, weather resistant and looks great, too. Order directly from Tiffen, Domke’s exclusive distributor and maker of the photo filters that Hollywood trusts. It costs $119 in black, $139 in brown. Or order from Amazon.
Think All-Weather
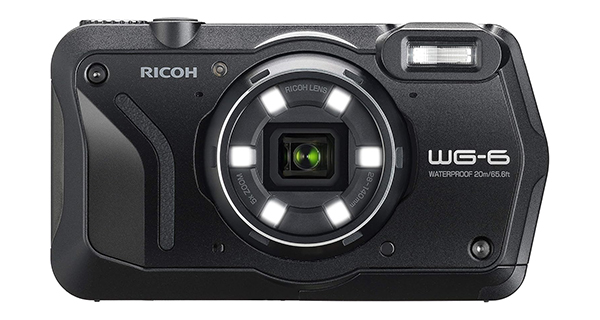
The hibernal season, AKA winter, is a great excuse to splurge on an all-weather camera. Ricoh, of street-shooter fame, offers excellent Ricoh and Pentax-branded cameras that defy climate extremes. The Ricoh WG-6 is a 20-megapixel, pocketable beauty that can be operated for two full hours at a depth of 20 meters. (And it you want to explore exactly what “weatherproof” means, check out this story.) The lens is surrounded by 6 variable-brightness, individually-controlled LEDs that can be used to illuminate the entire subject, eliminate shadows or add depth by deepening shadows during macro photography. It also has a way cool digital microscope mode. Order the Ricoh WG-6 from Amazon. Price is $319.
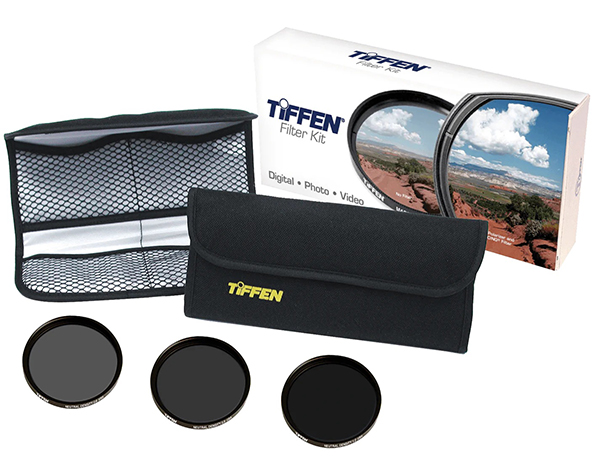
Think Bright
Snow is bright. Skiers wear sunglasses, no? Your camera may need sunglasses, too, otherwise the reflected sunlight can fool your exposure meter and spoil your photos. Enter the ND (Neutral Density) filter. It adds no color, no distortion, no anything. It does nothing but reduce the amount of light that reaches the sensor. ND filters are available in several strengths ranging from one f/stop to more than 10. To filter the ground but ignore the sky (or vice versa) buy a Graduated ND filter—it’s dense on one end and clear on the other, with a nice gradient in between. Check out the wide assortment of solid ND, Variable ND and Graduated ND filters from Tiffen’s Official Amazon Store.
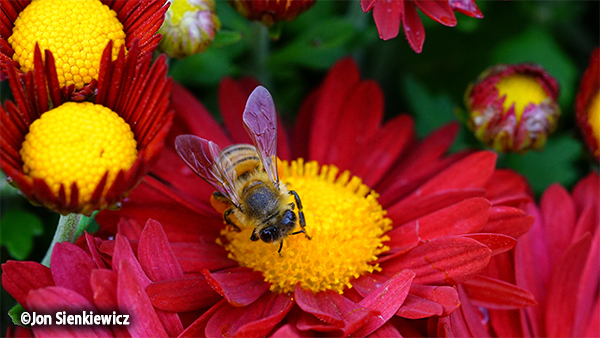
Think Close-up
The smart wintertime choice for many of us is to stay indoors and shoot pictures of anything that doesn’t move. But even if you live in a medieval castle filled with fifth-century relics, sooner or later you’ll run out of things to photograph indoors on blustery winter days—unless you own a macro lens, like the superb Tamron 90mm f/2.8 Macro we recently reviewed. Shooting close-ups opens a whole new world of possibilities, and by staying inside you avoid the hassles and hazards of foul weather photography. Warning: if you hope to find much success shooting super-close with a macro lens, invest in a tripod of some sort. As the camera-to-subject distance decreases, depth-of-field likewise decreases, but apparent camera jitter increases. You need a small f/stop, and that means a long shutter speed—and that means a tripod. To explore the differences between true macro and macro zoom lenses, read this story from forever ago.
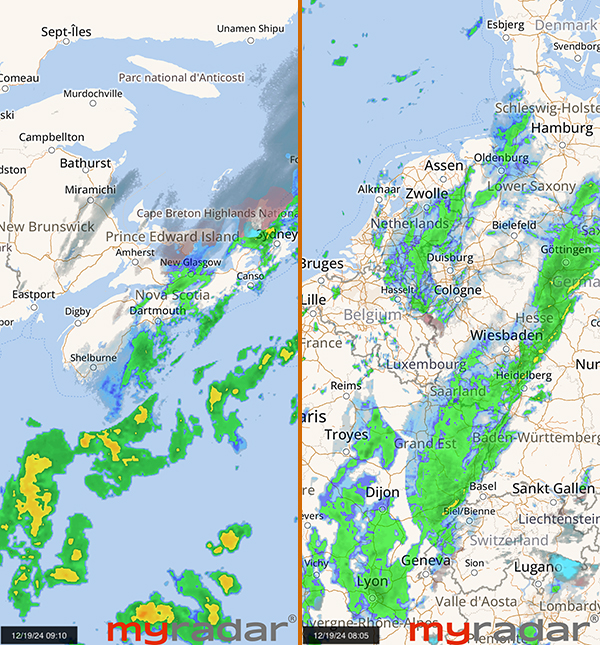
Think NOAA
NOAA stands for National Oceanic and Atmospheric Administration and is pronounced like the ark builder. Some people call it the National Weather Service. You can listen to it on your shortwave or scanner by searching near 162.55 MHz, which is a handy frequency to remember if there is a Zombie Apocalypse and you still need to know the temperature. Or you can tune to noaa.com on your computer. It’s also okay on your phone or tablet, but for a more satisfying mobile weather experience, buy MyRadar Weather Radar Pro, available for Android and iOS. It was recommended to me by a commercial pilot, and as you know, correct weather information is very important to those folks.
Conclusion
Winter has arrived in the Northern Hemisphere. December 21, 2024 is the winter solstice, the shortest day and longest night of the year. In my life, the only pleasant thing about winter is sliding my warm legs under cold, crisp sheets and covering up with a goose down blanket.
The winter solstice is the also the traditional first day of winter. This triple whammy could make anyone feel SAD.
Experiencing SAD?
As days get darker and colder, people may experience Seasonal Affective Disorder, or SAD, according to a recent NPR story. Visit their website for professional advice from Dr. Norman Rosenthal, Resident and Chief Resident in Psychiatry, New York State Psychiatric Institute and Columbia Presbyterian Hospital, on coping with SAD.
If You Enjoyed This Article
Click here to choose from more than 550 reviews, how-to articles, quizzes, attempts at humor and other alleged insight into the world of photography written by yours truly.
Become a Member of the Shutterbug Community
Register for a free account. Sign up for our newsletter. Spend five minutes (or less) uploading your best shots once every week or so. Potentially become a Shutterbug Photo of the Day winner. Enjoy viewing the fantastic work being done by thousands of photographers all over the world—and add your images to the enduring collection.
—Jon Sienkiewicz
(As an Amazon Associate, Shutterbug earns from qualifying purchases linked in this story.)


