Why you should consider Pakistan as your next holiday destination in Asia
Every year millions of British tourists head to South Asia, with a bucket list of historic sites, rich cultural experiences, and striking landscapes to explore. But only a fraction of these intrepid travellers visit Pakistan, overlooking its treasures in favour of better-promoted sites across the border in India.
In doing so, they miss some of the greatest jewels of the Indian Subcontinent, plus more authentic cultural encounters which can only happen far from crowded tourist sites.
Although Pakistan was only created as a country in 1947, its history dates back millennia. The Indus Valley Civilisation (IVC) developed around 3,300 BC, contemporary with Ancient Egypt and Mesopotamia, and included more than a thousand sites in the Indus River basin.
Pakistan is home to dozens of ethnic groups and speakers of hundreds of different languages, some of which are spoken in just one or two mountain valleys. This means that in a single visit you’ll be exposed to diverse, fascinating cultures, which are differentiated in their foods, clothing, architecture, music and dance traditions, and more. You can learn about some aspects of culture in museums’ ethnographic displays, but it is far more insightful to get out and about, meeting real people and learning about their lives.
Pakistan’s population is now 250 million, so that’s a lot of people to meet and get to know on your trip. In general, communities are welcoming of foreigners: many Pakistanis will stop you on the street to say hi and ask where you are from; ask to take a photo with you; or invite you for tea. They are proud ambassadors for their country, and person-to-person interactions will be one of the highlights of your visit.
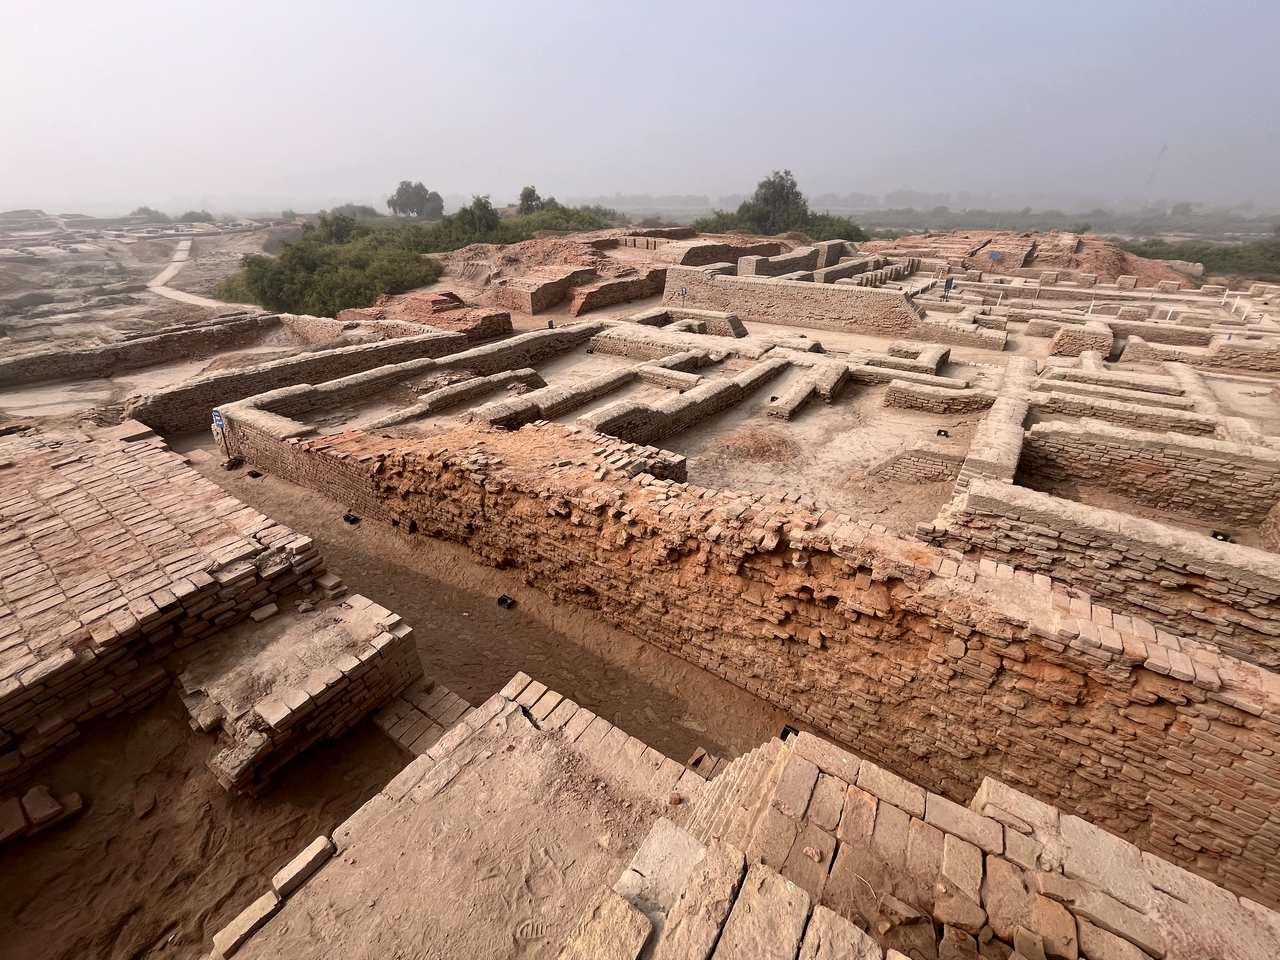
The city of Mohenjo Daro was the first place in South Asia to be designated as a UNESCO World Heritage Site. Although only a fraction of its 300-plus hectares have been excavated, you can walk along its 4,500-year-old streets and visit the citadel, granary, bathhouse with a hypercaust, residential areas, and also a Buddhist stupa (built much later). Pakistan’s archaeological sites receive few visitors, so you might well have the place to yourself.
Pakistan’s mosques and shrines, fortresses and palaces easily rival those anywhere in the subcontinent. They reflect the country’s rich history, the wealth of its rulers, and the skills of its architects, engineers, and artisans.
Many of the sites have recently been renovated by the Government of Pakistan and the Aga Khan Trust for Culture, ensuring these gorgeous monuments are preserved for future generations.
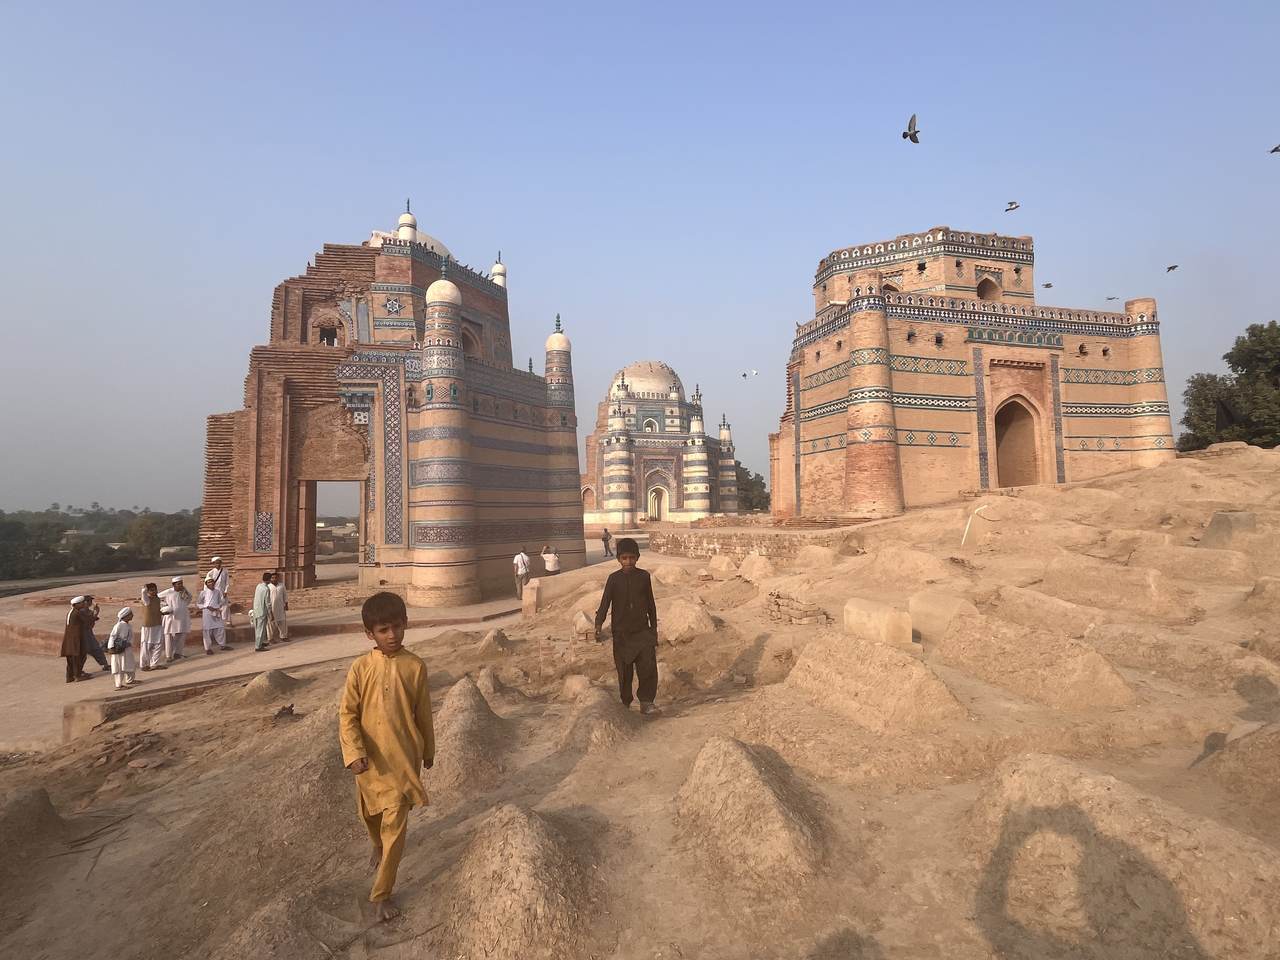
Mausoleums of Uch Sharif
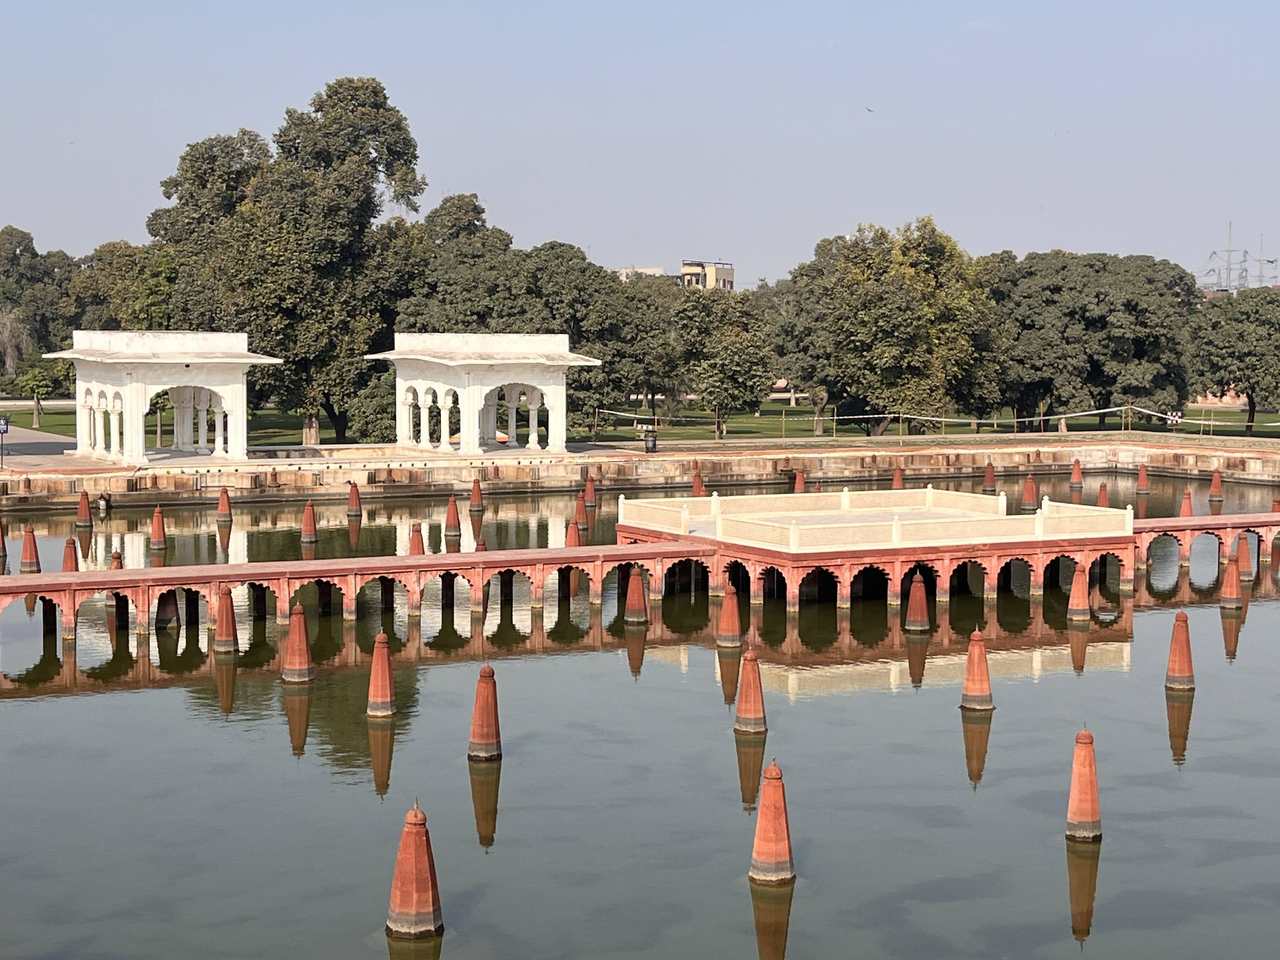
There are so many monuments that there is no way you will be able to visit them all in one trip, so prioritise the Mughal monuments of Lahore (including the UNESCO-listed fort, Badshahi Mosque, and Shalimar Gardens); the shrines in Multan and Uch Sharif; and the extraordinary mansions of Sethi Street in Peshawar.
In every major city and at most archaeological sites, you will find some kind of museum. Peshawar Museum is inside an impressive building originally built by the British as a dancing hall, and it has one of the world’s best collections of Gandharan Buddhist art.
Rudyard Kipling’s father, John Lockwood Kipling, was the Chief Curator at Lahore Museum, which has a large number of galleries dedicated to Hindu and Buddhist art, manuscripts, archaeology, and more.
Visitors to Islamabad should also see Lok Virsa, a museum dedicated to the intangible cultural heritage of Pakistan, with a particular focus on textiles and other handicrafts.
The landscape can sometimes be spectacular. The Karakoram Range dominates the north of Pakistan with its mountain scenery, including towering peaks such as K2 and Nanga Parbat.
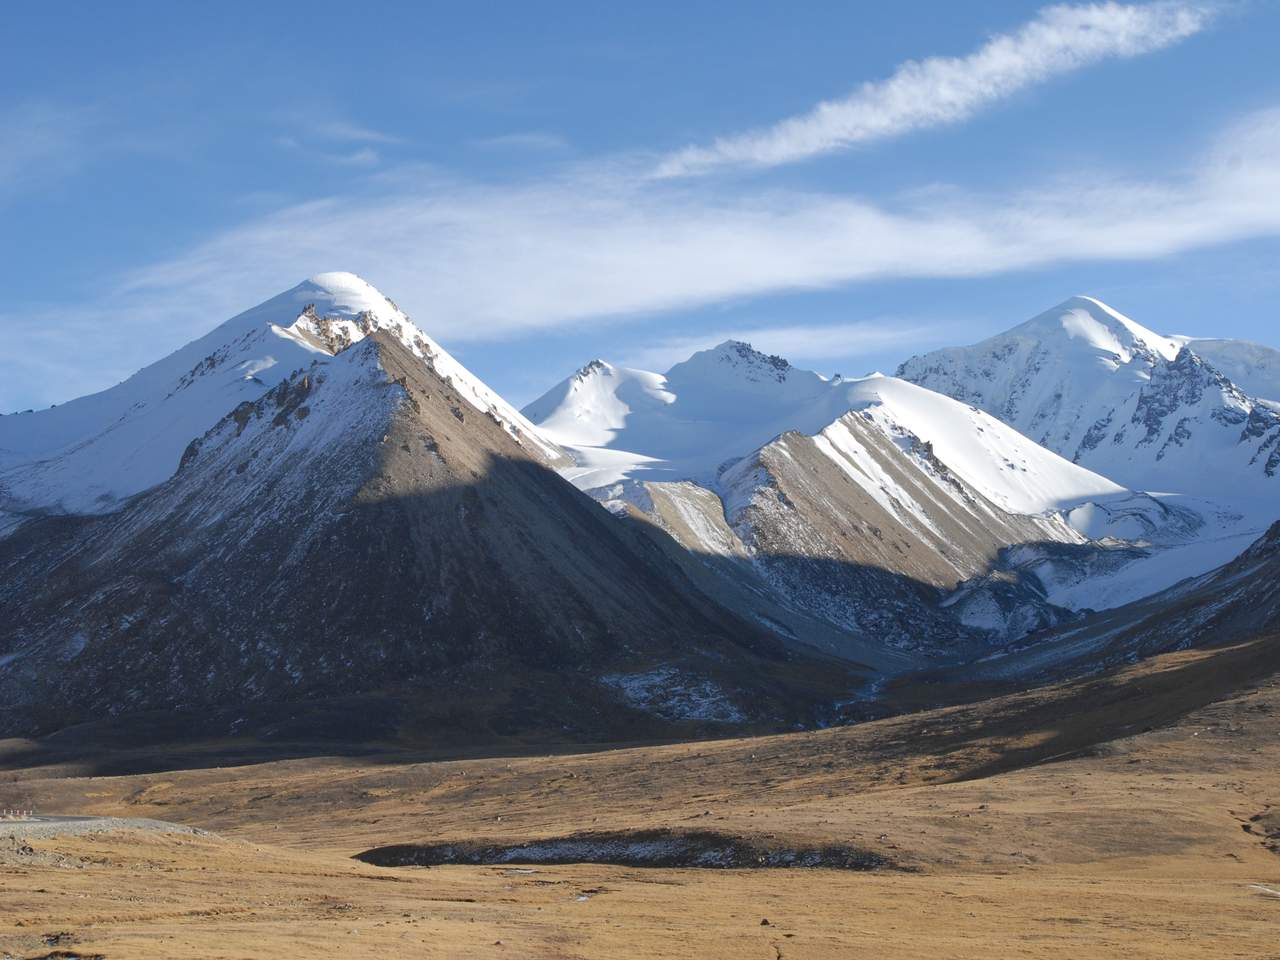
Karakoram Mountains
Here, there are glaciers and snow-fed rivers, lakes and waterfalls. Pakistan’s ecosystems are as diverse as its people, and so you must see the Cholistan Deserts, the yellow sand beaches of the Arabian Sea coast, or the forests, wetlands, and mangroves of the Indus Delta.
There’s plenty to art too. Textiles. Ceramics. Wood carving. Metalwork. Straw weaving. Truck art. Pakistan has got it all. Across the country, there are small workshops and factories where you can watch artisans at work.
The best place to see the manufacturing and hand-painting of pottery is in Multan, and in the back alleys of Peshawar you can find the Khrum Rabab workshop, makers of traditional musical instruments.

Truck Art
It is often possible to buy crafts directly from the craftsmen who made them, but you’ll also find market stalls and handicrafts emporiums with a wider choice of products on sale.
There’s good reason that so many curry houses in the UK employ Punjabi chefs: their food is fantastic! A visit to Pakistan is a (welcome) assault on all your senses, including your taste buds. Food is invariably freshly prepared, cheap, and delicious. Each area has its specialities, but wherever you travel, you will eat like a king. Do try the street food stalls in Lahore and Peshawar, which are richly famous; plus the Sohan Halwa from the sweet shops of Multan.
In Peshawar, Xperience Pakistan organises cookery classes with chef Aneela at her family home. Here you’ll learn to cook delicious dishes like chicken karahi and then sit down for a hearty meal and lively conversation with Aneela and her extended family.
FACT FILE
VISA: In summer 2024, Pakistan launched a simplified evisa system for tourists. Apply online a few days before your trip, with basic details, and the evisa will be issued free of charge, often the same day.
FLY: British Airways flies direct from London Gatwick to Islamabad from £587 return. There are also good connections to Karachi and Lahore via Doha and Dubai.
PACKAGE: Xperience Pakistan arranged small group and tailor-made tours to Pakistan, with a particular focus on immersive cultural experiences. Their group departures include a small number of women-only tours.
Tip: English is widely spoken in Pakistan, so you’ll rarely find a language barrier. Signage is in a mixture of Urdu and English.
The post Why you should consider Pakistan as your next holiday destination in Asia appeared first on The Travel Magazine.


