A 100mm f/2.8 full-frame lens that produces bokeh that looks like soap bubbles? Sign us up! But does the bokeh really look like suds?
Overview & First Impressions
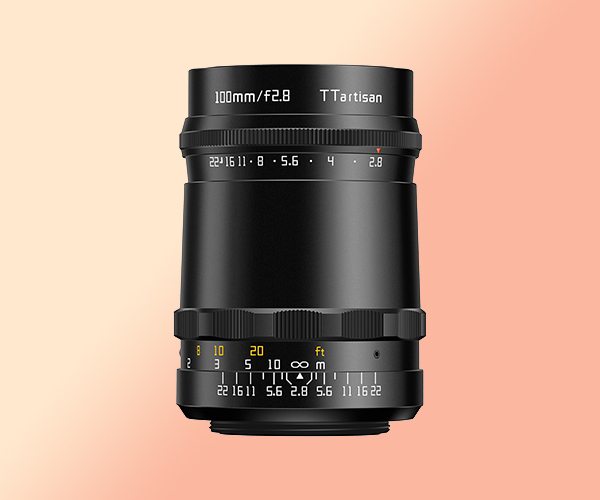
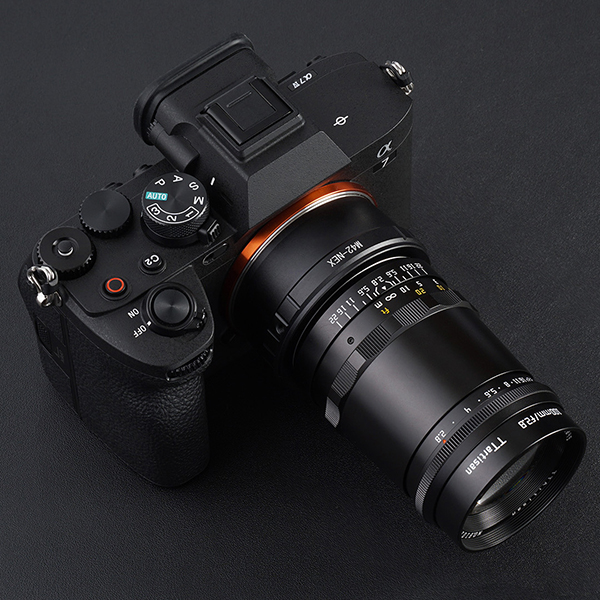
The TTArtisan 100mm f/2.8 Bubble Bokeh lens for full-frame and APS-C cameras has both grace and heft, tipping the scales at a comfortable 10.8 ounces (307g) and feeling good in the hand. The clicked aperture ring is located near the front of the lens so it’s easy to adjust without fumbling. The focusing helicoid is smooth and certain, with no drag or rough spots.

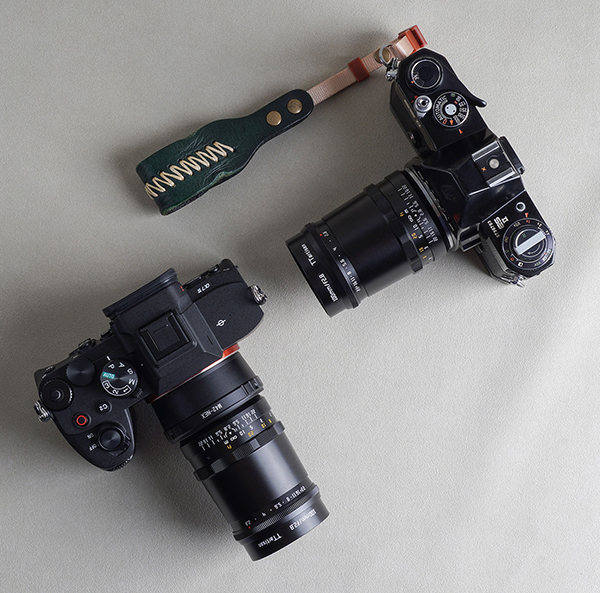
To make clear, this is a manual-manual lens, meaning that the focus is manual and the exposure setting requires either Manual Mode or Aperture Priority. Unless you drive a screw-mount Pentax 35mm films camera, you need an adapter to attach it to a modern mirrorless. But that’s not a problem; mirrorless cameras are the ideal platform for lenses of this type. To use it on my Fujifilm X-T5, I bought a M42-to-FX adapter from Amazon for less than $15. Note that when used in this configuration on an APS-C Fujifilm camera, the equivalent focal length is 150mm. The aperture stays true at f/2.8.
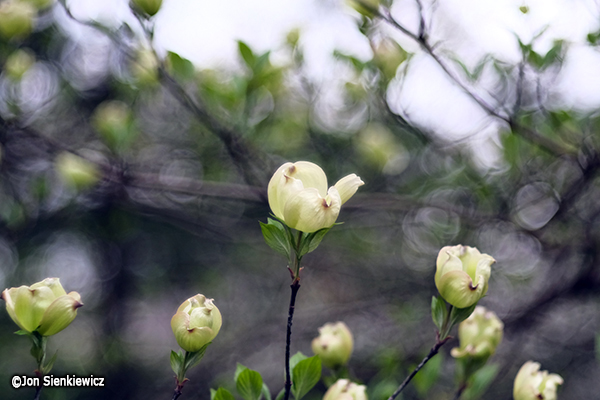
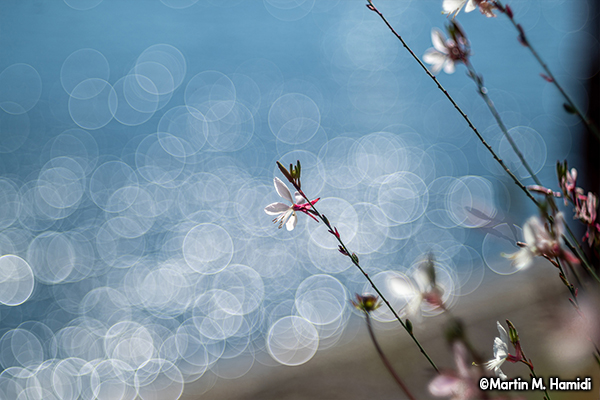
About the bubble bokeh—yes, the TTArtisan 100mm f/2.8 performs as advertised. Keep in mind that the bubbles appear from point sources of light, not from merely out-of-focus backgrounds. To be 100% technically correct, it does not produce bubble bokeh, but it does create sharp, magically creative bubble-like patterns from point sources. In this regard it’s somewhat like using a star effect filter. It took me a few shots to realize this; after that, I had a blast.
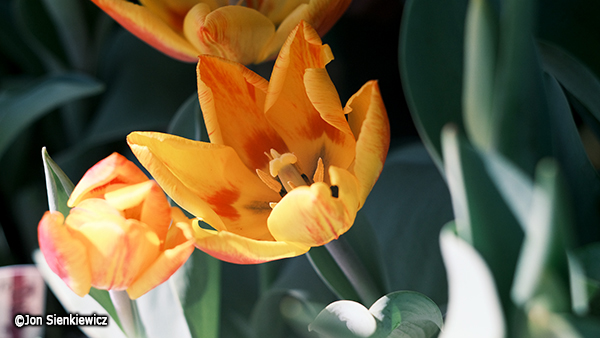
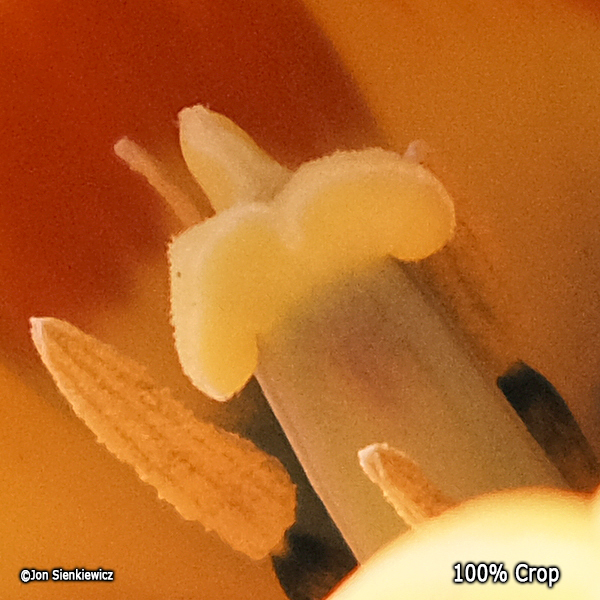
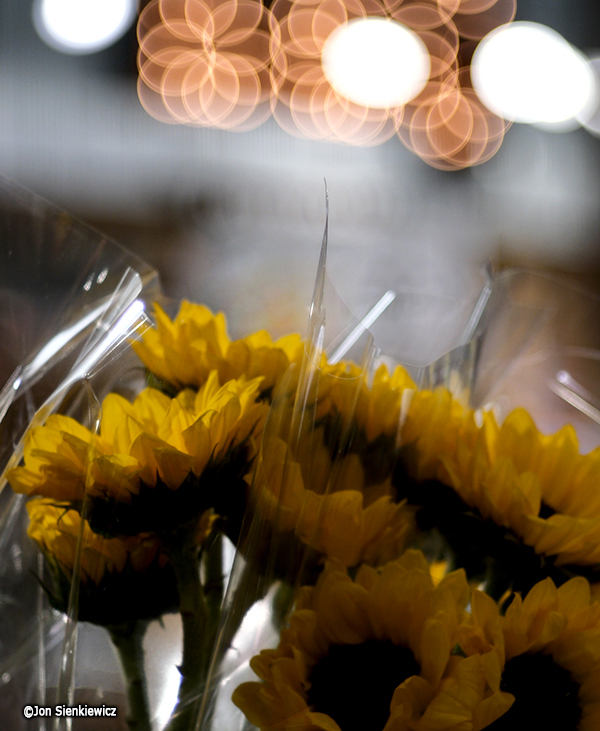
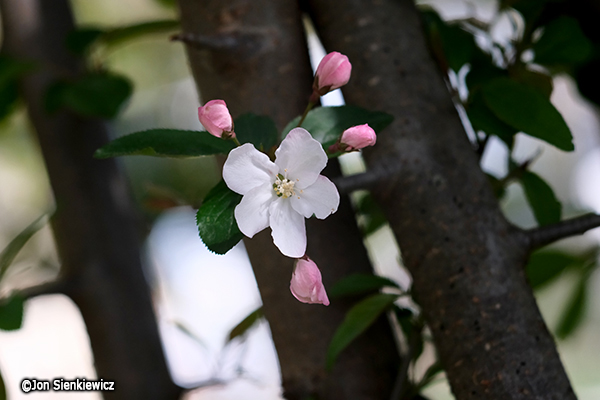
It’s also a sharp lens in most situations, sharper than I expected, considering that it’s billed as a special effects optic. As shown by some of the images in this story, the TTArtisan 100mm f/2.8 is quite capable of clean sharp, contrasty images.
Other unique TTArtisan lenses we evaluated recently: Shutterbug review of the TTArtisan 10mm f/2 and our review of the TTArtisan 50mm f/1.2 for APS-C cameras.
Specifications & Features
Full-frame and APS-C camera compatibility
Manual focus
“Soap bubble bokeh”
Clicked aperture detents
Focuses to 35.4 inches (0.9m)
Minimum aperture f/22
Angle of view 24°
13 diaphragm blades
Full metal body
Metal lens mount
49mm filter size
M42 (Pentax Thread) mount
Use it on modern cameras with an adapter
External Construction
In a nutshell, the TTArtisan 100mm f/2.8 Bubble Bokeh is very well made. The all-metal construction conveys an authoritative presence. Engraving is clean and easy to read. Focusing from 3-feet to infinity requires a rotation of about 180° so it’s fairly easy to zero in on a subject, especially when used on a camera with Focus Peaking.

Optical Construction
The TTArtisan 100mm f/2.8 has a very simple 3×3 optical design (3 elements in 3 groups).
Performance Summary
It’s fun to track down and capture bokeh that’s shaped more-or-less like soap bubbles. As mentioned above, to be squeaky clean with the nomenclature, the suds-shapes it makes are based on point sources of light.
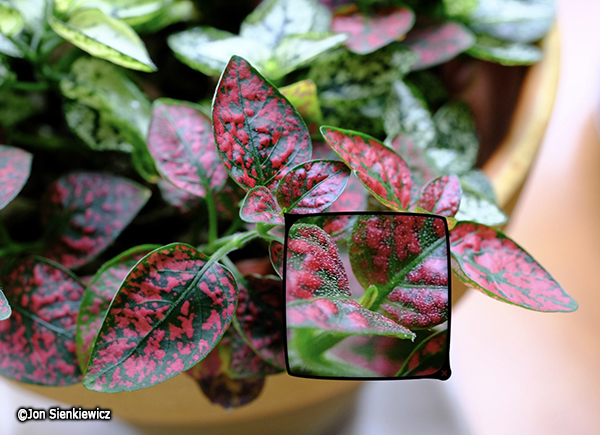
This is Pinkie, one of my houseplants. I don’t know what kind of plant she is, but she expects to be watered every other day. ©Jon Sienkiewicz
As a 150mm f/2.8 (equivalent) it’s a very capable entry in the fast telephoto category. The relatively close (35.4 inch) minimum focus enables some dramatic, frame-filling shots. On a full-frame camera, the 100mm focal length is ideal for portraits.
I found the TTArtisan 100mm f/2.8 to be sharp and satisfying despite its simple 3-element design.
Conclusion
No matter what brand of mirrorless camera you drive, the TTArtisan 100mm f/2.8 Bubble Bokeh lens should be on your short list. Because it attaches via a low-cost adapter you can use it on your full-frame Sony (for example), APS-C Nikon—or any similar contraption—with little additional investment.
Being a manual-manual lens, it’s not your first choice for video, for shooting sports, birds of prey or other instances where faster operation is a necessity—but for most other subjects it’s fast fun. I like it. The real joy, of course, is creating beautiful, bubble-like background highlights, and at the price, buying one should be a no-brainer.
Price & Availability
The TTArtisan 100mm f/2.8 Bubble Bokeh is available directly from TTArtisan for $155. Also available from Amazon.
Visit the official TTArtisan Store on amazon.com.
Become a Member of the Shutterbug Community
Register for a free account. Sign up for our newsletter. Spend five minutes (or less) uploading your best shots once every week or so. Potentially become a Shutterbug Photo of the Day winner. Enjoy viewing the fantastic work being done by thousands of photographers all over the world—and add your images to the enduring collection.
—Jon Sienkiewicz
(As an Amazon Associate, Shutterbug earns from qualifying purchases linked in this story.)


