Camera METERING MODES: Which One to Choose When? (VIDEO)
All modern cameras offer a variety of metering modes, like Evaluative, Spot, and Average, and some photographers make a huge mistake by thinking that the option they choose is a set-it-and-forget-it decision. In fact, the mode that works best in one situation may spell doom in another.
This tutorial from photographer Peter T. Lambert describes how different metering modes work so you’ll understand which one to use when for achieving accurate exposures—whether you’re shooting landscapes, sports photos, wildlife subjects, and just about anything else. If your images often appear too light or too dark, and you don’t understand why, your confusion will end in barely 10-minutes.
Lambert explains how a camera’s Live View feature works and why turning it on can eliminate a lot of frustration in certain circumstance You’ll also learn a setting you “absolutely need to turn off” if you don’t want any unfortunate surprises in the field. The idea is to capture images that look exactly as they appeared on location unless you intentionally want to create a different look.
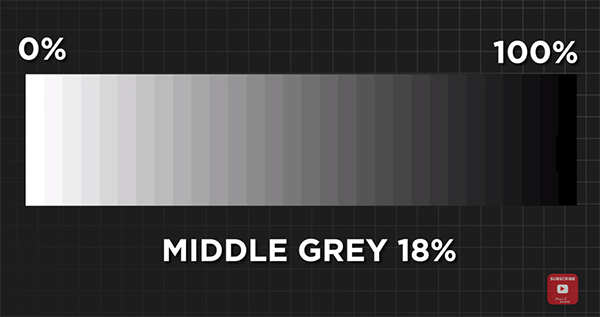
The lesson includes a brief overview of how a camera’s light meter functions, regardless of the mode in use. In basic terms, it’s designed to create a value of 18% gray in whatever area you target. This can be crucial to keep in mind when shooting in high-contrast situations. One example is a snow covered landscape in which the fluffy white stuff will be rendered dingy gray unless you compensate appropriately.
As Lambert explains, “the camera has to decide exactly where it’s going to measure the light within the frame, and that’s where the different metering modes come into play.” You may want to have your camera handy as he runs through all the modes, so you can experiment as the video progresses.
Keep in mind the nomenclature identifying each mode may vary depending upon the brand of camera you own. For example one camera may use the term “Evaluative” while another brand refers to “Multi.”

You still may have a few things to worry about after watching this helpful lesson, but choosing the best metering mode for the task at hand definitely will no longer be one of your concerns. You can find more helpful videos like this one by paying a visit to Lamberts instructional YouTube channel that is updated regularly.
We also suggest watching the tutorial we posted recently in which another accomplished pro explains how “variable aperture” zoom lenses affect the look of every photograph you capture, with tips for overcoming their limitations.