Some might think that a trip around the southern states of America means that the seaside is not part of the plan. Not so. The Gulf Coast has often so much to offer, from great seafood, sandy beaches, history, sports, and entertainment.
I travelled to the Mississippi Gulf Coast and enjoyed the high-octane energy of the storied port city of Biloxi and the sun-dappled, bohemian charm of the artsy village of Ocean Springs.
This heady combo meant I got a taste of the Southern coast, moving from the recent history and maritime tradition to a modern, thriving culinary and nightlife scene.
Biloxi: Sails, Struggle, and Seafood
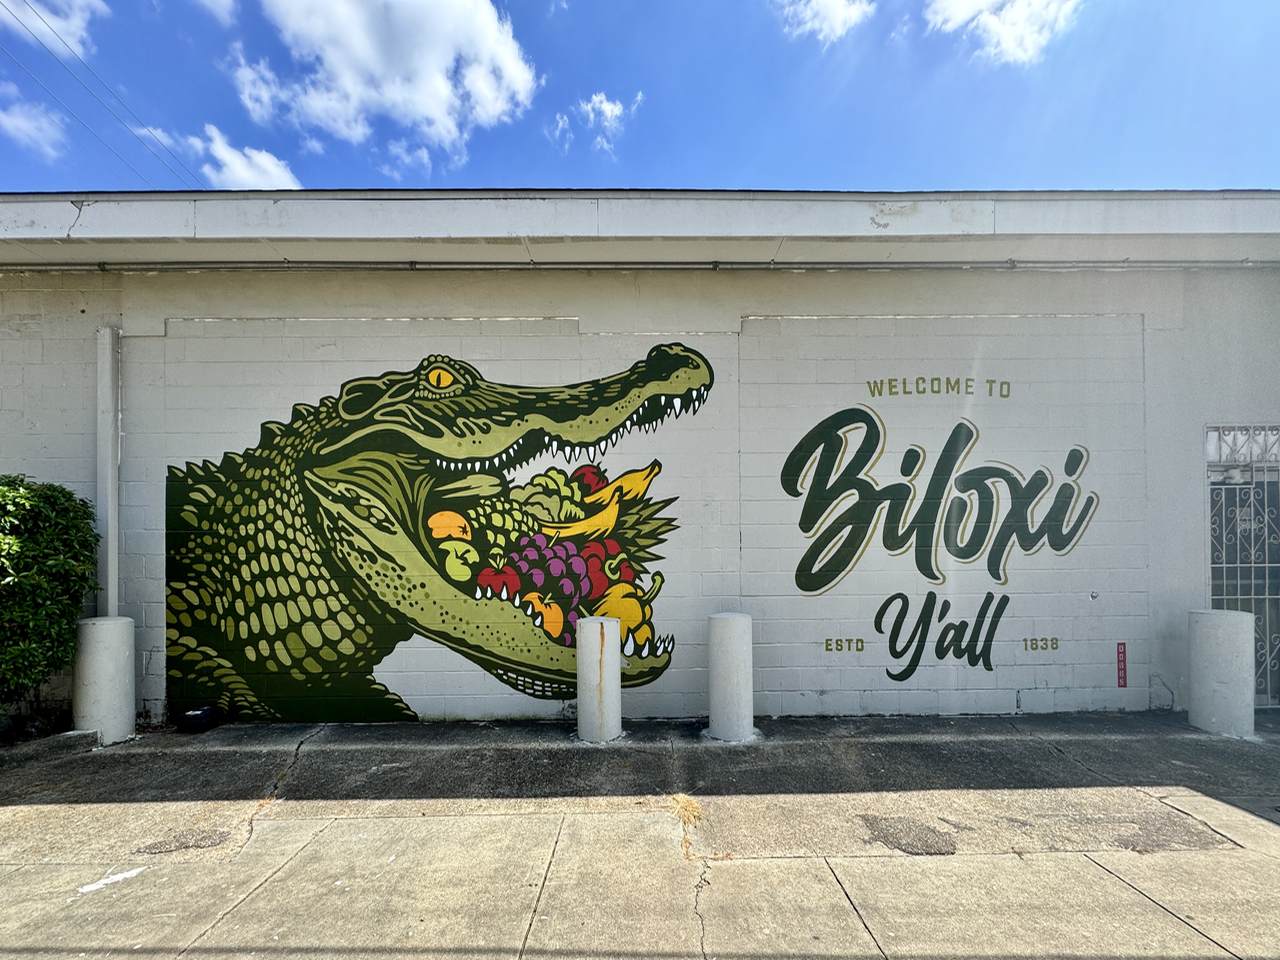 Biloxi is a city built on the water, defined by a skyline that contrasts the glittering towers of casino resorts with the silhouettes of historic lighthouses. To get a greater understanding of Biloxi, start at the Maritime & Seafood Industry Museum.
Located right on the beach, this facility serves as a glass-walled monument to the era when Biloxi was known as the “Seafood Capital of the World.”
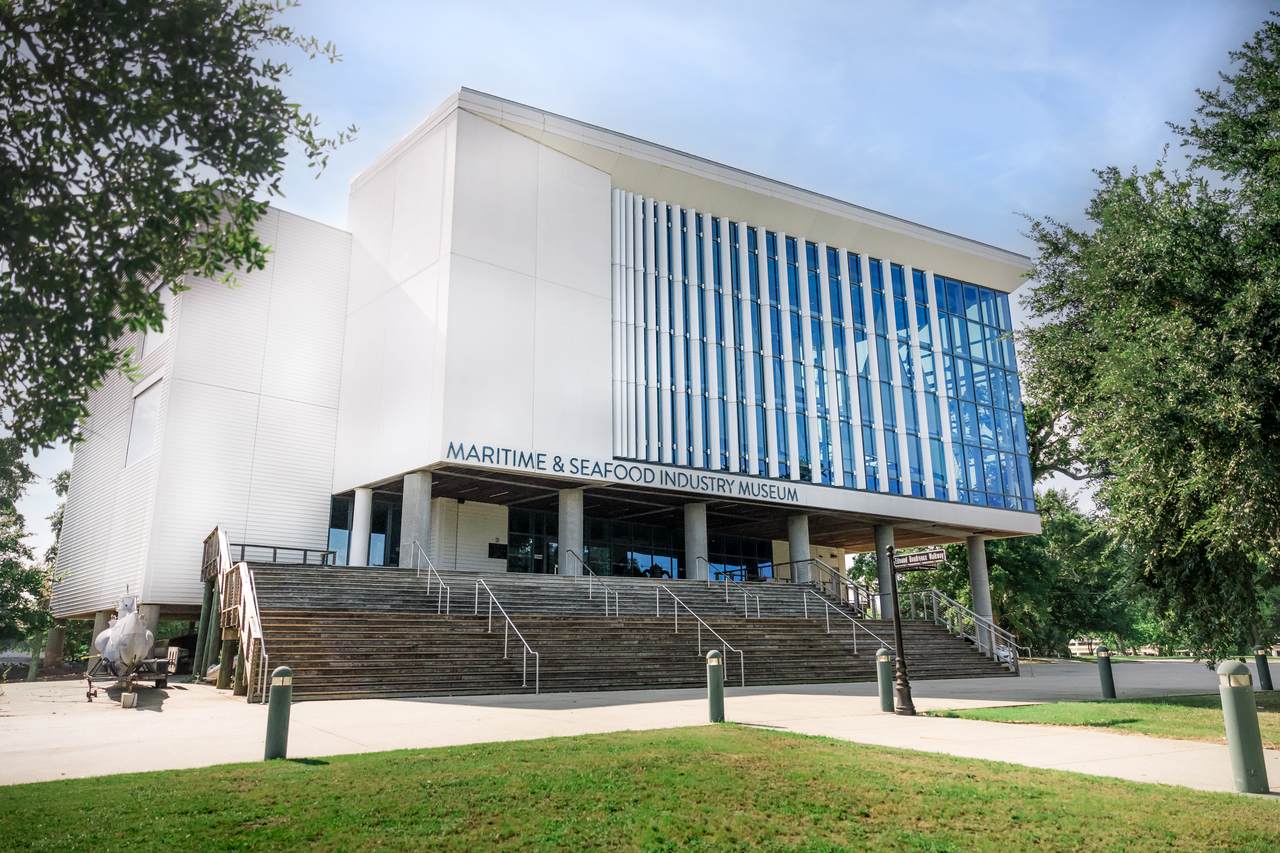
Maritime Seafood Museum, Biloxi
The museum illustrates the history of the unique Biloxi Schooner, the “White Winged Queens”, that once dominated the Mississippi Sound. These shallow-draft vessels were engineering marvels, designed to navigate the oyster reefs and back bays with grace and speed. You can also find out about famous Biloxi citizens, such as Jefferson Davis, President of the Confederacy, who lived at Beauvoir in Biloxi after the Civil War and Fred Haise, astronaut on the ill-fated Apollo 13 mission, who was born and raised in the city.
However, the beauty of Biloxi’s beaches carries a pivotal chapter of the American Civil Rights movement. Between 1959 and 1963, Dr Gilbert Mason led a series of “Wade-Ins” to protest the segregation of the public beaches. What began as a peaceful act of resistance was met with violent opposition, eventually leading to federal intervention that desegregated the shoreline. That this happened not that long ago, the ocean breeze feels different when you realise that the simple right to touch the water was a hard-won victory.
For a taste of the city’s more indulgent history, I visited Mary Mahoney’s Old French House. Set in one of the oldest homes in America (built circa 1737), the restaurant is a labyrinth of exposed brick, pine floors, and white linen. Under the shade of the “Patriarch,” a 2,000-year-old live oak tree, I dined in the same courtyard and chose from the same menu of gumbo and crab claws that presidents and celebrities have enjoyed since 1964.

Gambling is popular in Biloxi
Gambling is popular, and there is a plethora of hotel casinos hugging the shoreline offering a diverse mix of 24-hour Las Vegas-style action—including thousands of modern slot machines and high-stakes table games. There are also luxury amenities like championship golf courses, award-winning seafood buffets, and world-class spa resorts.
If it’s not your schtick, and it’s not mine, then don’t worry, more prosaic activities are a short ride away.
Ocean Springs: The Bohemian Heartbeat
Just across Biloxi Bay Bridge lies Ocean Springs, a town that feels more like an artist’s colony than a typical beach destination. I arrived on a Sunday lunchtime at the far end of the main street and at first thought this was a nice, sleepy alternative to Biloxi’s 24-hour-a-day casino life.
In some respects, I was bang on, but as I ventured further towards the village centre, I soon realised that this place was hootching. Numerous bars and restaurants were overflowing with good-natured, happy people enjoying fine food and live music.
All this without losing the intimate, walkable, and charming vibe. The downtown area is a lush canopy of oaks draped in Spanish moss, sheltering a dense concentration of galleries, boutiques, and entertainment. On Sunday afternoon, it was busy, but as the sun set, Ocean Springs transformed into the Gulf Coast’s premier entertainment hub.
The “cottage-style” architecture of the downtown area houses a sophisticated bar scene that ranges from speakeasies to blues joints. At The Wilbur, a hidden gem inside The Roost hotel, craft cocktails are served in a space that feels like a Prohibition-era sanctuary. For a more raucous evening, Mosaic Tapas Bar and The Beer House offer global flavours and live music almost every night of the week.
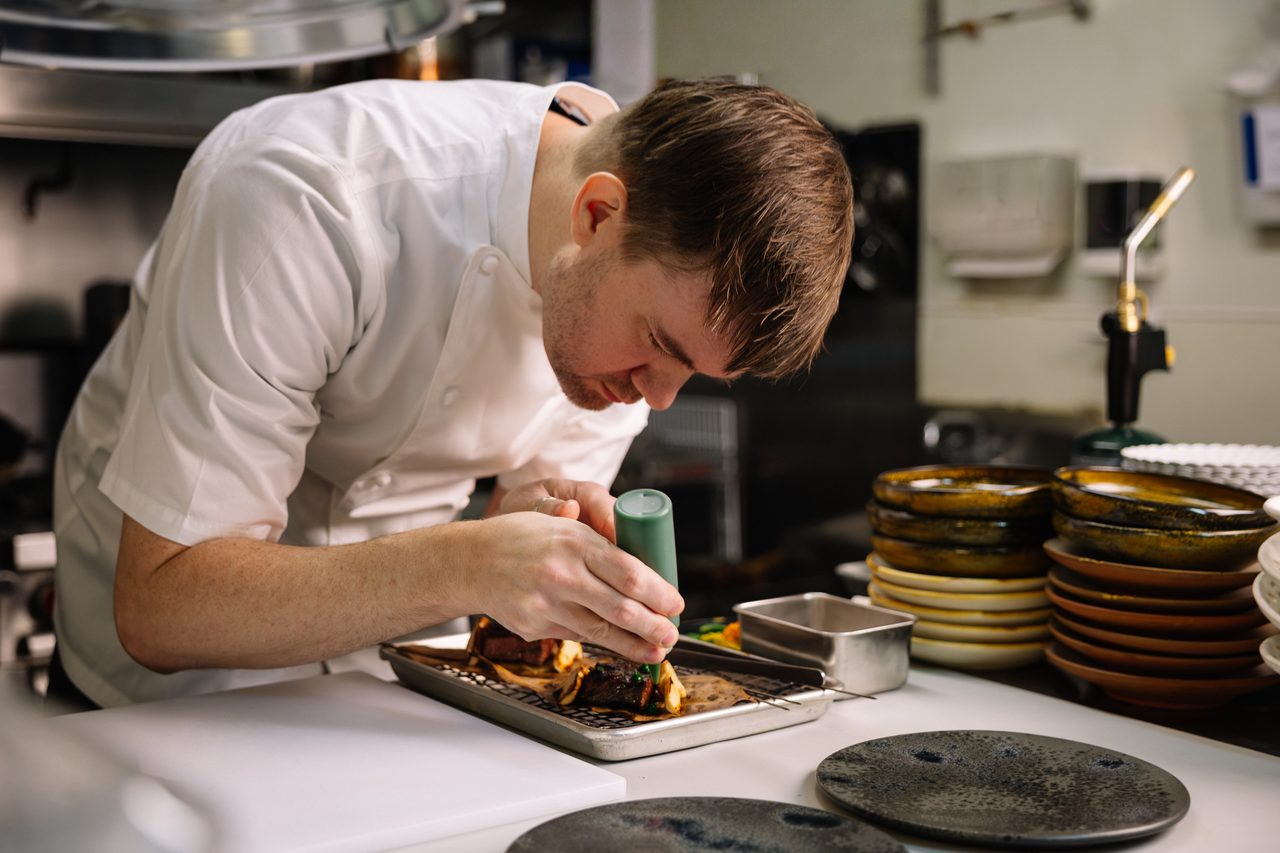
Vestige fine dining in Ocean Springs
The culinary diversity is staggering for a small town. You can find award-nominated innovation at Vestige, where Japanese techniques meet Southern ingredients, or go casual at The Lady May, famous for its outdoor patio and build-your-own Bloody Mary bar.
Whether you are grabbing a burger at Government Street Grocery or enjoying a refined Mediterranean meal at Phoenicia, the town pulses with a “joie de vivre” that encourages you to linger long after your meal is finished. I lingered and on consecutive nights, gave into the lure of a large Kilwins Vanilla Ice Cream cone to distract me on the walk back to the hotel. It’s not a local ice cream, but it is delicious.
A combined stay in these two coastal neighbours provides Biloxi’s maritime and civil rights history, followed by the colourful, spirited, and undeniably lively atmosphere of Ocean Springs. It is a journey from the deep roots of the past to the vibrant, beating heart of the modern South.
FACT FILE
STAY: OS Hotel in Government Street, Ocean Springs, where rooms start at £130 per night for a double.
TOURS: America As You Like It offers tours of coastal Mississippi.
GET THERE: Fly to Jackson-Medgar Wiley Evers International Airport. Virgin Atlantic offer regular flights to Jackson via Atlanta – Jackson is a two and a half hour drive from Biloxi.
Car Parking in the UK APH Airport Parking
The post Biloxi & Ocean Springs – a perfect Mississippi combo appeared first on The Travel Magazine.



 Biloxi is a city built on the water, defined by a skyline that contrasts the glittering towers of casino resorts with the silhouettes of historic lighthouses. To get a greater understanding of Biloxi, start at the Maritime & Seafood Industry Museum.


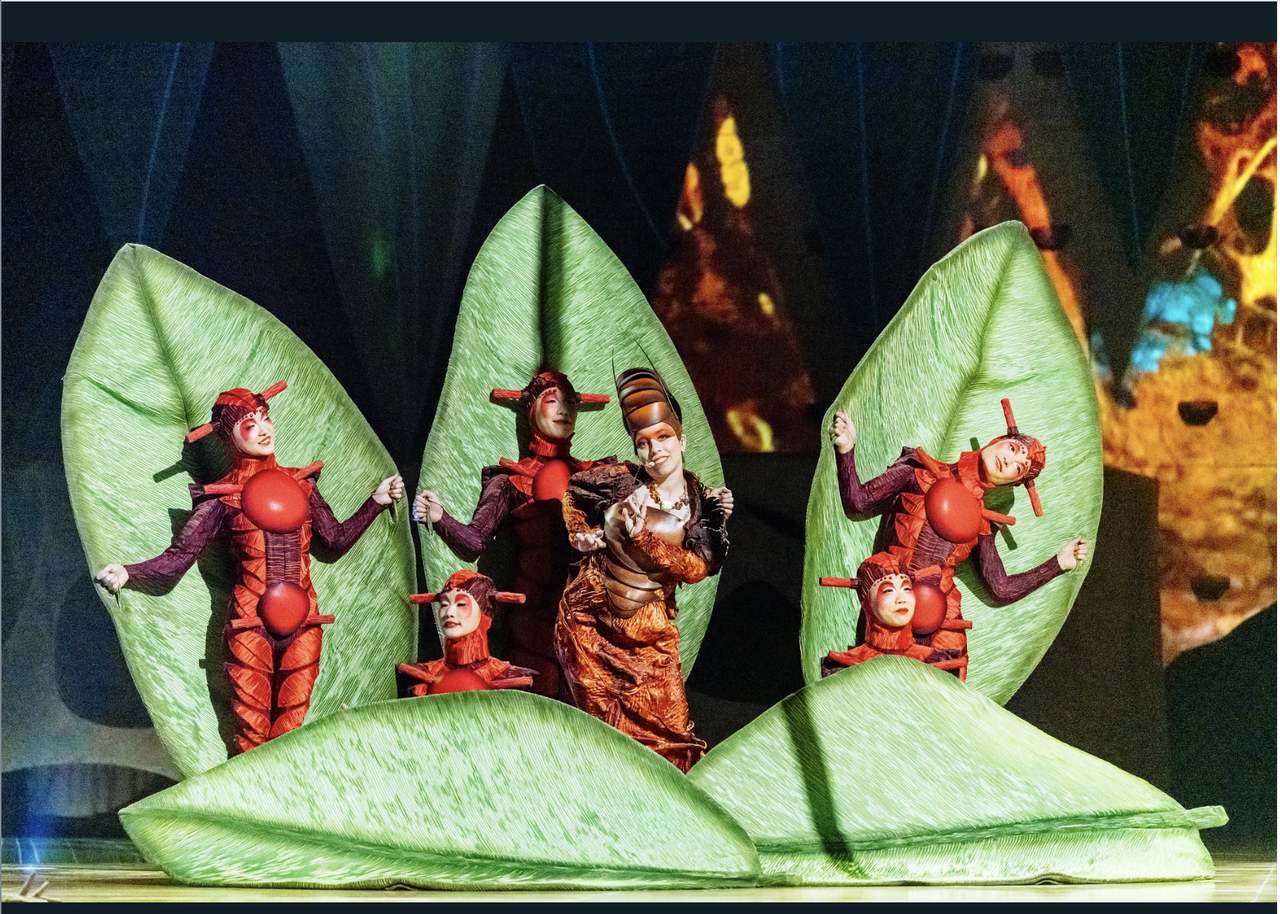 The set design has been changed from the original in 2009. Some of the original characters remain but there are now new acts, added costumes and reinvented music, including high-energy Brazilian-inspired soundtracks.