As winter sets in, Riyadh transforms into a sweeping festival city, where headline sport, mega-music, design-led nightlife, and immersive zones converge. From late November through early 2026, Saudi’s capital invites visitors to dive into nights that sparkle, zones that thrill, and evenings that linger long after midnight. Here are the essential experiences to lock into your calendar.
The Middle East’s largest general aviation event, Sand & Fun Airshow 2025, recently held in Riyadh, Saudi Arabia, welcomed a new exhibitor from the U.S., Oregon-based Samson Sky, makers of the Switchblade Flying Car.
The Global Tourism Economy Forum (“GTEF” or “Forum”), an international platform dedicated to promoting the sustainable development of the global tourism economy, will hold its 2025 edition from December 15 to 17 in Harbin, Heilongjiang province. Under the theme “New Quality Productive Forces: Powering the Global Tourism Economy”, the Forum will gather over 1,000 guests from five continents and more than 30 countries and regions, including the Secretary-General of UN Tourism, heads of international organizations, government officials, ministers of culture and tourism, executives from Fortune Global 500 companies, renowned entrepreneurs, and experts. Together, they will forge a new stage for open cooperation and jointly chart a future blueprint for the global tourism economy.
Sitting in the far southwest corner of China, Yunnan Province is one of the country’s most diverse travel destinations. Known as the “Land of Eternal Spring” because of its mild climate and stunning natural beauty, it offers a blend of snow-capped mountains, subtropical forests, glittering lakes, and ancient towns.
Yunnan
Yunnan
Dali
One of Yunnan’s greatest treasures is its ethnic diversity. The province is home to 25 ethnic minority groups such as the Yi, Hani, Bai, Naxi, Dai, and Tibetan peoples, each with their own languages, traditions, and crafts. Villages throughout Yunnan preserve age-old customs – from the Hani’s terraced rice farming to the Yi’s torch festivals and the Dai’s elaborate silver jewellery.
Yunnan
Yunnan
Yunnan
Yunnan
Yunnan’s markets brim with colourful textiles, hand-carved wooden wares, and local delicacies. Sampling the food is an adventure in itself: spicy mushroom hotpot, grilled goat cheese, rice noodles, and Pu’er tea from the ancient tea mountains near Simao and Menghai.
Breads
Yunnan
Yunnan
I first visited China in 1977, just as it was opening up to Westerners and, after Tibet, spent the rest of my time in Yunnan. This is therefore a wonderful opportunity to see how things have changed. Back then both Dali and Lijiang old towns were where people lived and worked. Fortunately they’ve been spared the relentless Chinese push for the modern, but tourists have replaced the locals.
Dali
A few hours northwest of Kunming, Dali is set between Erhai Lake and the snow-dusted Cangshan Mountains. Once a thriving stop on the Tea Horse Road, the old town is lined with cobblestone streets, traditional Bai-style houses, and bustling cafes and restaurants.
Dali
Dali
Dali
Built in 1382 during the Ming Dynasty, the streets are laid out like a chessboard, with the traditional south and north gates set opposite and the east and west gates slightly staggered. The main streets link these with a series of narrow alleys branching off. It’s known as “Nine Streets and Eighteen Alleys,” reflecting the town’s unique urban fabric.
Dali
Dali
Dali
Just outside, the iconic Three Pagodas of Chongsheng Temple, dating back over a thousand years, provide a striking backdrop against the mountains. Built during the Tang Dynasty, the central pagoda, Qianxun, rises nearly 70m and has withstood earthquakes, wars, and centuries of change.
Erhai Lake
Erhai Lake
Erhai Lake
Dali is also a base for exploring the surrounding Bai minority villages, where visitors can experience traditional crafts, colourful festivals, and hearty local cuisine. A cycling trip around Erhai Lake passes through fishing villages, fields of rapeseed flowers, and quiet monasteries with sweeping views across the water.
Erhai Lake
Erhai Lake
Erhai Lake
Majiuyi Village, located in the town of Yinqiao in Dali, boasts stunning lakeside views and is surprisingly unspoilt. It’s home to the Bai ethnic group and sits in the middle of Erhai’s western shore, famously known as the Maldives of Dali.
Xizhou
Xizhou
Xizhou
Xizhou Village is surrounded by vast rice fields, with a tourist train running through. Its Old Street is 30m long and features more than 10 artisan establishments, including a clay sculpture studio, pottery workshop and a winery. You can try your hand crafting traditional toys, tie-dyeing fabrics, moulding decorative roof-tile cats or crafting pottery.
Xizhou
Xizhou
Xizhou
Lijiang
Lijiang
Lijiang
Lijiang
Further north, Lijiang’s UNESCO-listed Old Town is a labyrinth of canals, stone bridges, and wooden houses with sloping tiled roofs. Once the cultural heart of the Naxi minority, its artistic heritage is still celebrated in its music, calligraphy, and architecture.
Lijiang
Lijiang
Lijiang
At night, the town comes alive with glowing lanterns, lively bars, and shops selling handwoven textiles. Visitors can attend a performance of Naxi ancient music, considered one of the world’s oldest musical traditions, or simply wander through the alleys soaking in the atmosphere.
Lijiang
Lijiang
Lijiang
Overlooking Lijiang is the majestic Jade Dragon Snow Mountain, a glacier-capped peak rising to 5,596m. Below it is Lanyue Valley, its lake supplied by the Baishui River, blue with snow melt. The valley is crescent-shaped, and the azure lake looks like a moon sitting at the foot of the Snow Mountain
Lanyue Valley
Impression Lijiang
Impression Lijiang
Impression Lijiang
Impression Lijiang is an outdoor live show using the majestic Yulong Snow Mountain as a natural backdrop. Conceived and directed by renowned directors Zhang Yimou, Wang Chaoge, and Fan Yue, it draws its huge cast from 500 local people, all amateurs, to tell the story of their lifestyle and traditions. The stunning climax sees 100 horses and their riders lined up around the top rim of the amphitheatre.
Baisha
Baisha
Baisha
Baisha
Baisha Village, even older than Lijiang Old Town, is famous for its murals that date back to the Ming Dynasty. These paintings blend Buddhist, Taoist, and Tibetan motifs, reflecting the cultural crossroads of the region. Unlike its neighbours Baisha is more relaxed. Sit in a courtyard sipping green tea and contemplate the mountains rising in the distance.
Yuhu
Yuhu
Yuhu
About 15km north, Yuhu village, belonging to the Naxi minority, is the last village of the valley, at the foot of the Jade Dragon Snow Mountain. The houses are made of a unique material known as monkey head, a mix mud and stone. The famous botanist Joseph Rock came here in the 1920’s to study the plants and Naxi culture and stayed for 27 years.
Xishuangbanna
While northern Yunnan dazzles with snow-capped peaks, the far south reveals a different world. Xishuangbanna, bordering Laos and Myanmar, is a lush subtropical region where rubber plantations, rainforests, and the Mekong River define the landscape. It’s best to take an internal flight to get here.
Jinghong
Breads
Water Festival
The region is home to the Dai minority, whose culture is closely related to that of Thailand and Laos. Their distinctive bamboo stilt houses, festivals and spicy-sour cuisine set them apart from Yunnan’s other ethnic groups. The annual Water Splashing Festival in April is the region’s most vibrant celebration, welcoming the Dai New Year with joy, dance, and plenty of water fights.
Xishuangbanna Tropical Botanical Garden
Xishuangbanna Tropical Botanical Garden
Xishuangbanna Tropical Botanical Garden
Nature lovers love the Xishuangbanna Tropical Botanical Garden and its surrounding rainforest reserves, which protect endangered Asian elephants, gibbons and other species. River cruises along the Mekong offer a relaxed way to explore the region some go as far as Laos and Myanmar.
Tea Picker
Tea Drying
Tea Ceremony
Nannuo Mountain village has 2,400 hectares of tea gardens, including 800 hectares of ancient tea groves, with some trees being more than 800 years old. It offers a range of accommodation, from traditional homestays to hillside hotels and integrates local tea culture into its attractions, creating an immersive tea-themed travel experience.
Buffalo Cave
Buffalo Cave
Buffalo Cave
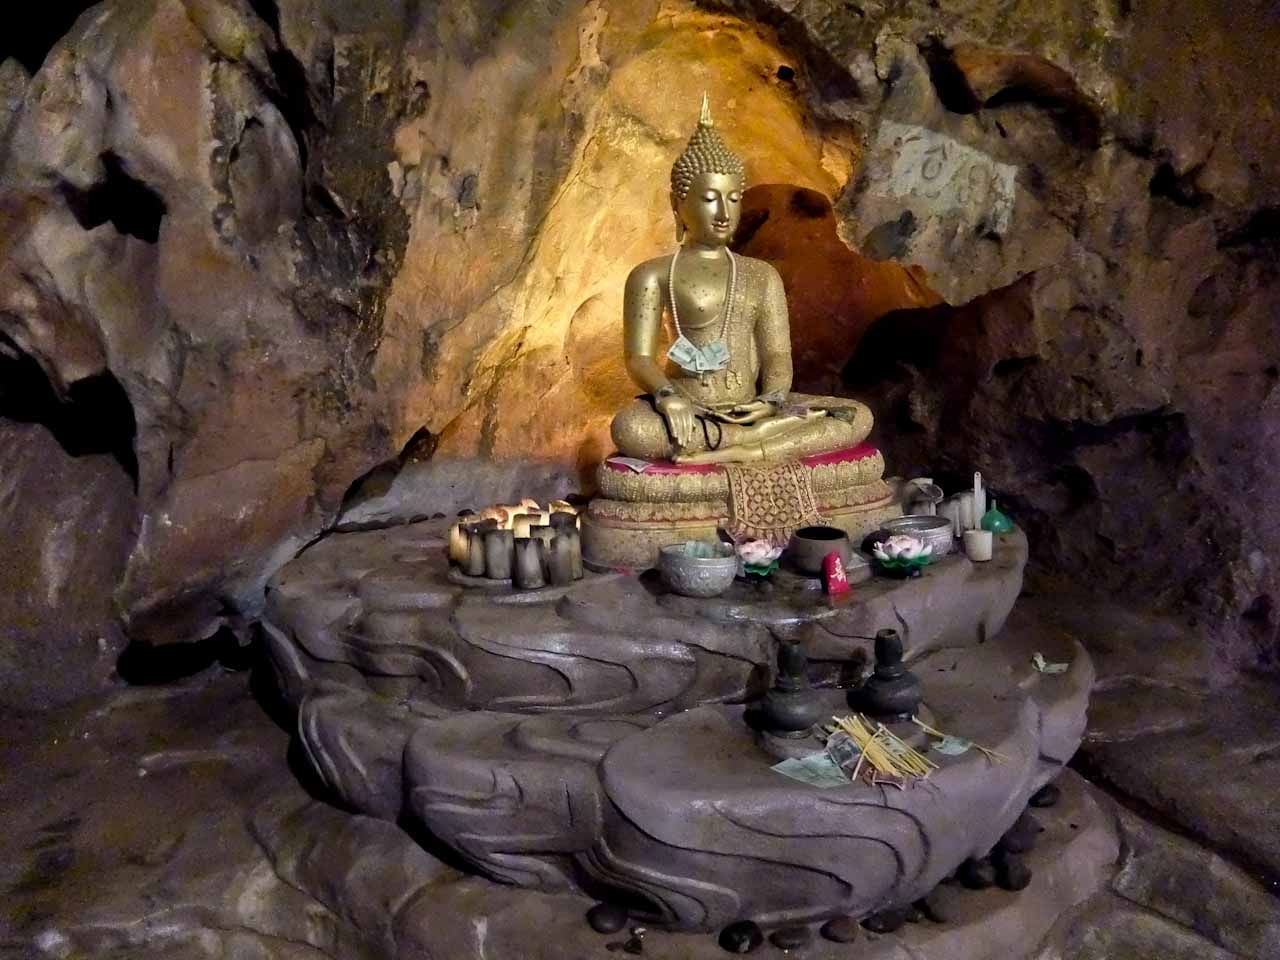
In southern Yunnan, Mengyuan Paradise is home to towering karst peaks, thick green forest canopies and deep Buddhist caves. This eco-adventure park offers rain forest trails, river kayaking and low-impact cave routes. The karst caverns are its headline acts – you’ll need a guide, helmet and torch to explore the narrow passages of the Buffalo Cave, but this feels like genuine adventure.
Buffalo Cave Buddha
Factfile
GO:
China Southern Airlines flies daily from London Heathrow to Guangzhou with connections to all major Yunnan cities. Return fares between £500 and £1000.