This work-from-home garden improvement can add up to £30k worth of value to your home
Have you ever heard of a ‘shoffice’? Well, now you have…

Adobe just added several exciting new features to the beta version of Photoshop. The most significant is Firefly-powered Generative Fill, the ability to select any item in an image and replace it with a different object based on the prompt you type into a dialog box.
This is clearly the most groundbreaking feature ever presented in a digital image editing tool. But what may be the greatest breakthrough for amateur photographers potentially deals a major blow to image retouching professionals.
How To Use It
The Generative Fill option is available only in the beta version of Photoshop at this time. Most beta features migrate to Photoshop after their shakedown run. To access Photoshop Beta, open your Creative Cloud account and download the app. You’ll find it on the left menu under a tab labeled Beta apps. If you do not have a CC account, you can download a free trial version.
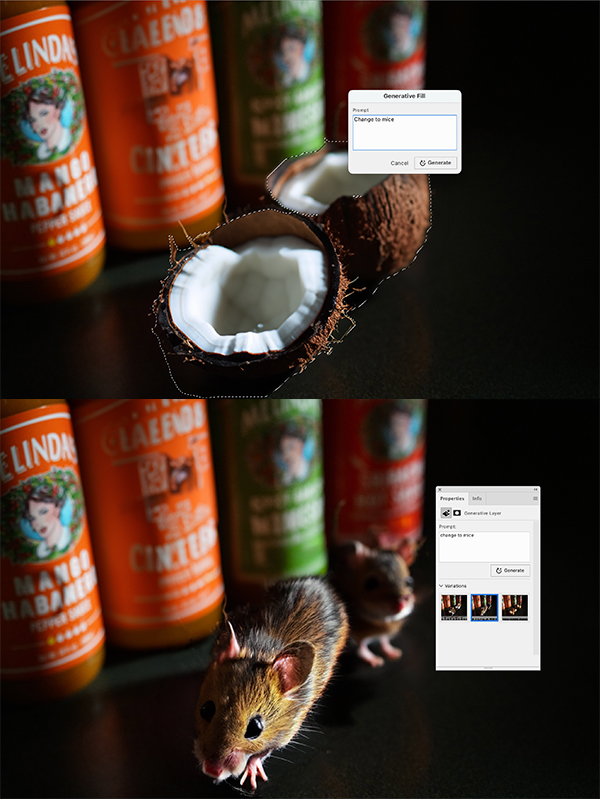
Launch PS Beta and open an image. Using the Object Selection Tool, Lasso Tool, Quick Selection Tool or any other selection method, select an object. Right click the selection and a dropdown menu appears. Near the bottom of the list, select Generative Fill. A dialog box opens. Type in a prompt and click Generate.
A new menu opens to display three small thumbnails of replacement objects created by AI. Pick one and Adobe AI magic replaces the selected object with a new object based on the prompt you entered.
This new feature means any human capable of sitting up and making a fist can alter the contents of a digital image with just a few mouse clicks. The added object looks 100% authentic, complete with shadows and appropriate shading.
The process is fast, easy and exceptionally realistic. It performs smoothly now and will only get better.

Why Develop Skill When AI Can Do It For You?
So why should a budding professional spend hours learning to do this process manually? Aside from total creative control, why work on an image for two or three hours when you can change it completely with two or three clicks? Where’s the incentive to master photo editing?
Other, less radical features introduced in Photoshop Beta are as follows:
• Adjustment Presets: Changes the appearance of an image in just a few steps, for an instant, completely unique output.
• Remove Tool: Eliminates hours of manual compositing by automatically filling backgrounds while preserving the integrity and depth of objects. Another threat to editing pros.
• Contextual Task Bar: Reduces the number of clicks and makes the most common functions more easily accessible with workflow recommendations.
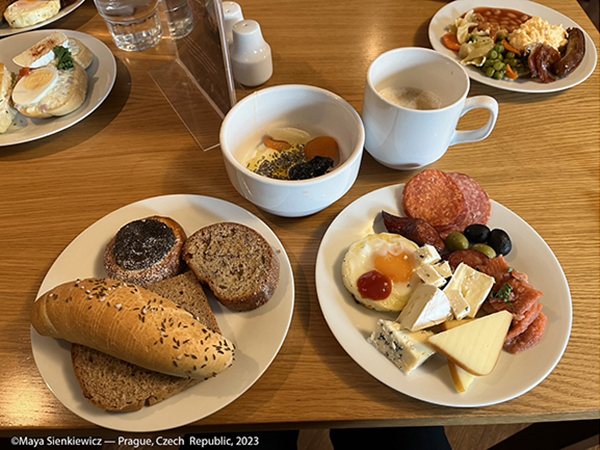
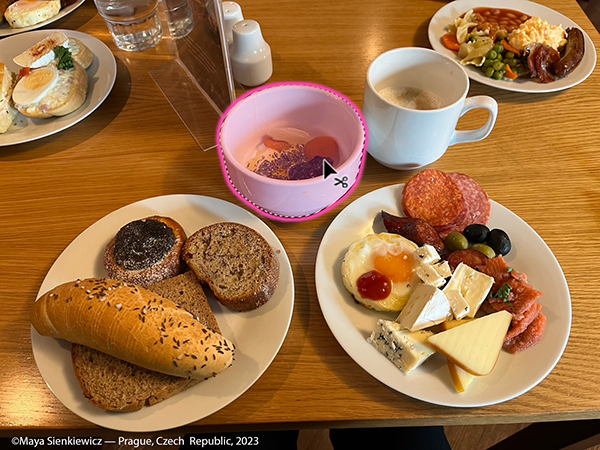
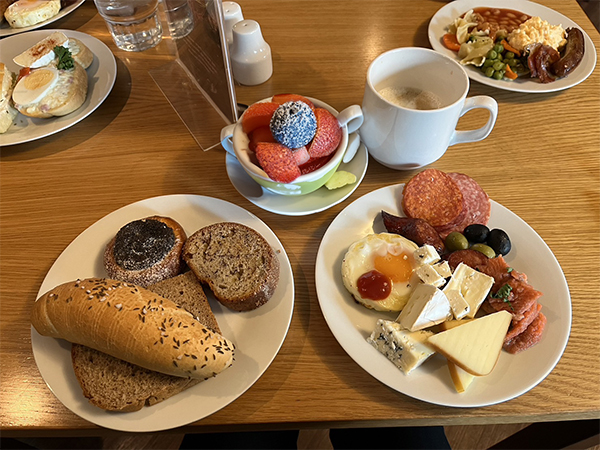
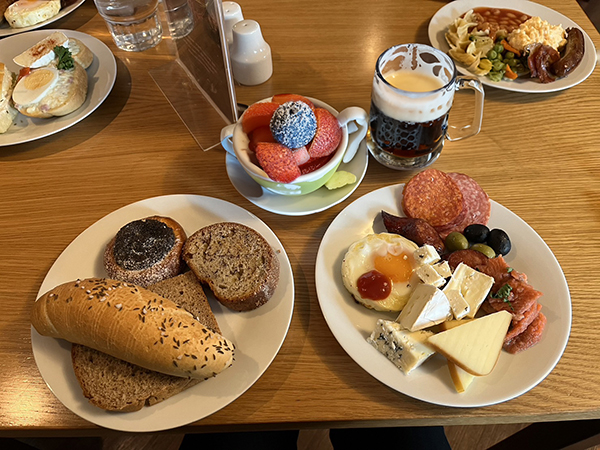
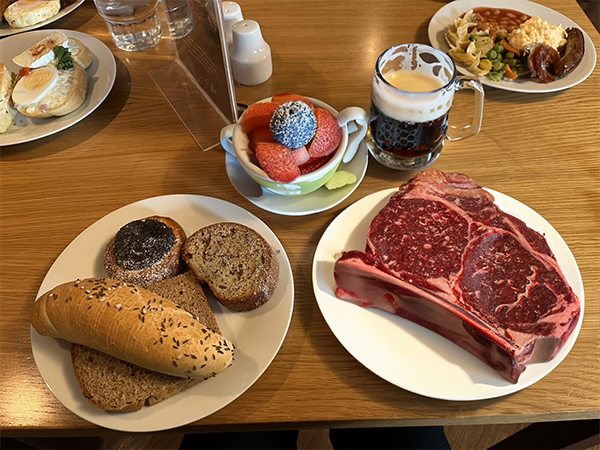
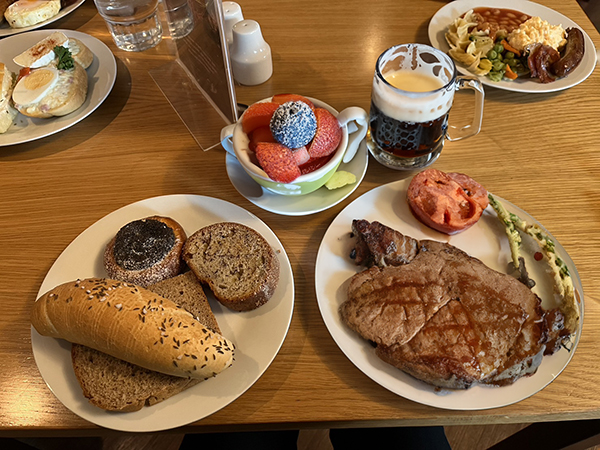
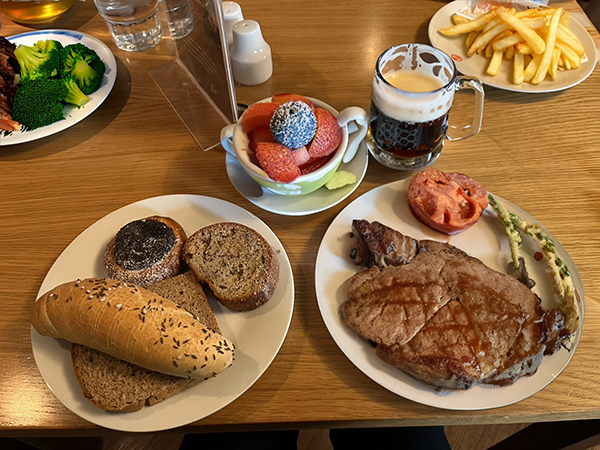
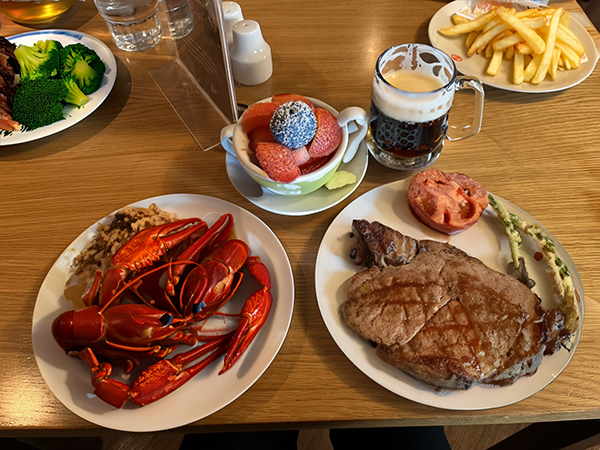
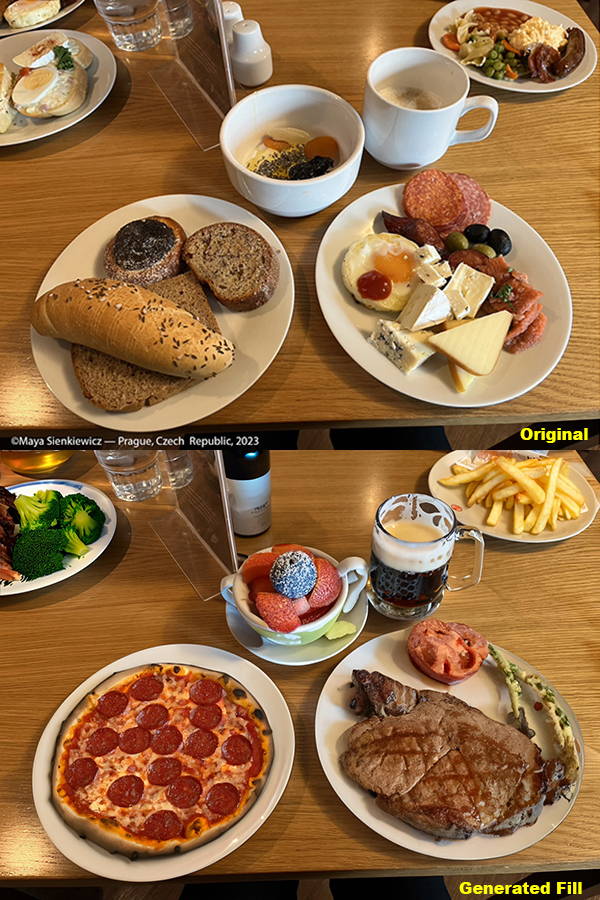
In the following series of images we edit a photo of a fairly typical European-style breakfast (above) my daughter captured in Prague, Czech Republic. You can follow the action without narration. We selected and replaced items, producing a new final image starkly different from the original. It looks legit and took about 15 minutes all in.

Become a Member of the Shutterbug Community
Register for a free account. Sign up for our newsletter. Spend five minutes (or less) uploading your best shots once every week or so. Potentially become a Shutterbug Photo of the Day winner. Enjoy viewing the fantastic work being done by thousands of photographers all over the world—and add your images to the enduring collection.
—Jon Sienkiewicz


