Image: Walking Through a Karst Landscape on Crete
Cretan history has evolved alongside that of mainland Greece. It has its own culture, cuisine and legends. Chania and the surrounding region of the same name are a great base for getting to know this fascinating island by following its ancient trails. A good start is the Archaeological Museum in Chania.
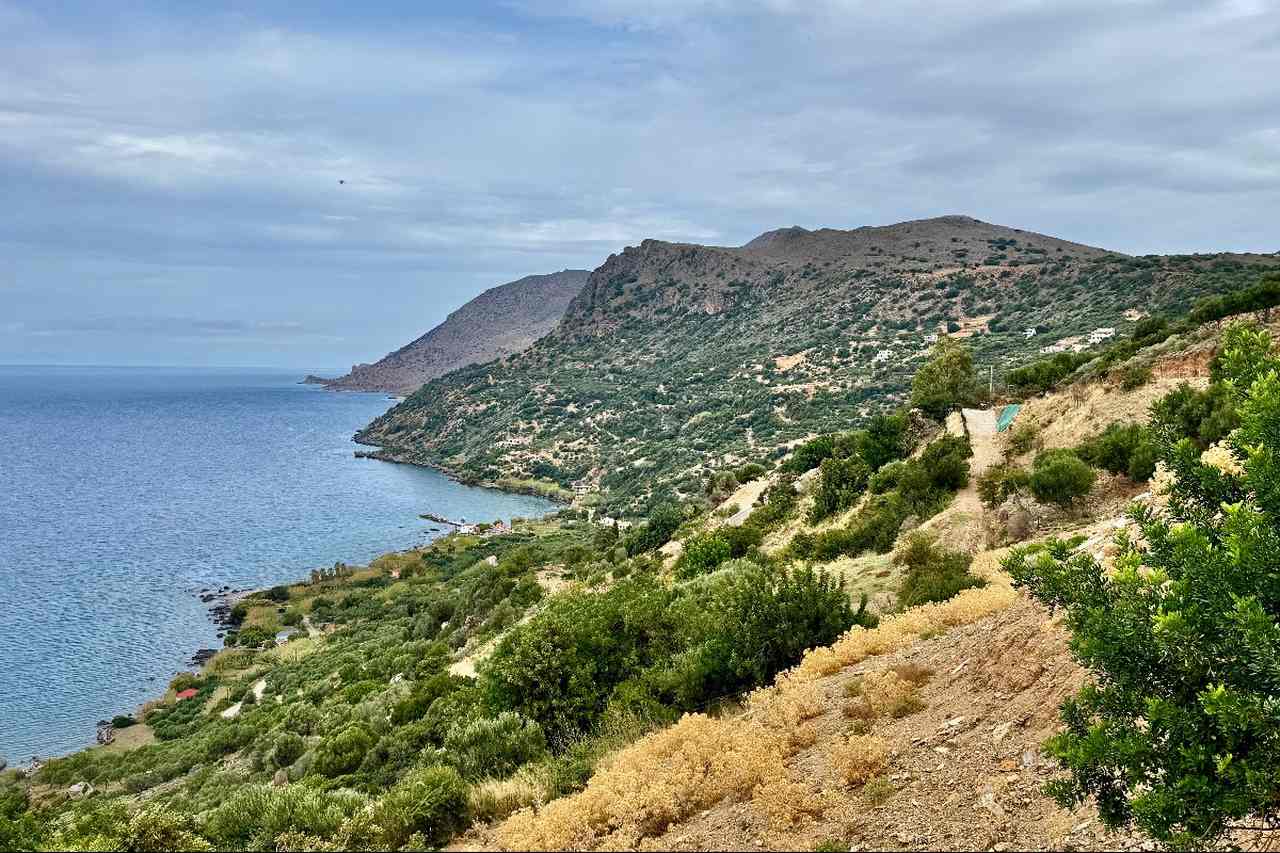
Kissamos Bay in Crete
The Archaeological Museum in Chania
A visit to the Chania Archaeological Museum (entrance fees apply) is an excellent introduction to the history of Crete. This modern museum in a suburb of Chania is laid out in coloured zones representing different ages. The red zone includes exhibits from Prehistoric times, essentially the Late Neolithic and Bronze Age eras, illustrating the private and public lives of the earliest inhabitants on the island, the Minoans. Later eras are covered in the next two halls coloured green and blue. These three halls on the ground floor are part of the permanent exhibition which also includes the Konstantinos, Marika and Kyriakos Mitsotakis Collection on the first floor.
Two standout experiences for me were the Roman mosaic and the re-creation of the ancient Miser’s House destroyed by a devastating earthquake on Crete in 365 AD. The latter is accompanied by a video replicating the passage of this earthquake. There is a shop and a café with a terrace overlooking Chania and its seafront.
Beyond the museum, there is much to learn along the ancient trails of early settlers. These trails are being rediscovered, cleaned up, and clearly signposted. They offer fascinating insights into the history and culture of this beautiful island. My first experience of one of these trails was the path between the villages of Ravdoucha to Nopigia.
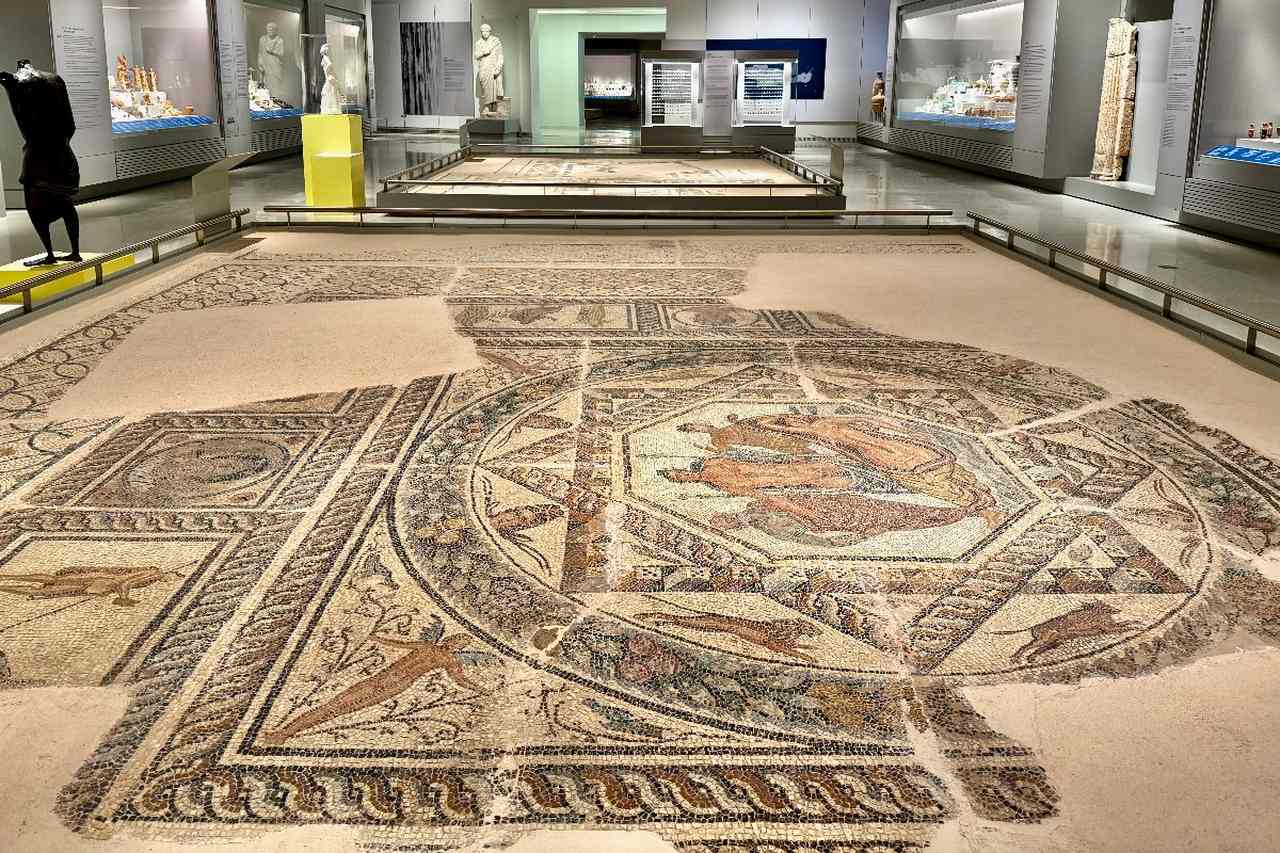
Mosaic at the Archaeological Museum in Chania, Crete
An Ancient Trail from Ravdoucha to Nopigia in Crete
There are areas outside the main resorts on Crete that are still very much as they were originally and are not impacted by mass tourism. We opted for the coastal path rather than an alternative inland route. And we did a linear rather than a circular walk.
The first section presented a few challenges due to steepish narrow sections strewn with rocks and I was glad I had my walking poles and was wearing sturdy walking boots. After winding through a wooded area, the path hugged the cliffside above Kissamos Bay offering spectacular views along the coastline.
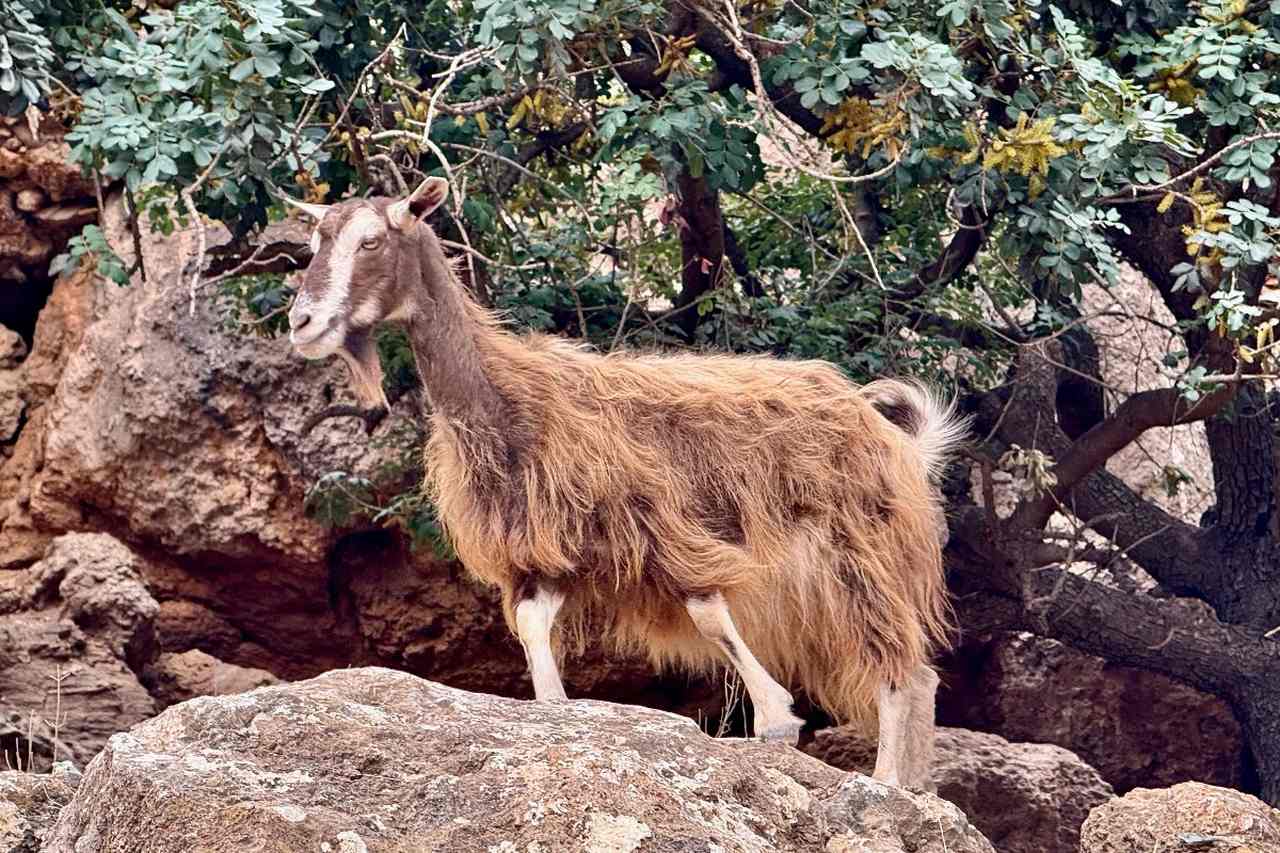
Curious Goats on the Path from Ravdoucha to Nopigia on Crete
It was like being on the Amalfi Coast without the crowds. We met many more goats than people on our walk. A pause by the small stone Chapel of Agios Vasilios allowed us to take in the scenery and learn more about the history of the area from our experienced, knowledgeable guides. The next section was an easy path down to the beach at Nopigia and very enjoyable. We had been promised a surprise on every walk and today it was a visit to the Biolea Olive Mill.
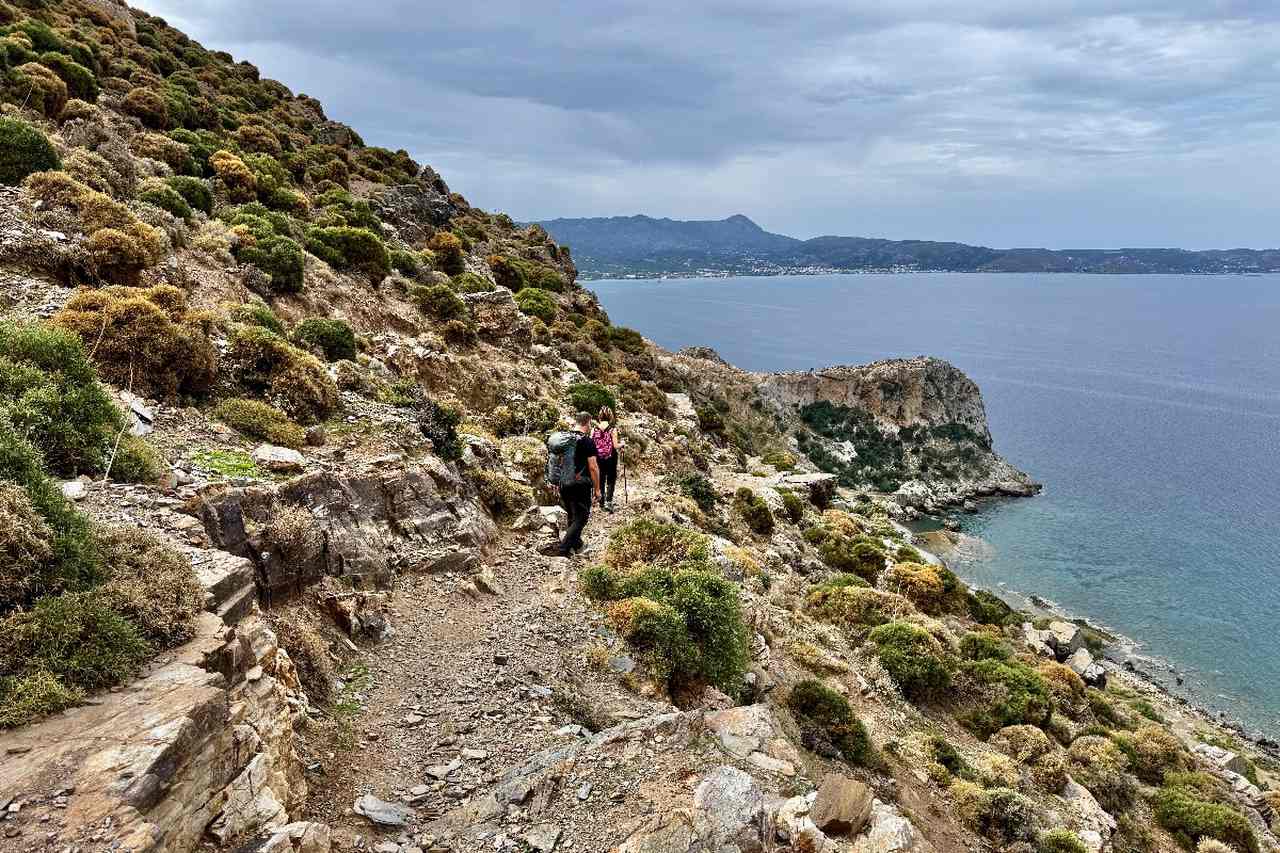
An Ancient Trail from Ravdoucha to Nopigia on Crete
On arrival, we stood in the shade of some olive trees where we learnt about the process of crushing the olives to make the paste from which the olive oil is made. It is such an unpredictable process that no two batches are the same. It depends on so many different factors, such as the temperature inside the mill. We had lunch in the mill’s restaurant enjoying a feast of different dishes all featuring olive oil.
Later, we went back outside to see a demonstration of the modern technique of gathering olives using a long pole with an electrically operated spiked rotator sat the top. Invited to have a go I harvested more leaves and twigs than olives.
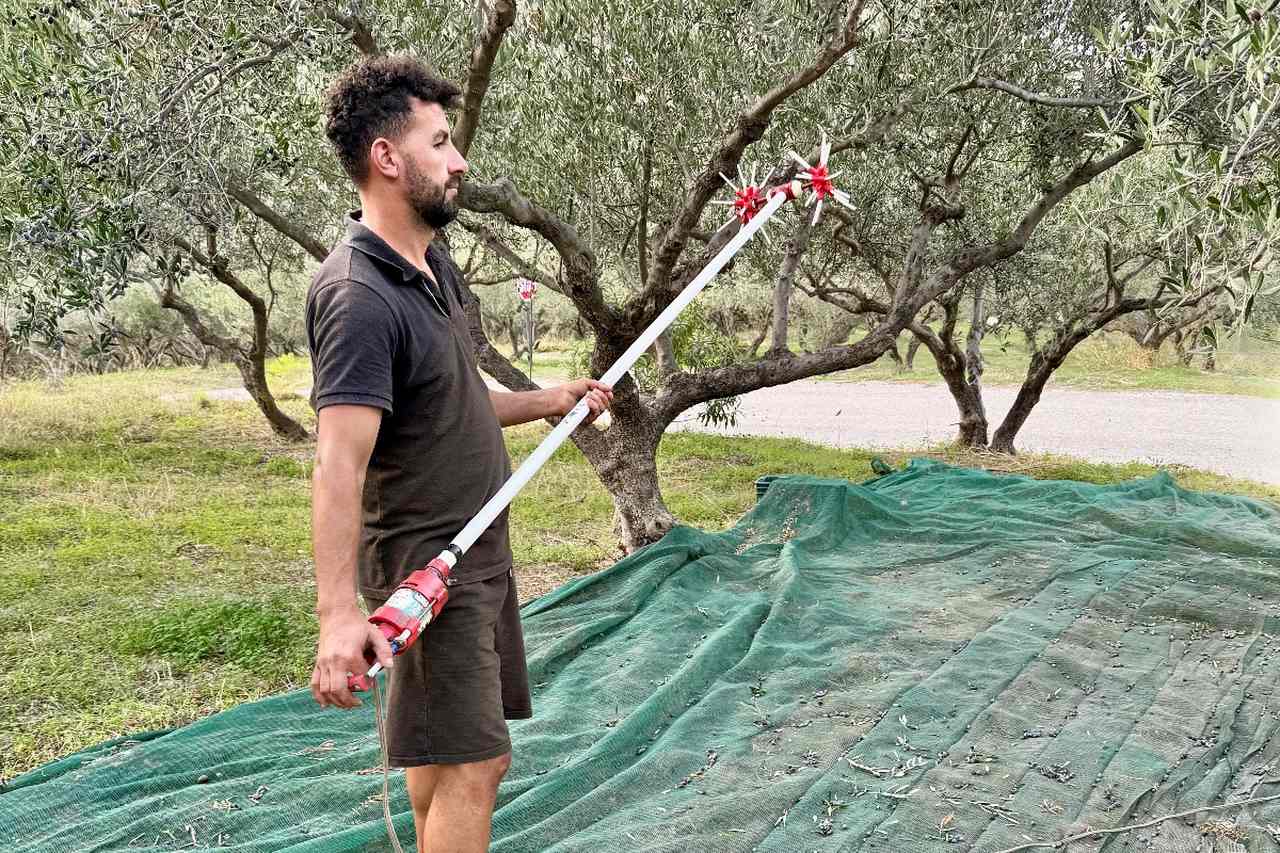
Harvesting Olives at Biolea in Crete
It was almost dusk by the time we got back to Chania and the best time to visit its Venetian Harbour, a short walk from our hotel. A stroll around this magnificent harbour is a throwback to the glorious days when Crete was part of the Republic of Venice (1204 – 1669) that controlled the Mediterranean.
During that period, before the Ottomans moved in, Chania was also the capital of Crete. This golden era is reflected in the magnificent architecture of the buildings that surround the harbour, including the Firkas Fortress (now the Maritime Museum of Crete) the Yali Tzamii mosque, the Old Sea Wall, the St. Nicholas bastion and the Egyptian Lighthouse. The next day we left the clamour of the city for a rural retreat in Vamos, our base for the next few days.
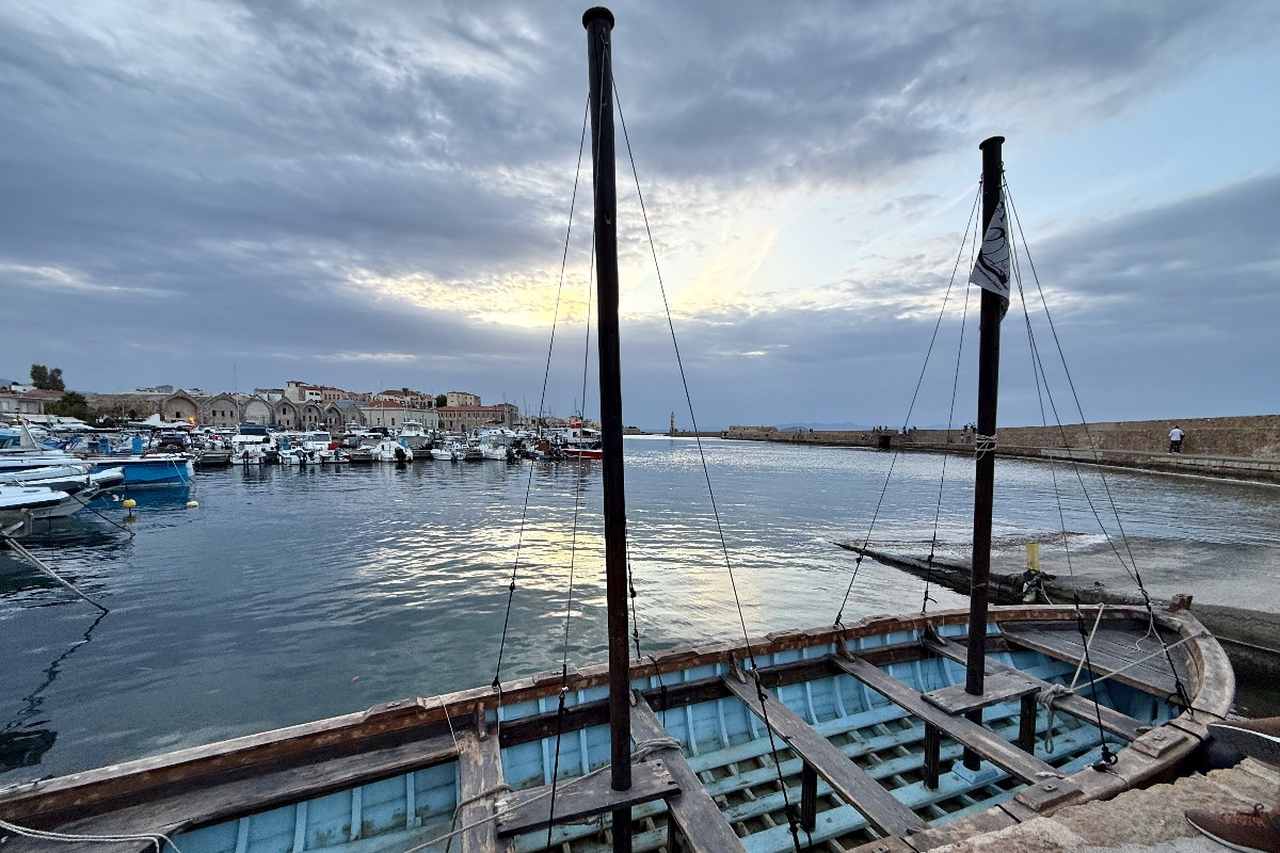
Venetian Harbour in Chania, Crete
An Ancient Trail Through Three Cretan Villages
This walk started in the village of Gavalochori. Before setting off, we enjoyed an excellent coffee at a local café. On our way through the village to the start of the trail, we stopped to visit the old olive mill.
The production of olive oil no longer requires the use of the giant grindstones on display in this old stone building. Soon after we started walking along the trail to Ksirosterni (Xirosterni) we came across the cisterns built by the Venetians during the fifteenth or sixteenth century. It was here the villagers would gather to water their animals, and the women would do their washing using open fires near the wells to heat the water.
We continued to the pretty and strictly residential village of Xirosterni, featuring old traditional houses. We had a short break here during which we were told the story of its change of name from Viola, a flower, to the less attractive Xirosterni, meaning a dry well. It involved a confrontation between a thirsty visitor and a reticent resident.
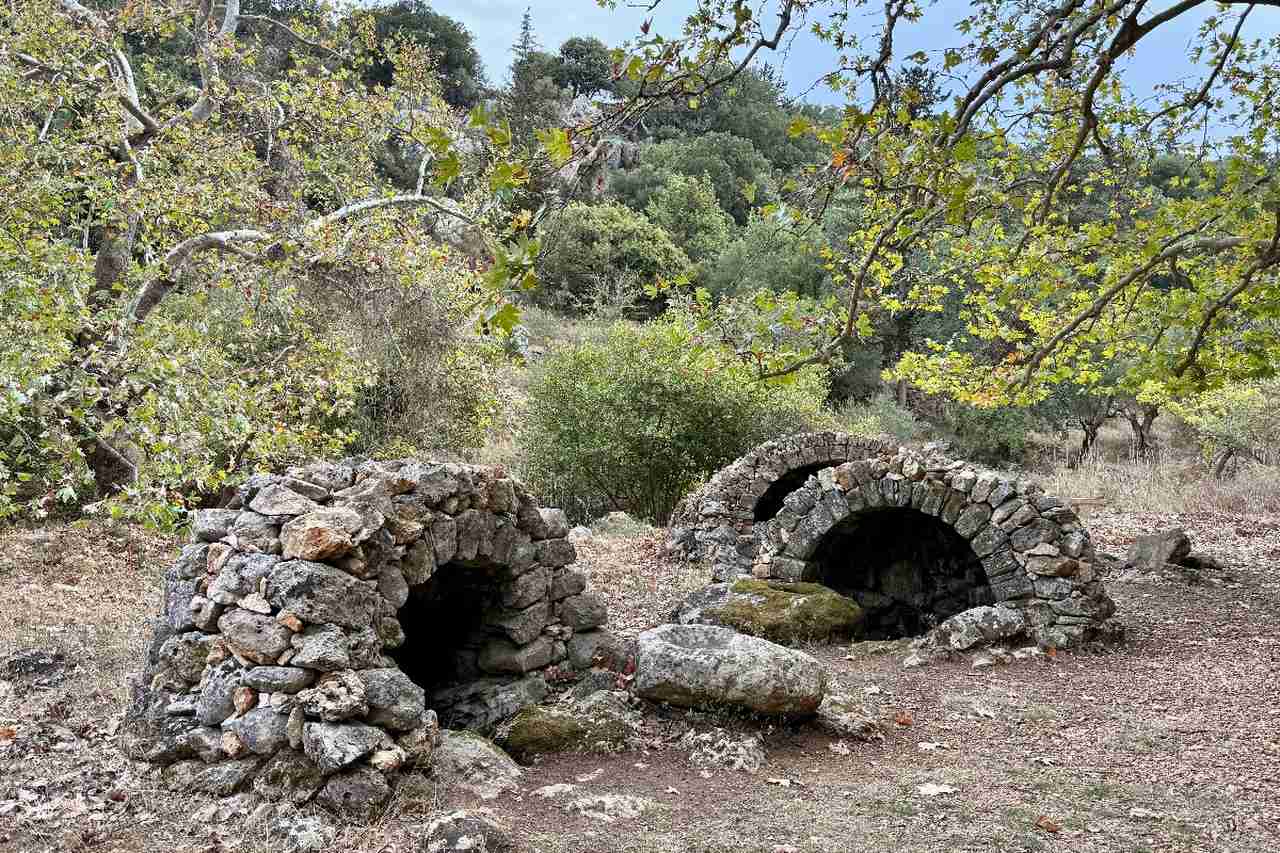
Venetian Cisterns at Gavalochori in Crete
The path between Xirosterni and Kefalas, like many of the ancient trails here, had been closed for 100 years. It passed between spiky, grey limestone walls and was almost completely covered with rocks of varying sizes. When the surrounding fields were cleared for agricultural purposes, the rocks and stones were all collected in one place and used to build walls and a level, elevated path. Years of neglect have resulted in the collapse of these, hence the large number of stones littering the trails today.
The Path from Gavalochori to Ksirosterni in Crete
At Kefalas we enjoyed our first of three ‘surprises’ today – a visit to a folklore museum set up in a house dating back to 1883. It was donated to the village and the community has created a museum in the house and outhouses. It is run by volunteers so it is not open all the time. On our arrival we were offered Raki, a staple liquor on the island, and given an introduction to the various exhibits in the museum.
After this interesting experience, we moved on to our lunch venue, the cafeneion (coffee shop) in Maza. I was really enjoying our meze meals in the small villages where we stopped to eat. Dipping into a selection of traditional Cretan dishes while gleaning more information about the island and listening to local legends. Maza is also the site of the small Byzantine chapel of Aghios Nikolas. Its beautiful interior is decorated with frescoes dating back to 1326. After lunch, we were off to a winery.
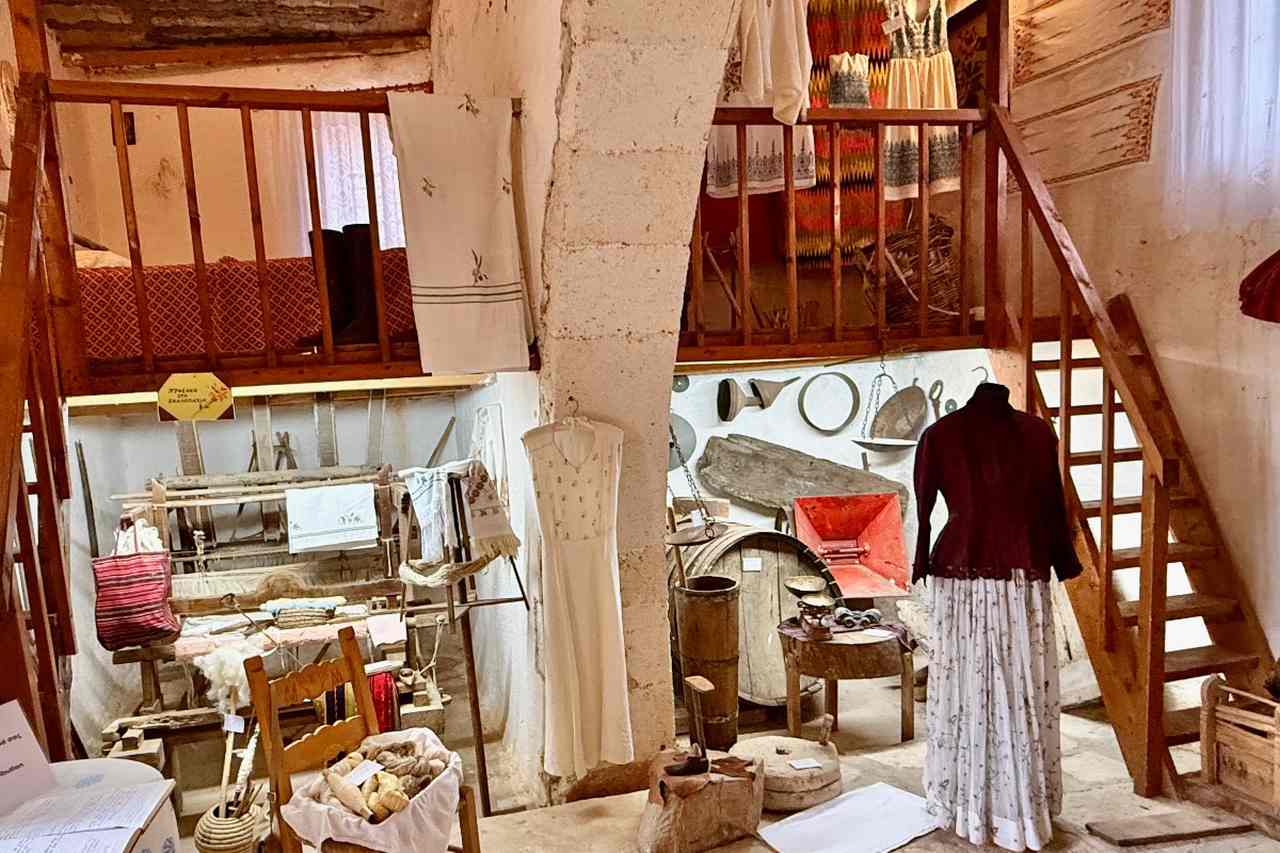
Folklore Museum at Kefalas in Crete
Dourakis Winery, in the quaint village of Alikampos, is family-owned and produces fifteen different wines in its fully solar-powered boutique winery. After tasting two of its white wines, we had a tour of its huge cave cellar and learnt more about the traditional viticulture methods used to produce their wines and champagne. Next stop, Fabrica Farm in Vamos, our overnight accommodation. It is a working farm and represents the first venture into agri-tourism on Crete.
Featuring five guesthouses and a one-bedroomed studio sited amongst its olive groves it offers a peaceful, restorative self-catering retreat. A variety of activities are offered here – Cretan Cooking Classes, a Cretan Wine Tasting Experience and the Herbal Garden Tour with an Olive Oil Soap Workshop at Fabrica Farm. On our second night, we enjoyed an al fresco dinner in the amphitheatre cooked in traditional pots on an open fire. Each morning, we walked into the village centre for breakfast at the Myrto co-operative café. A cosy eatery offering friendly service and tasty, traditional fayre – a great start to the day and another trail, around the ruins of the ancient city of Aptera.
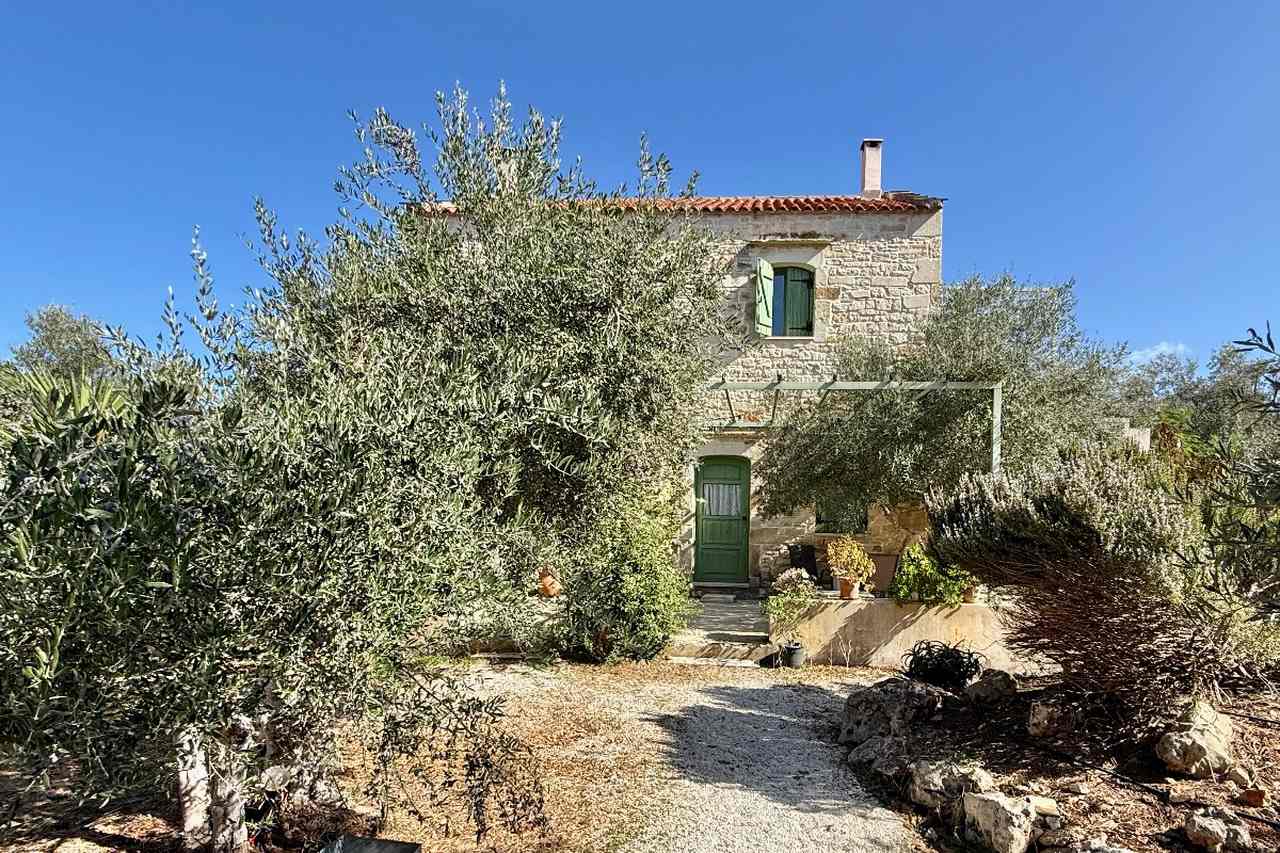
A Guesthouse at Fabrica Farm in Vamos, Crete
A Walk Around the Ancient City of Aptera
Our walk today started with a visit to Koules Fortress, more commonly known as the Aptera Turkish Castle. Located close to the ruins of Aptera, it was built by the Turks after the Cretan revolution of 1866 in an effort to regain control of Crete. When they failed and moved out, the fortress was used as a village school before being abandoned.
Due to its sturdy construction, the fortress is remarkably well-preserved, but public access is limited. Our guides organised entry for us and we were able to go inside and appreciate its strategic position overlooking Souda Bay, home to both a NATO naval base and the main port of Chania. We then walked across the valley below the fortress to the ancient city of Aptera on the other side.
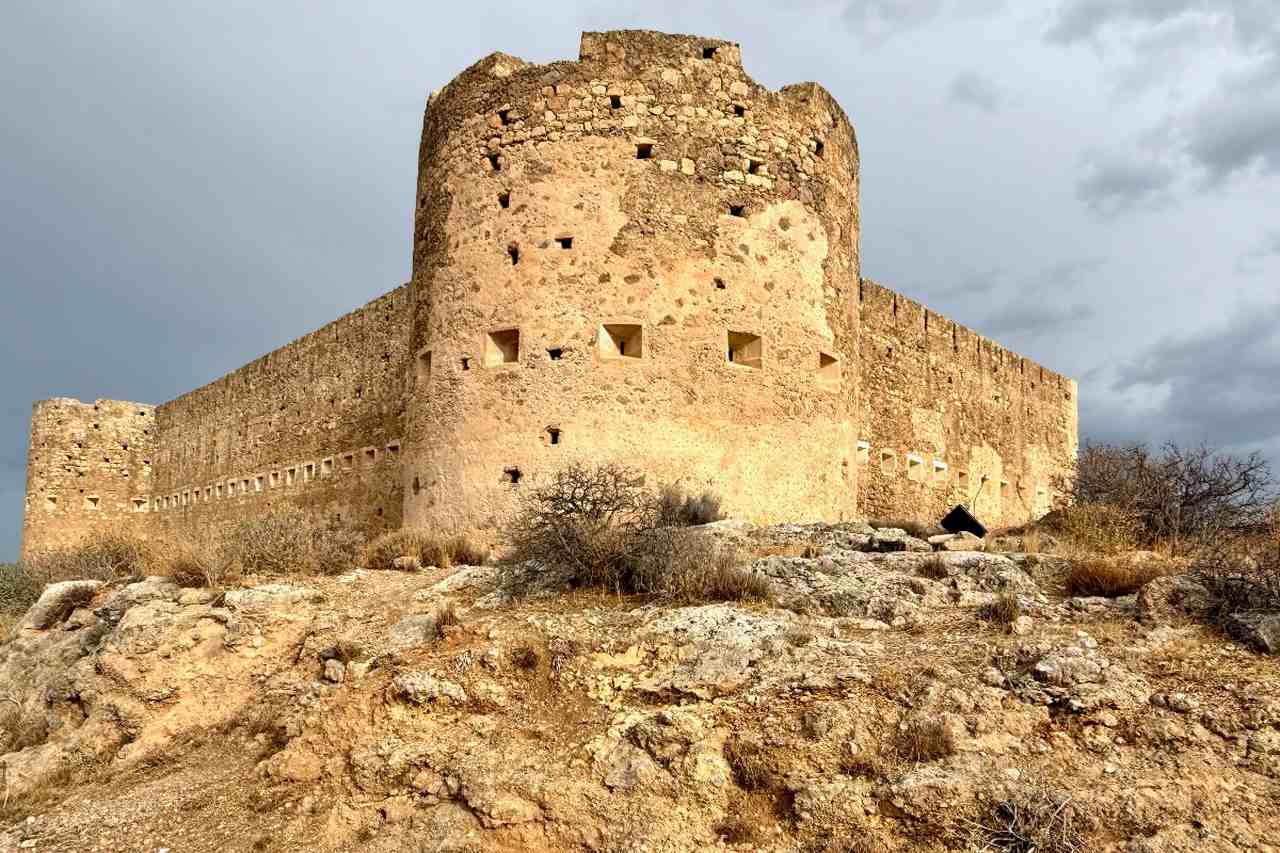
Turkish Fortress at Aptera in Crete
It was an interesting walk between the two sites. At one point, I felt as though I was walking along the top of a limestone wall, treading carefully to avoid the spiky surface of the karst landscape. I learnt that this could have been a wall surrounding an earlier settlement before the city of Aptera was built. Now an archaeological site, Aptera boasts an interesting collection or Greco-Roman ruins. We started at the Roman amphitheatre, individually trying out the acoustics. A weird experience as it really did feel as though one was talking through a microphone.
Most impressive were the remains of the Roman cisterns, partially built underground, that once supplied water to the baths in the city. Aptera was founded around the seventh century and inhabited by Greeks and Romans until the age of the Byzantines when a series of natural disasters forced its abandonment in 823 AD. A monastery was established here during the twelfth century. Today it is used as an administrative building and incorporates a small museum. This was where we finished our walk and my last experience of the ancient trails of Chania – for now.

Roman Cistern at Aptera in Crete
Fact File
FLY: There are daily flights from London and regional airports into Chania.
GETTING AROUND: Local buses do operate but a hire car or taxis would be the preferred way to get the best from the new network of ancient trails.
Want to know more? Click here for information about Crete and here for information about the trails
Valery Collins is the Experienced Traveller.
An excellent raconteur, Valery has been writing about her experiences on the road since she started travelling 30 years ago. After publishing four books, she turned to online travel writing.
The post The Ancient Trails of Chania in Crete – Walking Through a Karst Landscape on Crete appeared first on The Travel Magazine.


