Second largest city in the Nouvelle-Aquitaine region of south-west France, Limoges is internationally recognised as the French capital of ceramic arts and listed by UNESCO as a Creative City.
Soak up the history of the Cité District
Start by picking up maps and information at the Tourist Office on Place Wilson which lies between the two historic districts of the city centre, the Cité and the Château. Before you discover the city’s artistic links with porcelain, enamel and glass – the ‘arts of fire’ – I recommend soaking up a little local history to put the modern city in context.

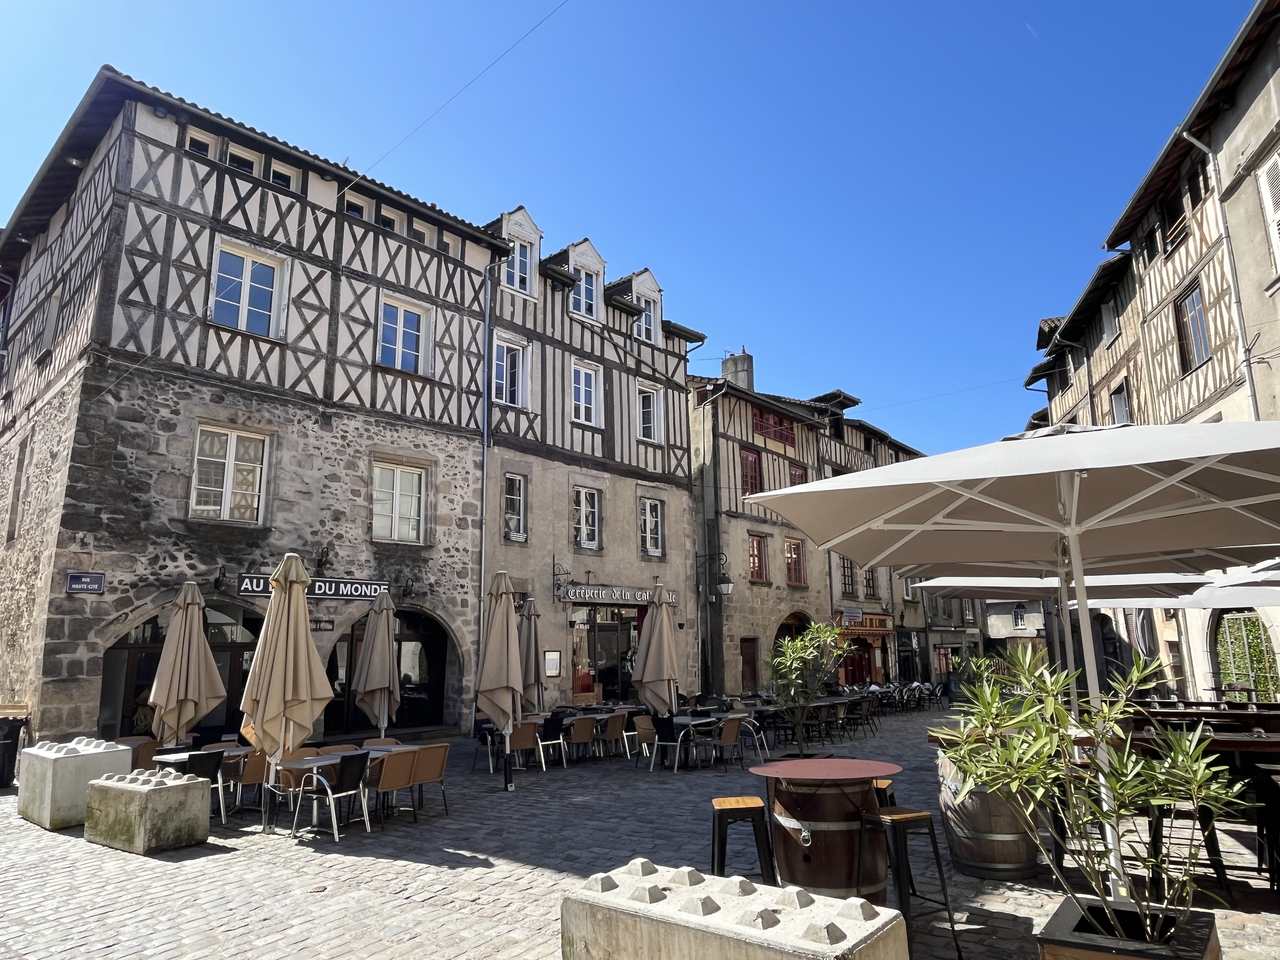
Rue Haute-Cite, Limoges
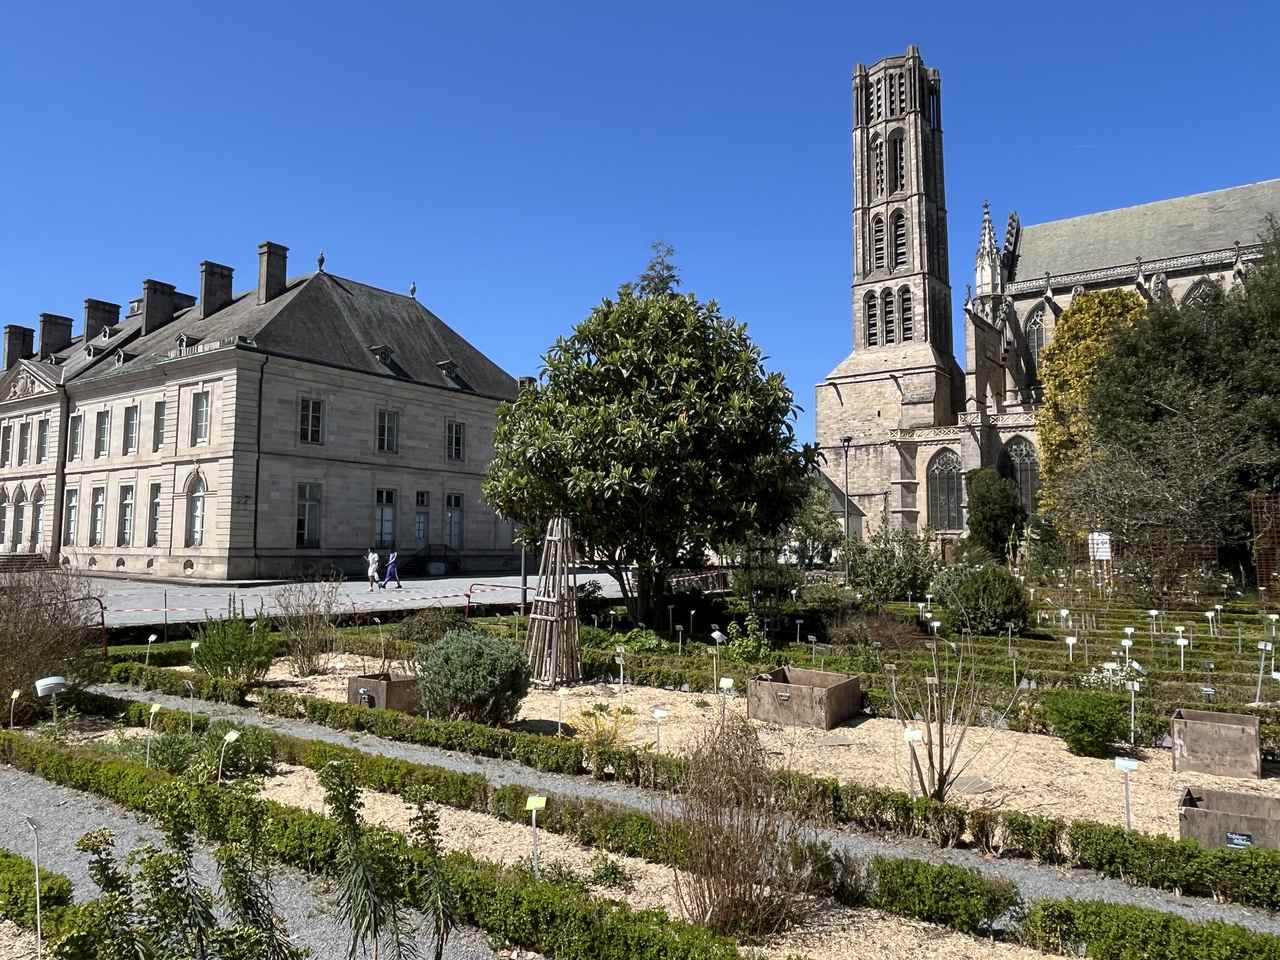
Religious centre of Limoges across the centuries, the Cité district surrounds the Gothic cathedral of Saint-Etienne which took a staggering 600 years to complete and is renowned for its stained glass. Stroll the paths between the formal plantings of the Bishop’s Garden and stand on the terrace for high level views over the river Vienne. The former Bishop’s Palace is now the Fine Arts Museum with four distinct collections – enamelwork from Limoges and beyond; paintings; local history; and Egyptology.

Fine Arts Museum (LF) and St Etienne Cathedral
Enjoy an eclectic mix of period architecture of Limoges
Arrive by train at a station widely considered to be the most beautiful in France and amongst the best in Europe. Limoges-Bénédictions station was built in the 1920s in an eclectic mix of Art Nouveau, Art Deco and Neo-Classicism which shouldn’t really work but somehow does!
The Chateau District or Upper Town has long been Limoges’ administration district. Today it buzzes with retail and restaurant temptations but is also a treat for anyone who loves fine buildings, especially the Art Deco facades created when dilapidated medieval properties were demolished in the early 20th century.

Limoges-Benedictions station
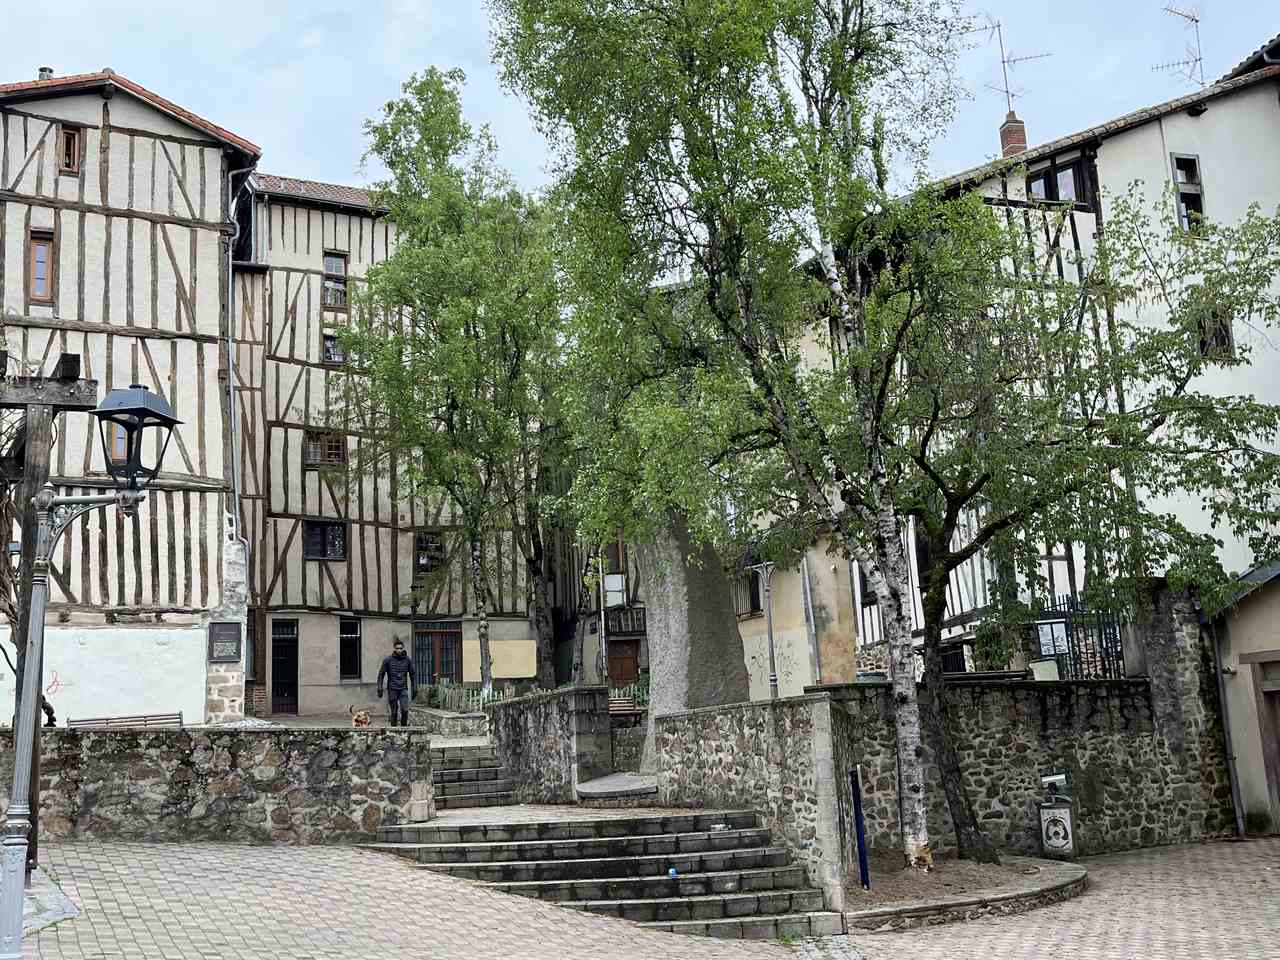
Don’t miss the Pavillon du Verdurier, designed by station architect Roger Gonthier to store meat during the Great War and now an exhibition centre; the FRAC-Arthothèque contemporary arts centre, newly installed this summer in a restored printing workshop; and, for a complete contrast, the half-timbered houses of the Cour du Temple, tucked out of sight between two parallel streets.
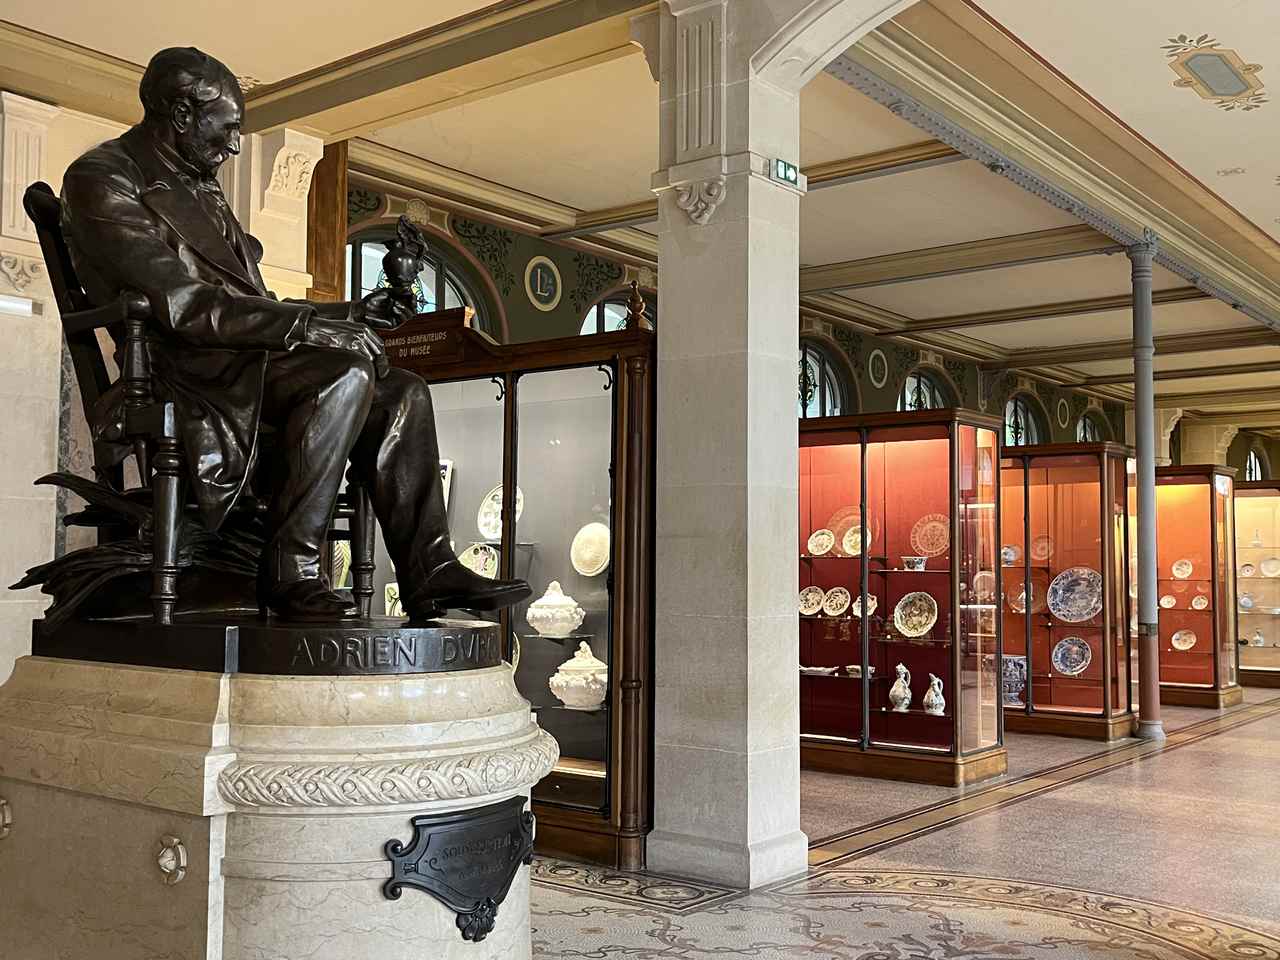
Adrien Dubouché National Museum

Adrien Dubouche Museum
Listed among the top 20 most beautiful museums in France, the Adrien Dubouché National Museum is home to more than 18,000 ceramics from Antiquity to the present day, including the world’s largest collection of Limoges Porcelain. It’s stunning stuff, with good bilingual touch-screens for background information, but I loved the building as much as the china, purpose-built in 1900 and named after the Director who was responsible for expanding the collection.. Expect an ornate façade, mosaic floors and some glorious stained glass.

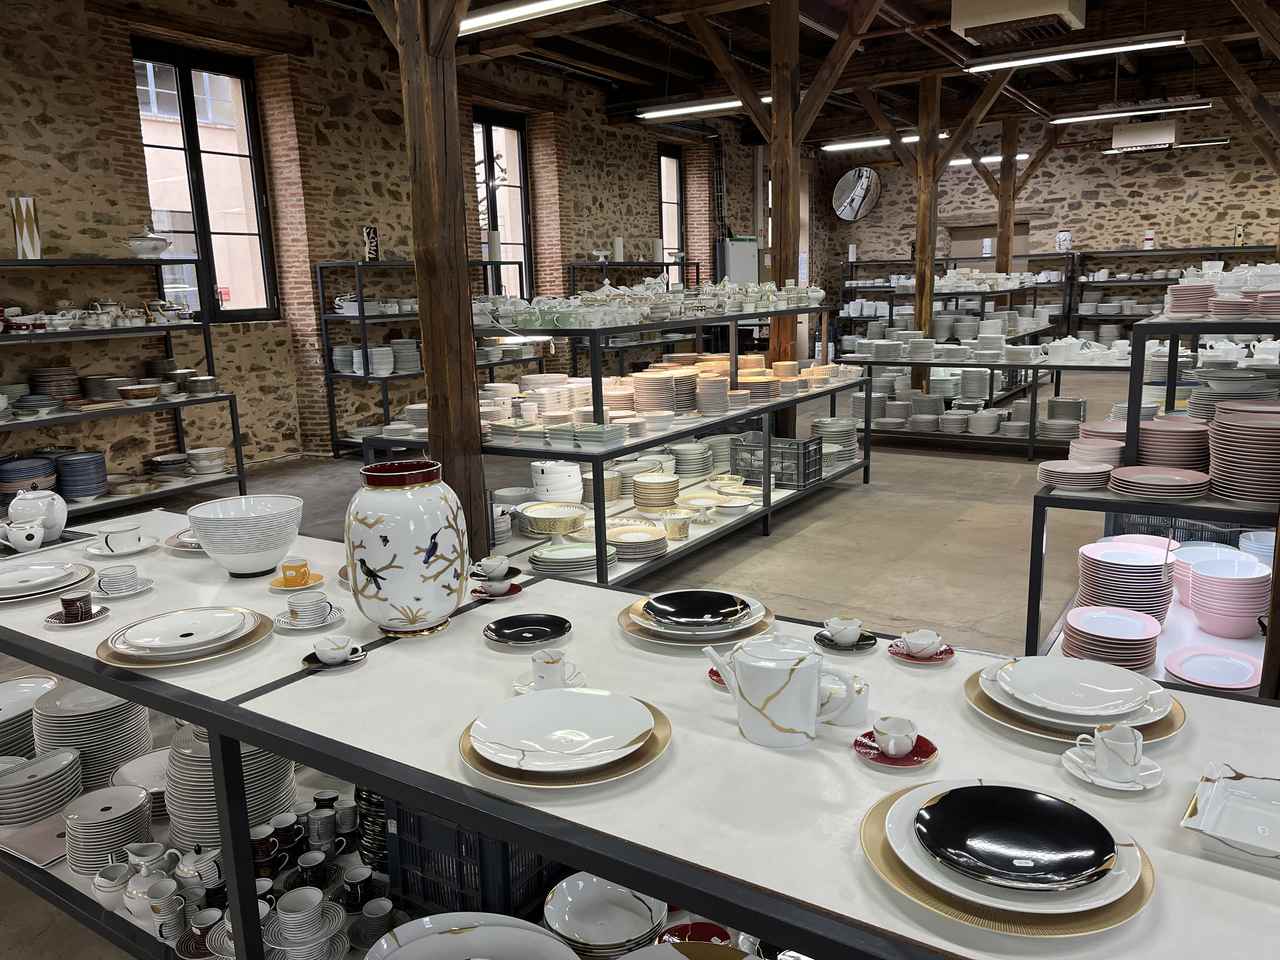
Bernadaud factory shop
Then see how things are done today with a tour of the Bernadaud Foundation, where you can discover the techniques of porcelain production from raw material to decorated article, before browsing the extensive factory shop to accessorise your home. Ask at the Tourist Office about local ceramicists offering studio visits and also for the city map pinpointing independent shops in the Château district, many of them specialising in local craft items. Not just those famous arts of fire, but other traditional trades such as leather, paper and tapestry from the surrounding area.
Head to Les Halles Centrales on Sunday morning

Les Halles
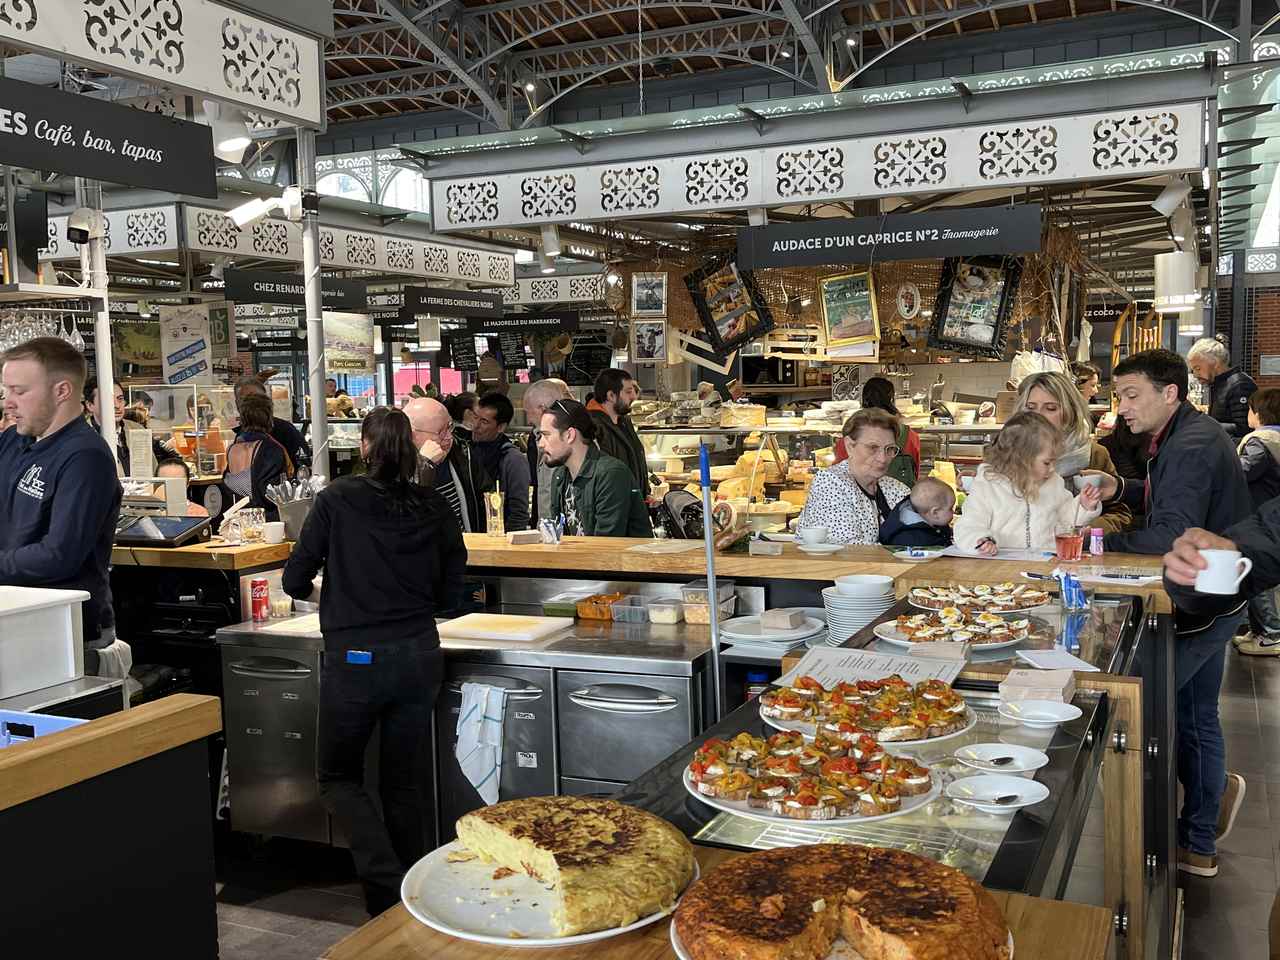
Open every morning except Monday until 2pm (3 on Friday and Saturday), this elegant covered market in brick, iron and glass was inaugurated in 1889 on the site of an old wooden market hall. Designed by students of Gustave Eiffel, it stands at the highest point of the town and is especially animated on Sunday mornings, when locals gather not just to buy their weekend fare but also to eat at the little restaurants and food stalls in and around the market.

Boucherie Quarter
The nearby Boucherie district is another gem, once the centre of the butchery trade and still an atmospheric quarter with narrow medieval streets lined with restaurants. Don’t miss the bijou chapel of Saint Aurélian, saved from destruction during the Revolution by the influential meat traders. The Petit Ventre – ‘small belly’ – food festival takes place here in October. In the meantime, I enjoyed a great summer dinner at Le Petit Ventre restaurant opposite the chapel.
Explore the crafts and countryside of the Limousin

Saint-Leonard-de-Noblat
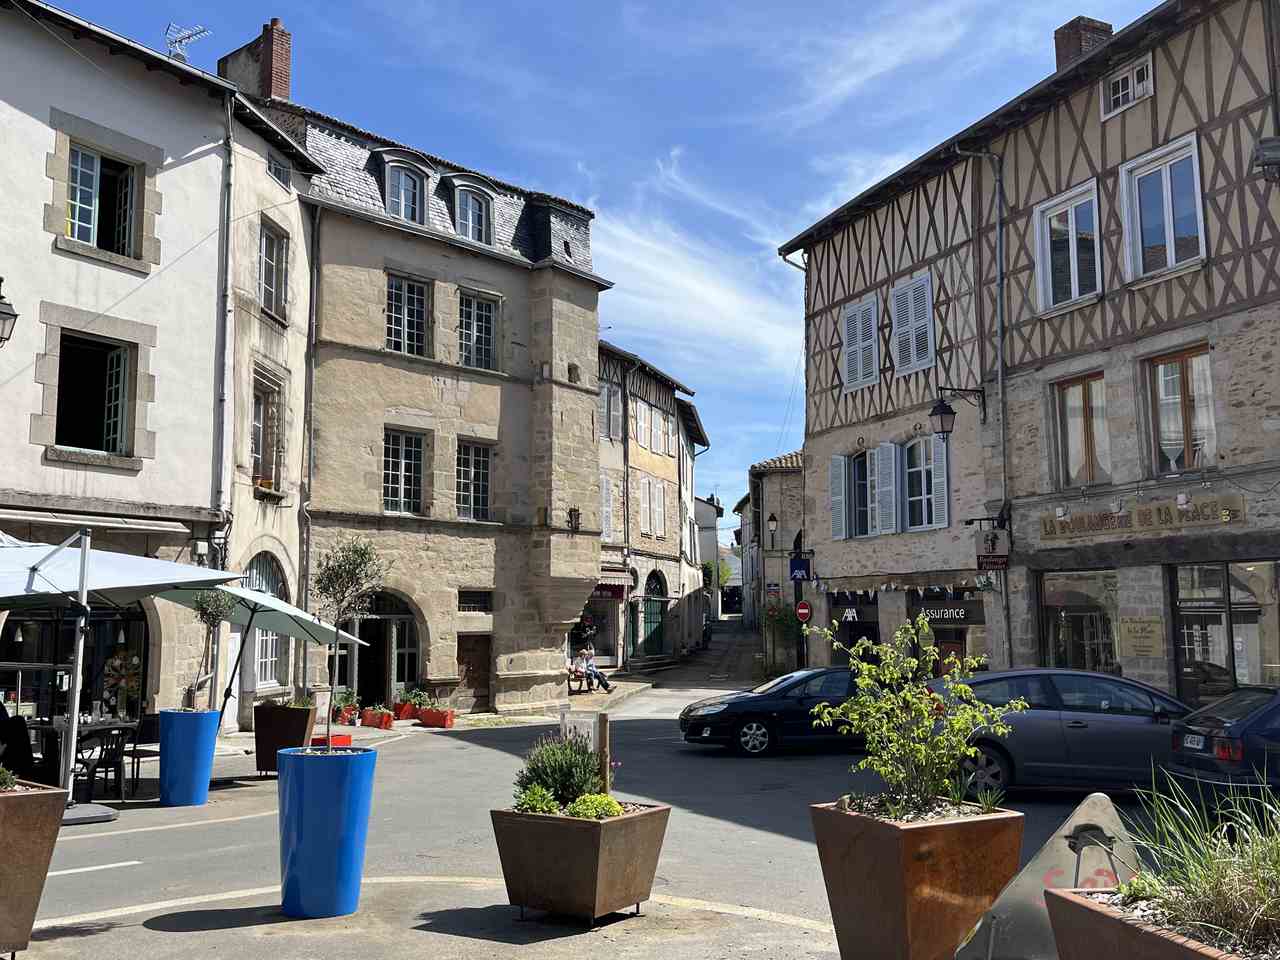
Head east from Limoges by car or public transport through the Haute-Vienne countryside to the gorgeous little market town of Saint-Léonard de Noblat, listed by UNESCO as part of the Compostela pilgrims’ routes. Visit the Romanesque church, explore the medieval streets and squares, and sample the delicious massepain biscuits, traditionally made for hungry pilgrims. In centuries past, paper was produced at water-powered mills in the nearby valleys and I loved seeing how this traditional craft has been revived at the Moulin du Got.
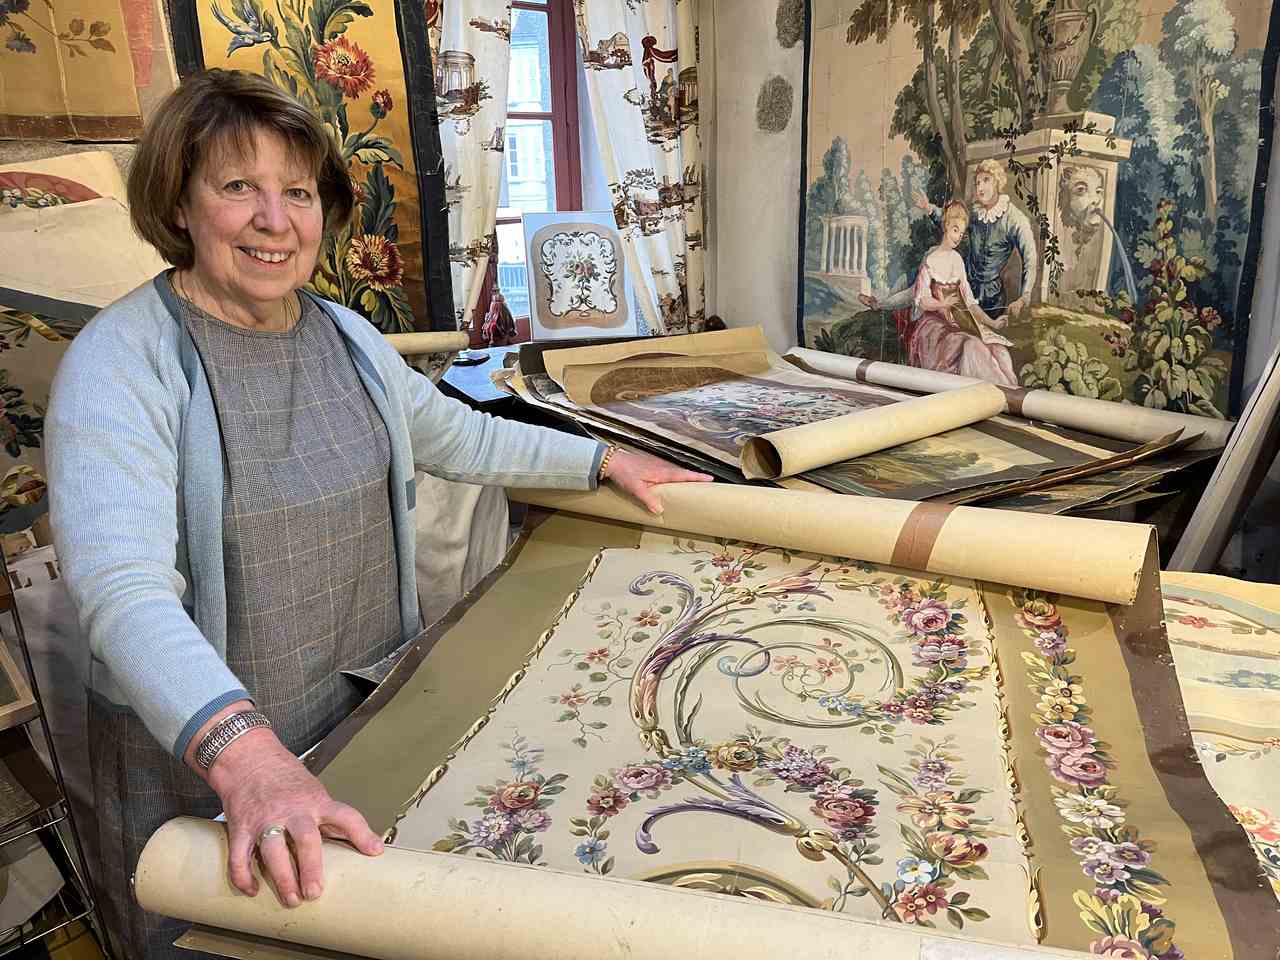
No discovery of traditional crafts would be complete without a visit to Aubusson, a small town in the adjacent department of Creuse with an international reputation for its exquisite tapestries. If, like me, you have a traditional idea of tapestry designs from visiting stately homes and castles in England or France, expect a big surprise at the Cité Internationale de la Tapisserie where traditional unicorns, knights and damsels give way to vibrant contemporary scenes in a myriad of eye-popping colours. And discover new ways of using old tapestry templates – ‘cartoons’ – at Chantal Chirac’s riverside Cartoon Workshop and Museum, another gem in a region just bursting with creativity.

Chantal Chirac, Cartoon Museum and Workshop, Aubusson
Fact File
FLY: Gillian flew London-Stansted to Limoges with Ryanair
TRAIN: Paris-Limoges – 3h15
BY CAR: 390 km from Paris on the A20 motorway
STAY:
More info:
You may also like:
The post Things to do around Limoges, France appeared first on The Travel Magazine.


