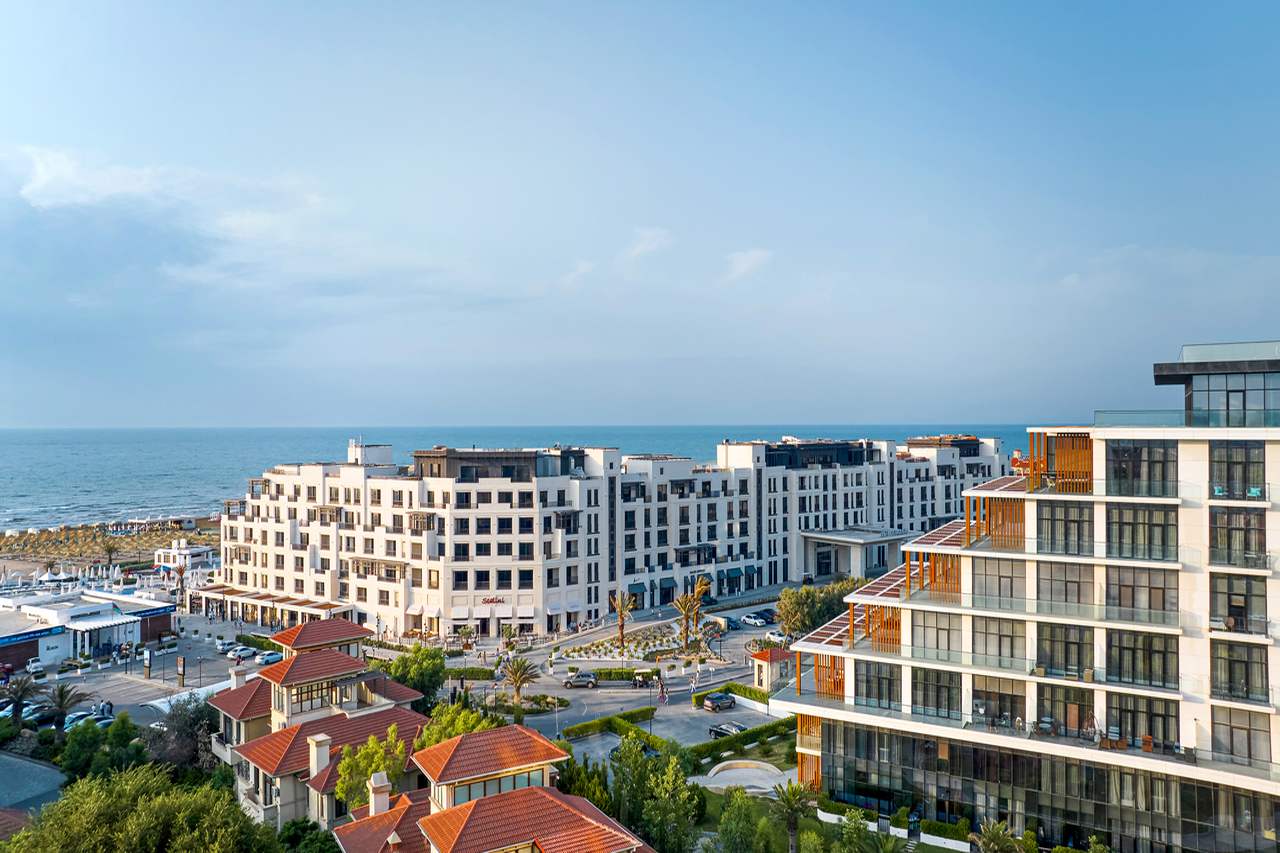
The Telegraph Hotel Review, Tbilisi, Georgia
Tbilisi’s most electrifying new address isn’t just a hotel, it’s a revival. Rising from the bones of the city’s former post and telegraph office, The Telegraph has been reborn as a cultural powerhouse. Its mid-century skeleton has been polished to a modern gleam by design titans Neri&Hu, blending Brutalist cool with warm, welcoming elegance.
A true icon on Rustaveli Avenue, this is where Georgia’s past connects — literally and spiritually — with its bold, cosmopolitan present. The first member of The Leading Hotels of the World in the Caucasus, The Telegraph offers more than just five-star comfort: it’s a gateway into the city’s thriving artistic spirit.
Who for
The Telegraph is made for curious minds and creative souls. If you’re the kind of traveller who wants more than a bed and a buffet — if you crave late-night jazz, breakfast with a view, conversations over wine, and interiors that make you feel something — then this is your hotel. Ideal for stylish couples, solo adventurers, and switched-on business travellers alike, The Telegraph is where global trendsetters and local tastemakers cross paths.
Accommodation
With 239 rooms and suites, The Telegraph manages to feel both expansive and deeply personal. Interiors are sleek, tactile, and calming — imagine concrete softened with velvet, stone balanced by warm wood, and light pouring in from wide windows which frame the city‘s cinematic backdrop.
Even entry-level rooms come with high-spec tech, like a digital pad for everything from pillow menus to private transport. Suites up the ante with sprawling living areas, curated minibars, and indulgent marble bathrooms. But it’s the atmosphere which makes the real difference — it’s serene, quietly luxurious, and unmistakably Georgian.
Food and drink
Tbilisi is emerging as one of Europe’s most exciting food capitals and The Telegraph is leading the charge. With seven bars and restaurants under one roof, this is a true playground for the palate. Spearheaded by Irakli Asatiani — Georgia’s youngest Executive Chef — each venue offers a distinct, chef-driven identity.
Laan Thai is a revelation. Created by Bangkok-born chef Rose Chalalai Singh, it delivers fiery Thai flavours with Parisian finesse, all grounded in Georgian produce. Signature dishes arrive in hand-crafted clay pots or lightly smoked over charcoal. It’s authentic, playful, and utterly addictive.
The Grill and Pasta Bar are sophisticated without being stiff, perfect for a long lunch or moody dinner. The Grand Café serves elegant breakfasts and light bites by day, while the Central Bar is a buzzy hub after dark. And then there’s the Rolling Stone Rooftop, the world’s first bar from the iconic music magazine, offering panoramic views, DJ sets, and signature cocktails.
Downstairs, Tatuza sets the tone for Georgia’s jazz renaissance. With low lighting, velvet banquettes and world-class musicians, this isn’t just a jazz bar: it’s a rite of passage.
Facilities
Yes, there’s a gym. Yes, there’s a wellness studio. And a fabulous pool. Yes, you can host a gala dinner or close a business deal in one of the chic meeting rooms. But the true facility here is the atmosphere — effortlessly glamorous, warm without trying too hard, and intuitive to your every need.
Guests can book everything from airport transfers to spa treatments from their in-room digital concierge, or lean on the always-switched-on front desk team for something more bespoke. Want a curated city tour through Tbilisi’s hidden courtyards and crumbling mansions? Sorted. Keen to sip wine in the same vineyards once owned by Georgian nobility? Done.
What’s nearby?
Step outside The Telegraph and you’re right on Rustaveli Avenue, Tbilisi’s grand boulevard, lined with museums, theatres, and history-soaked architecture. A short stroll brings you to the Georgian National Museum, the Art Palace, or the Opera House. But the real magic lies in getting lost: duck into hidden courtyards, sip wine at tiny cellar bars, and follow your nose through the city’s spicy, floral markets.
The Telegraph also offers tailor-made tours for guests wanting to dig deeper, from Soviet-era ruins to artist studios, or even a full-day escape to the Kakheti wine region.
How much?
Rooms at The Telegraph start from €270 per night including breakfast, though it’s well worth splashing out on a suite with a view or balcony. Prices fluctuate with the season and city events.
Verdict
The Telegraph isn’t just a hotel—it’s a manifesto. This is a bold statement that Georgian hospitality is ready for the world stage. With dazzling design, unforgettable food, and a cultural pulse which never flatlines, it offers not just a stay, but a story worth telling. If Tbilisi is the new Berlin, then The Telegraph is its Soho House, only warmer, wiser, and proudly Georgian.
The post The Telegraph Hotel Review, Tbilisi, Georgia appeared first on The Travel Magazine.






 Nearby is the oldest park in Baku, the 1-acre Philharmonic Garden, created in 1830 outside the walls of the Old City. I had to stop and stare for a while at the verdant landscape and its gorgeous fountain.