Guide to Summer in Méribel, France
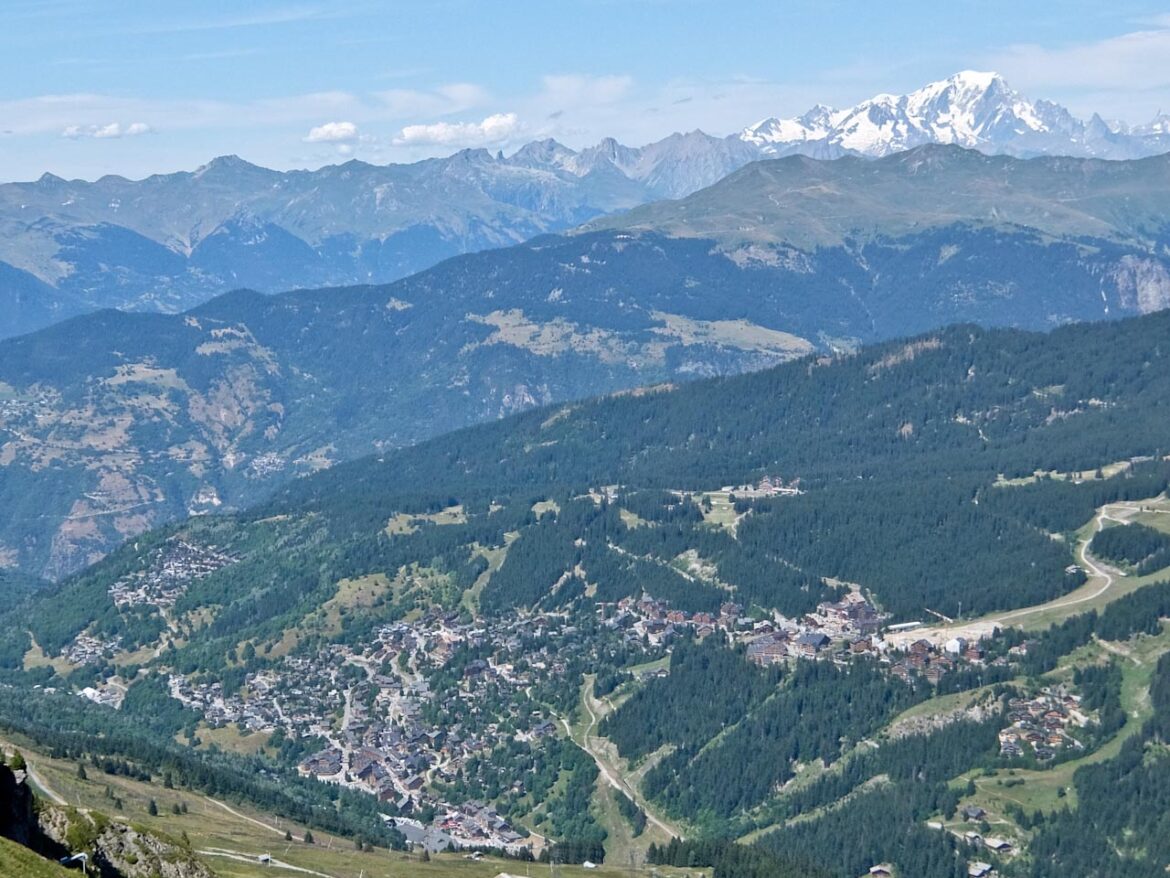
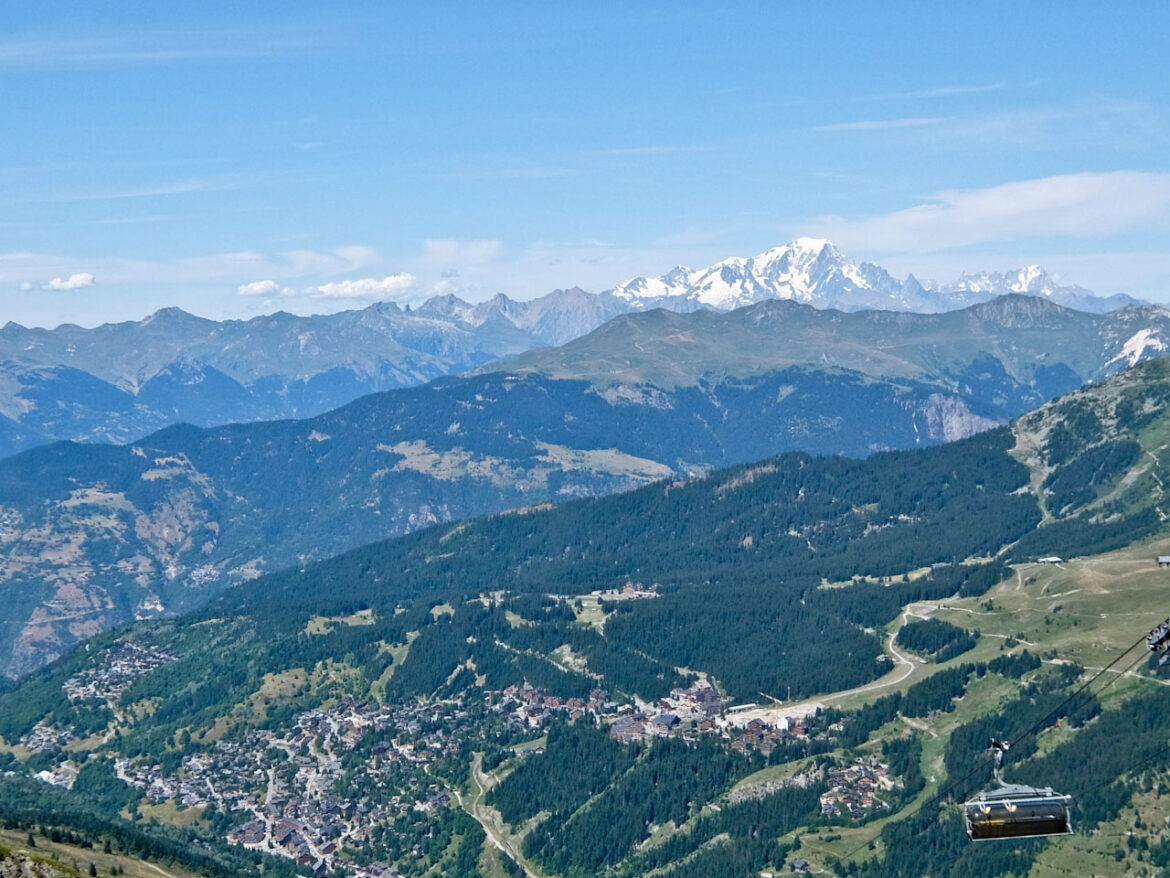
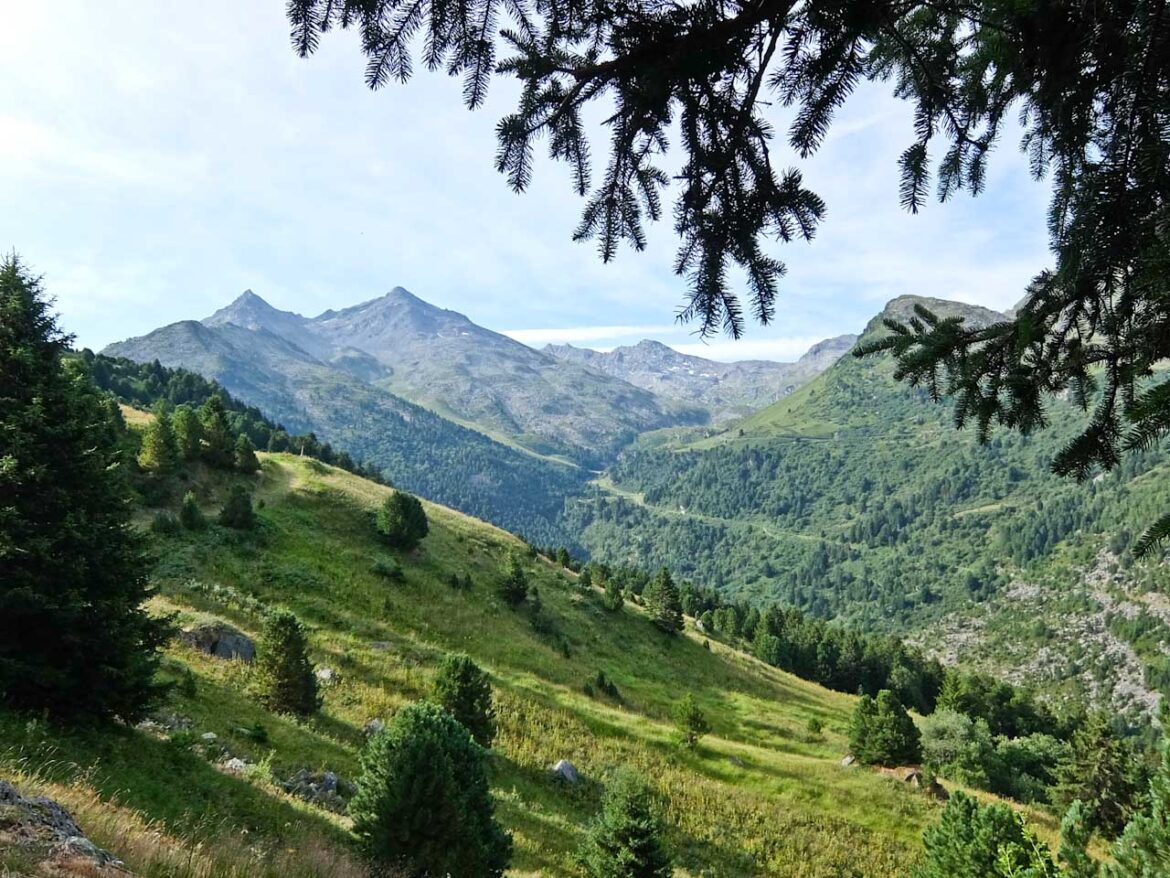
In the heart of the Tarentaise Valley in the French Alps, Méribel is widely celebrated as a top-tier winter destination for skiing and snowboarding. But when the snow melts and the lush green meadows emerge, Méribel transforms into an equally enchanting summer escape.
It’s always been popular with the British since Colonel Peter Lindsay, a British military officer and keen skier, sought to establish a ski resort outside of Austria. In 1938, he discovered the Méribel valley and began buying land and aimed to design chalets in the traditional Savoyard style. The first hotel, Le Doron, was built in 1939, and Méribel officially began as a ski resort.
Unlike in winter, when Méribel buzzes with skiers, summer in the region offers a more relaxed, intimate atmosphere. Visitors can savour the slower pace of life, unhurried by ski lift schedules or crowded chalets. It’s the perfect getaway for families, couples, nature lovers, and adventure seekers alike.
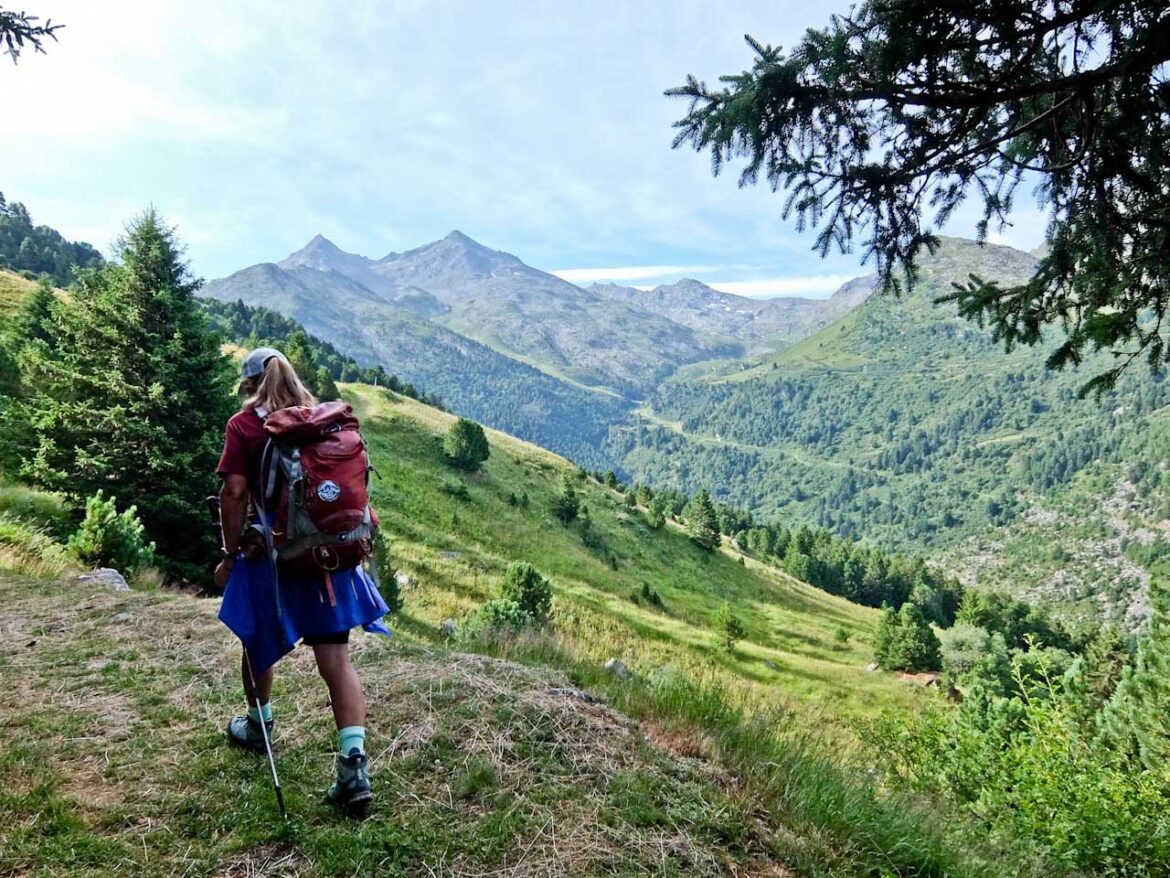
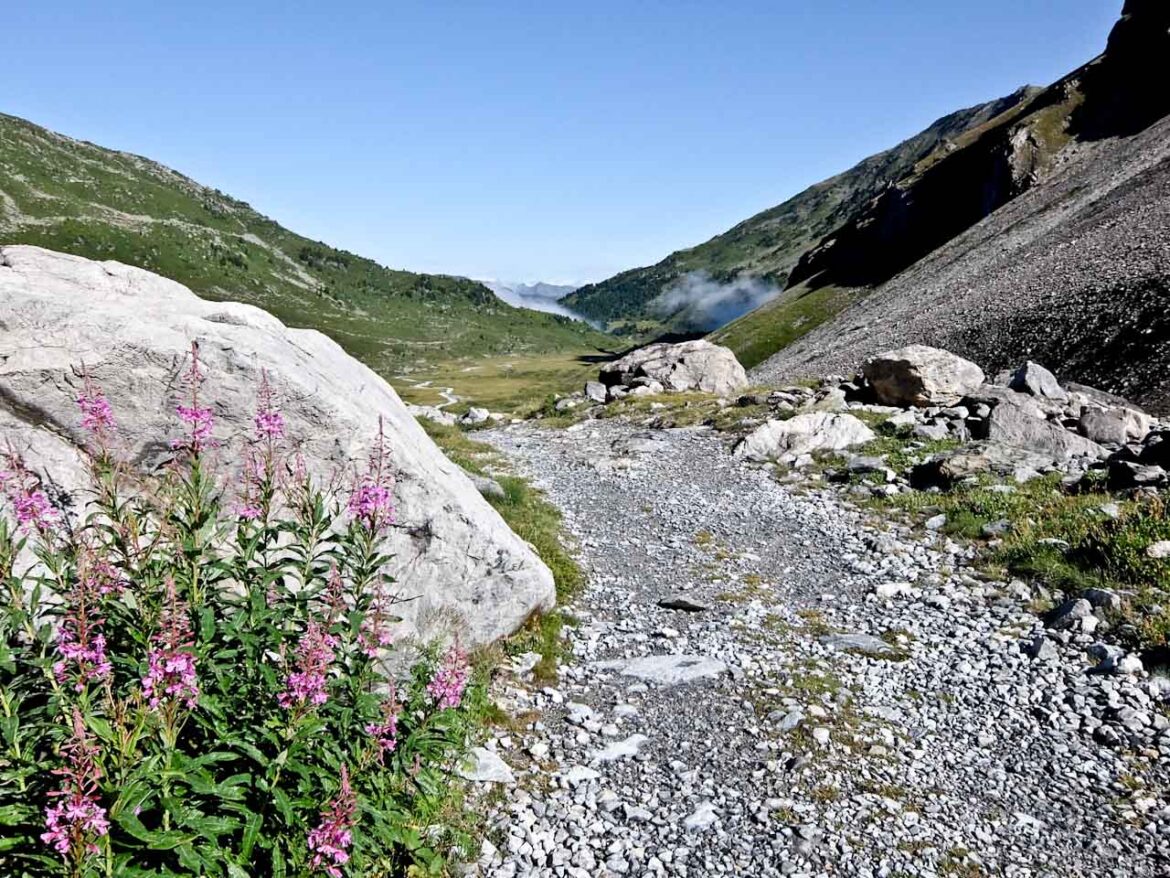
For hikers, there are over 200kms of marked trails and a route for every ability—from gentle walks through flower-filled meadows to challenging ascents with panoramic views. The trails wind through the Vanoise National Park, one of France’s oldest and most beautiful protected areas.
Méribel’s reputation as an adventure playground doesn’t stop at hiking. The resort is also a premier destination for mountain biking. With trails designed for all skill levels and multiple bike parks equipped with lifts, riders can explore a variety of terrains.
Downhill thrill-seekers can enjoy lift-assisted descents, while cross-country riders can tackle rolling routes through mountain pastures and shaded woodlands.
Col de la Loze Cycle Route
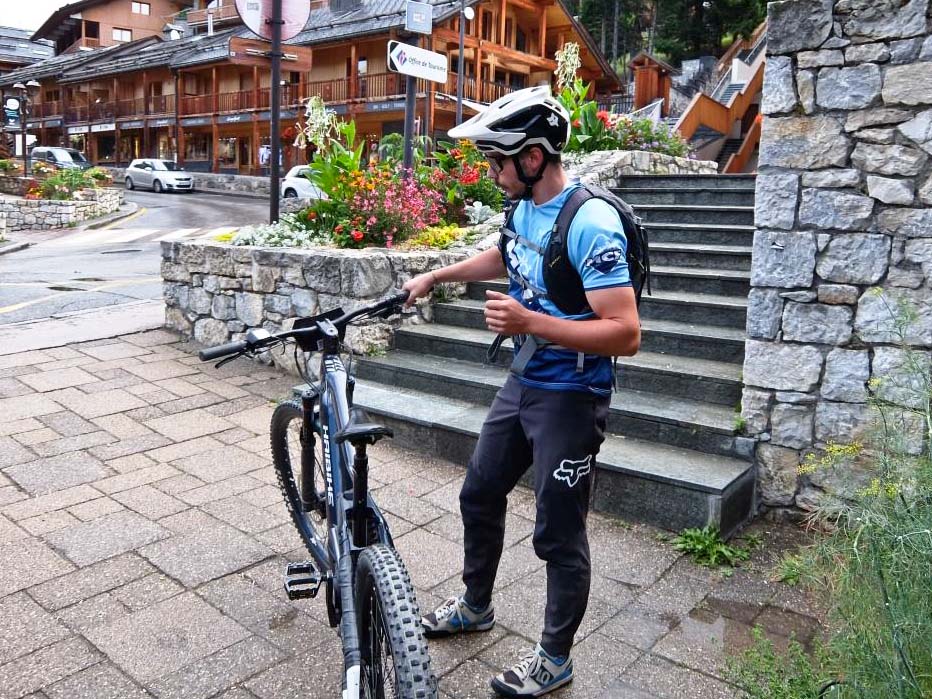
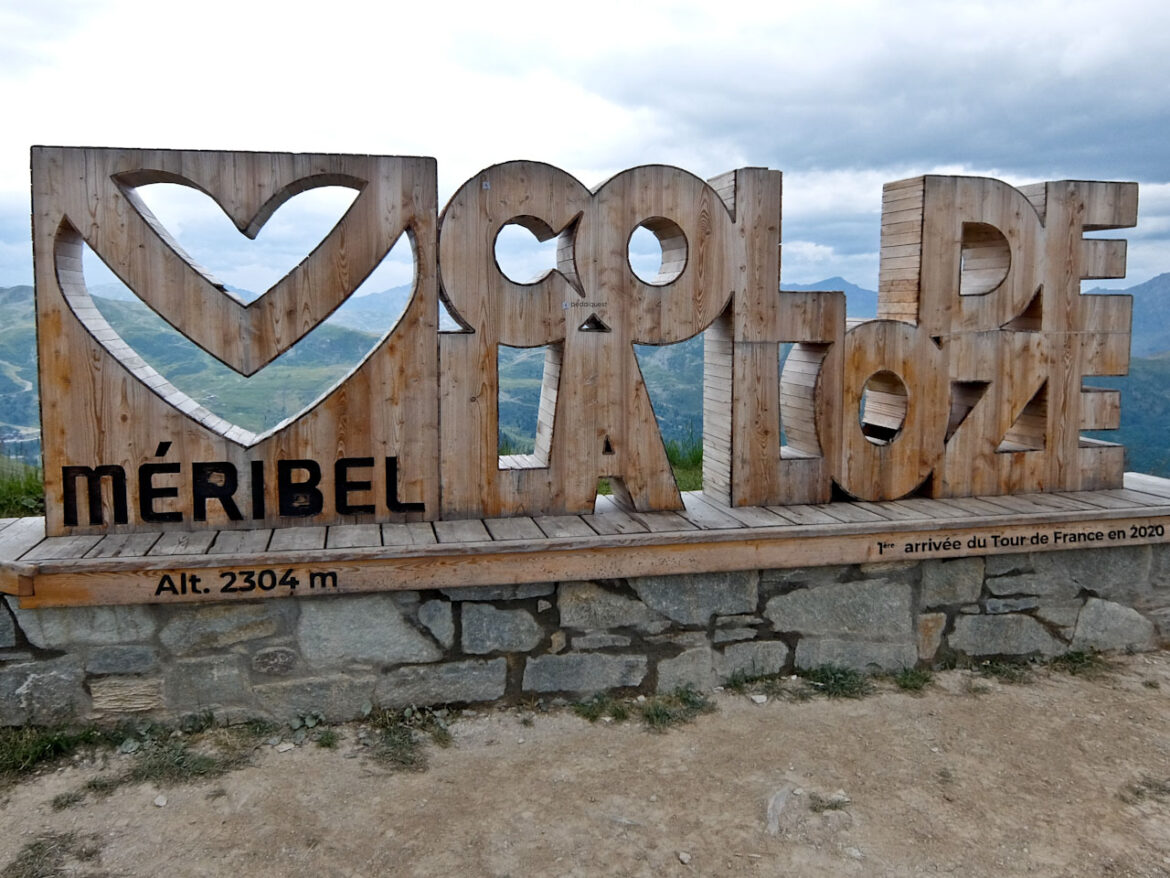
On my first day I’m going to tackle the Col de la Loze, a highlight of the 2025 Tour de France. It’s the third highest pass in Savoie and the 10km route starts at around 1400m and ends at 2,304m. It’s tough but I’ve hired an E-bike in the village to help me get to the top.
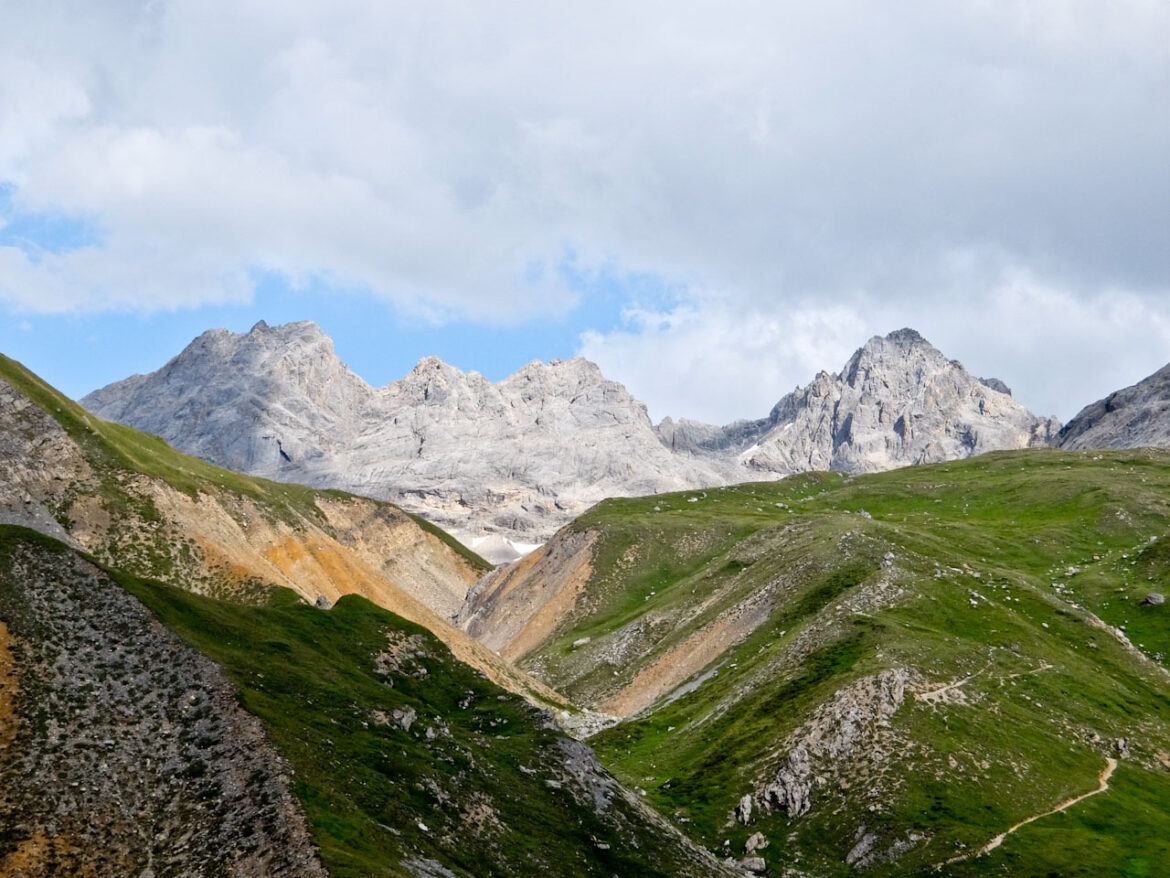
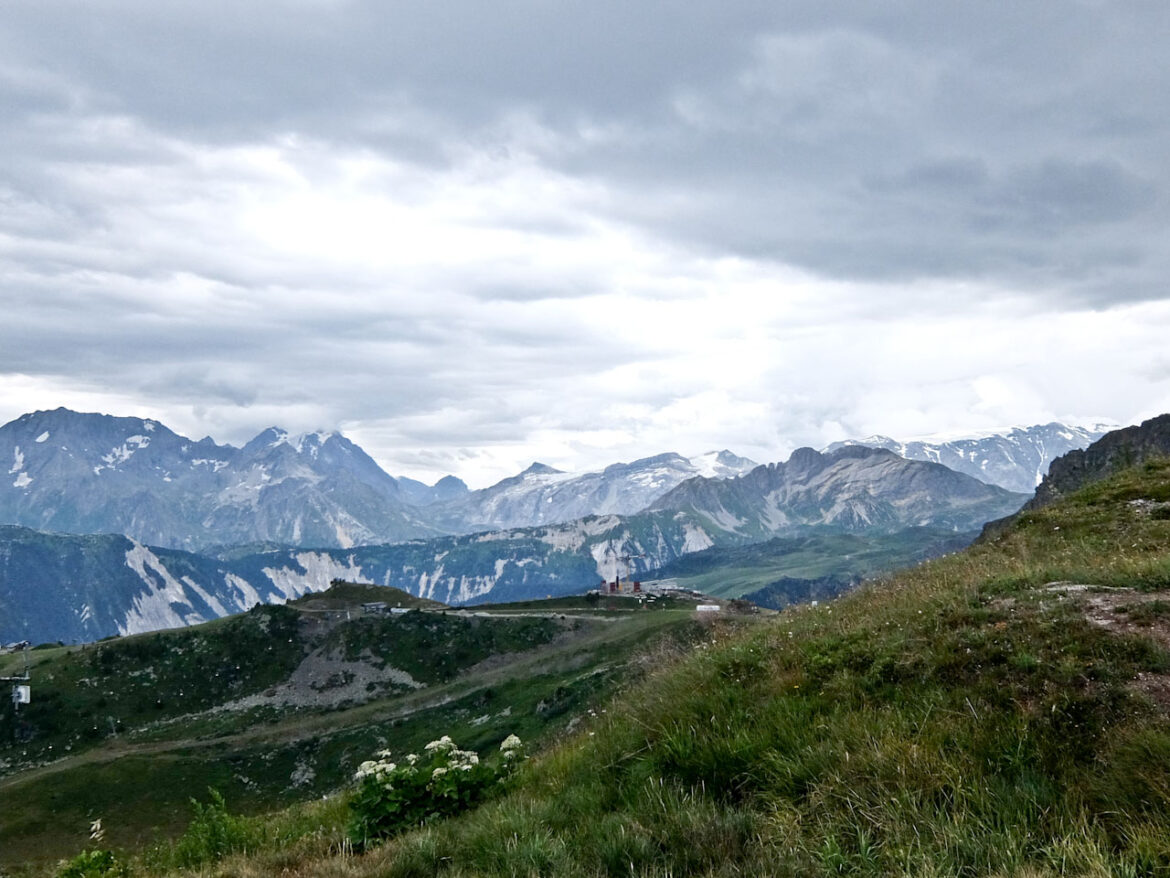
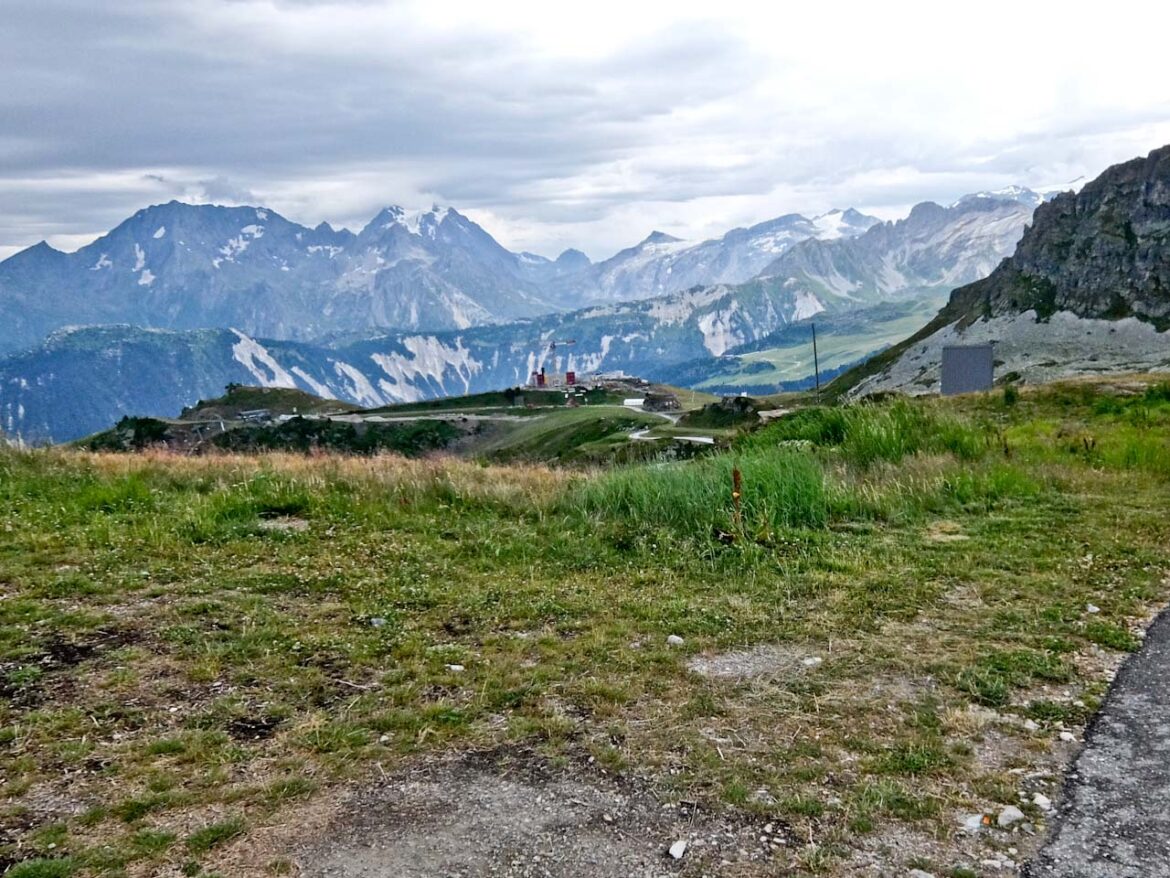
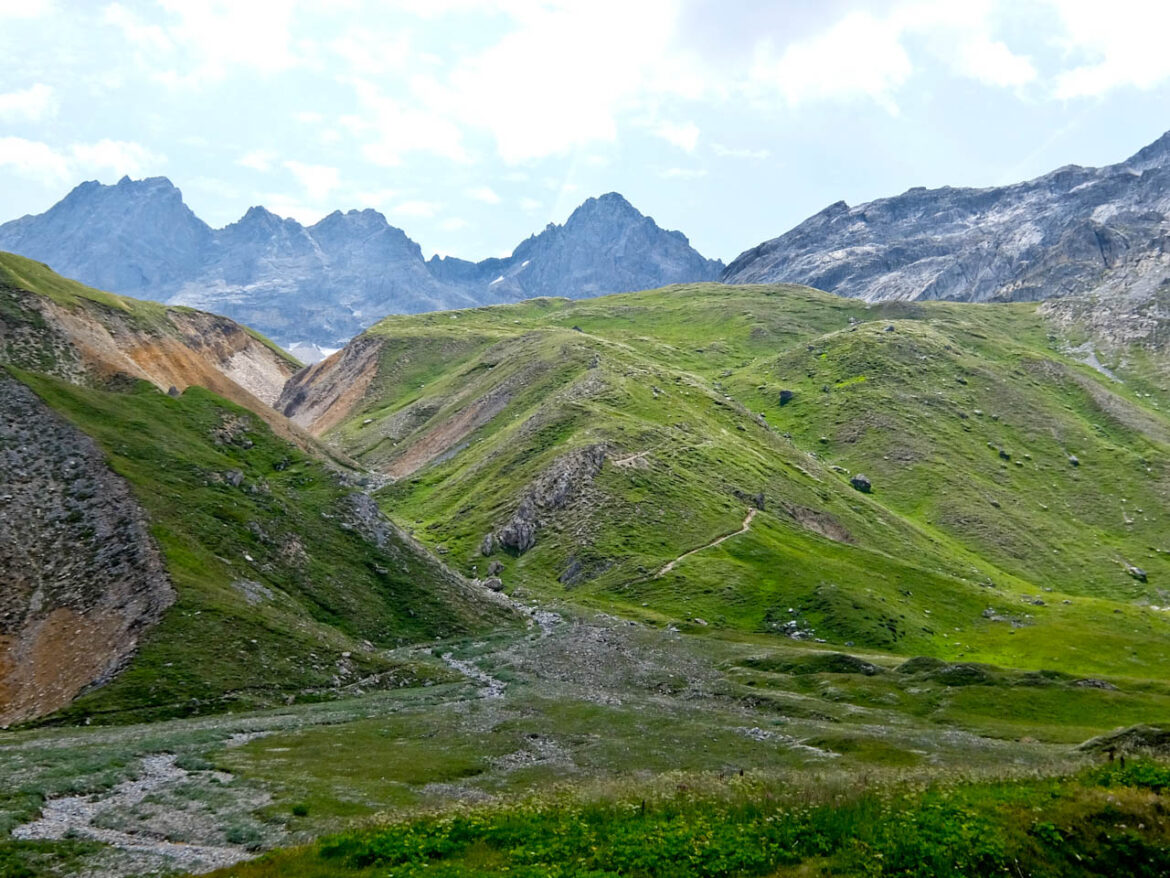
The trail starts in the forest and then winds through alpine pastures with open views of le Mont Blanc, the Méribel valley and la Grande Casse. It perfectly follows the curves of the mountain and some bends are particularly brutal. I know from previous experience that it’s essential not to stop on the uphills so always be in the right gear.
In this case it means the lowest, particularly for tackling the last 23% gradient before I arrive at the pass. My efforts are rewarded by a majestic 360° view of the mountains and I also have satisfaction of climbing one of the most spectacular mountain passes of the Tour De France.
Of course going down is a breeze, although it’s now starting to rain. I feel sorry for those cyclists who pass me using just pedal power who are going to get soaked. The great thing about the trail is that it’s all on surfaced roads and vehicles are not allowed. It’s certainly a thrill and I feel proud to have accomplished it.
Lac de Tuéda Outdoor Yoga
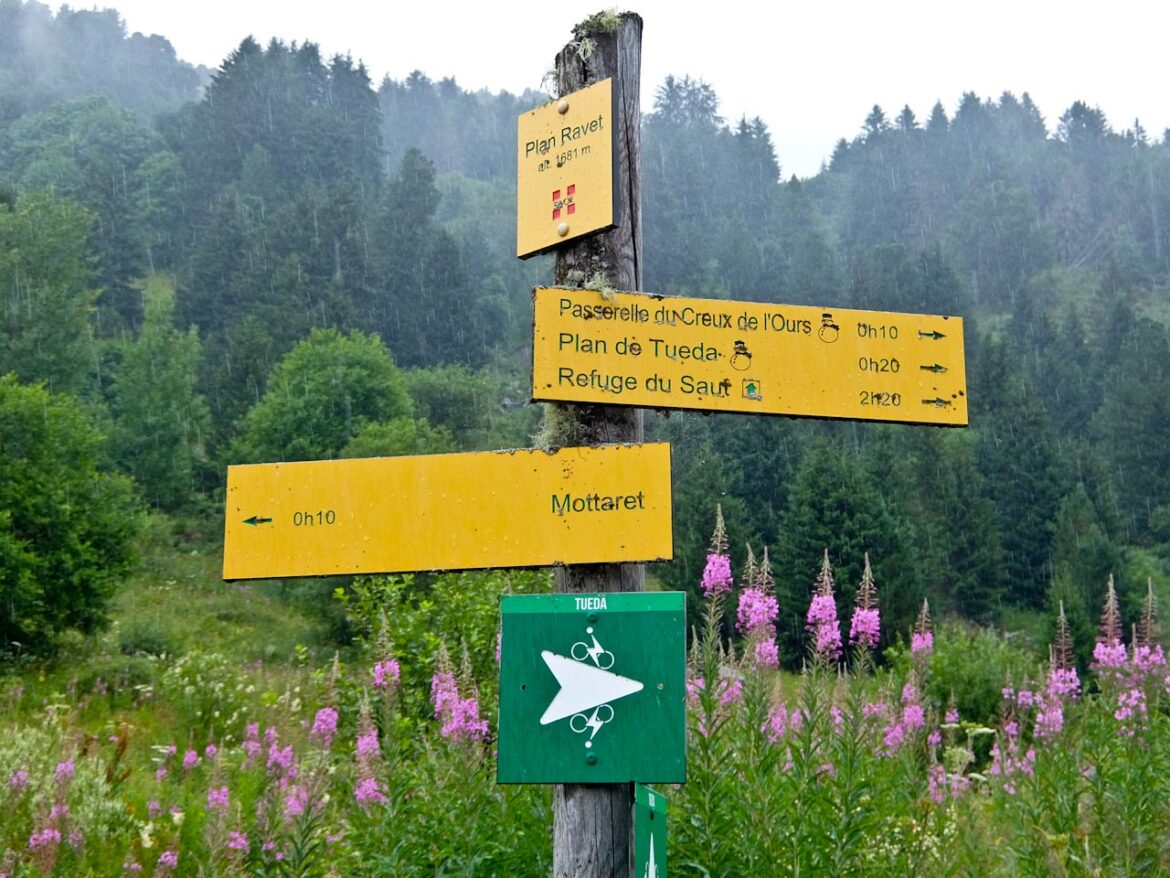
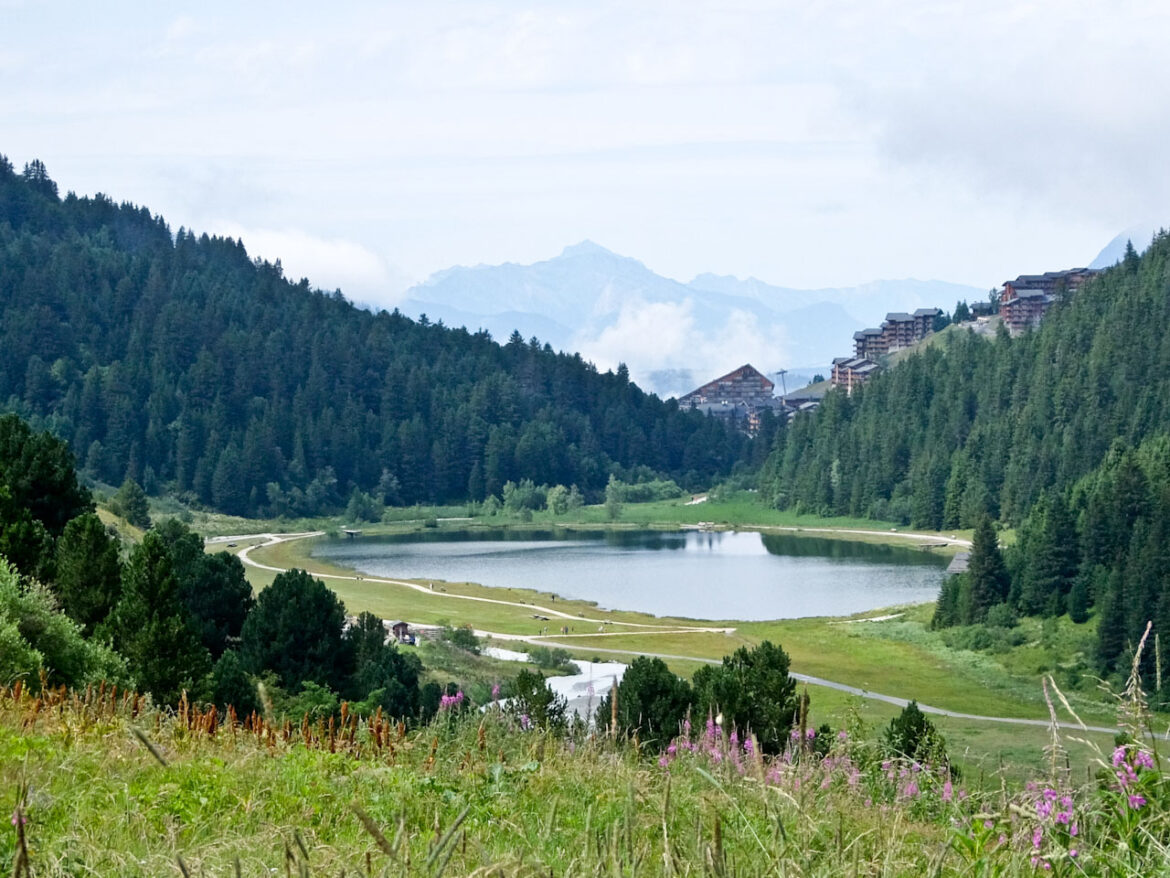
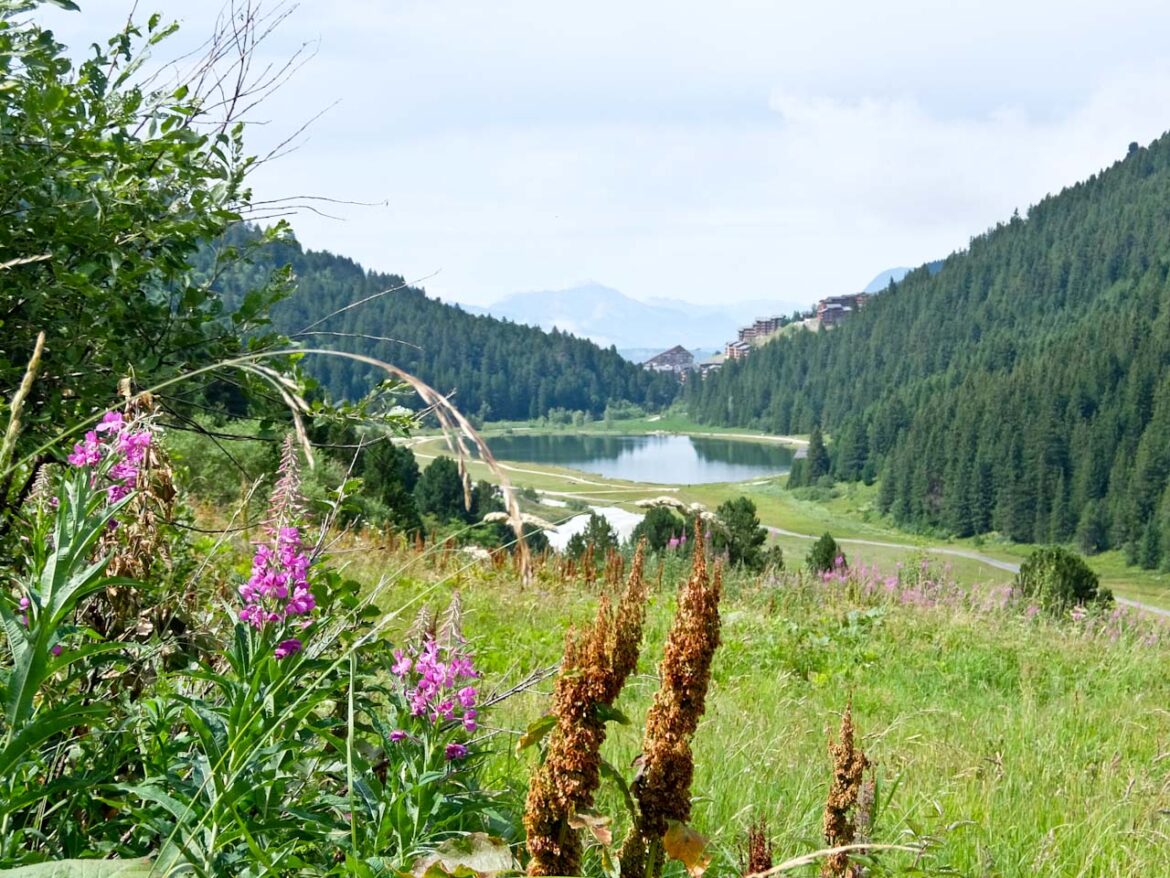
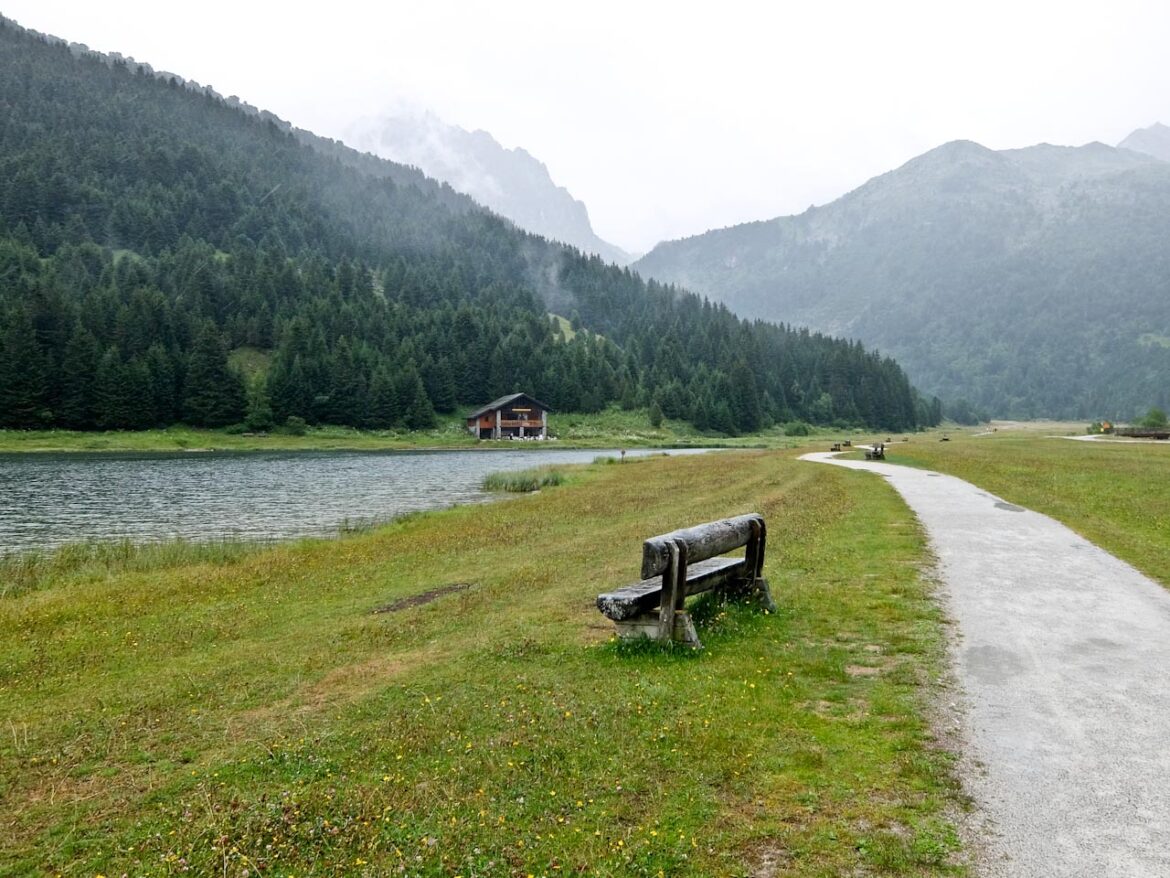
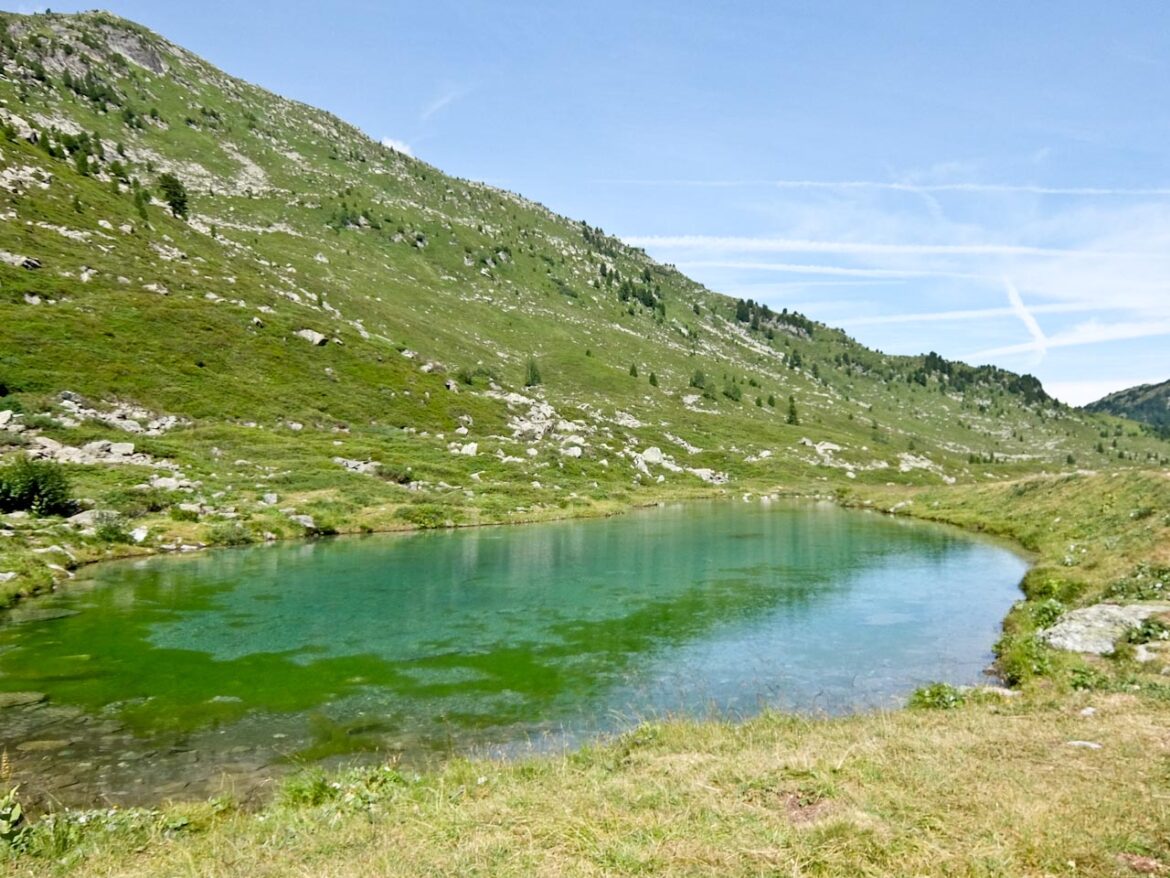
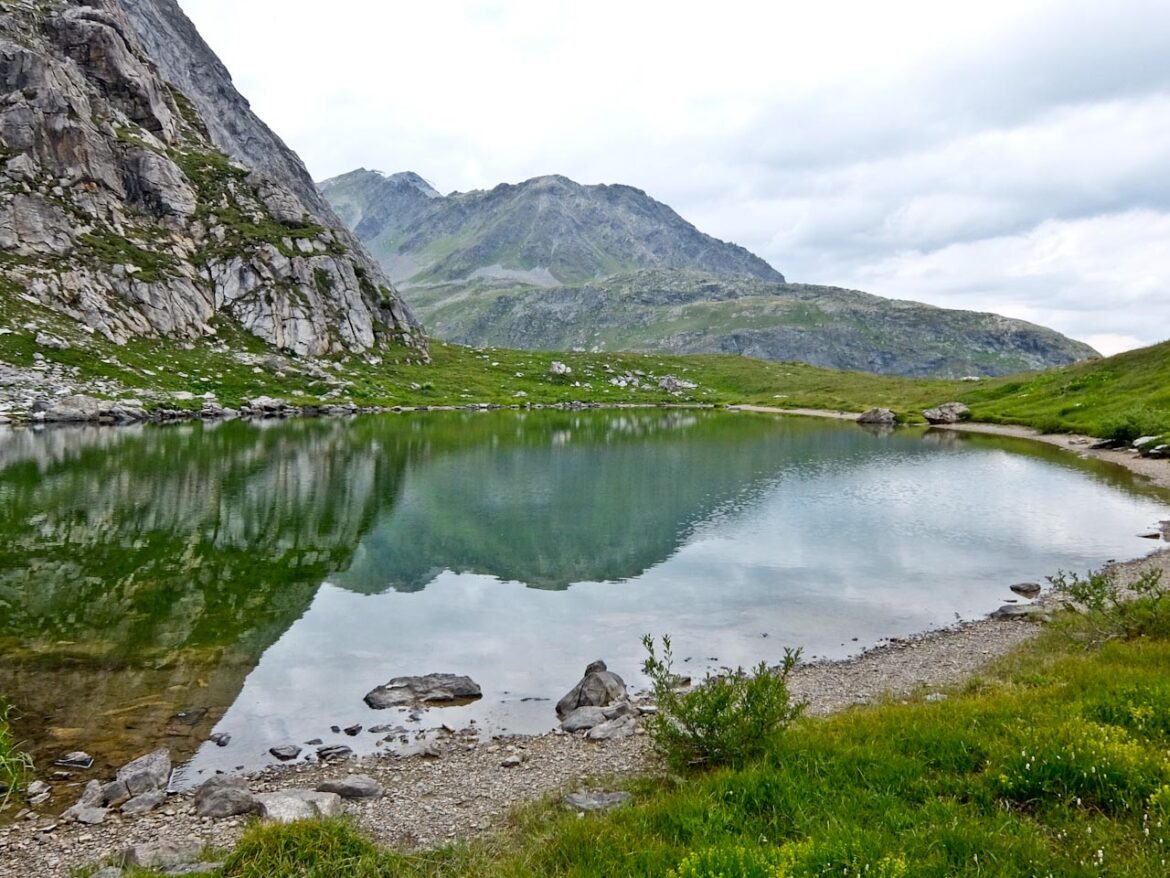
Méribel -Mottaret has its very own nature reserve at the Lac du Tuéda, just 6km south of the centre. It covers 1,100 hectare of protected land and home to no fewer than 400 animal species and 540 plant varieties. At the beginning is a beautiful turquoise alpine lake surrounded by towering peaks and aromatic pine forests.
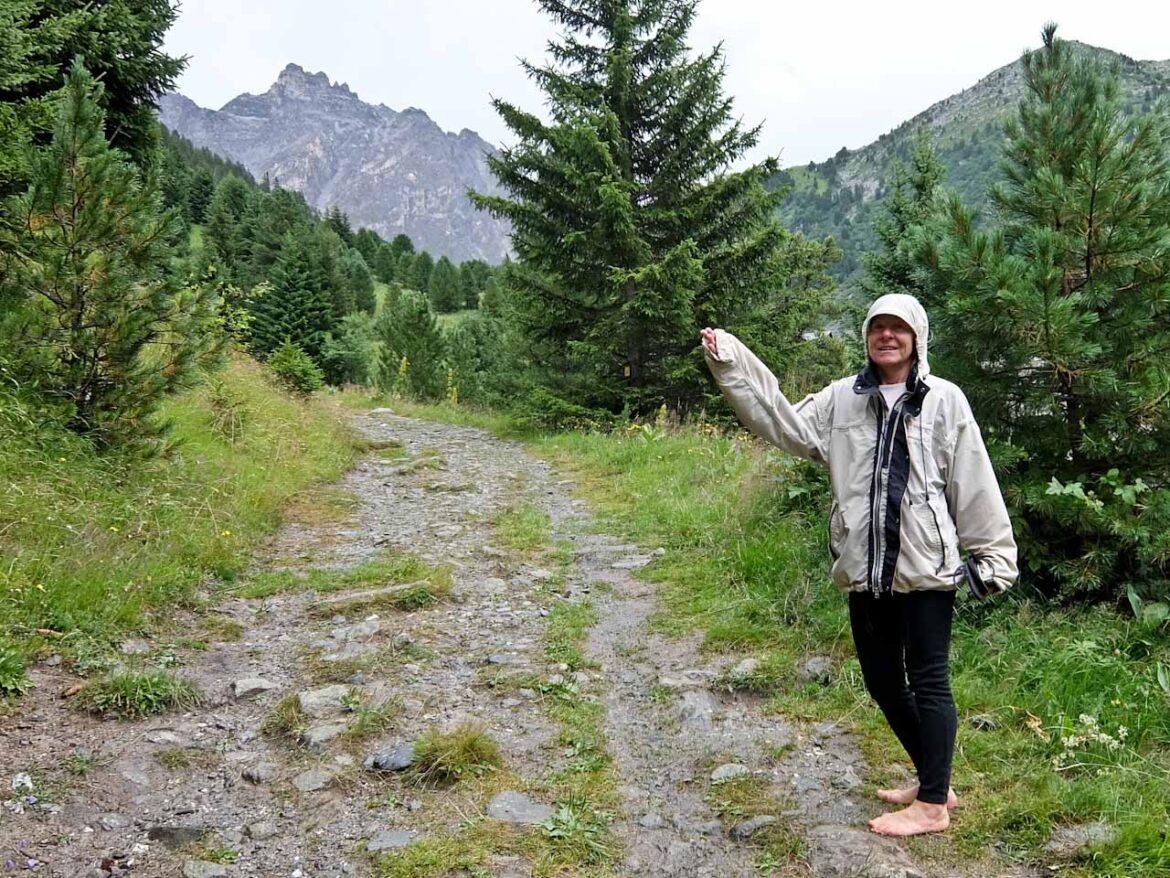
I’m setting out on two hour yoga workshop walk with local guide and teacher, Marcela Bemposta, although it’s still raining. She explains that I need to take my shoes off, as bare foot. I can better experience the moment. It’s slightly slippery but there is something calming about the feel of wet grass on the soles of my feet.
Marcela is an excellent guide and points out the flora and fauna as we take a gentle walk around the lake and into the forest beyond. She also makes regular stops where she encourages me to pay attention to the natural surroundings, leading me through simple breathing exercises.
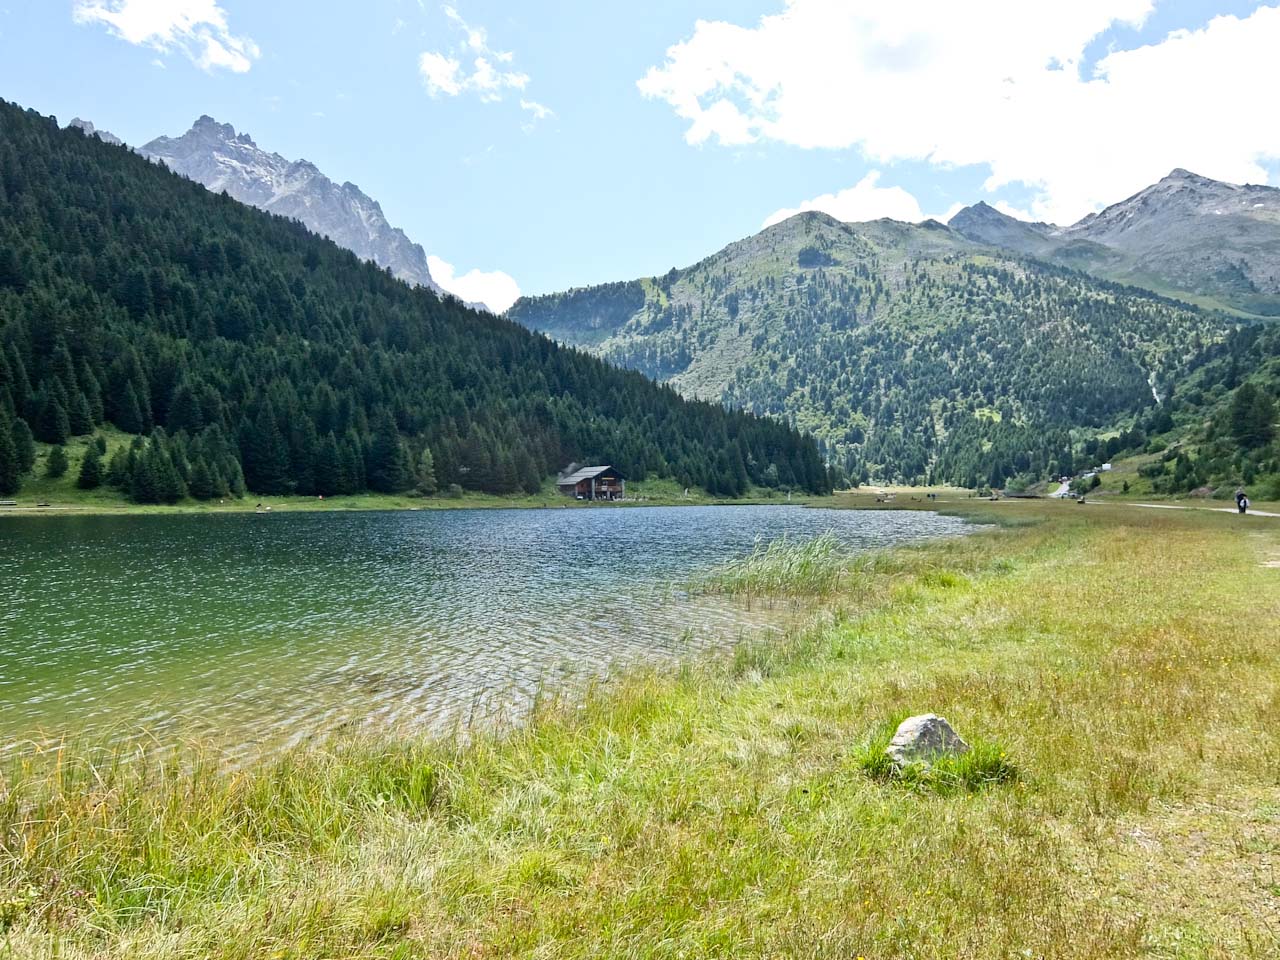
Lac de Tueda
Fortunately the rain has now stopped and we linger longer and practise various yoga stretches, all standing up. I’d imagined I might be practising the lotus position sitting on a mat by the lake, so this is certainly innovatory. In fact by the time we get back to our starting point, I feel positively inspired and certainly very relaxed. It’s definitely something to recommend.
Refuge du Saut and Lac de Chanrouge
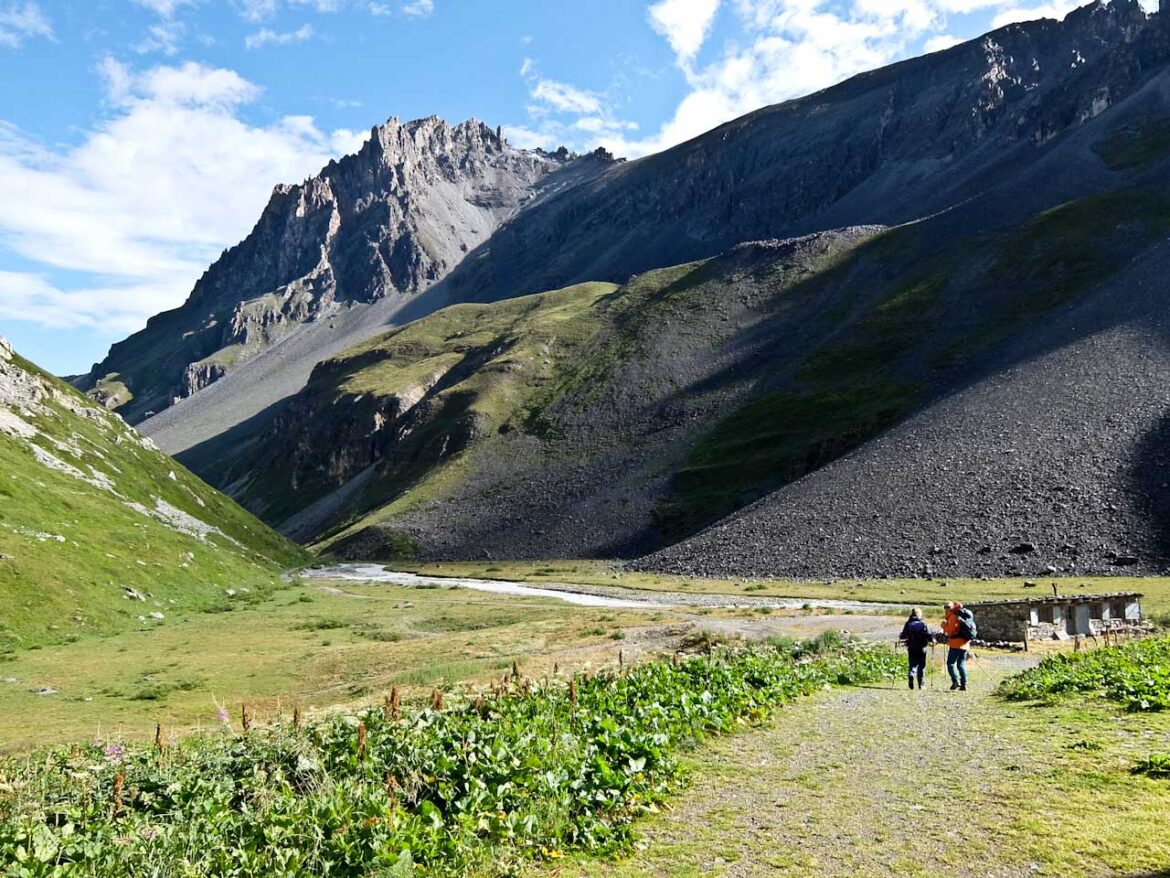
Next day is sunny and I set out back to Lac de Tuéda for a much longer walk. This time I take a steep track into the vast Cembro pine forest, whose majestic trees lend the place a certain grandeur. Along the way, I encounter the Linnea borealis, a rare and elegant flower that is carefully protected by the reserve.
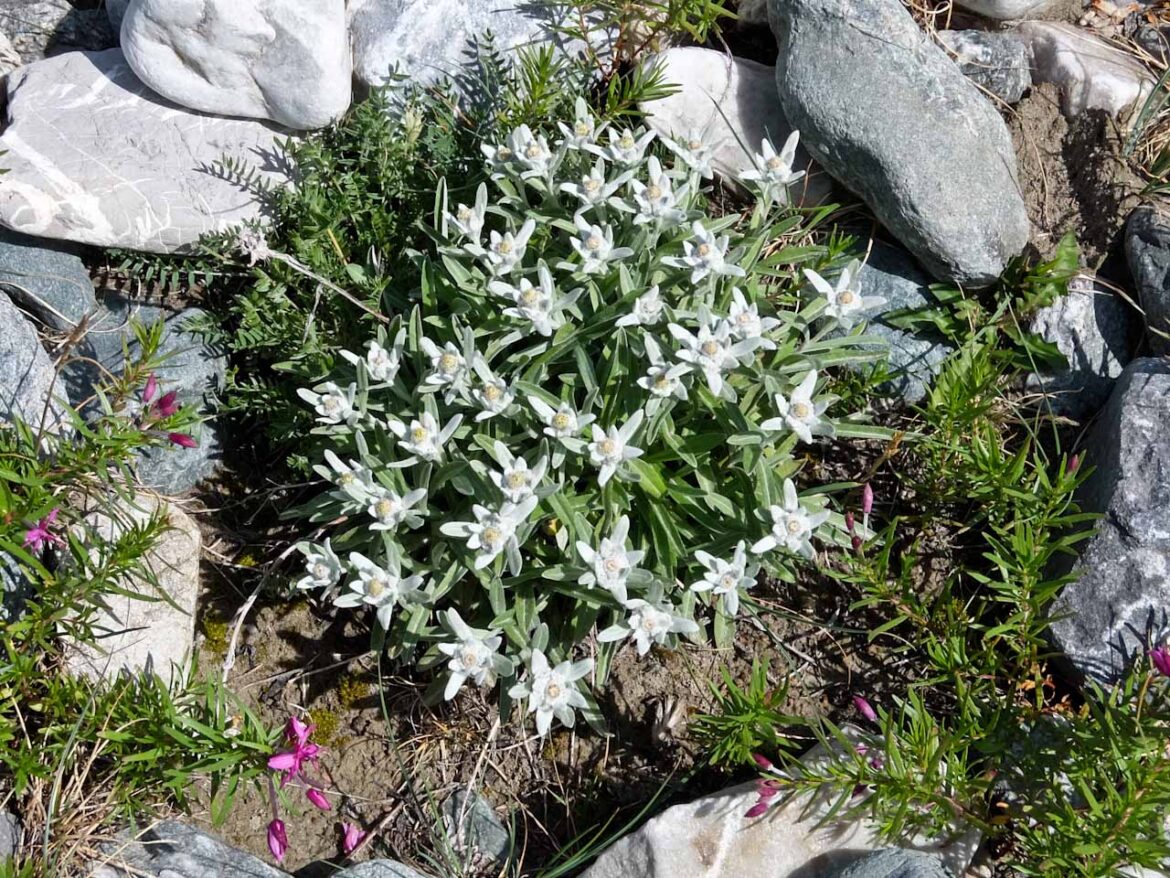
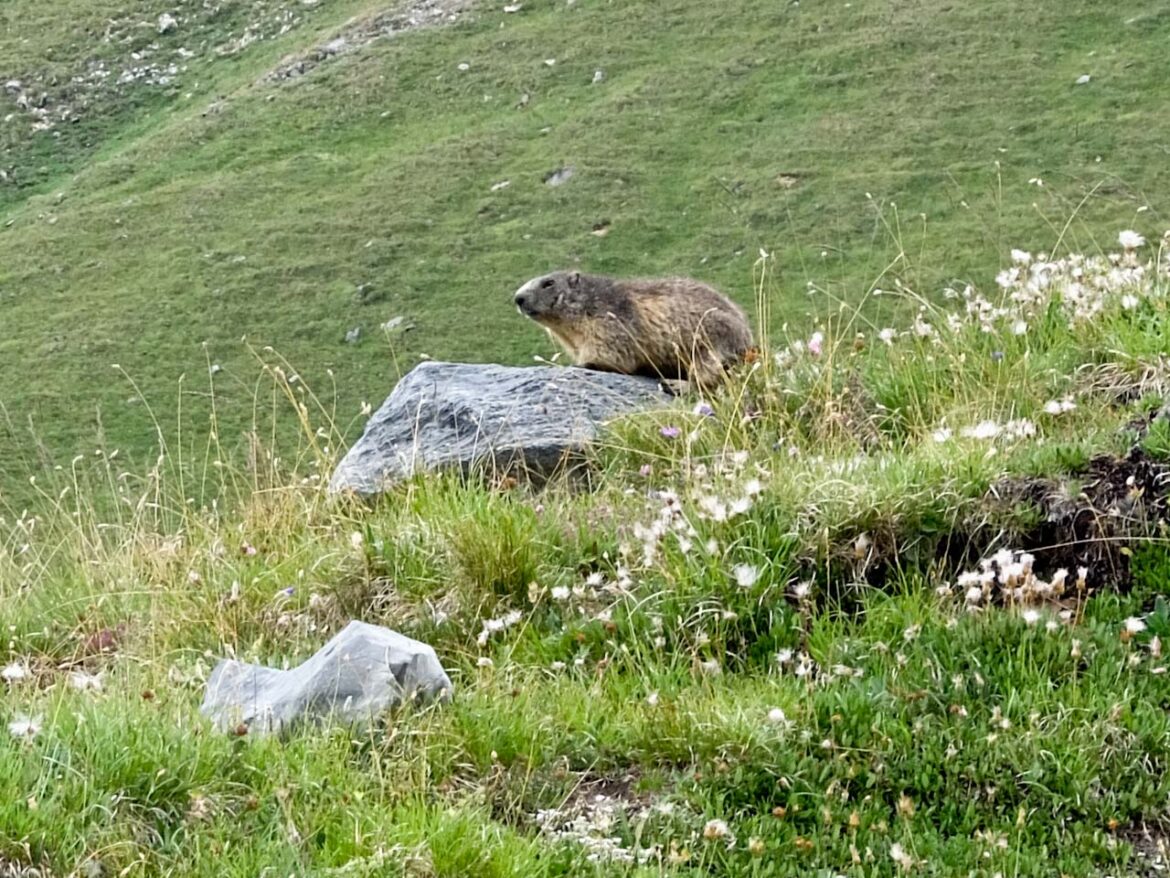
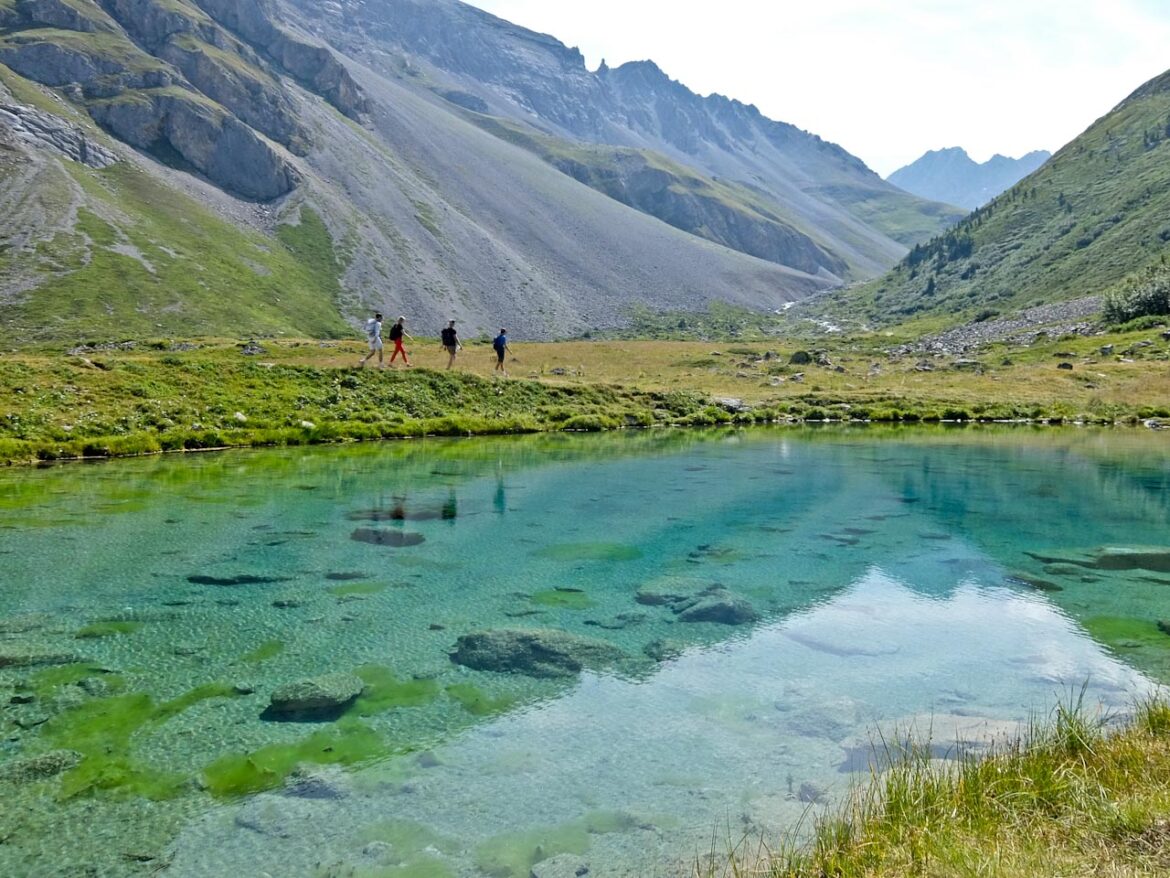
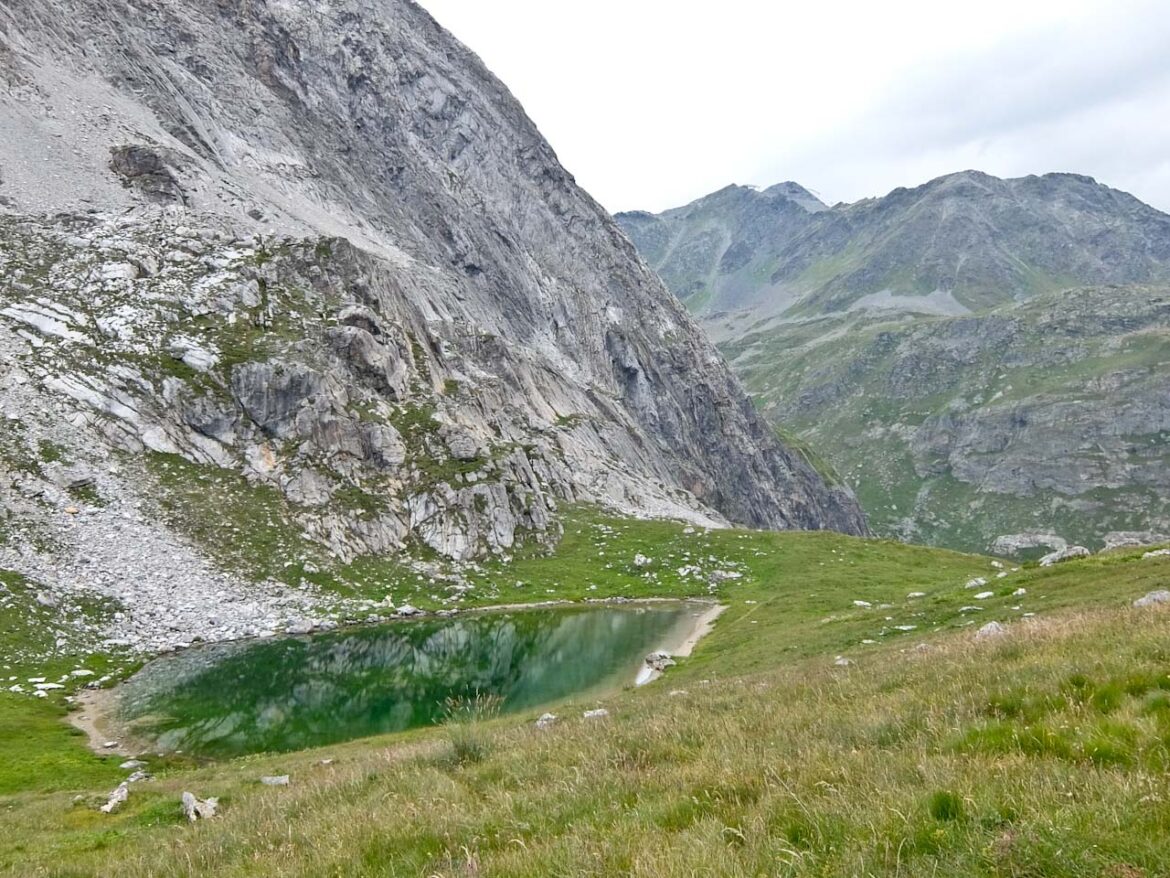
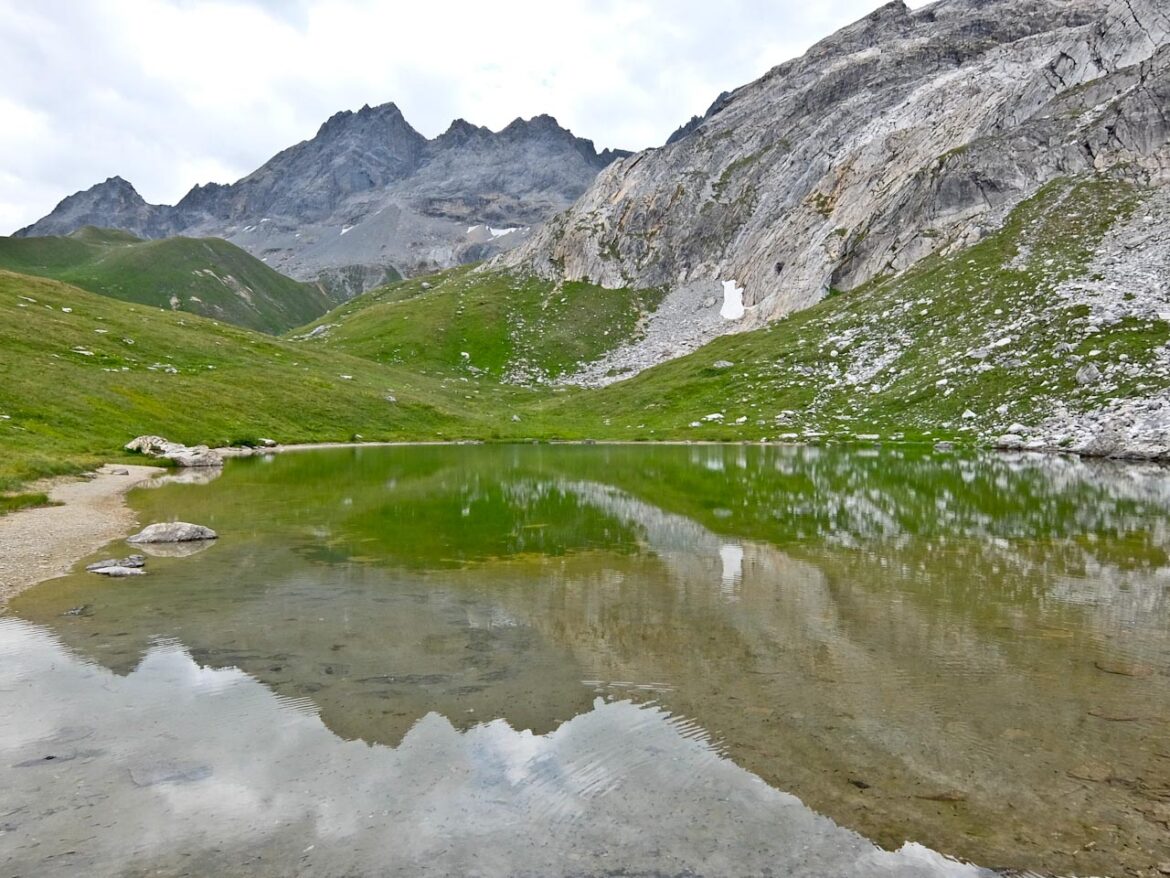
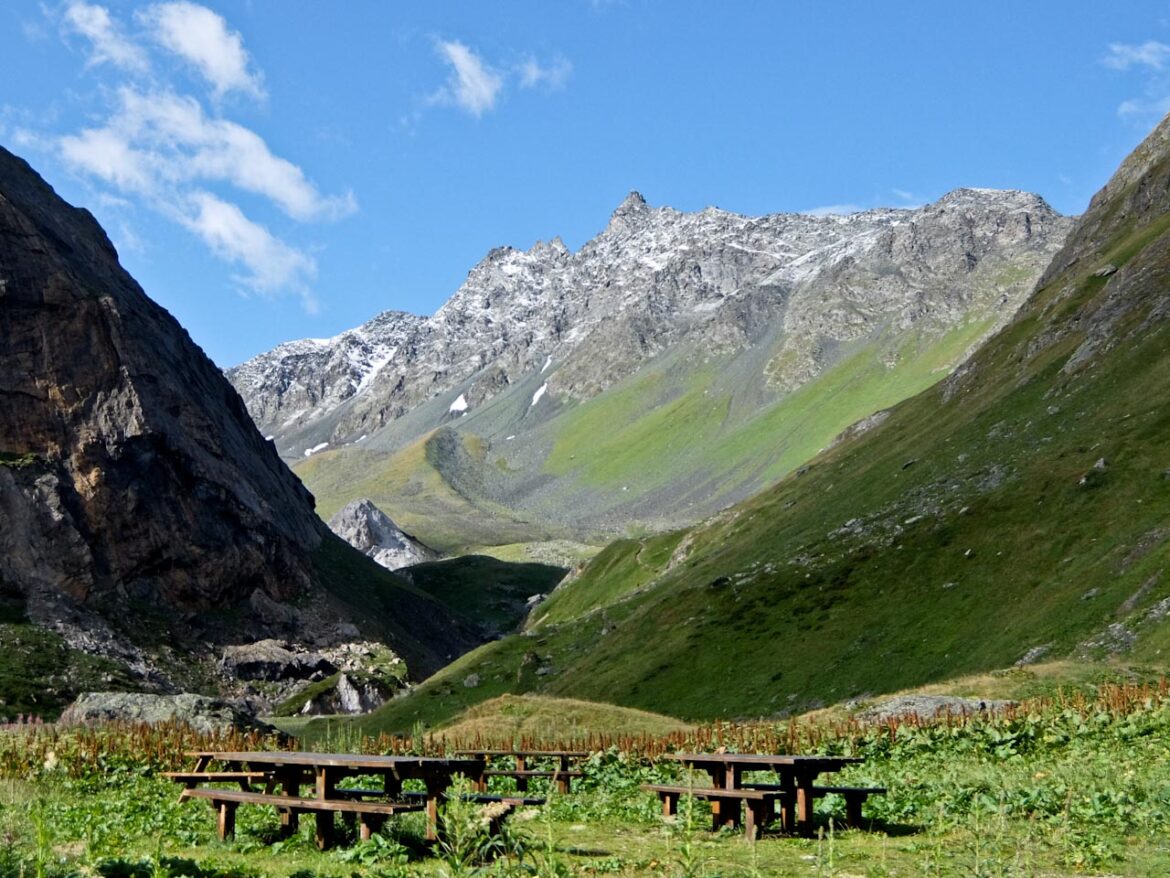
I emerge from the forest onto a huge plateau, Vallon du Fruit, full of marmots whistling away. It’s worth taking a short diversion towards Lac des Fees (Lake of Fairies). This small turquoise lake, surrounded by colourful flowers, has the majestic Aiguille du Fruit reflected in its emerald waters. Martagon lilies, yellow gentians, edelweiss, orchids and forget-me-nots add colourful touches to the journey.
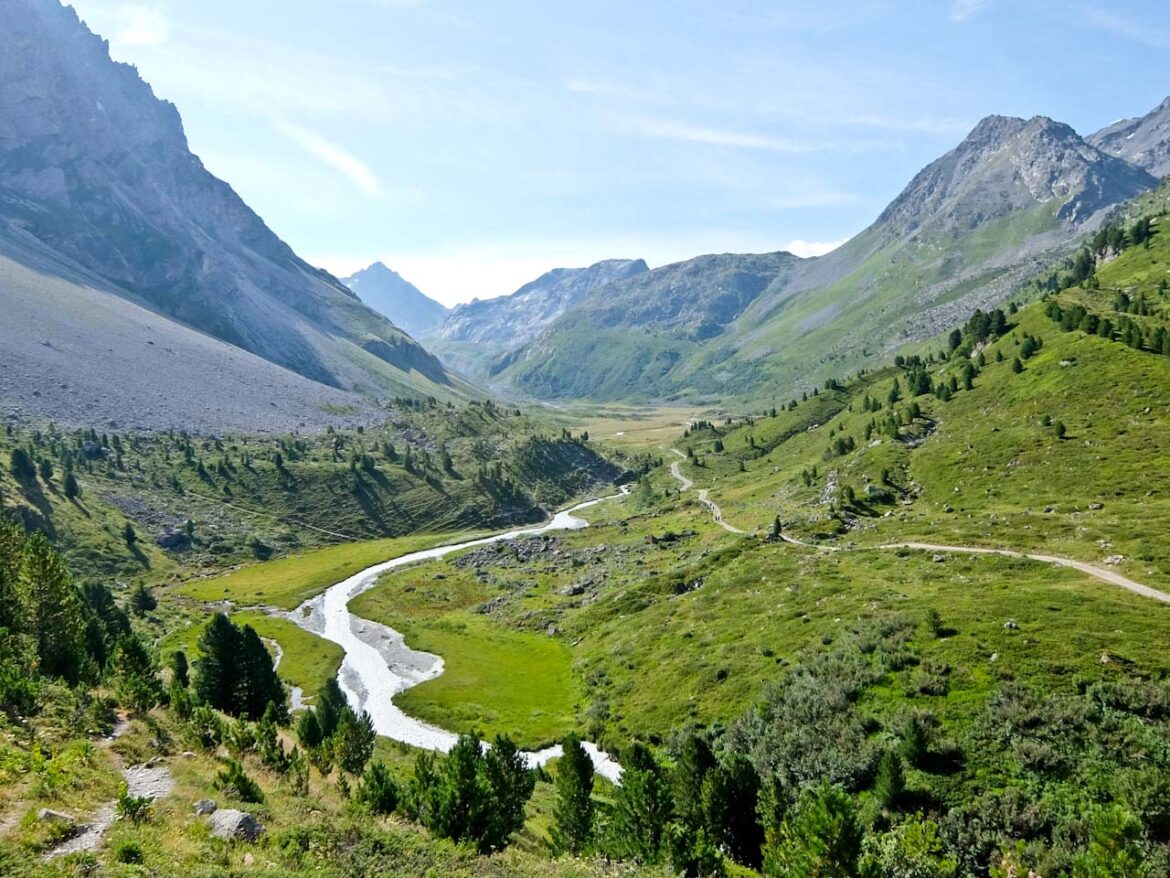
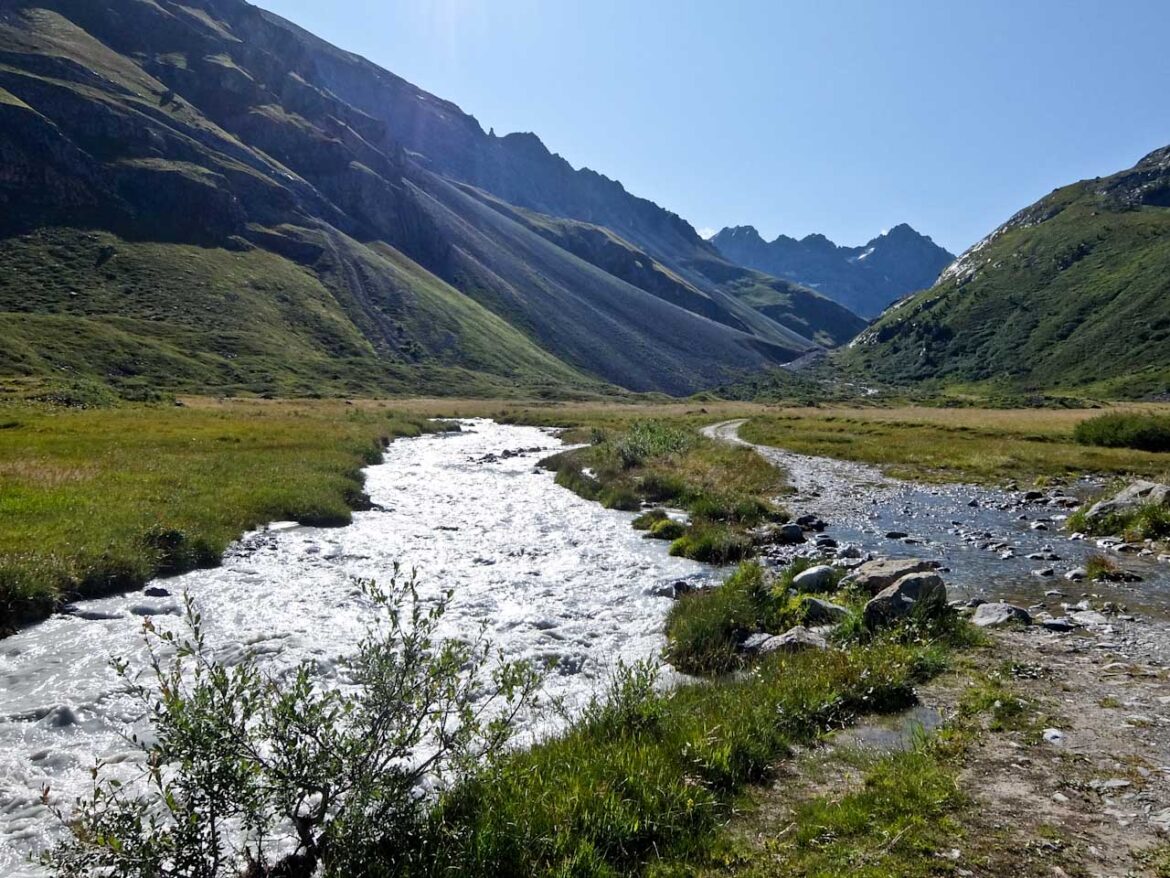
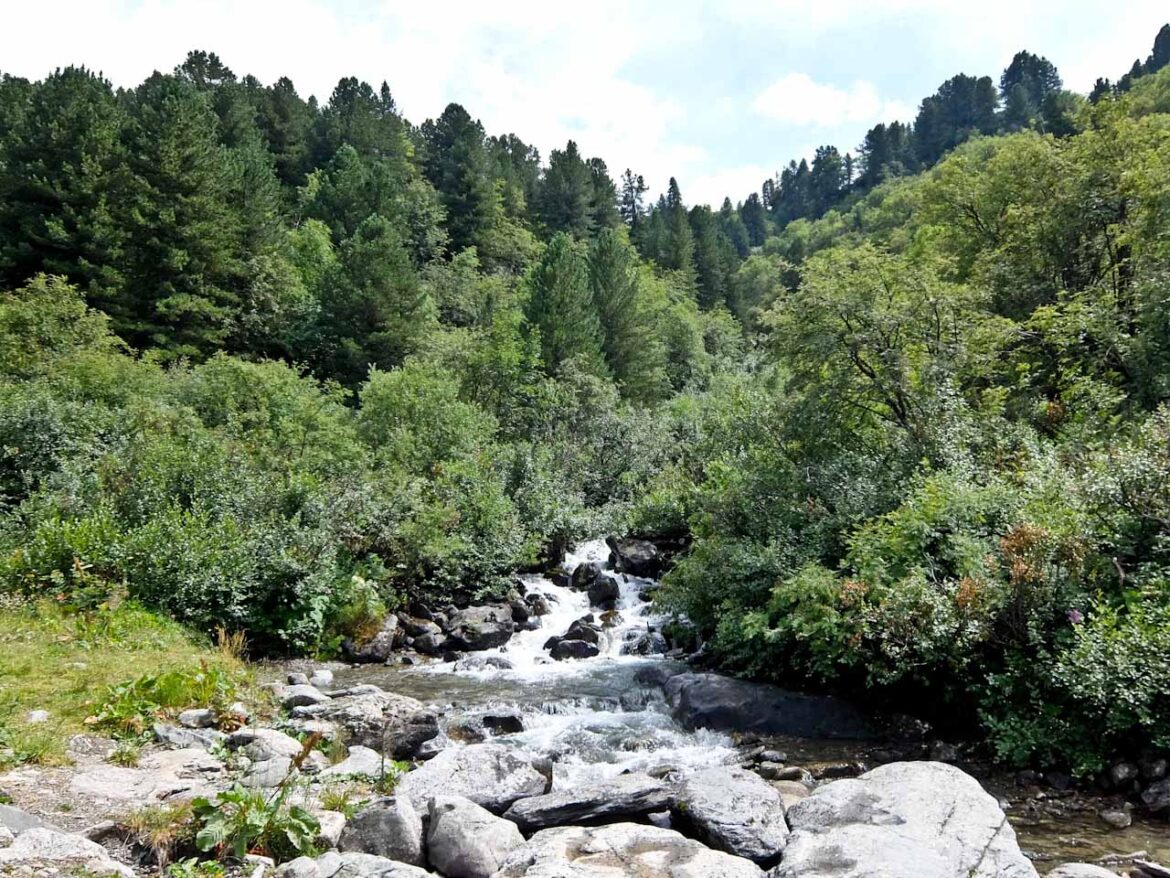
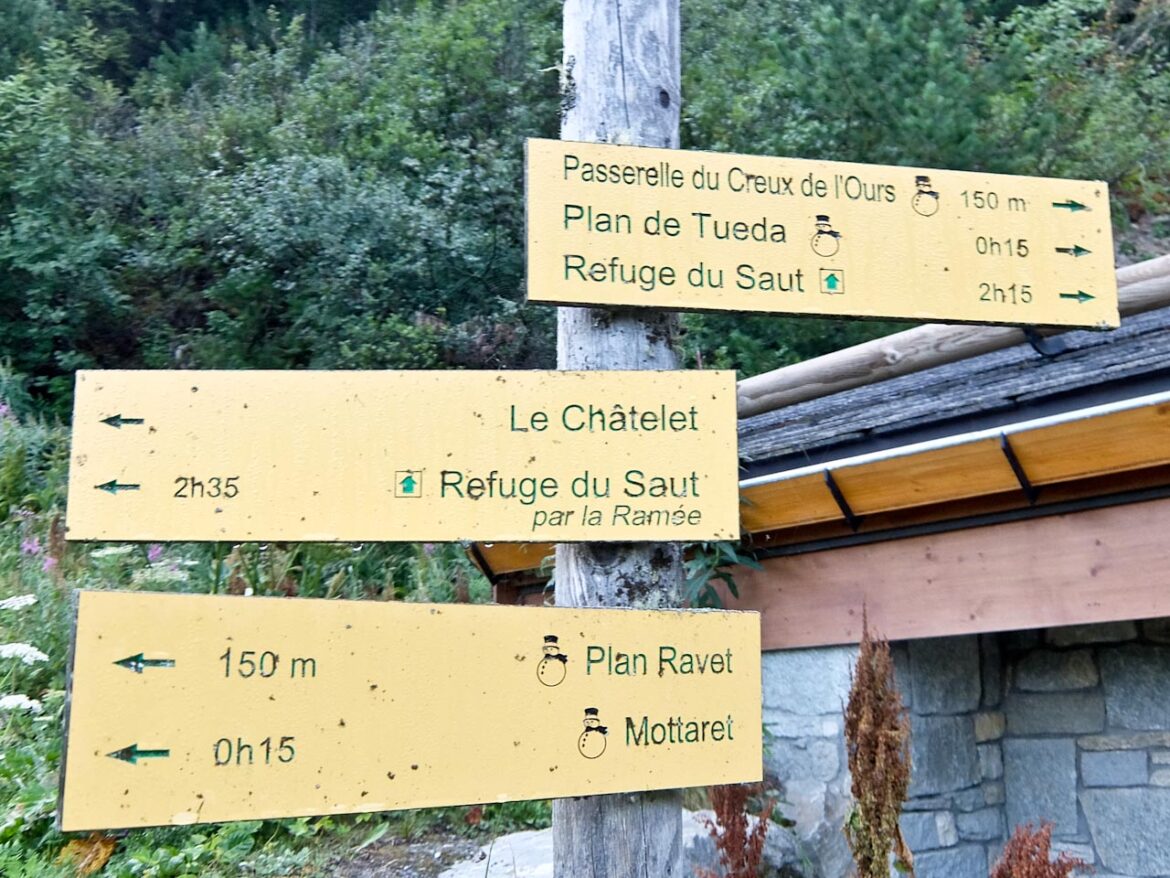
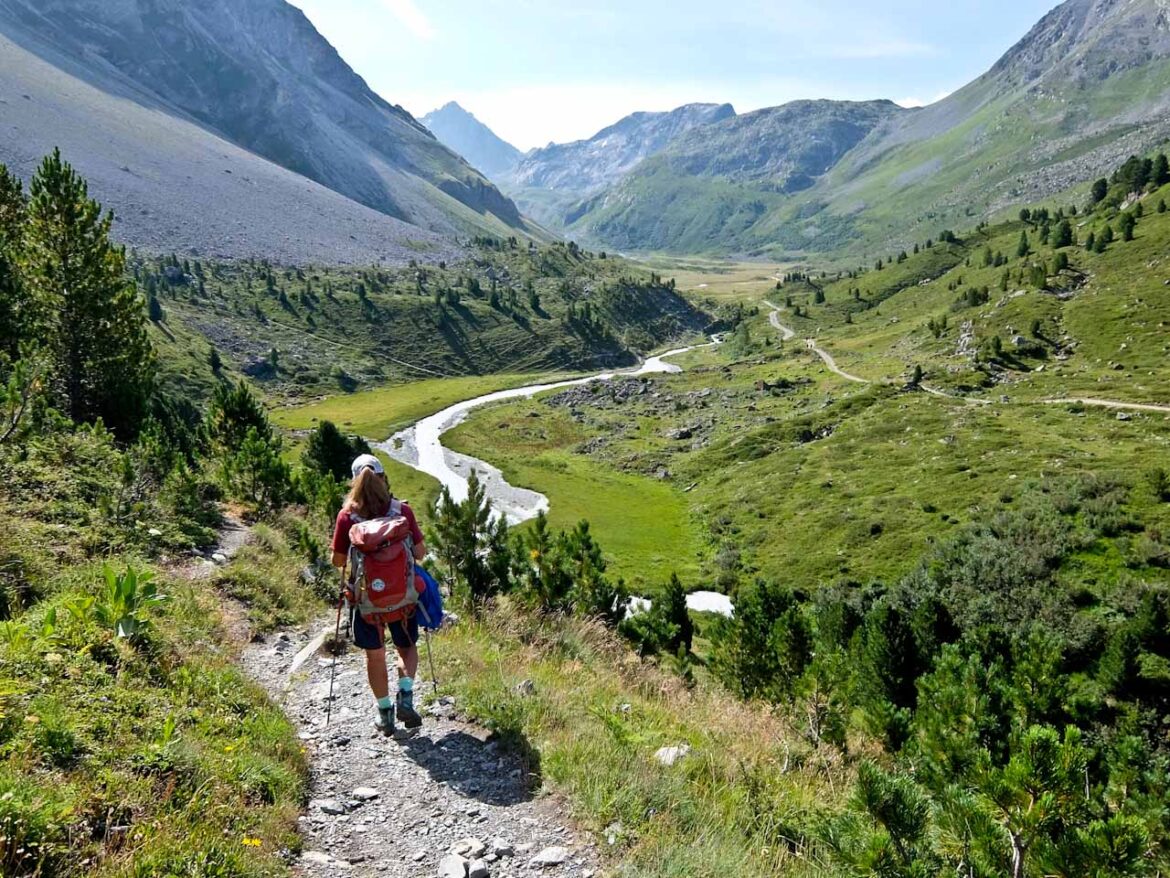
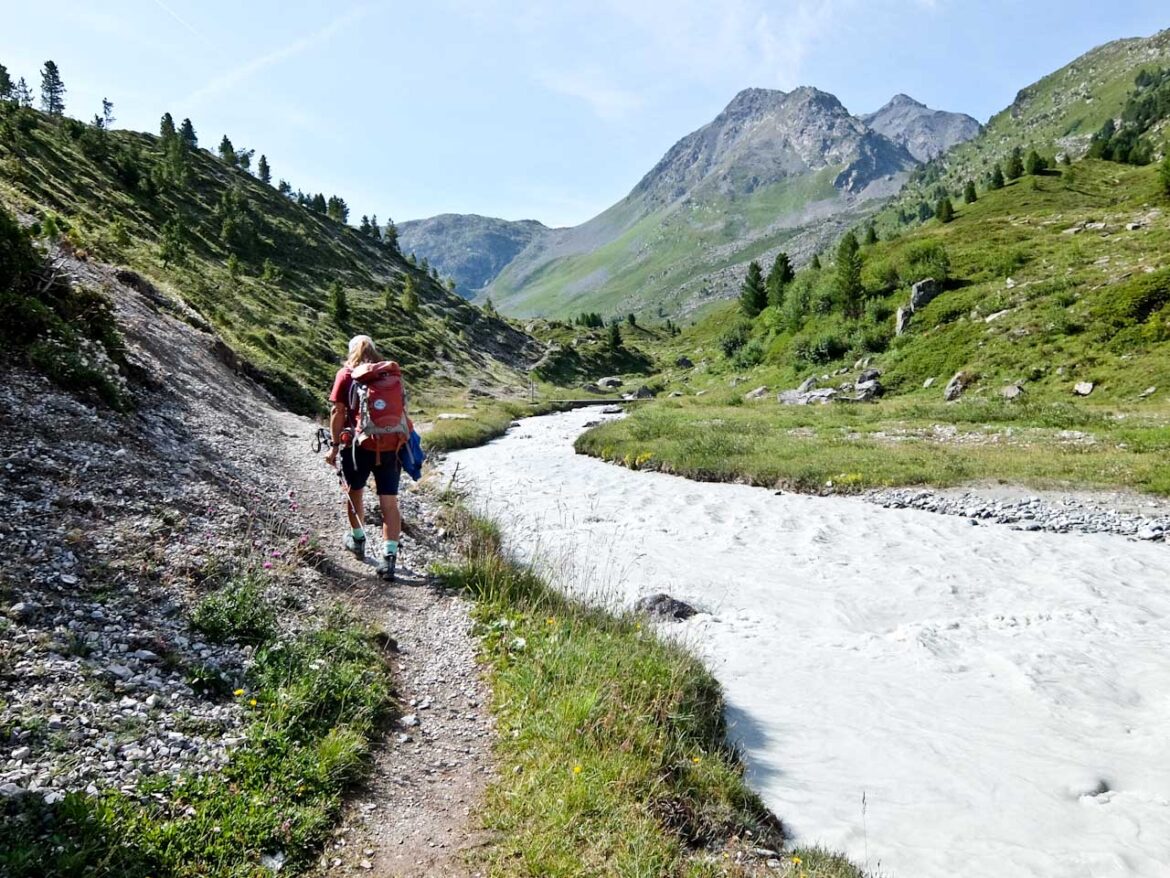
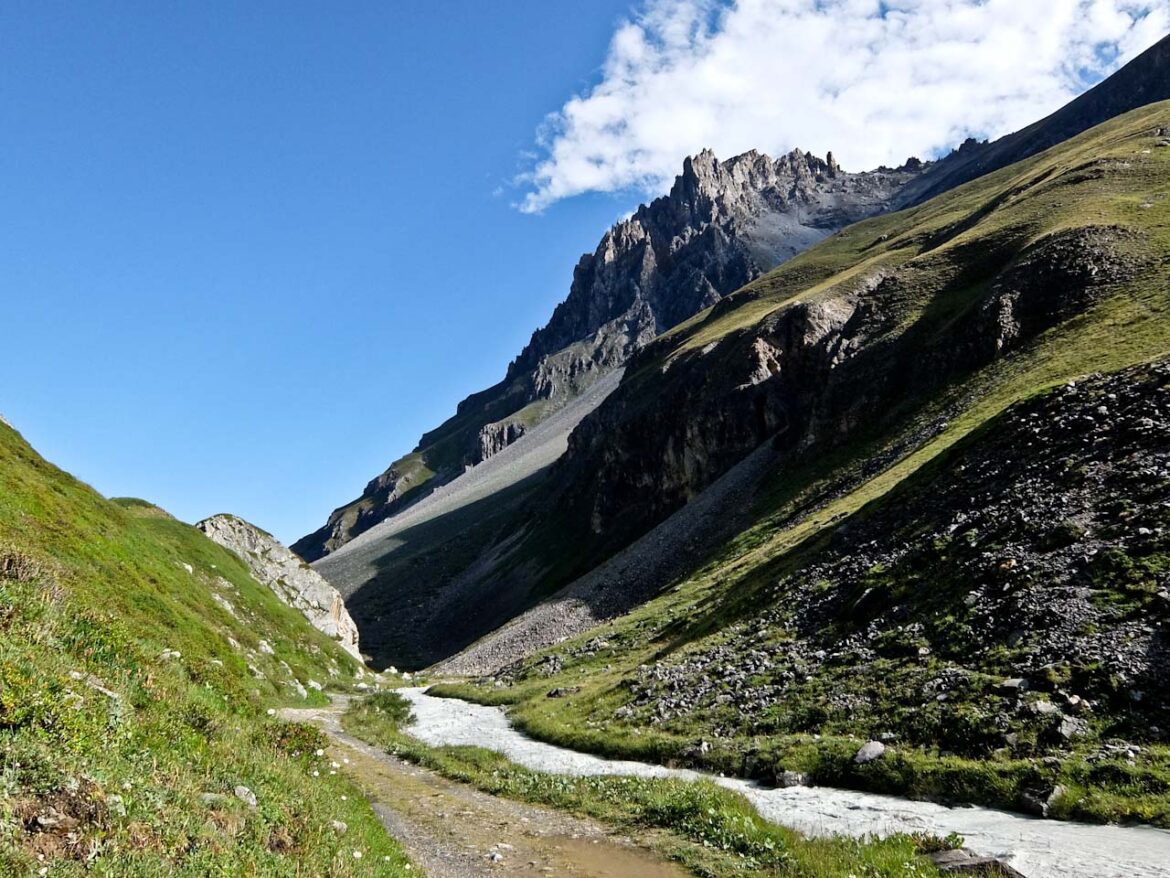
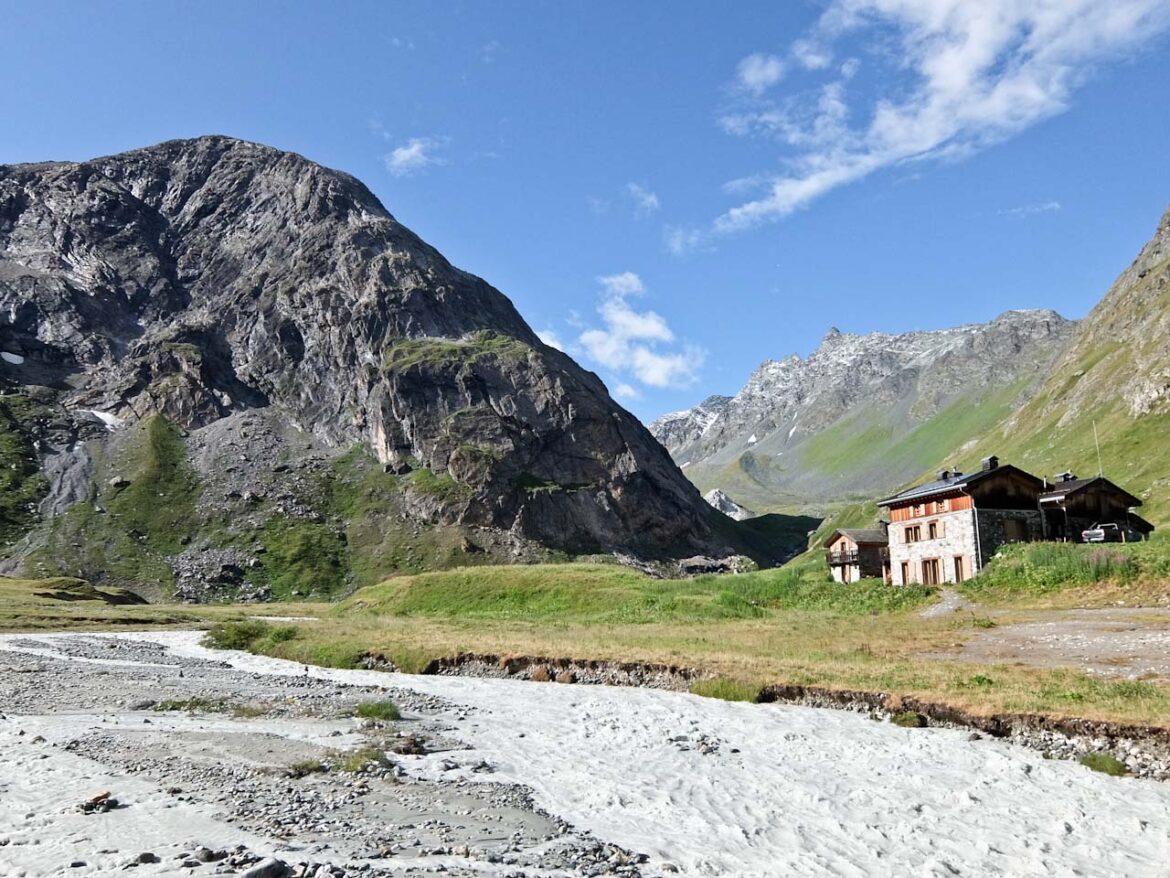
After rejoining the route, the track climbs but soon flattens out into a narrow gully, alongside a stream filled with glacial melt water. I follow this and soon the Refuge du Saut comes into sight. At an altitude of 2,100 metres, it sits on a green plateau, overlooked by rocky mountain ridges. This will be my home for the night and I enjoy a hearty lunch.
Now I could just relax and enjoy the sunny afternoon, but one more lake beckons. I leave my pack and set out uphill again for 3.5km. After a steep 400m climb, I’m again on a small plateau but Lax de Chanrouge is nowhere to be seen. Fortunately, my map shows it just to the right of the trail and, although there’s no path, I’m soon sitting on its shores. Then it’s an easy hike down for my night in the refuge.
The people I meet at dinner are doing multi day journeys, hiking to a different refuge every night. They’re full of praise for the trails that lead around Méribel and Les 3 Vallées. And they even manage to get a good night’s sleep every night. Unfortunately I don’t have enough time, but that’s one activity I’d definitely like to do.
Factfile
GO: There are direct flights from London to Geneva then it’s a 2 hour taxi ride.
STAY: Hotel Chaudanne makes for a comfortable base in the centre and has a relaxing spa and good food. Rooms start from £191.
Refuge Le Saut has cosy dormitory accommodation.
EAT: Jack’s Bar has good value dishes of the day.
FiFi has tasty Italian food
INFO: Meribel has information about region.
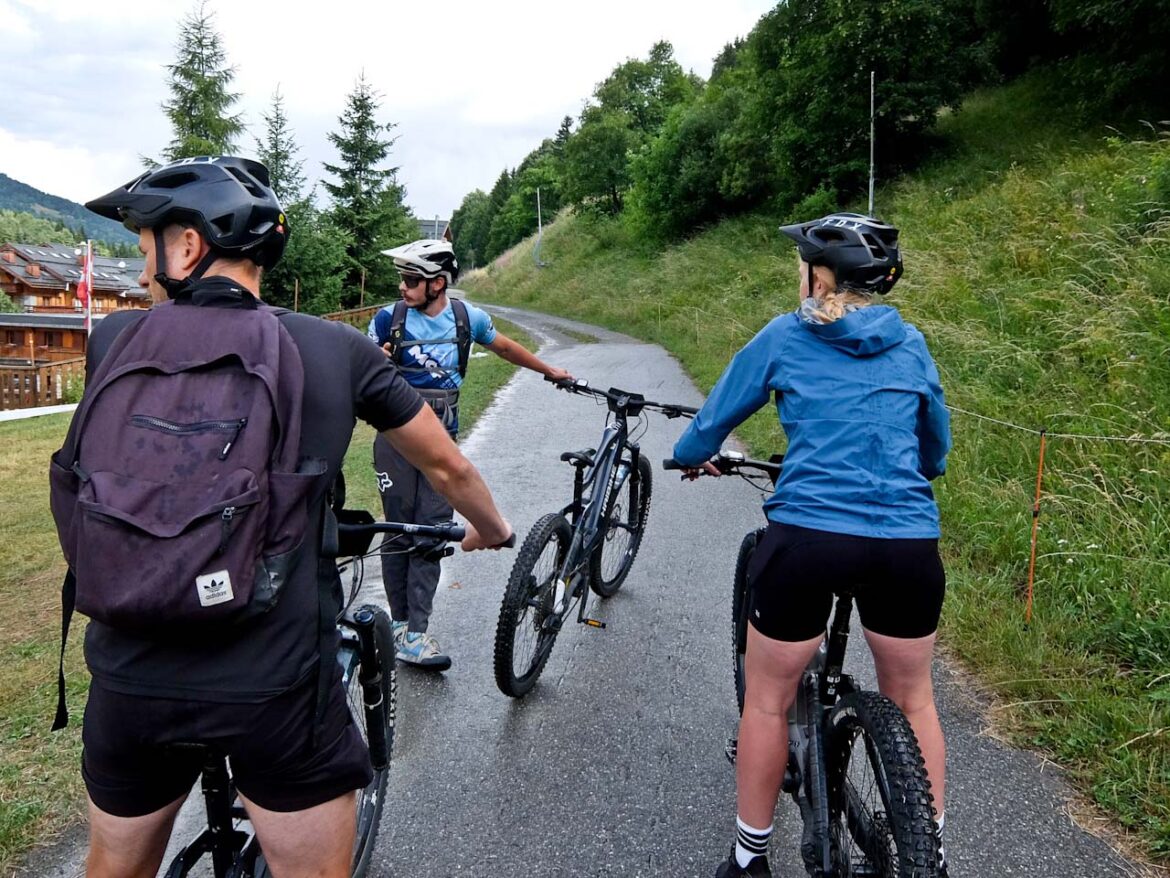
Fast Riding People leases E-bikes and can provide guides
Yoga Meribel has group and individual programmes led by Marcela.
The post Guide to Summer in Méribel, France appeared first on The Travel Magazine.


