WHAT: Kynren – An Epic Tale of England – 2,000 years of iconic British history, myth and legend.
WHERE: County Durham
WHEN: Various dates July to September 2025v(see below)
WHY GO:
Magnificent sets, mass choreography, combat, breathtaking stunts, equestrian feats and stunning pyrotechnics all take centre stage in an unmissable live action outdoor theatre production in County Durham.
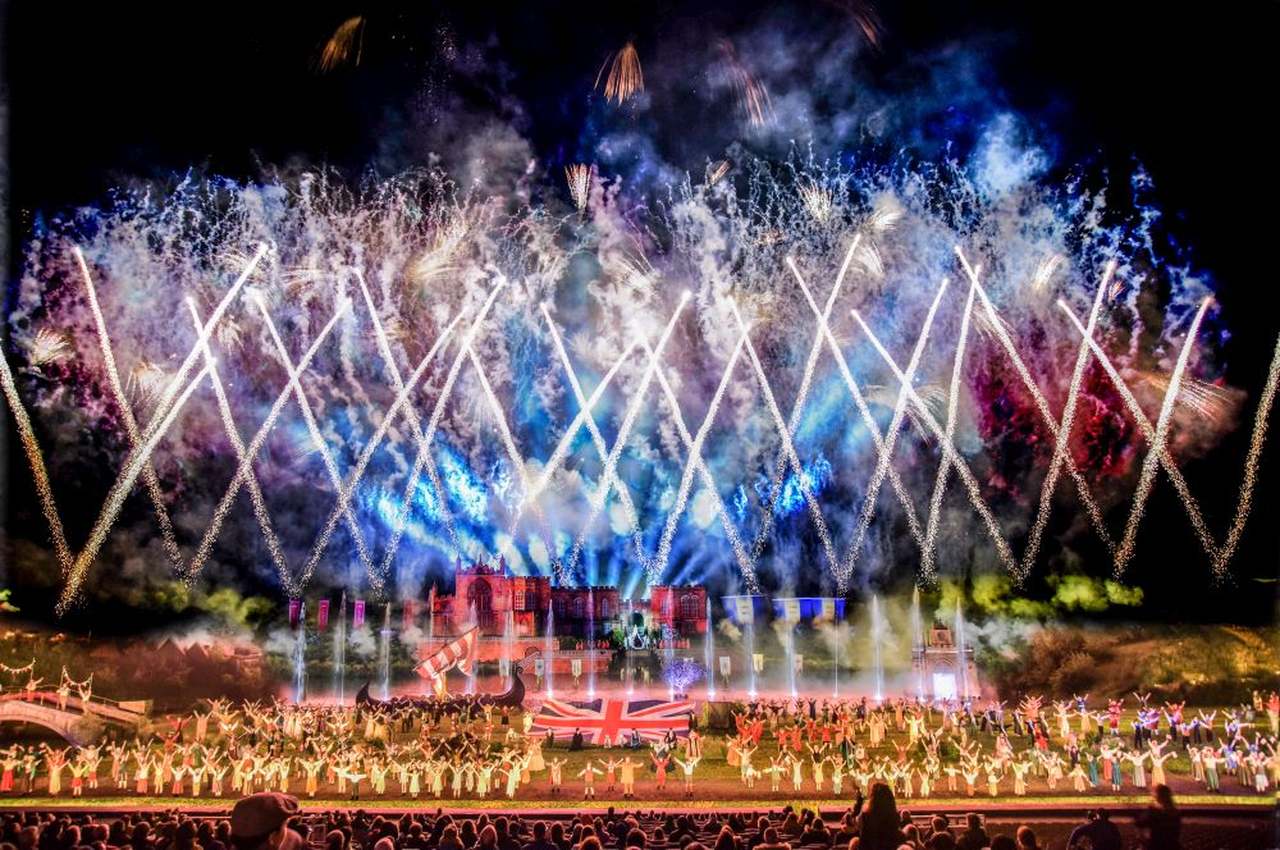
Grand Finale all cast of Kynren
Celebrating its tenth anniversary season, Kynren – An Epic Tale of England takes audiences on a breathtaking journey through 2,000 years of iconic British history, myth and legend.
Everything at Kynren is on an immense scale – it is performed by a thousand-strong volunteer cast and crew on a seven-and-a-half-acre stage (the scale of five football pitches) in front of an 8,000-seater tribune in the heart of Bishop Auckland.
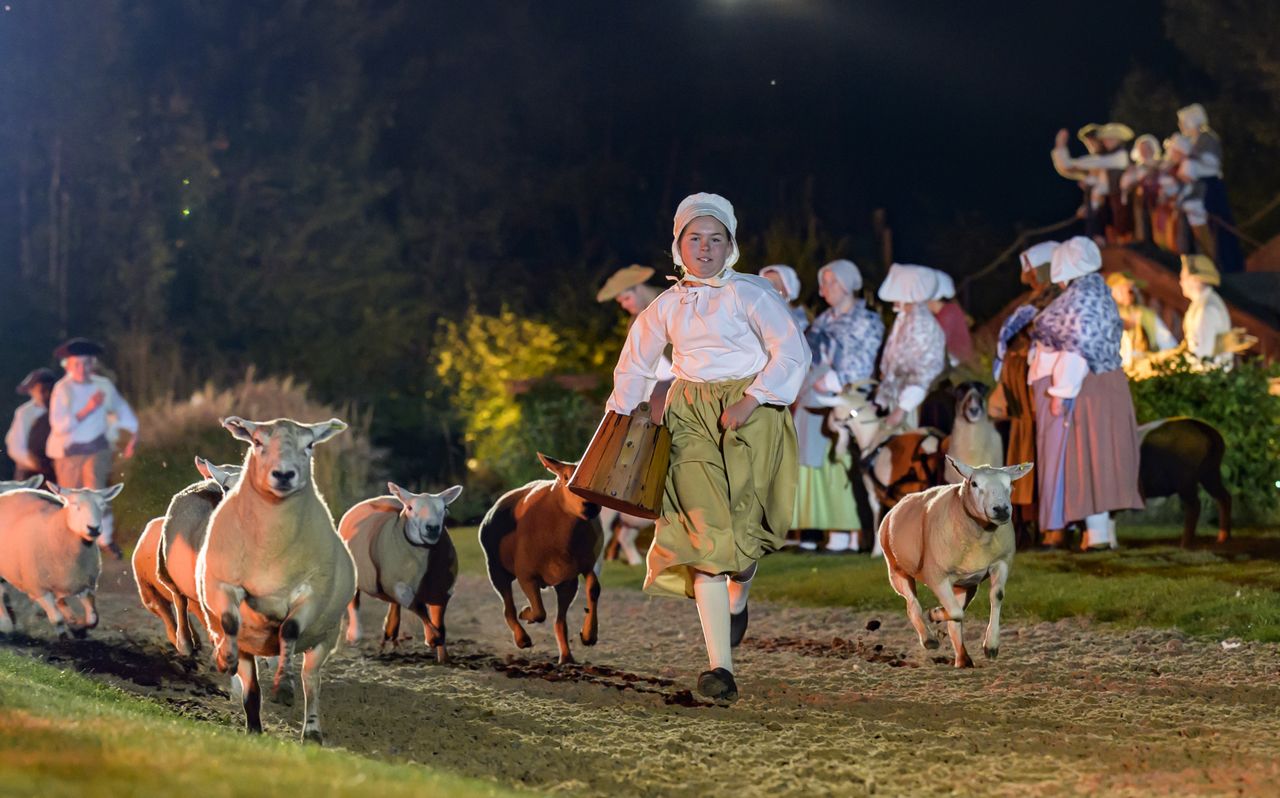
Not forgetting its memorable menagerie of 150 animals, including magnificent horses, a mother and daughter donkey duo, goats, sheep and even a gaggle of geese who steal the show with their unforgettable scenes.
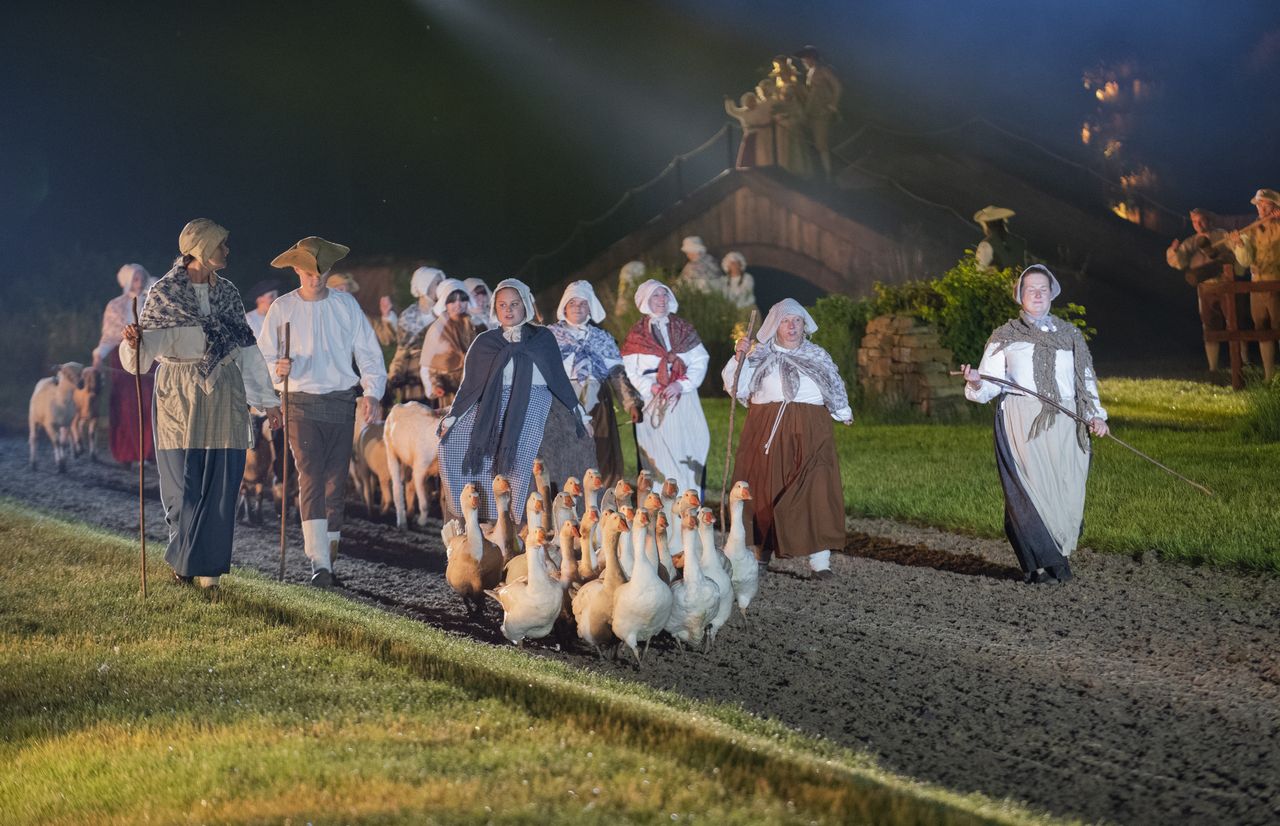
Gaggle of show stopping geese, Kynren
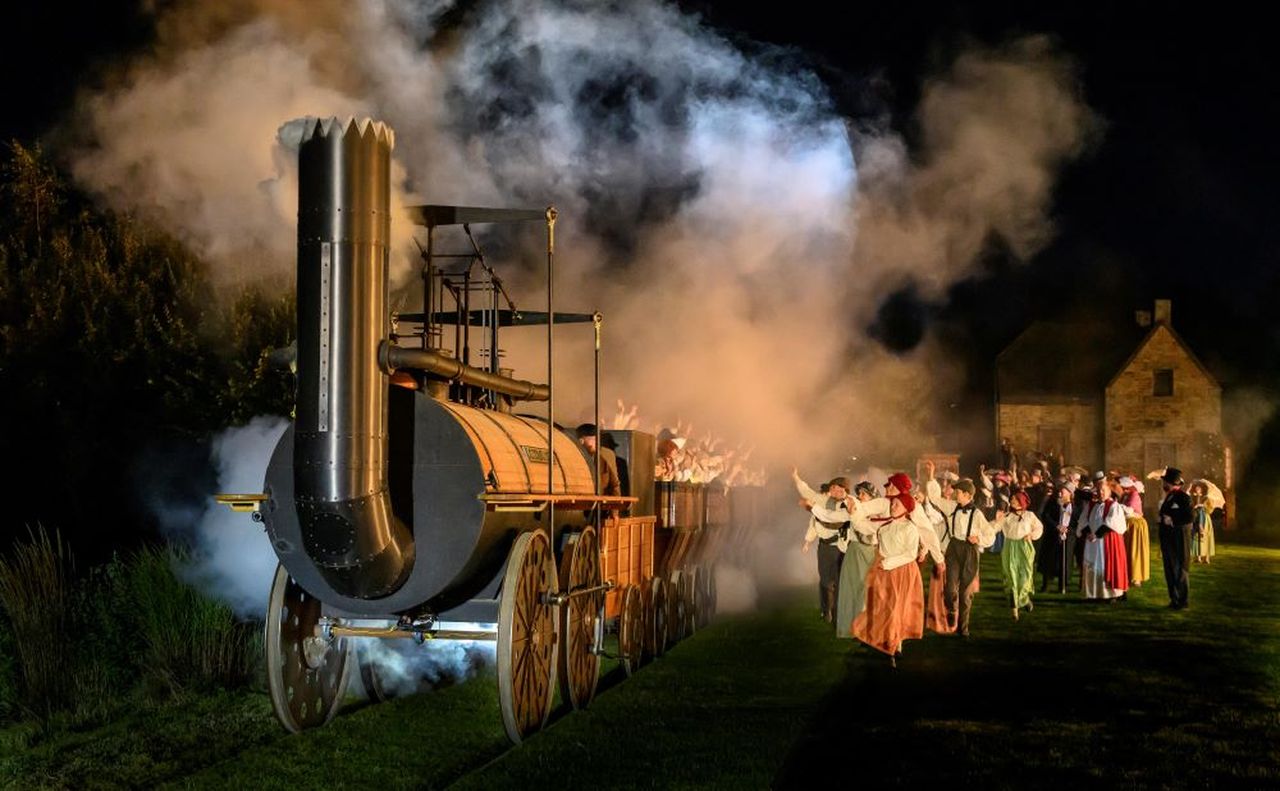
This year’s summer season, which takes place every Saturday evening from 19th July until 13th September, will also feature a special celebration of the 200th anniversary of the nearby Stockton and Darlington Railway, the birthplace of the modern railway that shaped this region and the world forever. Kynren’s full-scale replica of Locomotion No.1 will be in action as it steams across the stage.
 New for 2025, Kynren is breathing new life into its memorable Queen Victoria’s Diamond Jubilee Parade scene with new props and costumes, fresh energy, impressive projections, innovative choreography and updated music inspired by the Victorian era to mark its tenth anniversary season.
This reimagined performance, which centres around the headstrong Queen Victoria as she makes her grand entrance in a six-horse carriage, resplendent with intricate detailing and opulence, promises to captivate audiences like never before. It will now feature over 150 performers and more than 20 horses, bringing the vibrant essence of Victorian society back to life.
Anna Warnecke, CEO at Kynren said:
“2025 is going to be an unforgettable year for Kynren! We’re celebrating our tenth anniversary season and have expanded our run to ensure even more people can be blown away by this truly special production.
“There is an incredible buzz in the park – our volunteers are so excited to be involved once more – and we’re all dedicated to make 2025 the best year yet.
“We have some special surprises in store and I’m so pleased that our Viking Village experience is back again. We’re ready to amaze and bring a jaw-dropping opening night in July.”
The popular Viking Village offers visitors an enhanced pre-show experience with authentic sights, sounds, and interactions in a recreated settlement. Watch sparks fly at the blacksmith’s forge, witness the characterful sheep, donkeys and real Icelandic chickens whose origins can be traced back to the 9th century, and practice battle cries with the magnificent Viking warriors themselves as they prepare for a raid.

Kynren. A Georgian Harvest is Celebrated in the grounds of Auckland Palace. Bishop Auckland, Co Durham.
The spellbinding family-friendly experience begins with a local boy named Arthur, who accidentally kicks a football through a window of a hunting lodge at Auckland Palace and sets the wheels in motion for his time-travelling quest.
A fascinating voyage full of rebellions, magic, majesty, celebration and heartache follows – as seen through the eyes of Arthur – shining the spotlight on Boudicca’s doomed rebellion, the Viking invasions, knights jousting for glory, the Norman Conquest, King Charles’ final journey to the executioner’s block and the grandeur of Queen Victoria’s Diamond Jubilee. From the rise of industry to the courage of communities during wartime, Kynren brings history vividly to life.
The 90-minute performances start at sunset and end in starlight and will be taking place every Saturday night from 19th July to 13th September.
HOW MUCH:
Tickets cost from £30 for adults and from £20 for under 18s. Children aged 3 and under are free when sat on an adult’s knee.
BOOK TICKETS HERE
SHOW DATES AND TIMINGS FOR 2025:
- Saturday 19th July (Gates open at 6.45pm, performance starts at 9.15pm)
- Saturday 26th July (Gates open at 6.45pm, performance starts at 9.15pm)
- Saturday 2nd August (Gates open at 6.45pm, performance starts at 9.15pm)
- Saturday 9th August (Gates open at 6.30pm, performance starts at 9pm)
- Saturday 16th August (Gates open at 6.15pm, performance starts at 8.45pm)
- Saturday 23rd August (Gates open at 6pm, performance starts at 8.30pm)
- Saturday 30th August (Gates open at 5.45pm, performance starts at 8.15pm)
- Saturday 6th September (Gates open at 5.30pm, performance starts at 8pm)
- Saturday 13th September (Gates open at 5.15pm, performance starts at 7.45pm)
The post EVENT: Kynren – An Epic Tale of England – outdoor theatre production – July to September appeared first on The Travel Magazine.


 New for 2025, Kynren is breathing new life into its memorable Queen Victoria’s Diamond Jubilee Parade scene with new props and costumes, fresh energy, impressive projections, innovative choreography and updated music inspired by the Victorian era to mark its tenth anniversary season.