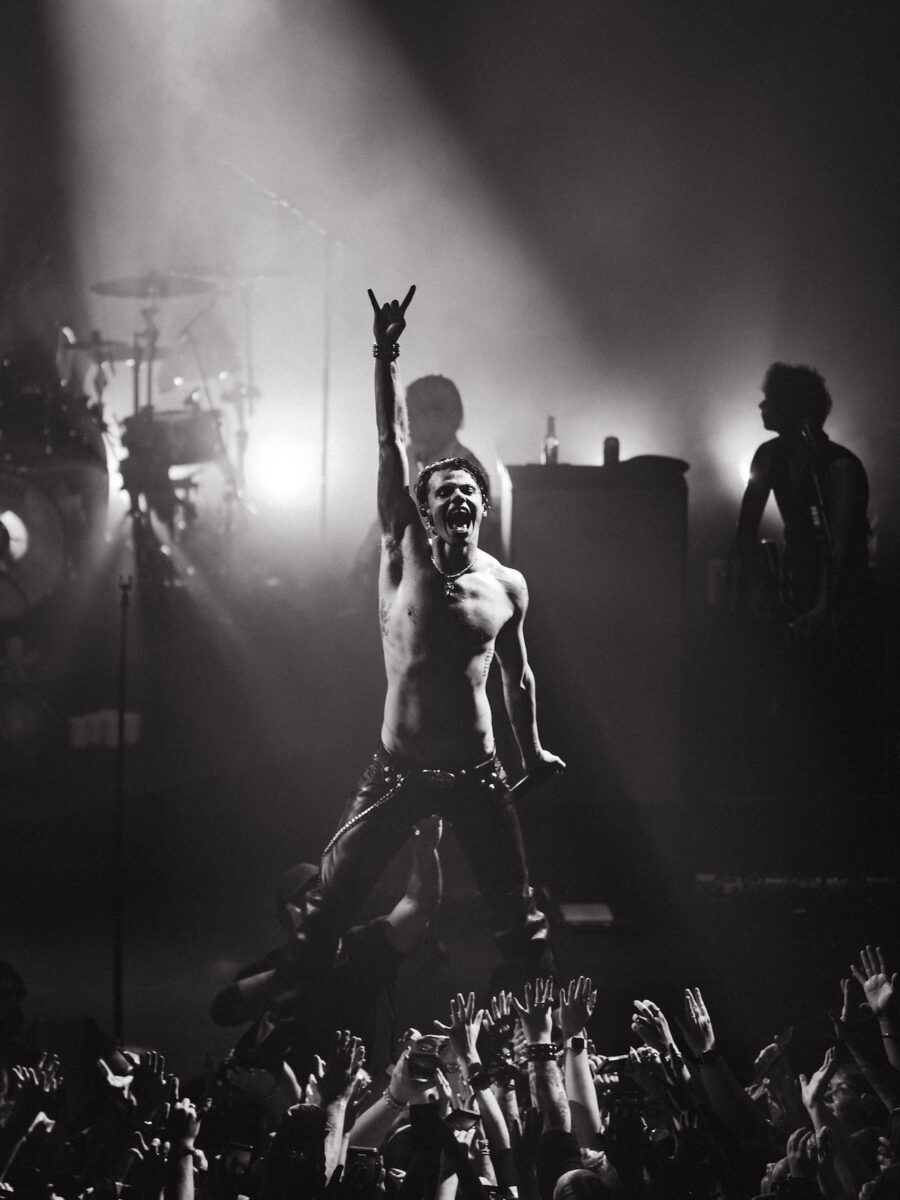
Is Yungblud heavy metal’s Justin Bieber, or a Funko Pop incarnation of Aerosmith? Depending on where you’re standing on the floor at Qudos Bank Arena on January 10, 2026, the answer is, convincingly, both.
As the stadium speakers cough up the opening grind of Black Sabbath’s War Pigs moments before he arrives on stage, it’s clear Dominic Harrison understands the theatre of inheritance. This is his first tour back after taking time off for mental health, and he returns not chastened but expanded, freshly inflated by an unlikely co-sign: a scene-stealing appearance at Ozzy Osbourne’s Back To The Beginning farewell not just to Sabbath, but for Ozzy sadly life itself. It’s a blessing and a burden. With more eyes on him than ever, Yungblud now occupies a more contested space – beloved by fans, still divisive among critics, and no longer able to hide behind scrappy outsider energy alone.
Outside it’s 43 degrees – Sydney doing its brutal, summery thing – and inside the arena the heat only amplifies the hysteria. Streamers erupt during opener Hello Heaven, Hello and by song two Yungblud is already shirtless, hips swivelling with a dash of Steven Tyler swagger. Not long after, trousers are hanging dangerously low, bum briefly out as he vaults across the stage during Superdeadfriends, declaring that “Australia makes me go wild.” It’s ridiculous, calibrated, and entirely the point.
 Once, Yungblud felt like a scrappy Beano character come to life, all elbows, eyeliner and noise. Now he’s a full-blown pop idol in punk clothing, a male analogue to Avril Lavigne a generation earlier: a gateway drug where guitars meet confessionals. His fandom reflects that hybrid: parasocial, fiercely loyal, overwhelmingly young and goth-adjacent – screaming every word back like scripture rather than chorus. For detractors, this emotional immediacy has always been the problem; for devotees, it’s the reason he matters at all.
Musically, the set hops shamelessly across British rock history. Lovesick Lullaby half-heartedly attempts to ignite a mosh pit but lands closer to Britpop bounce than pit violence. Fire nods openly to the Stone Roses, Fleabag feels like Wonderwall colliding with Teenage Dirtbag and Nirvana’s Lithium, while Ice Cream Man flirts with early Arctic Monkeys, all View From The Afternoon urgency and northern sneer. It shouldn’t cohere, but it mostly does.
The emotional apex arrives with an enriched cover of Black Sabbath’s Changes, dedicated to Ozzy Osbourne. In a room built for bombast, it’s unexpectedly still, a moment of genuine reverence that silences the shrieking and reframes the chaos. If the Ozzy co-sign suggests a coronation, this performance doesn’t quite cement it… yet. But it does show an artist stretching toward something heavier, older, and harder to fake.
His banter lands with Antipodean-calibrated charm. “Are you with me, Sydney… or are you just Canberra?” he grins, before promising, hand on heart, to return to Australia “every 18 months until the day I die.” Hyperbole, sure, but in this heat-soaked, scream-lashed room, it feels like a vow.
Heavy metal’s Justin Bieber? Maybe. McFly’s Metallica? Depends how charitable you’re feeling. What’s undeniable is the energy: communal, cathartic, and unashamedly theatrical. Yungblud may not yet have resolved the contradictions of his career, but he’s living loudly inside them. Right now, for this audience, that’s more than enough.
Yungblud’s world tour continues as follows:
Australia
United Kingdom & Ireland
North America
-
01 May 2026 — Sterling Heights, MI
-
02 May 2026 — Toronto, ON
-
04 May 2026 — Columbus, OH
-
06 May 2026 — Cincinnati, OH
-
07 May 2026 — Indianapolis, IN
-
09 May 2026 — Minneapolis, MN
-
11 May 2026 — Morrison, CO
-
13 May 2026 — Orem, UT
-
15 May 2026 — Seattle, WA
-
16 May 2026 — Portland, OR
-
19 May 2026 — Las Vegas, NV
-
20 May 2026 — San Diego, CA
-
22 May 2026 — Los Angeles, CA
-
25 May 2026 — Phoenix, AZ
-
28 May 2026 — Irving, TX
-
29 May 2026 — Austin, TX
-
01 Jun 2026 — Orlando, FL
-
02 Jun 2026 — Hollywood, FL
-
04 Jun 2026 — Charlotte, NC
-
06 Jun 2026 — Atlantic City, NJ
-
07 Jun 2026 — Washington, DC
-
09 Jun 2026 — Boston, MA
-
10 Jun 2026 — New York, NY
The post Live Review: Yungblud, Qudos Bank Arena, Sydney, Australia appeared first on The Travel Magazine.


 Once, Yungblud felt like a scrappy Beano character come to life, all elbows, eyeliner and noise. Now he’s a full-blown pop idol in punk clothing, a male analogue to Avril Lavigne a generation earlier: a gateway drug where guitars meet confessionals. His fandom reflects that hybrid: parasocial, fiercely loyal, overwhelmingly young and goth-adjacent – screaming every word back like scripture rather than chorus. For detractors, this emotional immediacy has always been the problem; for devotees, it’s the reason he matters at all.

