Attic Restaurant review, Pinzolo, Italy
Pinzolo is a small town in the Italian region of Trentino surrounded by the stunning peaks of the Dolomites. A modern cabin life glides silently to the top of a peak known as Doss del Sabion a great starting point for skiers in the winter and walkers in the winter.
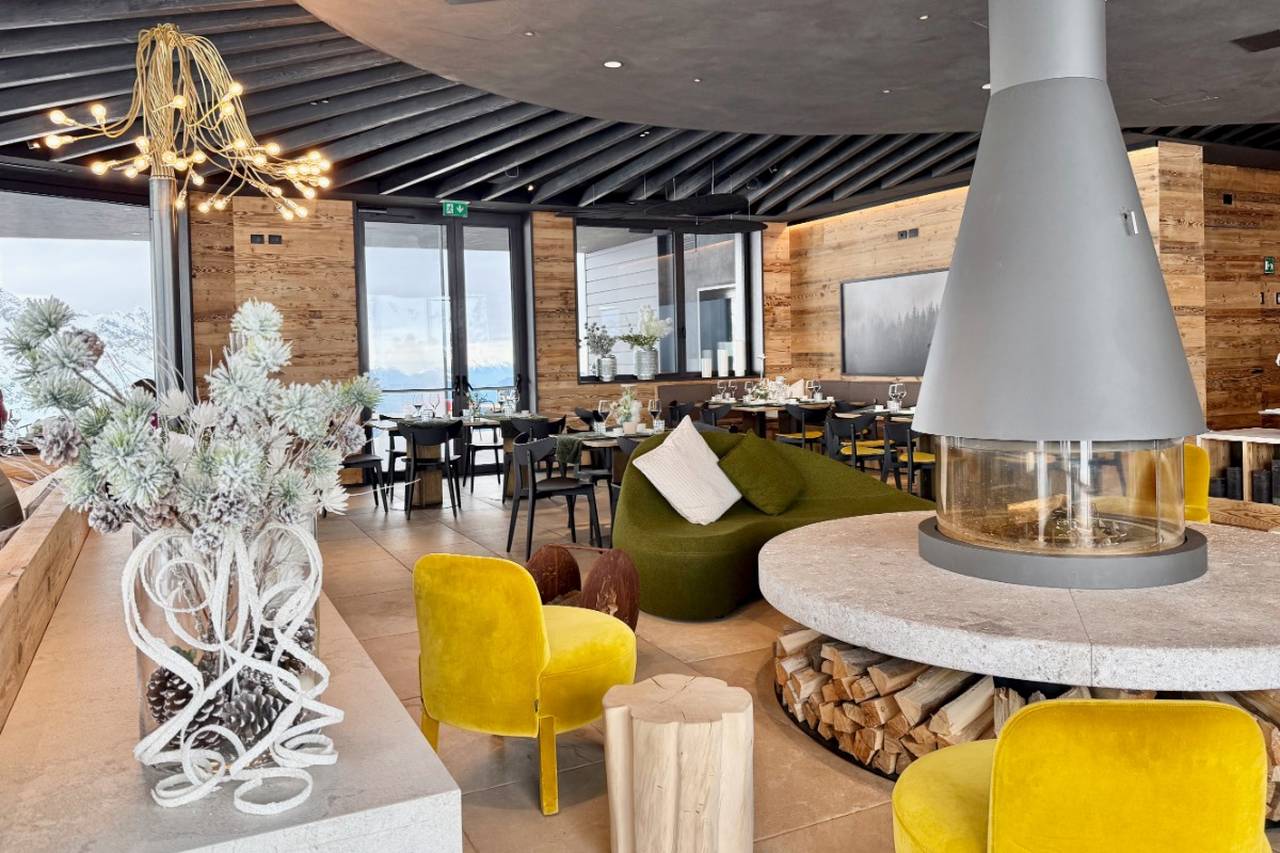
And also, the perfect location for The Attic, a fine dining restaurant. It is perched on the top of a state of the arts building that incorporates restaurants and the lift station that blends seamlessly with the breath-taking scenery that surrounds it. Whether diners are dressed for sport or a celebratory meal they will feel at home in the classy interior that is both comfortable and refined.

Inside the Attic on Doss del Sabion, Pinzolo
This window on the Dolomites takes dining in the mountains to a new level, incorporating local produce in gourmet dishes. These dishes tell the story of local and national Italian cuisine.
Let’s start with a regional favourite, slow cooked beef with polenta. The beef comes from the local Rendena cow. They have been bred to graze the grassy alpine meadows in the summer. They are celebrated at the end of every summer with a parade through the town below.
This parade is part of an annual week-long celebration of this breed that culminates in the crowing of the Queen of Cows. Polenta has an interesting history as it was originally developed as a staple food for soldiers and farmers from a variety of grains.
Today it is made from a yellow maize-like corn grown on the lower slopes of the mountains. The village of Storo is famous for the production of this type of polenta and hosts an annual Polenta festival. These two local favourites are featured on the menu as a main course (secondo piatto) “Il Presidio slow food beef from razza Rendena – slow cooked in red Teroldego wine and delicately sauteed polenta di Storo.”

Slow Cooked Beef and Polenta at The Attic, Pinzolo
Traditionally an Italian meal consists of four courses, antipasto (starter), primo piatto (first course), secondo piatto (main course) and dolce (dessert). The Attic features some very unusual versions of these dishes. An egg from a local hen cooked at 62C and young shoots of chicory (puntarella) are the main ingredients of an antipasto called Il Pollaio. Trentino is renowned for its chicory which is a staple vegetable here. In this dish the egg is cooked in young, crisp inner shoots are used to make a sweet and sour base in which the egg is cooked. The dish is finished with a foam made from Trentingrana (a hard cheese similar to Parmesan) and topped with little hand-made crisps. The starter is followed by a first course, usually pasta or soup.

Il Pollaio, a Starter at The Attic above Pinzolo
Mushrooms (funghi) are also a local favourite here and are found in abundance in the wooded areas around Pinzolo. They are often combined with pasta to make delicious dishes. The Attic offers a very unusual version, porcini and chanterelle mushrooms with burrata cheese and moss on a bed of fregola. The latter is a traditional pasta dish from the island of Sardinia. The little crumb shapes are made from durum wheat and water, toasted in an oven that develops the distinct nutty flavour. Moss is an interesting and unusual ingredient; in the past it has been used as a sedative. The combination of these ingredients results in a tasty first course (primo piatto). The main course (secondo piatto) comes next, and finally the dessert (dolce).

Porcini, Chanterelle and Burrata on a Bed of Fregola at The Attic, Pinzolo
Tiramisù is a favourite throughout the world, and there are many varieties. Treviso in the Veneto region, next to Trentino, lays claim to the original recipe. Tiramisù literally means pick me up. Records suggest the original mixture of eggs, sugars, lady finger biscuits, mascarpone, coffee and cocoa was served as a natural Viagra to customers in a brothel during the nineteenth century. The Attic offers their own version, light and fluffy, mascarpone is aerated with mocha coffee. There is an alcoholic kick from the soaked sponges at the bottom.

Tiramisù a Dessert at The Attic, Pinzolo
And to accompany your meal? The grapes grown in the valleys of Trentino produce wines such as the white Nosiola and the reds, Marzimino and Teroldego. But a special treat is the Trentodoc, a sparkling wine produced by the classical method using only grapes from Trentino. The whole process of making this wine takes place in the bottle is very labour intensive as the bottles have to be turned regularly while fermenting in a large wooden rack. The end result is a delicious, light, sparkling wine to be enjoyed at any occasion, and especially when enjoying fine dining at The Attic restaurant.

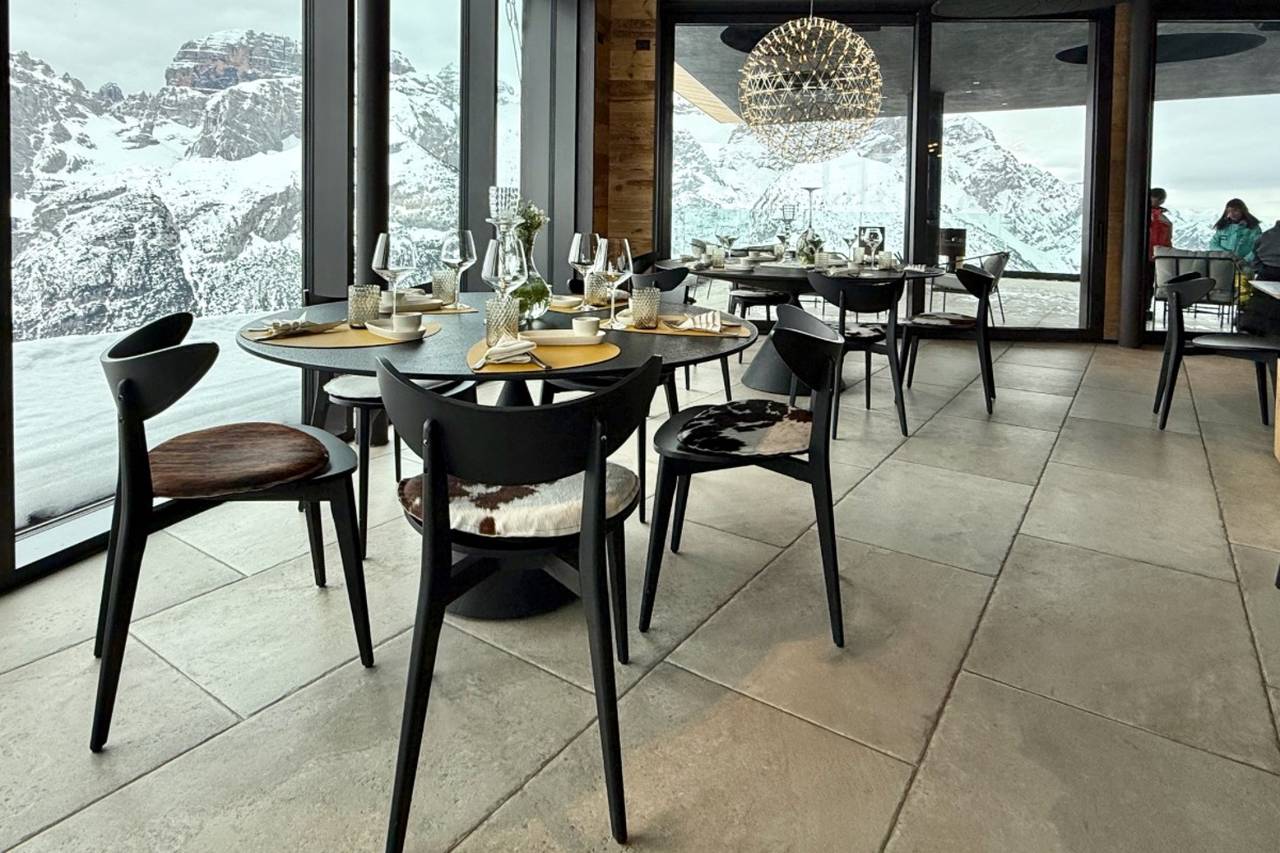
The Dining Area at The Attic, Pinzolo
Verdict: This elegant mountain restaurant offers a dining experience that combines gourmet food with a panorama of spectacular mountain peaks. A good variety of dishes on the menu reflects the local produce and traditional dishes. If you still have room at the end of your meal, try the wonderful cheeses produced from the milk of the Rendena cows that graze the
alpine meadows here during the summer months.
To discover more about The Attic restaurant and to book a table, click here.
Getting There
Pinzolo is one of four resorts in the Ski Area of Trentino all linked by lifts and easily accessible by skiers in the winter and walkers in the summer. The other resorts are Madonna di Campiglio, Folgarida and Marilleva. Regular local buses also run between Trento (regional capital) and Pinzolo. British Airways and Easyjet fly to Verona, the nearest airport.
The post Attic Restaurant review, Pinzolo, Italy appeared first on The Travel Magazine.


