Wanna go really wide with an affordable full-frame optic? Check out this Cookie from Laowa. Cookie? No, I think I’ll call it “Jewel.” Laowa has created a full-frame 15mm (110° coverage) manual focus lens that opens a myriad of creative doors for Nikon Z, Canon RF, Sony E, L-Mount and Leica M users.
Overview & First Impressions
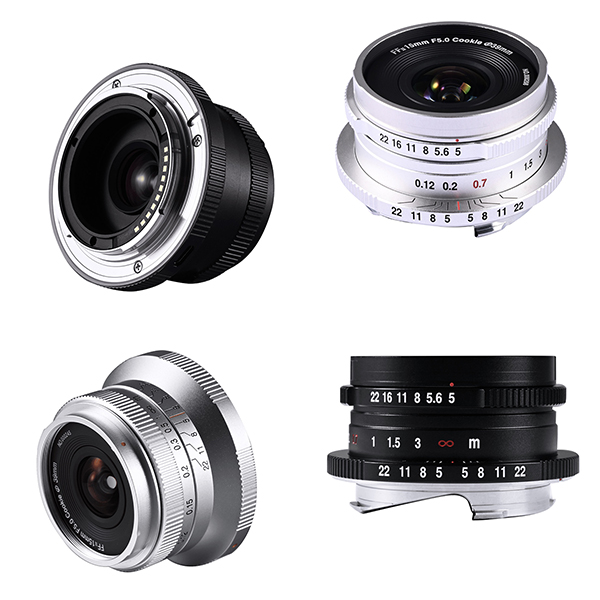
The Laowa 15mm f/5 Cookie FF is a very compact, lightweight (5.5 ounces), manual focus ultra-wideangle lens for full-frame mirrorless cameras. She delivers a 110° angle of view (diagonal measure) and focuses as close as 4.7 inches (12cm)—from the sensor! The build quality is exceptionally good, a distinction we’ve come to expect from Laowa. Laowa uses the Venus brand name here-and-there, so you’ll find this lens listed as a Venus on some retail websites. It’s confusing, I know; in this review we’ll stick with Laowa.
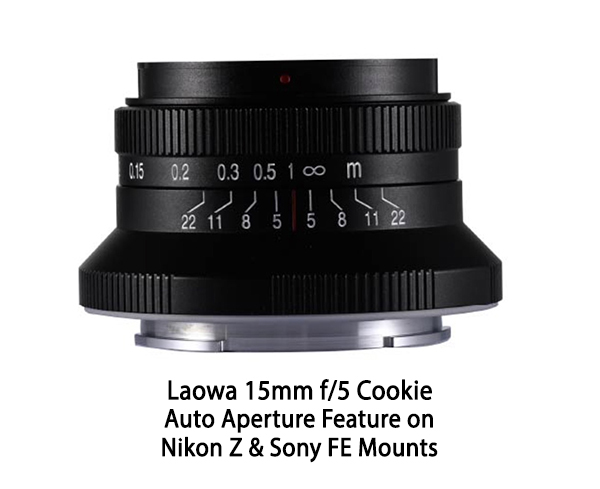
Laowa calls her a “cookie,” suggesting a size imaginatively comparable to a pancake. If you’re familiar with Double Stuff Oreos, you’re on the right track (heaven help our waistlines). The 15mm f/5 Laowa is extremely handsome when wearing the included square lens hood. Clearly built with tons of appeal for serious photographers, it accepts 39mm filters (same as many Leica lenses). The aperture is set via the camera on Sony FE and Nikon Z models and the aperture function is automatic. Canon RF, Leica M and L-mount specimen have a traditional aperture ring. Personally, I prefer that, but there’s no difference in the final output. The auto-aperture type enables recording of more EXIF exposure data, and adds auto-aperture functionality.
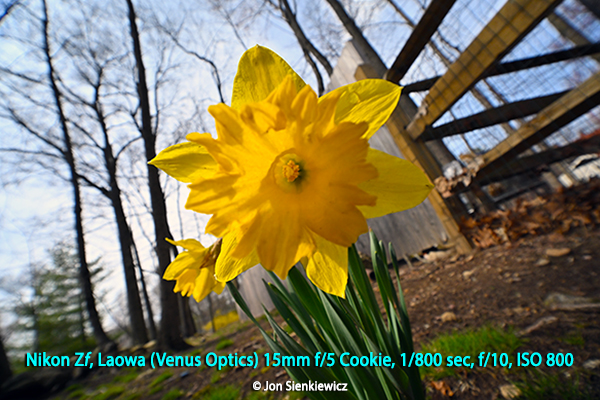
The 12cm (4.7 inch) minimum focusing distance—measured from the sensor plane, not the front element—combined with the depth of field provided by the f/5 (down to f/22) aperture, allows you to get some incredible close-wideangle images. The Laowa 15mm f/5 Cookie FF is a lot of fun to use and begs for experimentation. It made my neighbor’s daffodils look humungous.
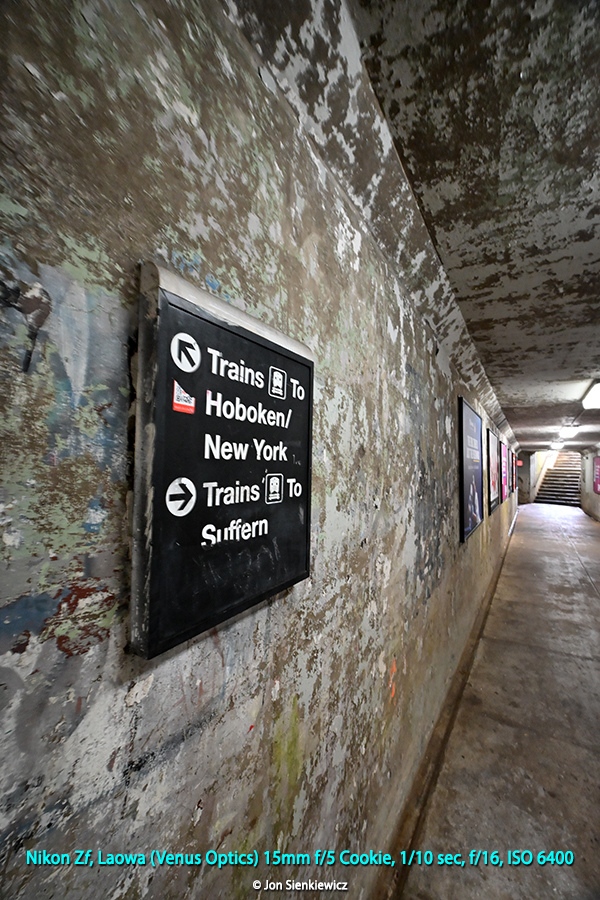
About f/5: no, that’s not very fast, but with modern mirrorless cameras, ISO 800 is the new ISO 100. So why does it matter? And as far as it being manual focus, the Focus Peaking feature found on practically every camera negates any disadvantage, not to mention the extended depth of field that makes precise focusing less necessary.
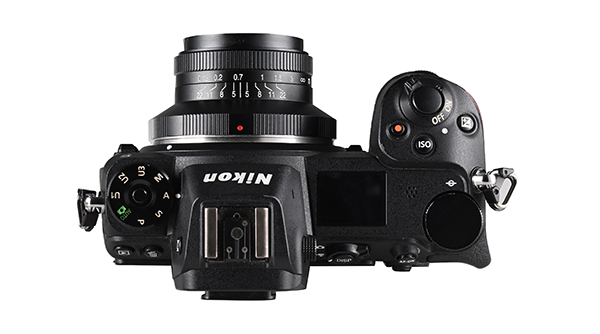
I reviewed the Laowa 15mm f/5 Cookie FF on both full-frame and APS-C Nikon Z mount cameras. Of course, on the smaller APS-C sensor, the effective focal length is about 22.5mm, a very popular choice.
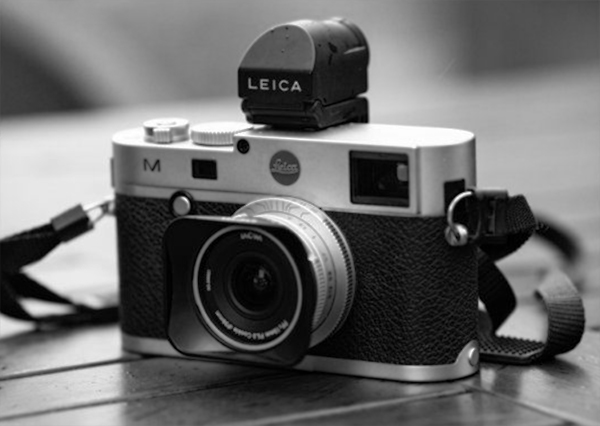
I did not use (or even handle) this ultra-wideangle in the Leica M mount, but I understand it’s less than one-inch tall overall, and it has the aforementioned manual aperture ring. I think that makes it a viable option for Leica owners, many of whom are reluctant to use non-Leica lenses except in dark rooms when no one can possibly see them.
Watch the YouTube Video here.

Venus Optics Laowa 7.5mm F/2 Lens Review: Super Wide and Super Fast Lens for Micro Four Thirds
Laowa 4mm f/2.8 Circular Fisheye Lens Review
Venus Optics Just Introduced the Weirdest Lens You’ve Ever Seen: The Laowa 24mm f/14 Macro
Venus Optics Laowa 9mm f/2.8 Zero-D Lens for Fujifilm X Review
3 Unique Lenses For Sony Full-frame Mirrorless Cameras That Caught Our Eye
Specifications & Features of the Laowa 15mm f/5 Cookie FF
15mm f/5 (to f/22)
Full-frame format
Manual focus and manual aperture
Auto aperture in Sony FE and Nikon Z versions
110° angle of view
Minimum focus distance 4.7 inches (12cm) from film/sensor plane
Front filter thread is widely available 39mm
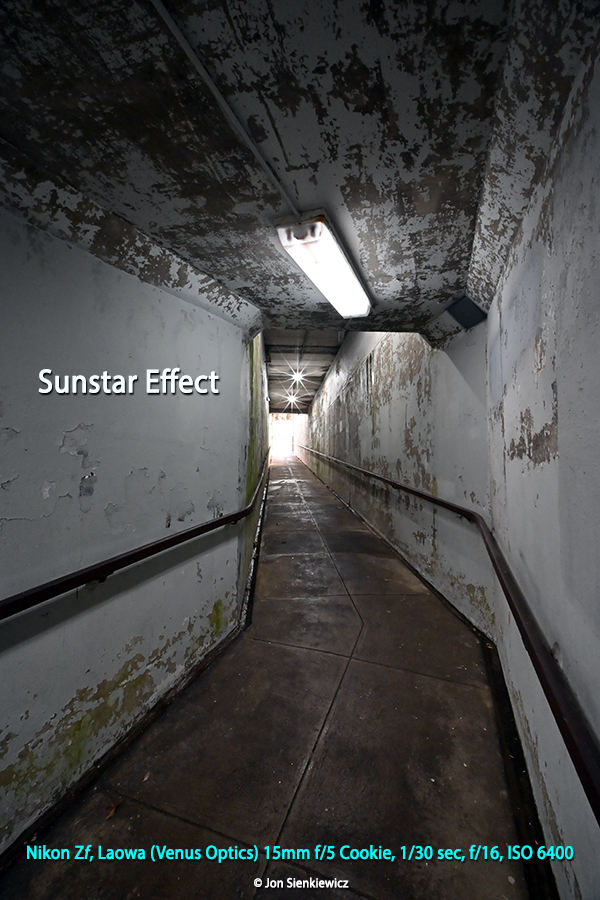
10-Point starburst effect
Weighs 5.5 ounces (158g)
Measures >2.1 x 1.4 inches (53 x 35mm) d x l
In Leica M mount: >2.1 x >1 inches (53 x 25mm) d x l
Optical Construction
The Laowa 15mm f/5 Cookie FF contains 13 elements in 9 groups, including four ultrahigh refraction lenses, two aspherical lenses, and four extra-low dispersion lenses. It has a 5-blade aperture diaphragm. This is according to Laowa; I do not dissect lenses these days.
Performance Summary
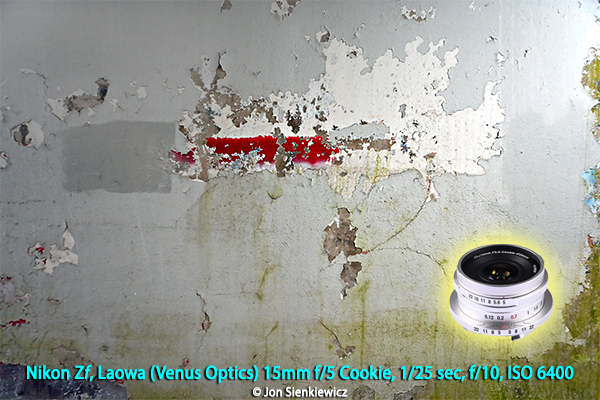
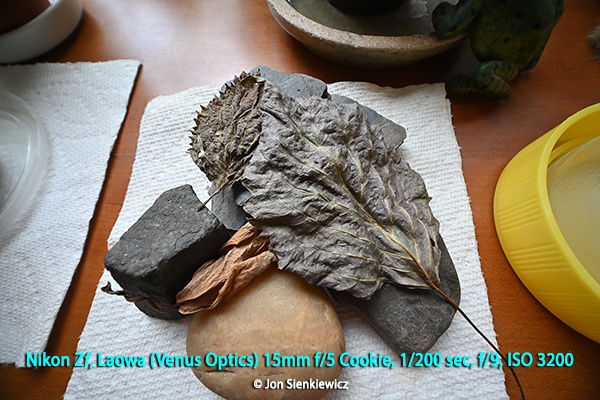
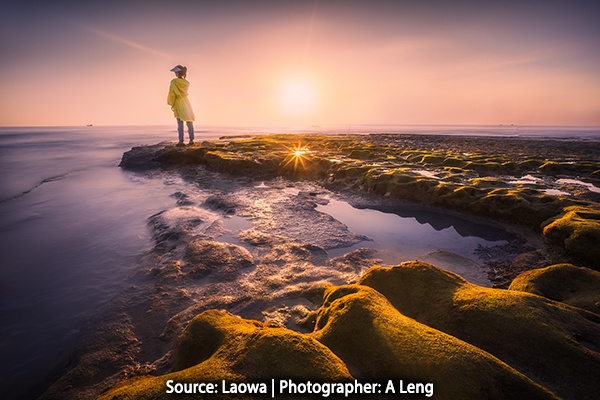
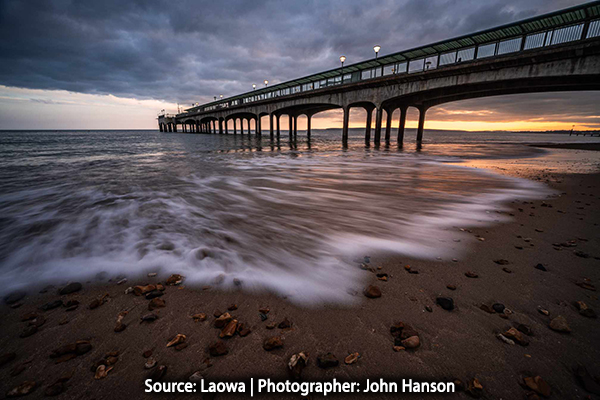
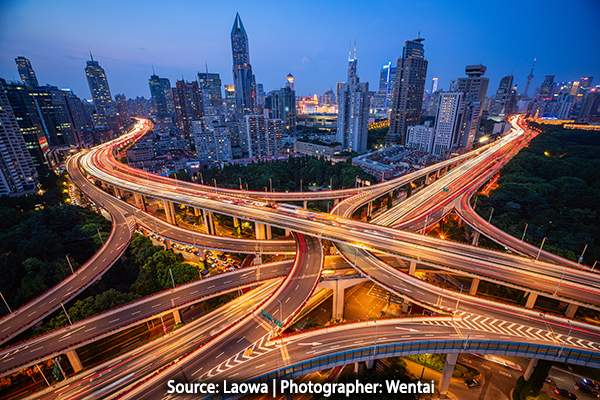
I should let the images speak for themselves. This story includes several I shot and a short gallery of images that were captured by professionals and provided by Laowa. Theirs are better, but they had more time and probably got free coffee and maybe a sandwich. I did not.
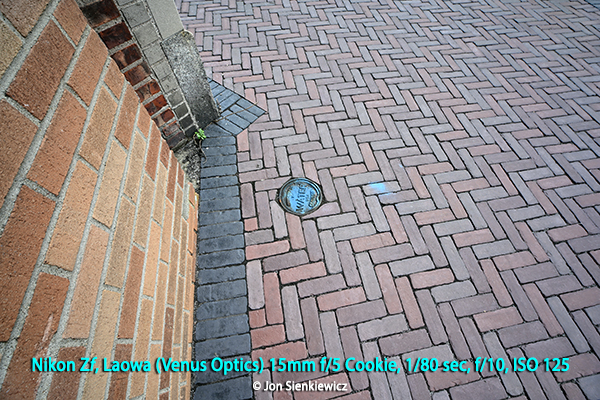
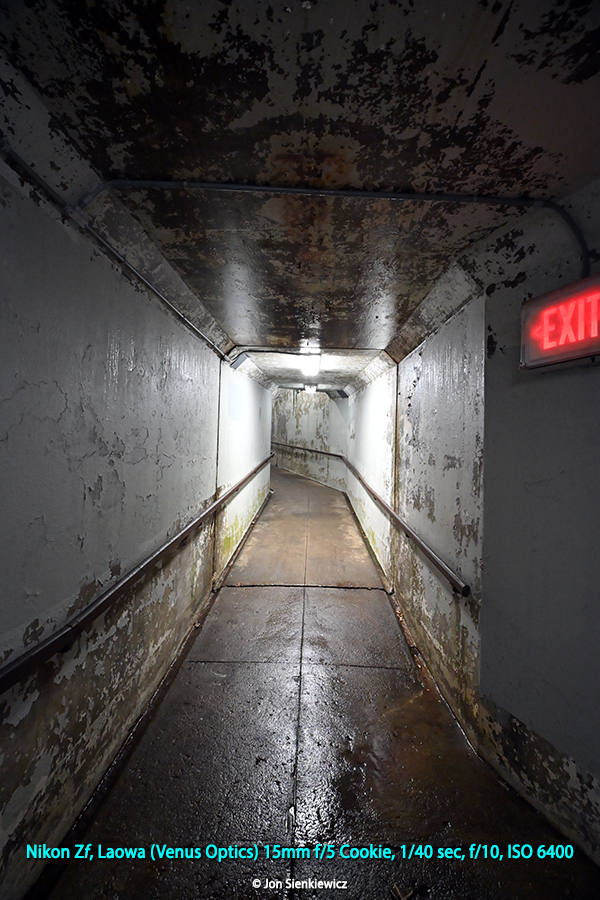
The images I captured with the Laowa 15mm f/5 Cookie FF were clean and sharp. I was pleasantly surprised that exposure was even across the frame, corner to corner, because all ultra-wideangle lenses occasionally render vignetting.
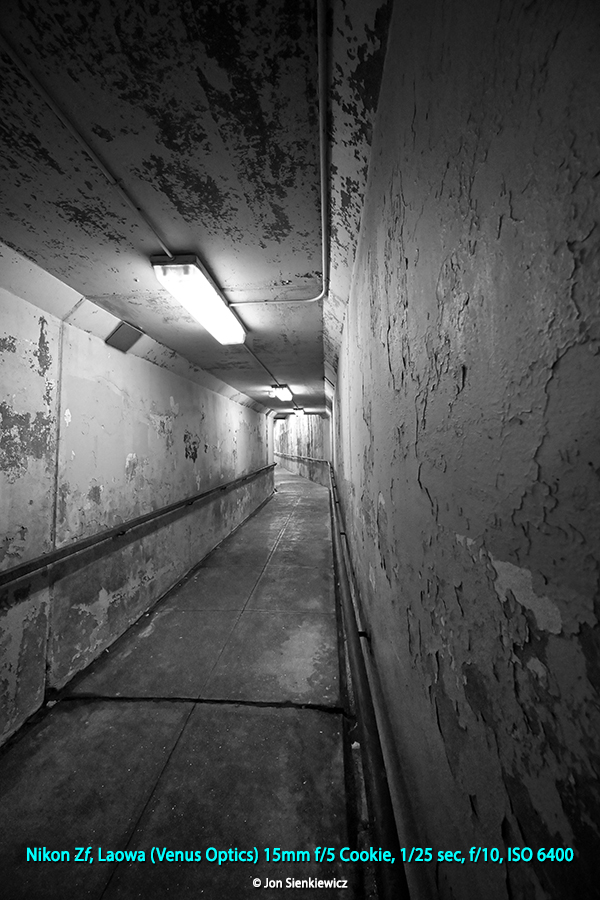
Overall image quality was first class and goodlooking. Saturation and contrast were spot on and pleasing. I did not encounter DPF (Dreaded Purple Fringe) often attributed to chromatic aberrations. In summary, this lens is a winner.
Conclusion
The Laowa 15mm f/5 Cookie FF is highly recommended. The small size, light weight and superb image quality make it an easy choice for walk-abouts and creative explorations.
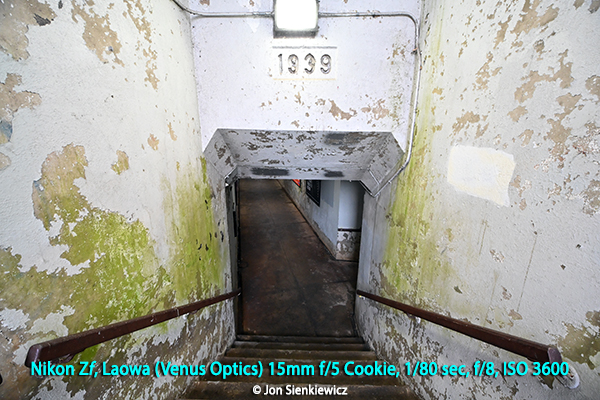
Travel photography often involves cramped interiors and scenic vistas. The 15mm (110° angle of view) makes it possible to shoot from one side of a narrow street and capture a wide expanse. Or the inside of building. Considering how tiny and portable it is, it belongs in your travel bag for sure. You won’t even notice it’s there, it’s that small.
The Laowa 15mm f/5 Cookie FF will embolden you to explore unique angles, unusual perspectives and all-new photo ops. I found it invigorating to use and I really like the results.
Price & Availability
The full-frame Laowa 15mm f/5 Cookie FF is available from Amazon for Nikon Z, Canon RF and Sony FE. Price is $399. It’s also available in L-Mount and Leica M lens mounts. You can order today, in black or silver color, directly from Laowa.
Visit the Official Laowa Store at amazon.com.
Image Gallery (copyrighted images provided by Laowa)
See more on Laowa’s website.


Want to Become a Better Photographer?
Begin by taking more pictures. Carry a camera (not just a smartphone) everywhere you go and shoot even when you’re 100% sure the picture won’t turn out. Review all of your images with a critical eye and share them with others – and that includes posting the best on our Gallery. Subscribe to our newsletter (see sign-up form on our homepage) and bookmark Shutterbug as a Favorite on your browser so you can check back often. We’re in this for the same reason as you – we love photography, and we’re learning more about it every day.
—Jon Sienkiewicz
(As an Amazon Associate, Shutterbug earns from qualifying purchases linked in this story.)
—Jon Sienkiewicz
(As an Amazon Associate, Shutterbug earns from qualifying purchases linked in this story.)


