PURO Łódź hotel (pronounced Wodj) is part of a chain of hotels in Poland inspired by Rune Askevold a Norwegian with a passion for Poland. It is a chain that is distinguished by the lack of a common theme.
Each hotel has been individually created to reflect the art and craftsmanship of the town that surrounds it in conjunction with global cooperation. The lovely, colourful bedspreads in the rooms here were designed by the Polish designer Maria Jeglińska-Adamczewska and produced by Røros Tweed in Norway.
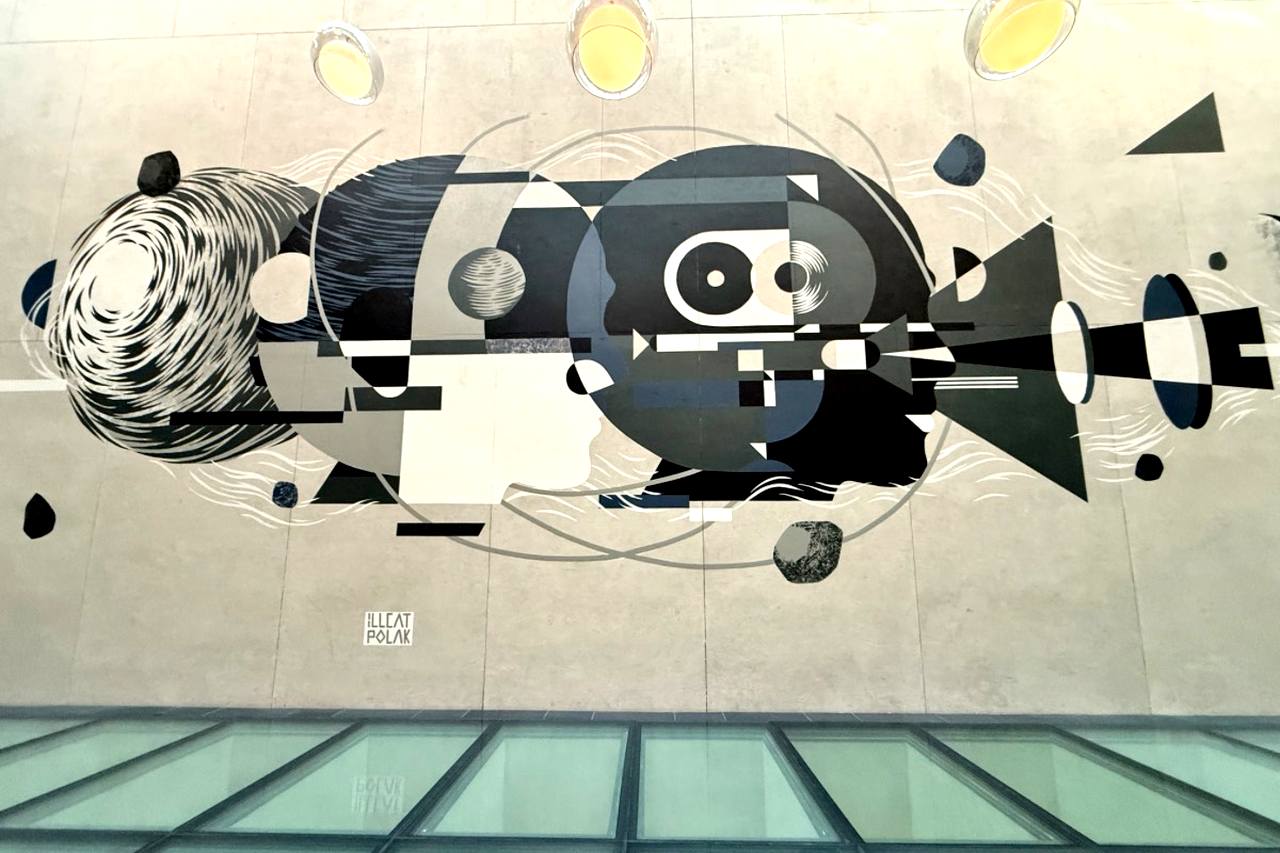
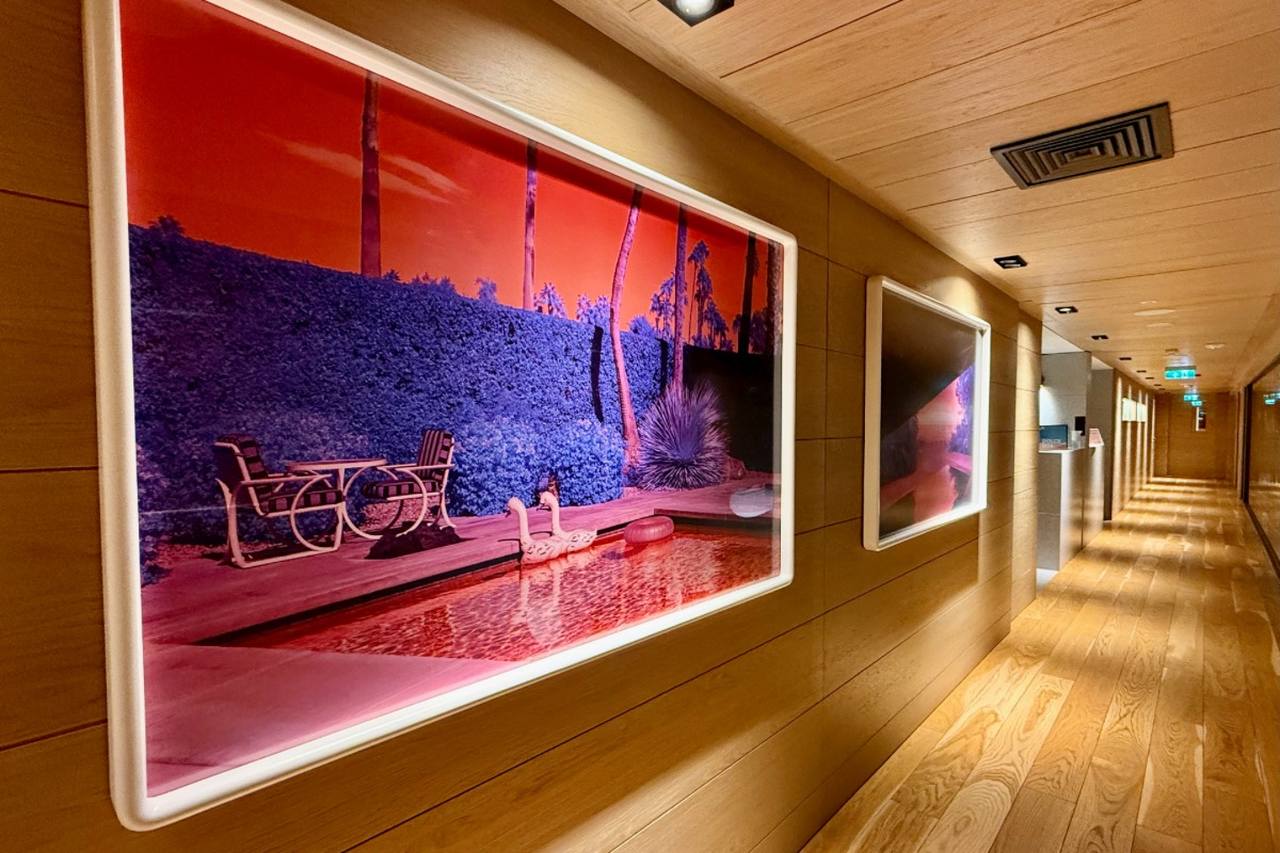
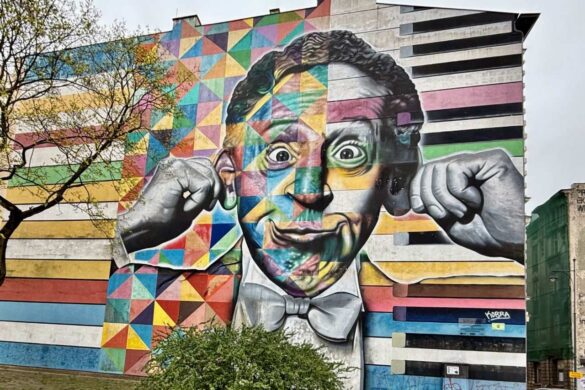
This hotel also has a strong connection with local artists whose work is displayed throughout the building. Particularly relevant, as Łódź is renowned for its murals, is the impressive large scale acrylic mural on concrete commissioned and created by two Łódź-based artists Maciej Polak and Bartłomiej Illcat.

Mural in PURO Łódź in Łódź, Poland
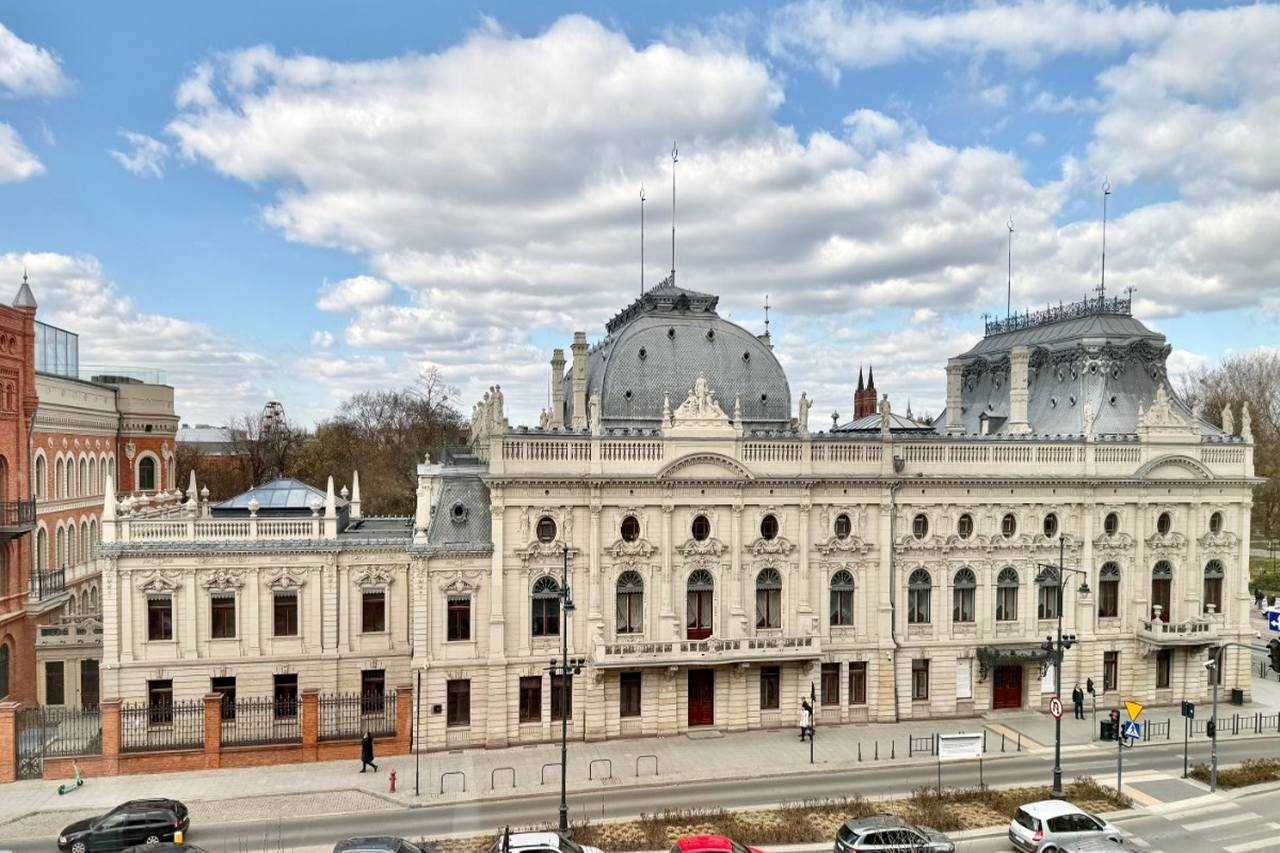
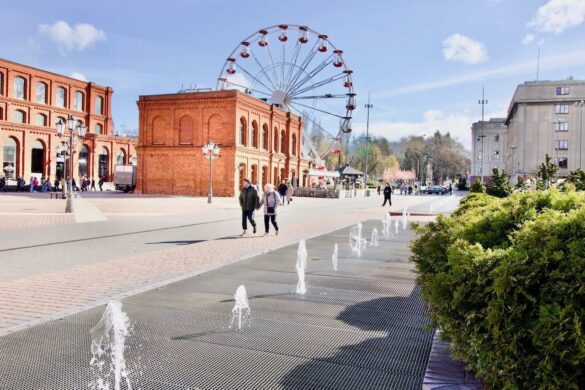
PURO Łódź overlooks two of the city’s major attractions. Opposite is Poznański’s Palace, once the residence of the wealthy factory owner Izrael Poznański. Manufaktura, next door to the palace, was created from Poznański’s red brick industrial complex that was abandoned when the textile industry collapsed. Across the road is Park Staromiejski, a beautiful green space that the old town square once occupied.

Poznański Palace from PURO Lodz in Lodz, Poland
Who for
PURO Łódź is the ideal place to stay when visiting the city whether you are a solo traveller, a couple, a family, part of a small group or in Łódź on business. Guests, visitors and locals are all welcome to use the spaces that have been created on the ground floor. These include a restaurant, lounges, and a work area linked to the Biotiful Healthy Snack Lab. This creates the sense of being part of the city rather than an exclusive area for guests only.
Accommodation
In total there are 130 rooms including 7 suites and four different categories. All the rooms have air-conditioning, free WiFi and hypo-allergenic Hilding beds. Natural light floods every room which, as a lover of the outdoors, I really appreciated. I never drew the curtains but they are there for those wanting complete darkness at night. I prefer the twinkling lights of the city around me. The windows don’t open but they have air vents.
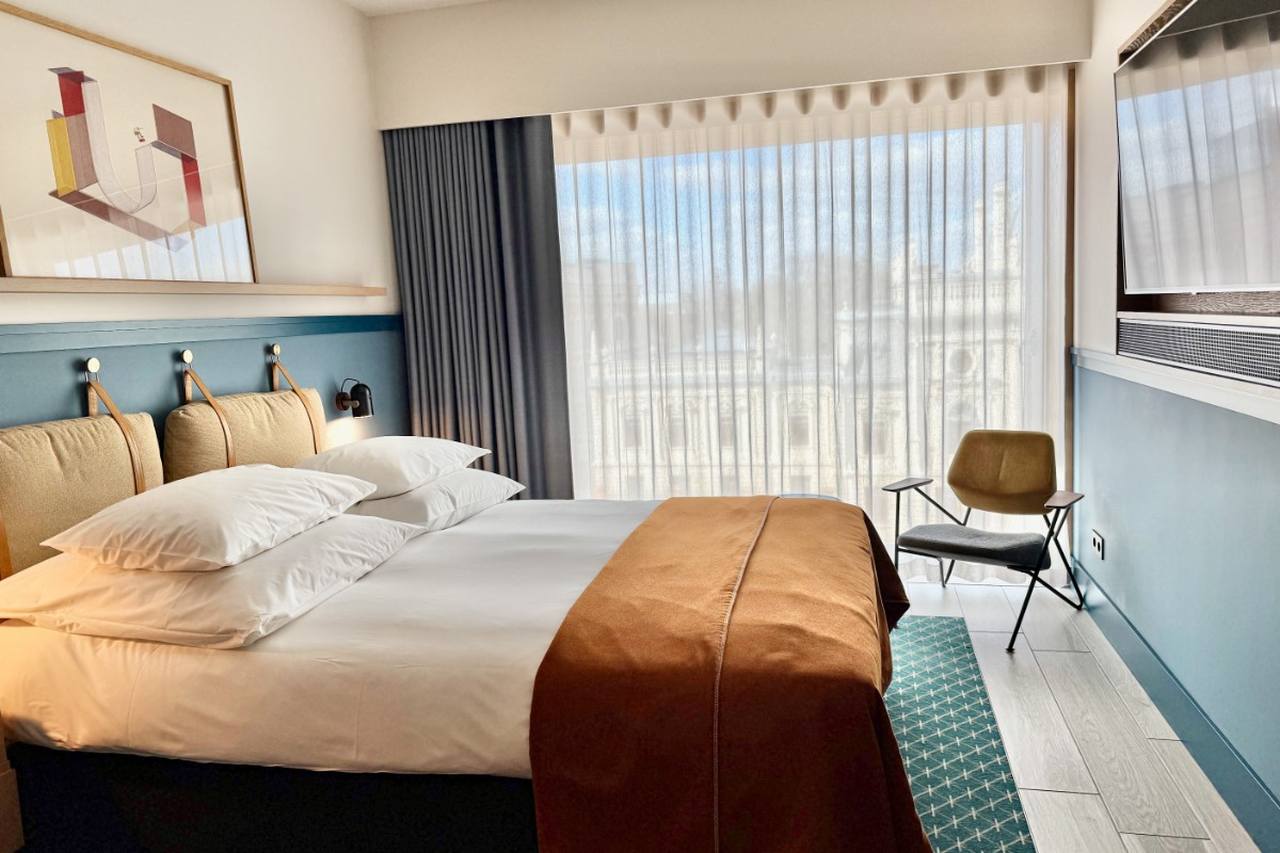
I stayed in a Classic Room. Its elegant, sophisticated interior surrounding a very comfortable bed offered everything I needed for a short stay. A touch screen tablet operated the television and lights, gave me information about the hotel and connected me to reception.
Tip: Request a room at the front overlooking the magnificent Poznański’s Palace which is floodlit at night.
Any information I could not find on the tablet was readily available via the friendly staff on reception. A Super Classic Room is the same size but also includes a dressing gown and slippers. The Suite is larger with a king-sized bed, a lounge and tea and coffee-making facilities. Guests in an Executive Suite have a spacious bedroom, a large bathroom and a separate living area with a dining table, furnishings by renowned designers and a curated art selection.

A Classic Room at the PURO Łódź in Łódź, Poland
Food & Drink
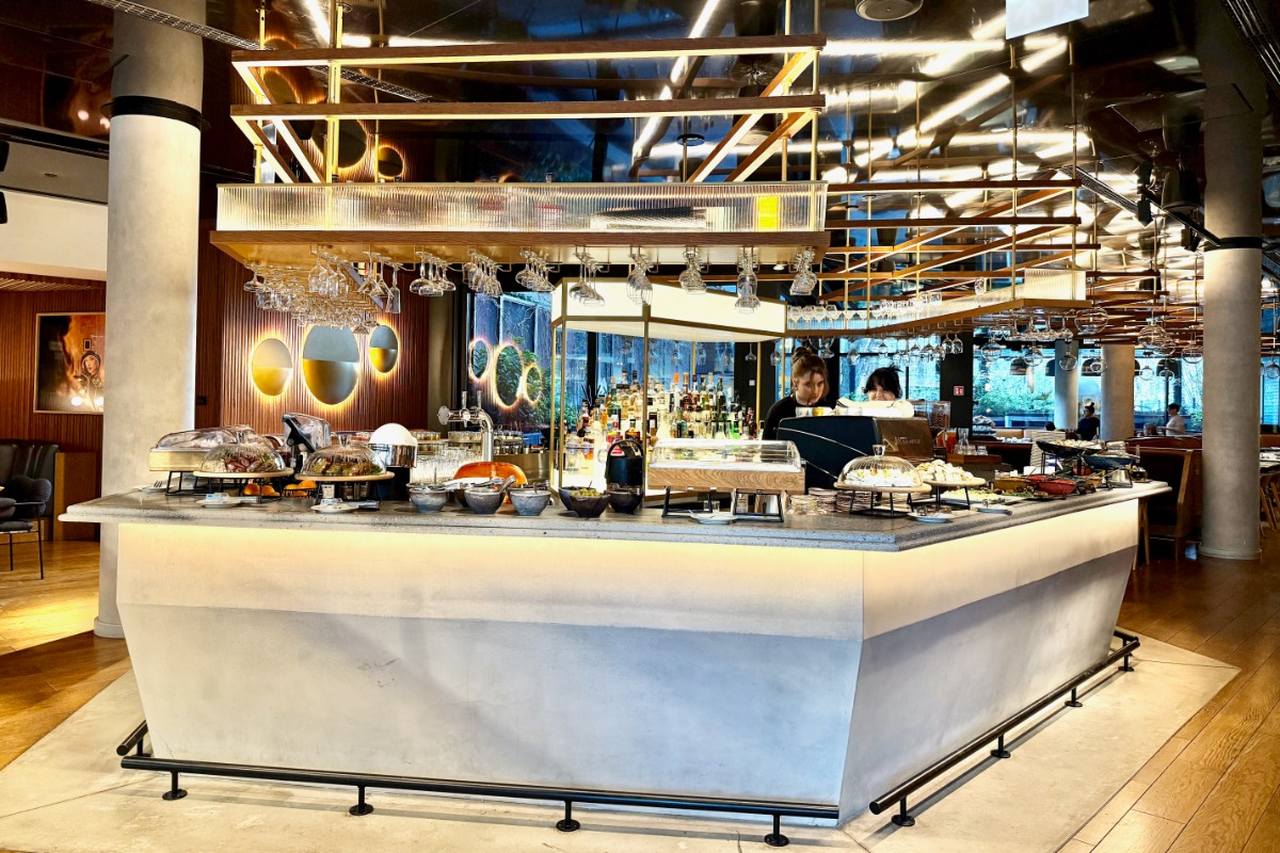
PURO Łódź has two distinct eating areas. The spacious main restaurant on the ground floor serves a splendid breakfast buffet every morning and Miska Gastro Bowls for lunch and dinner. These bowls mainly feature Asian cuisine but there are also European choices plus vegetarian and vegan options.
The Biotiful Healthy Snack Lab is a café on the ground floor Asian biased little plates. Asian cuisine may seem a strange choice but it does offer a light and delicious alternative from the traditional Polish fayre, which is substantial comfort food that generally comes in large portions. However, all tastes are catered for at Manufaktura just across the road. But, if like me, you have enjoyed a traditional three-course lunch then a Miska Gastro Bowl accompanied by a glass of cold white wine in a cosy dining area is the perfect way to end a day spent exploring the town.

A Classic Room at the PURO Łódź in Łódź, Poland
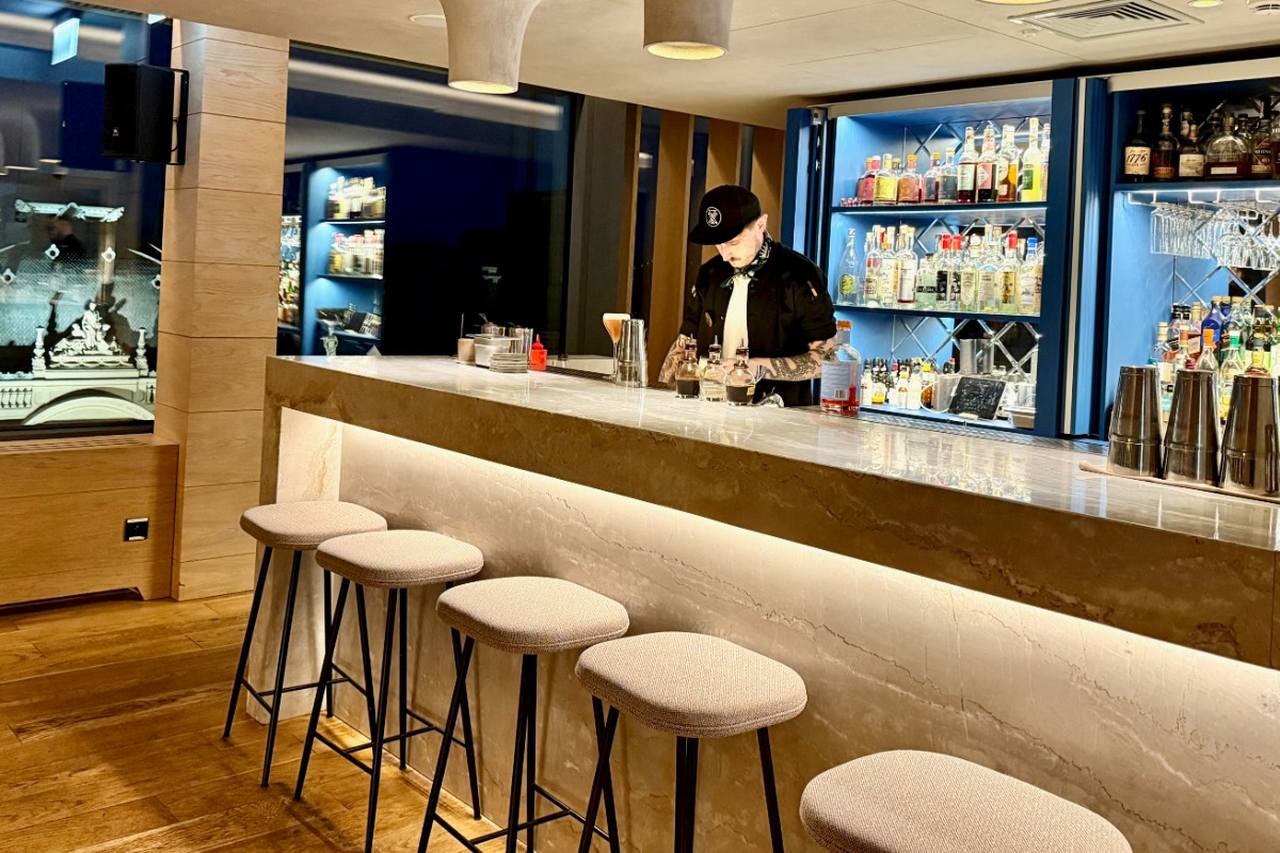
Both eating areas on the ground floor also include bars but there is also a dedicated bar with a terrace on the roof top. This is the perfect place to enjoy cocktails, vinyl records and a great view of the historic Poznański Palace and Faktura below as well as the city that surrounds them.

The Spirit Bar at PURO Łódź in Łódź, Poland
Facilities
Facilities at PURO Łódź include a weekly programme of activities, guided city tours and bicycle rental – all free. It has a fitness centre and a spa. The hotel describes it’s PRISMA spa as a restorative box of special treats and pick-me ups. It offers a full range of wellness facilities including Pilates, a steam bath a sauna and a wide range of beauty treatments.
Products by Alba 1913 are used for all facials and body treatments. These beauty products are based on original family recipes and are available through the hotel’s online gift shop.

PRISMA Spa at the PURO Łódź in Łódź, Poland
PURO Łódź has excellent facilities for business meetings and can cater for all needs from large function rooms, workshops, spaces for photoshoots and pop-up events as well as its own cinema for private film shows. Cinema Paradiso is furnished with pink velour cinema armchairs and accessed through Art Deco doors.

Cinema Paradiso Bar at the PURO Łódź in Łódź, Poland
It also has its own bar complete with a popcorn machine. Regular film screenings are held here both for hotel guests (free of charge) and residents of Łódź. It is not unusual for hotels in Łódź to have a private cinema. It reflects the importance of cinemas and the film industry in a town that also features two museums relating to the advent of cinemas here in the late nineteenth century and its importance in the global film industry.
How much
Prices start from £75 per night based on two adults staying in a Classic Twin or Double Bedroom (breakfast not included). Check the hotel website for special discounts.
CHECK AVAILABILITY
What’s Nearby
Two of Łódź’s major attractions are on the doorstep of this hotel. Opposite is the Poznański Palace a mansion of eclectic architectural styles built by Izrael Poznański one of the wealthiest factory owners during the city’s heyday as the centre of the textile industry. In 1975 the palace became a museum when its state rooms were opened to the public and the Museum of Łódź City was created on the lower floors.
Here visitors can learn about the history of the textile industry in the city and have fun with a variety of interactive exhibits. Next door to the palace is the old factory complex of spinning mills and tenement housing for the workers. Now known as Manufaktura this complex has been restored and revitalised to become the city’s largest retail and entertainment centre featuring cinemas, museums and restaurants.
A short walk from the hotel is the city’s most famous street, Piotrkowska. Partly pedestrianised this street is home to the best restaurants, cafes and bars in the town. It is also an architectural treasure, lined with mansions and offices from the end of the nineteenth century/beginning of the twentieth century. In those days, this was the most popular street for residential or business premises.
It is also a good place to appreciate some of the best street art in the city. At the far end is the old White Factory. So-called because it was the only white building amongst all the red-brick buildings. The owner and wealthiest of the textile magnates had it painted white because he could afford to repaint it every year. Today, this building houses the unique Central Museum of Textiles. Bus and tram stops right by the hotel make it easy to visit other attractions, including EC-1 a state-of-the-art museum complex created in the old power station and the Orientarium Zoo.
VERDICT: PURO Łódź is an elegant fusion of Scandinavian concepts and Polish art and design resulting in stylish, comfortable bedrooms and welcoming spaces to dine, work or socialise. The panoramic view from its rooftop Spirit Bar is recognised as one of the best in the city.
The post PURO Łódź Hotel Review, Łódź Poland, appeared first on The Travel Magazine.


