Dyson has announced the release of a groundbreaking new vacuum – it’s unlike anything I’ve ever seen and I want one immediately
There’s more new technology than you can shake a stick at
We all face a difficult compromise when processing our photos: When edits are insufficient, photos will appear flat and uninspiring, while a heavy-handed approach results in overcooked results that have no relationship to reality.
This eye-opening tutorial from one of our favorite instructors explains how to arrive at a perfect compromise and create natural-looking images that pop off the page. Serge Ramelli is a Paris-born pro who travels the world in search of spectacular landscape, seascape, travel and cityscape imagery.
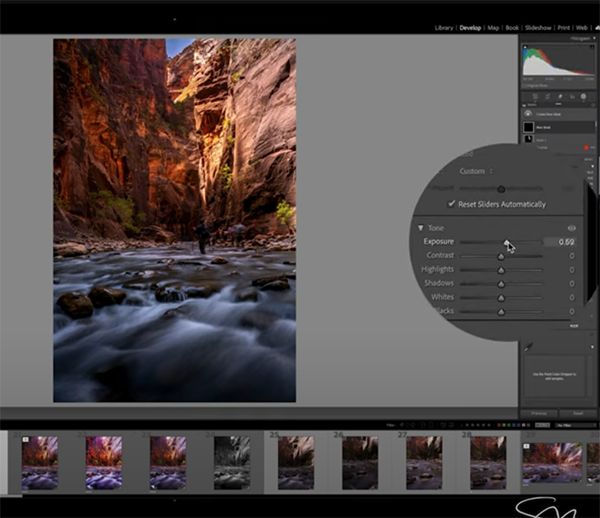
Ramelli recently returned from teaching a workshop at the amazing Narrows in Utah’s Zion National Park—a destination he calls one of the nicest places on the planet. He says that “a lot of my students were either over-retouching their photos or under-retouching them. So I want to show exactly what most photographers get wrong and how to fix it.”

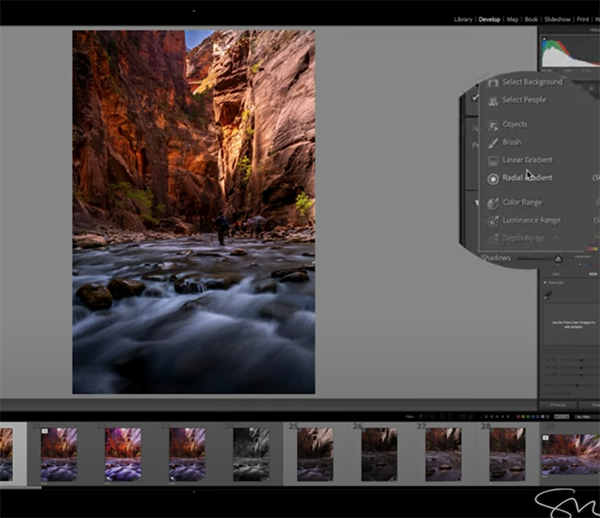
Most importantly, Ramelli provides his secrets for getting things correct from the get-go. In barely six minutes he demonstrates how to use local adjustments, gradients, and careful color balance techniques to create “stunning, natural-looking edits.”
Along the way he walks you through processing a long-exposure shot—demonstrating the best way to balance cool water tones with warm, red rocks in the frame. Ramelli says he shot the sample image with a two-second exposure to impart a soft sense of motion to the water flowing in his direction.
He first illustrates what he considers under-retouching by limiting his adjustments to “opening the shadows, bringing down highlights, and modifying the blacks and whites.” As you might expect, this lazy approach delivers disappointing results.

Then Ramelli applies the enhancements he recommends for making this image “look incredible.” It’s not a laborious task—just one that’s thoughtful, restrained, and complete. Compare his before/examples and you’ll be duly impressed.
The video doesn’t end there however, because Ramelli concludes with an ugly (but common) example of happens happens when photographers crank up their enhancements far beyond acceptable limits. Don’t be that guy.
Be sure to visit Ramelli’s popular YouTube channel and explore all the how-to videos on a wide-range of outdoor photography topics.
You may also appreciate the tutorial we featured recently with another post-processing specialist who reveals 10 exciting enhancements to Photoshop that will significantly improve your everyday workflow.
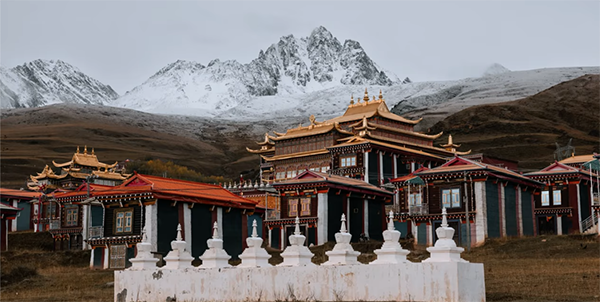
Travel photography is an interesting genre that borrows techniques from street photography and portraiture, along with best practices for capturing landscape and seascape imagery. Yet, we often do things a bit differently, because there’s the added goal of documenting a trip with memorable moments that tell a story.
Instructor Belinda Shi is an experienced shooter who’s traveled across six contents capturing over a million images in the past 18 years, so she has plenty of knowledge and great photos to share. She kicks today’s tutorial with this: “I’ll explain seven practical travel photography tips that will help you capture compelling stories and authentic moments during your travels.”
The discussion covers a wide-range of essential skills, like mastering different types of light for various purposes, the importance of imbuing your images with harmonious local colors, a thoughtful approach to composition, and the mindset needed for capturing long-lasting memories to share with family and friends.

She begins with harnessing the fundamentals of light, and why it’s necessary to take one approach when shooting environmental portrait, for example, and employing a different approach for urban landscape scenes and other types of photos. As she says, “it’s crucial to understand what kind of light works best for specific subjects.”
Shi then demonstrates how to deal with featureless skies that add nothing to the story you’re trying to tell. She puts it like this, “One composition mistake I constantly see is too much empty sky taking up too much valuable real estate within thee frame.” Her solution is to accentuate the key elements of your shot by minimizing flat, boring skies.
There’s also a discussion of gear, sensor size, and important camera settings, and one of Shi’s recommendations is to employ the camera’s burst mode both strategically and sparingly. She insists that high burst rates are rarely necessary for travel photography, and they’ll just fill up your memory card force you to spend time culling hundreds of similar images or even more.

The lesson proceeds with Shi’s tips for getting it right in the camera, and why she advises you to “capture a story not just faces.” There’s also a helpful discussion of how to put the important concept of color harmony to work. You can even join her masterclass for free with a link in the description beneath the video.
This is a lesson you won’t want to miss, especially if there’s a summer vacation on your itinerary. Once you’re done watching be sure to take a quick trip today by visiting Shi’s popular YouTube channel for photographers on the go.
And be sure to check out the earlier tutorial we shared in which an experienced pro explains “how to see light the way your camera does.”
