Cruise review: Celestyal Journey brings together the Gulf states on one unforgettable voyage
Testing the water with several trips in the Arabian Gulf, innovative cruise company Celestyal has found demand so strong that for winter 2025-26 not one but two ships will spend three months in the ever-changing, wonder-filled Emirates. I sailed on the classic Celestyal Journey ship first built in 1994. Celestyal Journey, was bought by Celestyal in 2023 and underwent a £5.5m refit in Dubai at the start of the Arabian adventure.
The ship – Celestyal Journey

The sun-drenched pool deck on Celestyal Journey
Celestyal’s Greek heritage is noticeable with food that retains a taverna touch – dips, flatbread and such – particularly in the buffet, called the Taverna, as well as poolside Greek Deli serving gyros, soft sandwiches of spit-cooked meat.
The Eastern Med/Middle East is more prevalent… falafel, lamb kofta, couscous in both the Taverna and the main restaurant, Thalassa. There are also three extra-charge restaurants; the Grill Seekers steakhouse (steaks from €38/£32, Pink Moon for Asian dishes (ramen, stir-fry) and Smoked Olive (Med dishes such as risotto and pasta) plus the Chef’s Table, up to 14 people with six courses for €88 (about £75). All serve excellent Greek wines as well as usual favourites.

The Pink Moon Asian restaurant on Celestyal Journey
Galazio Terrace at the stern is perfect for an early evening G&T and hosts vibrant sailaway parties, while the Martini and Blue bars and Café Nation (also home to superb Intenso Illy coffee) are close together and people flit from one to another listening to piano, violin and trios playing a world of music.
Nightly shows take place in the Amphitheatro (we are talking about I Have A Dream, an Abba song-and-dance extravaganza where one of the dreams involved people with polar bear heads).
A gym has fabulous ocean views, there’s a running track and baseball courts. And I had a very firm Swedish massage at the Sozo spa.

A Grand Dream Suite – plenty of room, and an olive tree on Celestyal Journey
Rooms are smart and comfy, whether interior, exterior (with window), Junior Dream Suites, with balcony, to the double-sized Grand Dream Suites, the balcony big enough to accommodate a table tennis table if you had one. And suite guests get extras including free dining in Smoked Olive, plus a private lounge and deck area.
Day 1
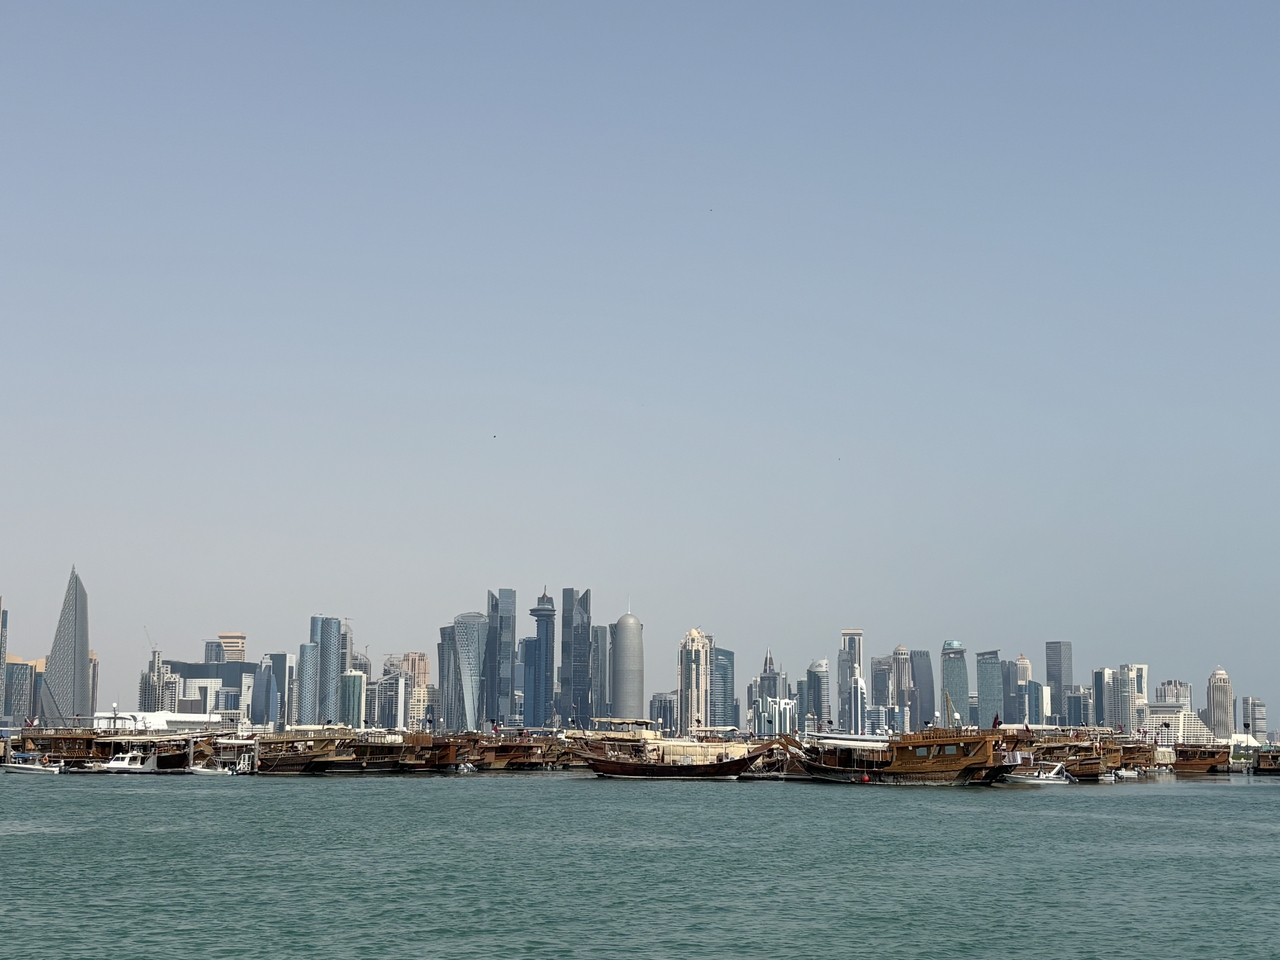
Doha’s Corniche seafront and a deluge of dhows for bay trips
After an evening flight and night in a hotel, I wake up in Doha, the sun streaming through the window. I have time for a stroll through 19th century Souk Waqif sensitively rebuilt after a devastating 2003 fire – alive with carpet and pottery sellers as well as T-shirt and fridge magnet emporia.
On the waterfront I nip into the Museum of Islamic Art, flying the flag for the Gulf’s modernist buildings. Created by architect IM Pei (responsible for the steel and glass pyramid at Paris’s Louvre), this is a white, cubist marvel with light-filled, cathedral-like interior.
 Reaching our ship, Celestyal Journey, is also a delight, a drive along a city centre causeway lined with a boardwalk and elegant iron Arabic lampstands.
We pass Box Park, shipping containers turned into waterfront cafes and bars, before reaching the cruise terminal, opened in late 2022, its façade made up of 1,174 arches. We’re in terminal two so don’t get to ride the escalators in their tunnel up through the giant aquarium filled with reef sharks and rays, but we can see them through the glass wall.
Onboard, there’s a sailaway party with DJ, dancers and drinks as we cross Doha Bay, passing the skyscraper skyline of the city’s waterfront Corniche, the sun gently setting.

The sunset sailaway party in Doha
Day 2- Bahrain

Bahrain’s Al Fateh Grand Mosque is a modern marvel
We arrive in Bahrain at 8.30am and start breakfast on the open deck outside the Taverna buffet restaurant – there are fry-ups, ramen, croissants and more but I go with the Greek-Arabic delights of pureed fava beans with bread and fruit.
We’re in Khalifa Bin Salman, an industrial port (it’s rather impressive being parked next to an oil rig) and our tour bus offers watery panoramas as we head into the nation’s main city, Manama.
First call is Al Fateh Grand Mosque, grandiose (accommodating 7,000 worshippers) and traditional yet built in the 1980s – Swarovski chandelier meets Indian teak doors, and a fibreglass dome (the world’s largest, naturally).

The view over Manama from the ancient remains of Bahrain Fort
Then it’s on to the city centre and the narrow, colourful streets of Manama Souk for a quick wander amongst the honey-dripping cakes, the spices, the cooking pots and, of course, T-shirts.
Qal’at al-Bahrain – Bahrain Fort – is the remains of a settlement going back to 2,300BC right up to the 16th century of Portuguese conquerors on a man-made hill by an enclosed bay, now with views over the gleaming towers of downtown.
We see a contemporary take on 6,000 years of history at the striking Bahrain National Museum. There are more views over city from the low, traditional yet very different, Novotel Bahrain Al-Dana Resort, whose towers loom across the bay. A lunch included in our excursion… a wealth of hummus, sausages, fish and plenty of dates.
Day 3 – Dubai
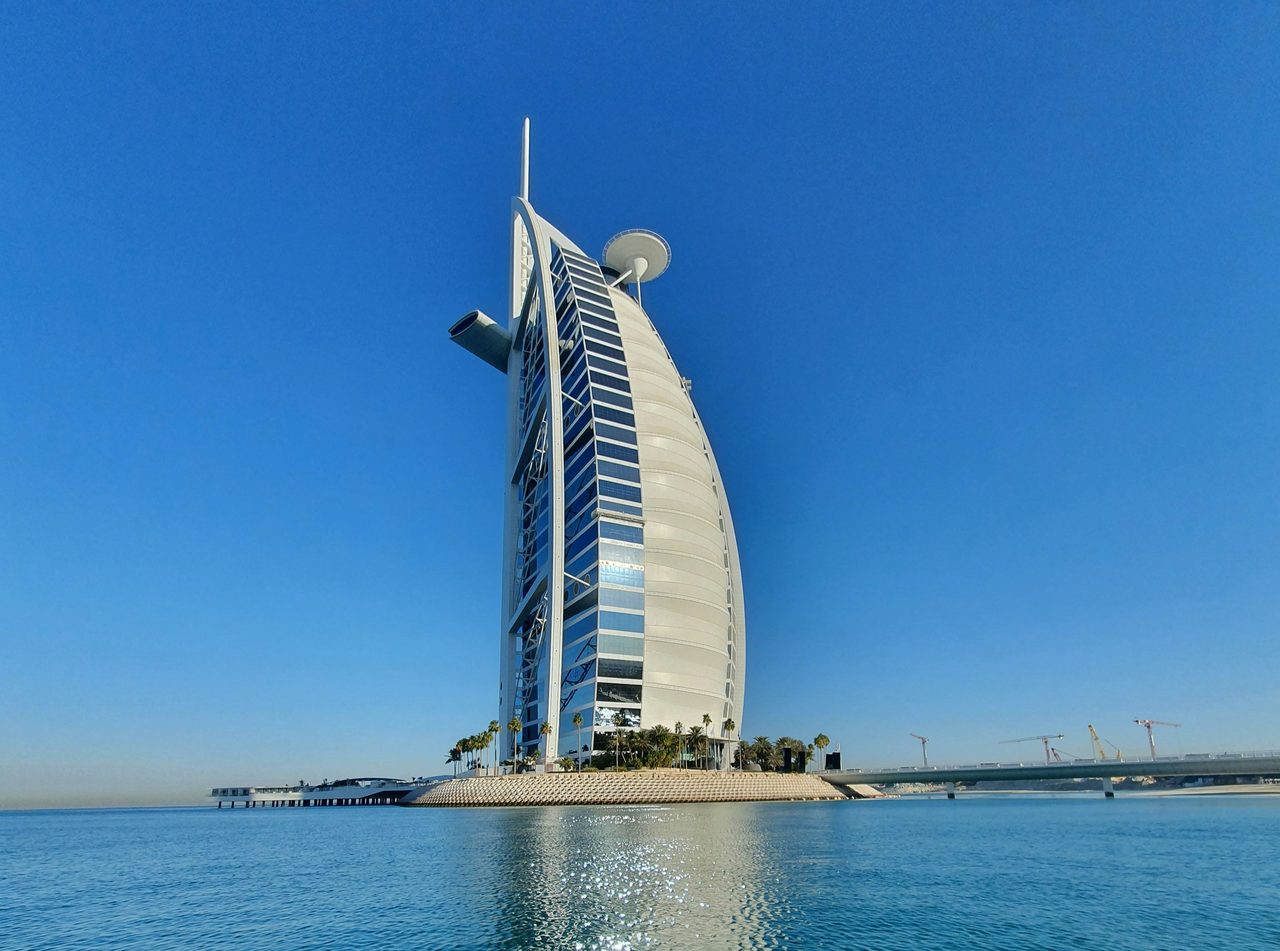
Burj Al Arab hotel, Dubai
Sailing into Dubai is part of the excitement, views of the sail-like Burj Al Arab hotel and sailing past the fairytale Atlantis hotel and Ain Dubai, the world’s biggest ferris big wheel, at 250m high, outstripping the London Eye by 115m.
We dock early afternoon at Dubai Marina, the terminal a stirring 30-minute boardwalk stroll to the buzzing, high-rise spot packed with restaurants and bars. No walking today, though, as I board one of the fleet of 4x4s for a drive out of the city – some of the roads six lanes wide in each direction.
First it’s Dubai Camel Racing Club for a glimpse of dozens of animals training on the sandy track then, passing Dubai Camel Hospital, head for the desert.
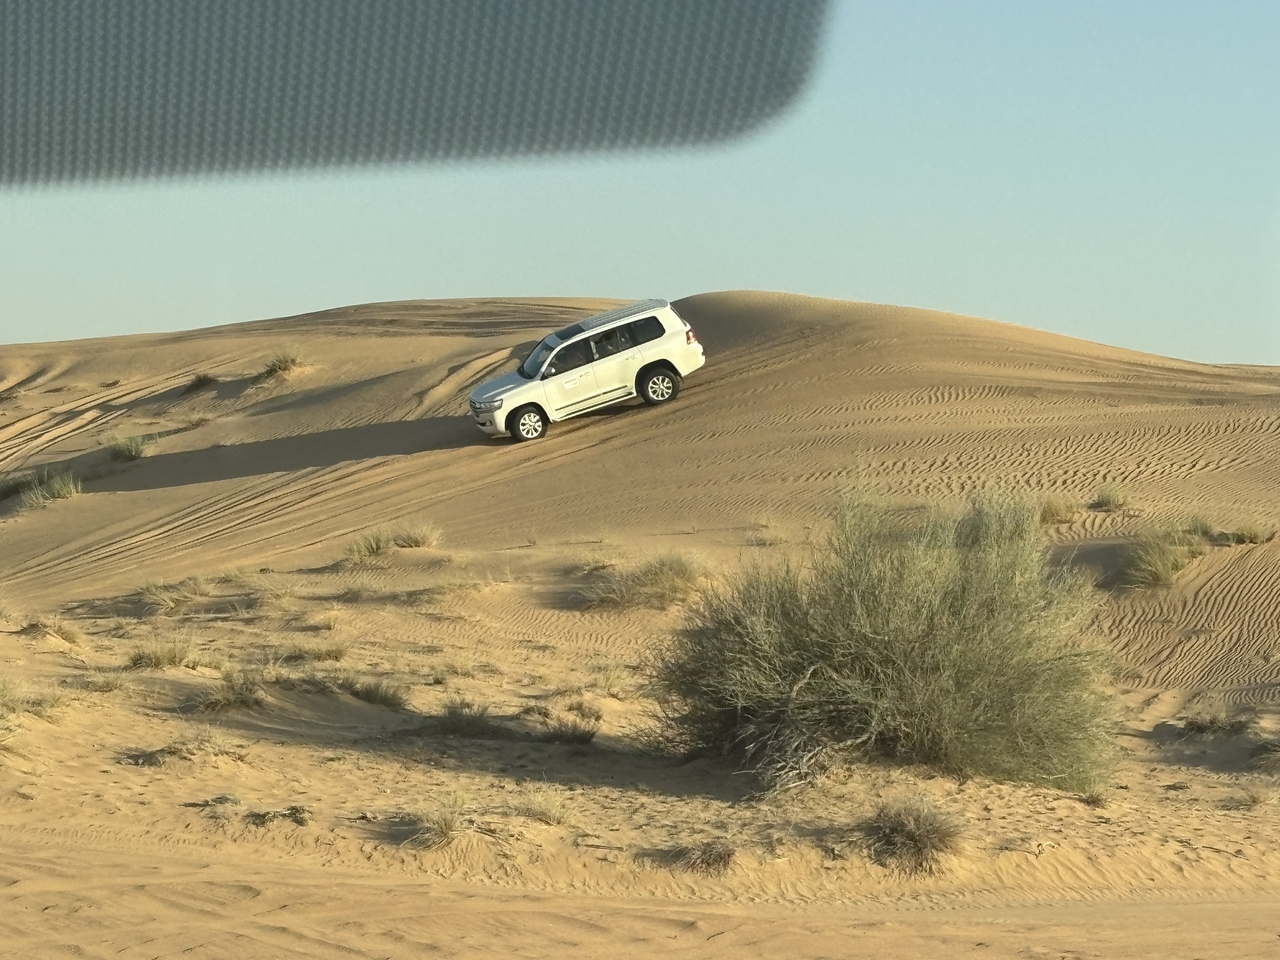
Dune bashing in the desert
Here we have a hair-raising car ride up, down and around giant dunes that seems to go on forever. Next, the sun setting, we arrive at the Caravanserai, a desert encampment with the chic and comfort of an Ibiza resort.
As dancers whirl with dervish-like ferocity, one of them juggling fiery rods and chains, we help ourselves to barbecued chicken, hummus and other delights to a backdrop of wild Arabian music. The evening ends with a drive back to the modernity among Dubai’s towers.
Day 4 – A full day in Dubai
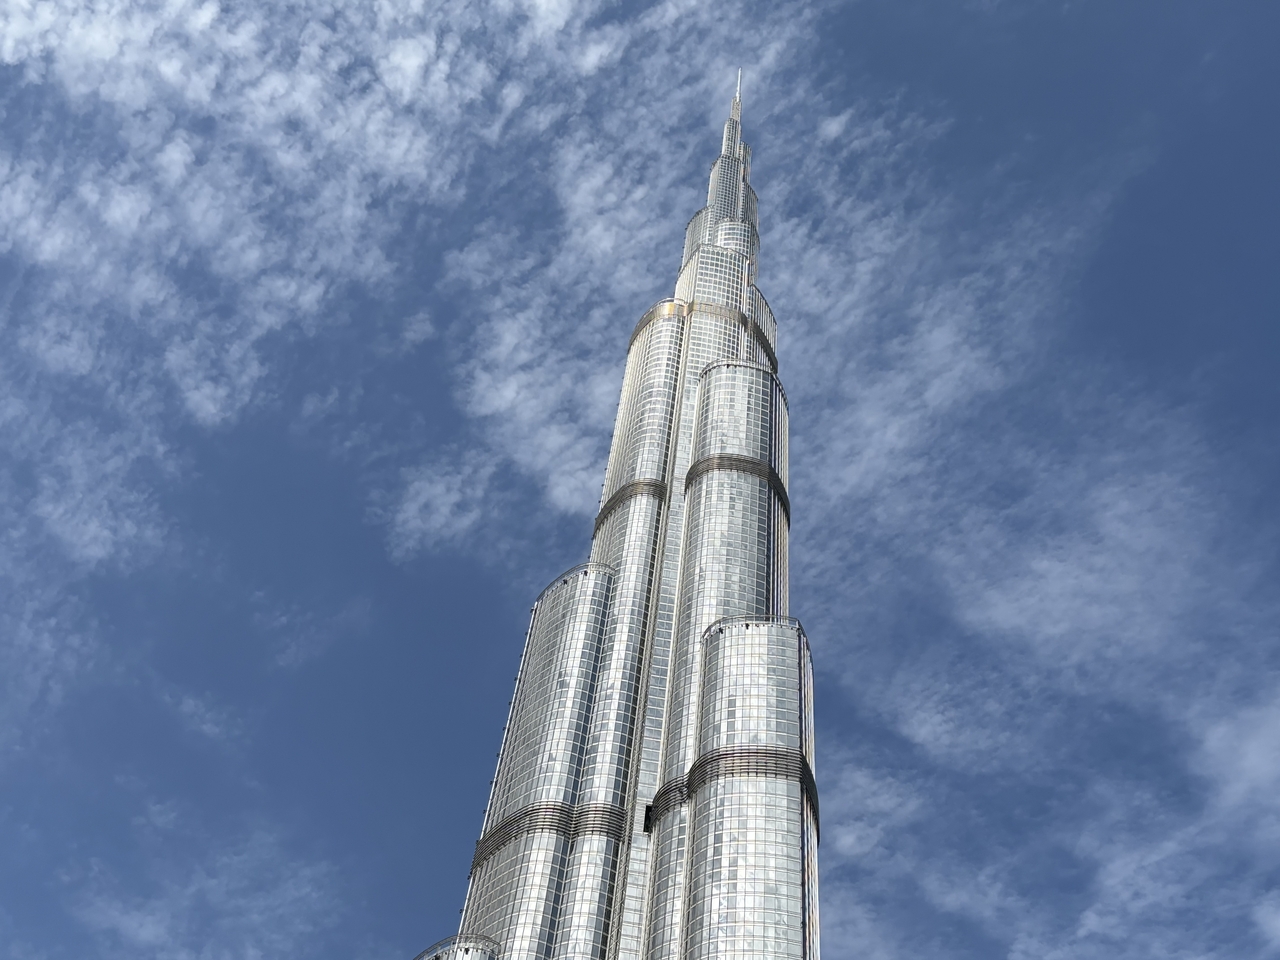 A full day in Dubai. After breakfast on deck I join a tour to Burj Khalifa, the world’s tallest building. Piercing the sky, it gleams like silver in the desert sun, yet the lift takes barely a minute to lift us to the 124th floor at 452m (albeit still some 376m from the tip).
Glass walls circle the tower offering views like something from a spaceship over the surrounding tall-but-definitely-nowhere-near-as-tall towers and across hazy desert and sea.
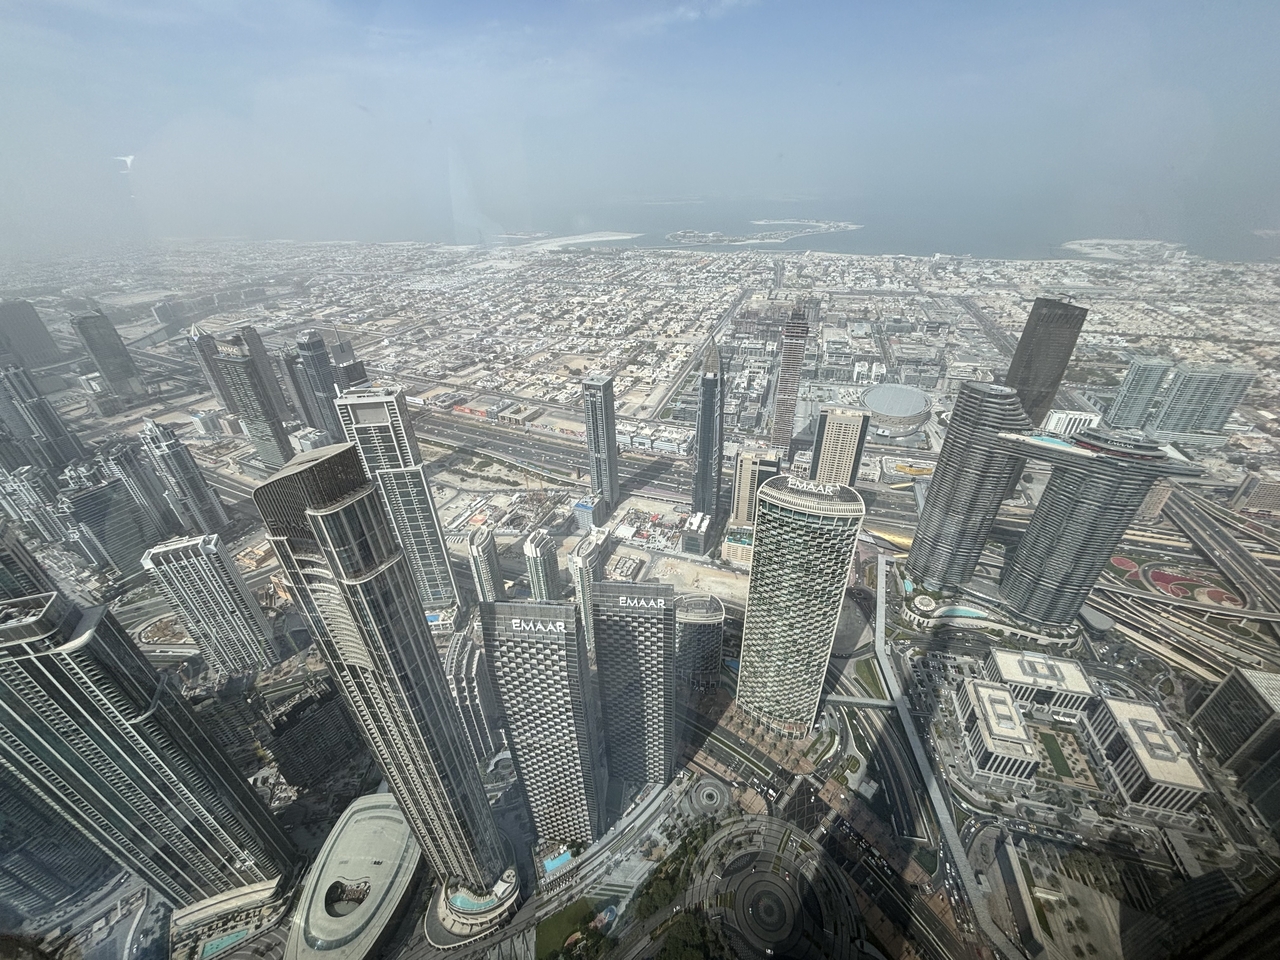
The dizzying view from 452m up Burj Khalifa
I then break away from the excursion and do my own thing, circling the fountain-filled lake at the base and making my way to the metro station for a low-cost ride on the sleek train on its raised track through more breathtaking buildings to BurJuman station, five minutes’ walk from Dubai Creek, the wide river that passes through the old part of town. I wander through a modern take on historic streets filled with market stalls and little shops before hopping back on the train for the panoramic 40-minute journey all the way to Dubai Marina, all for several pounds.

A relaxed time on board at Dubai Marina
Day 5 – Khasab

Celestyal Journey off the Musandam Peninsula
Khasab is a largely undeveloped town cosseted by mountains that pour down to the sea. This is Oman, but the Musandam Peninsula, a self-contained Omani outpost and different from anywhere else on the trip. The little port is a melee of battered speedboats that run a trading route from Iran, only 65km away, bringing in sheep, goats, caviar and saffron, returning with electronics and, it’s said, even German cars, all tax free in the Emirates.
The trade may or may not be legal, but police boats are unconcerned and the traders wave cheerily as the historic dhow of our excursion sails serenely by.

A dolphin poses for photos…
We’re travelling up the peninsula’s mighty fjord, a spectacular journey that takes us past Telegraph Island, where the British Navy established a communications post with forces in India in the 19th century. We stop, a ladder goes over the side and it’s time for a swim in the warm, clear waters. We see dolphins and as we sail back, one shadows the boat for several kilometres, leaping for photographs.
Day 6 – Sir Bani Yas
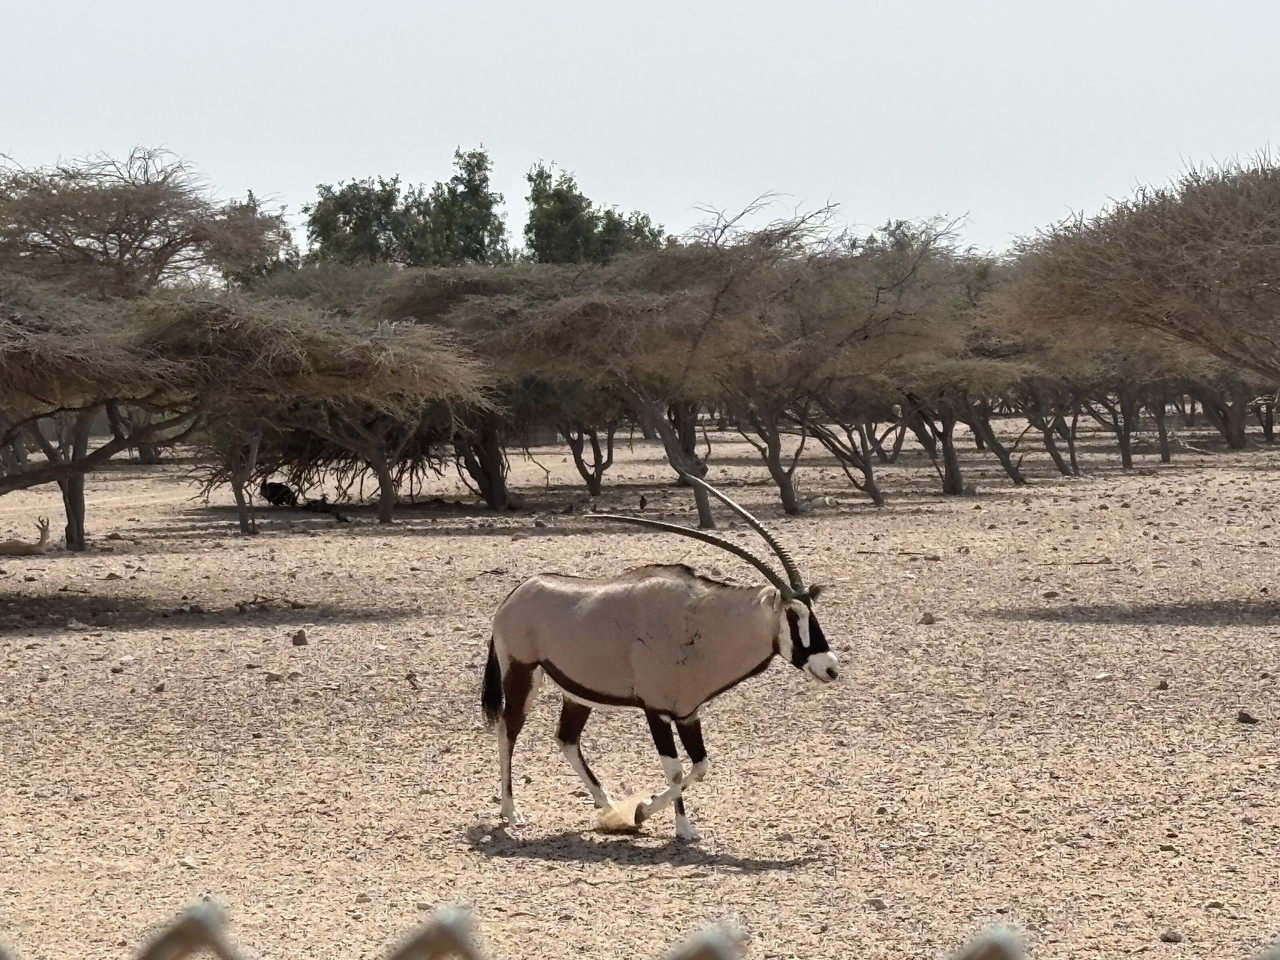
An oryx in the island wilderness
This is private island off Abu Dhabi that’s both a game reserve and a jolly beach getaway. The ship docks at a pier jutting out from the soft, white sands where there are plenty of sun loungers and a Celestyal bar (plus modern toilets and gift stalls).
The ship’s close enough to nip back on if you’ve forgotten something or fancy a spot of lunch. The big attraction are some 6-7,000 animals and birds roaming the wilderness up the mountainous hills. Stars are the oryx, large antelopes with sweeping scimitar-shaped horns but there are plenty more horns – herds of deer, Barbary sheep – as well as giraffes, ducks, peacocks and even (in smaller enclosures) several cheetahs. Our open-bus safari bounced along dirt roads, across grassland and around frankincense trees although 4×4 tours get closer to the animals.

The beach of Sir Bani Yas
Day 7 – Abu Dhabi
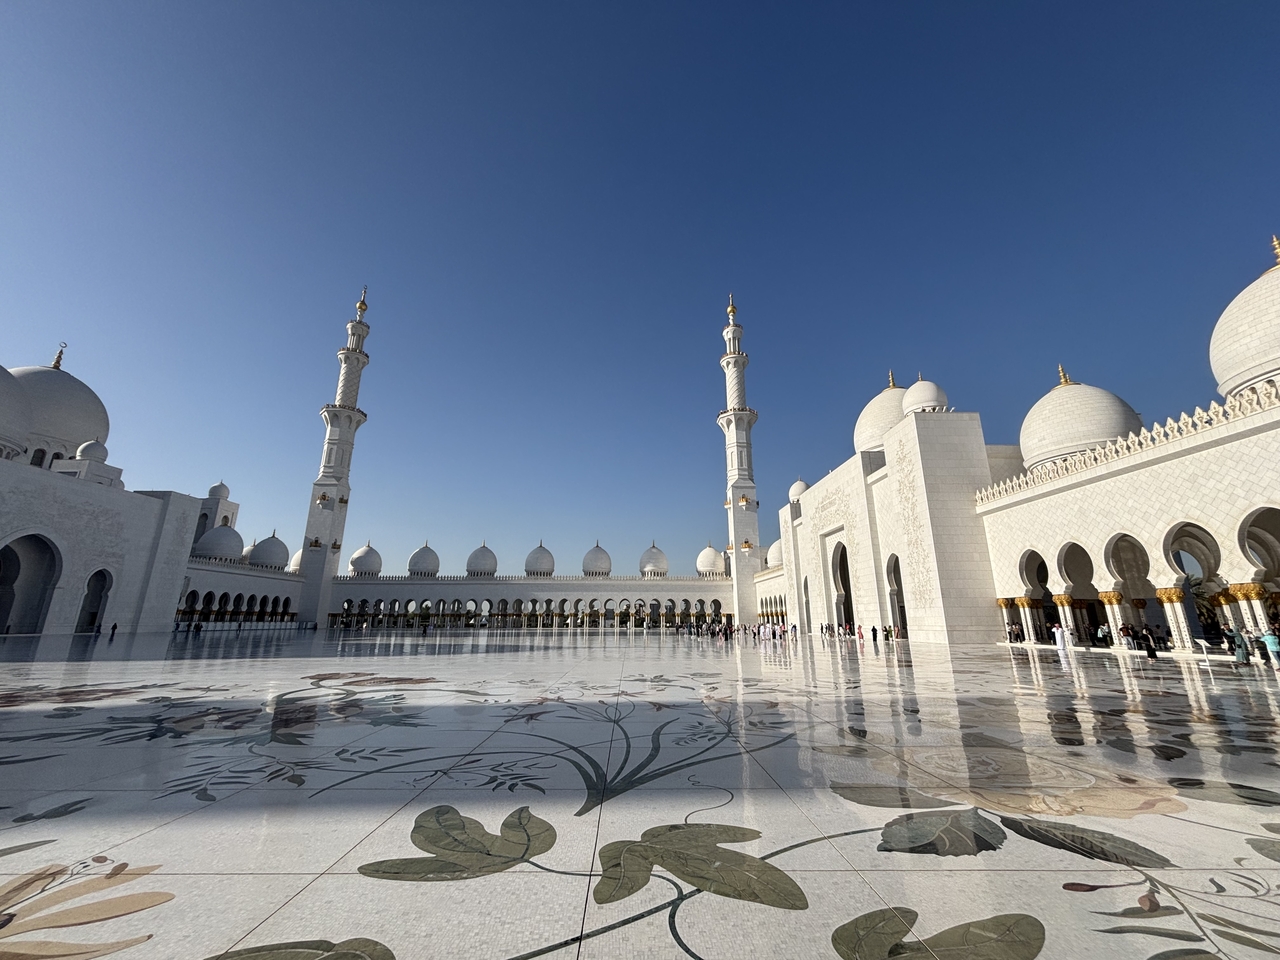
The massive Sheikh Zayed Mosque
Abu Dhabi, another metropolis of towering buildings interspersed with historic beauty. I spend the morning lazing in the sun on deck. Port Zayed, an industrial affair, is apparently the Emirates’ biggest although just across the water is the dome of the Louvre art gallery and a massive building project… an outpost of New York’s Guggenheim gallery. Everything is new – the guide on my excursion says that ‘old’ is something built in the 1980s.
We’re off to Sheikh Zayed Mosque (the Emirates’ largest, of course) which, completed in 2007, took 13 years to build. No wonder – it can cope with 41,000 worshippers.
Looking rather Taj Mahal-like, even the Italian marble-tiled courtyard is as big as several football pitches and the gents’ toilet is a place of wonder, including two exquisite circular rooms for feet washing. Even more astonishing is the subterranean shopping mall filled with fast-food outlets and a coming Victoria’s Secret underwear emporium.
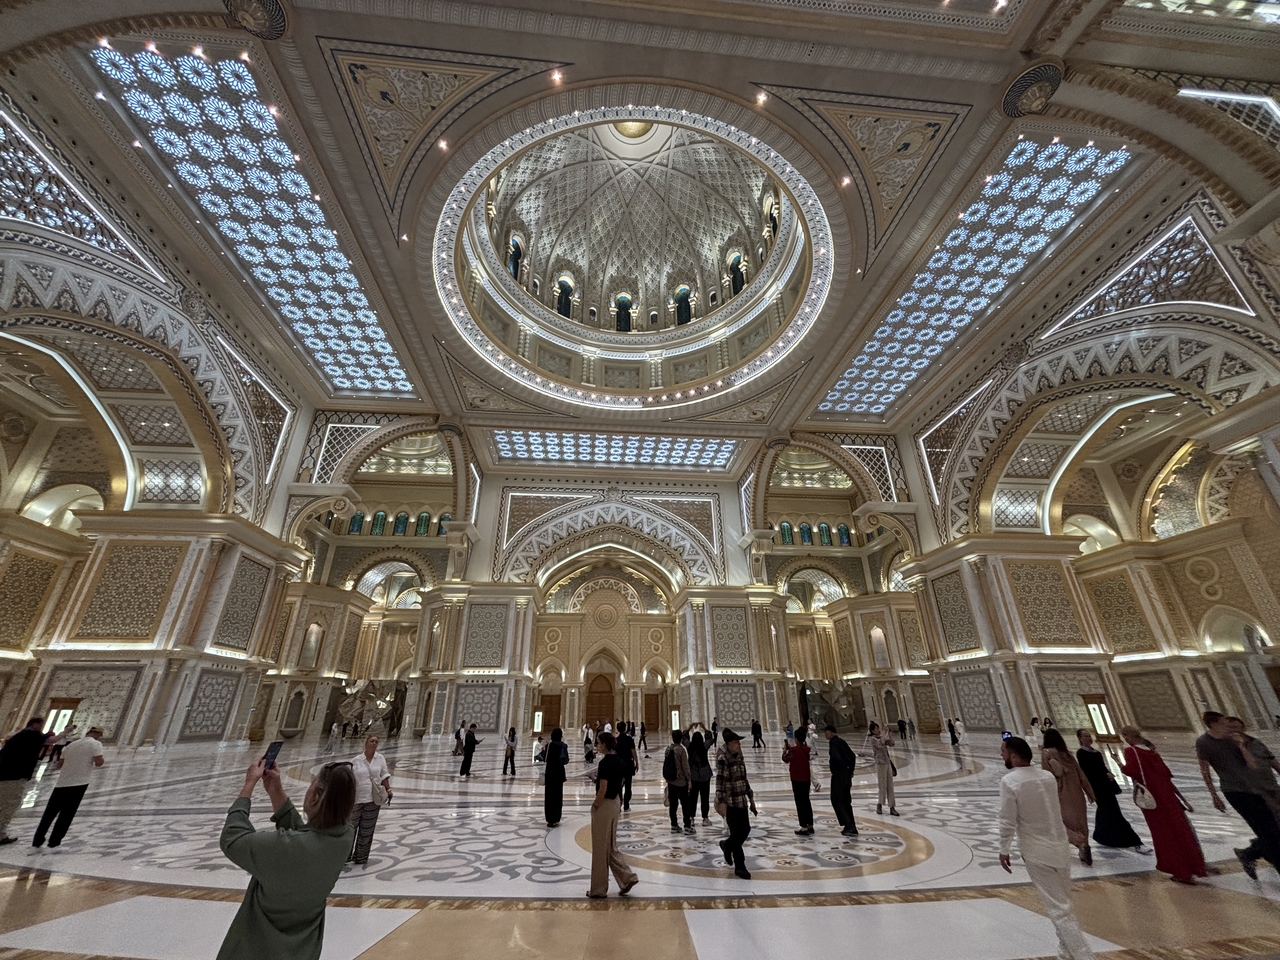
The interior of Qasr Al Watan
We also get to Qasr Al Watan, a king-size presidential palace finished in 2017. Chandeliers the size of houses, rooms the size of cathedrals, gardens the size of a small nation and and no one lives here, it’s for state visits.
Day 8 – Doha
The sun’s up and we’re sailing back into the delights of Doha – and this time we get to pass through the aquarium on our way out, a moody, magnificent ride through a sea world alive with fascinating creatures. No time to explore the city but the airport is barely a 30-minute drive so we’re quickly on our way.

Leaving the cruise terminal through the aquarium
Verdict
A fantastic itinerary that combines winter sunshine with a chance to see some of the fastest-changing areas in the world, from high-rise excitement to age-old relaxation – and all on a ship that’s calm, colourful and a joy to be on.
How to do it
From December 2025, both Celestyal Journey and Celestyal Discovery will sail the Gulf through to March. The former’s seven-night Desert Days cruise from Doha starts at £569pp, two sharing, cruise only, including wifi, departing December 13. Excursions extra.
The latter has three-, four- and seven-night Iconic Arabia cruises, also featuring the Emirates of Fujairah and Ras Al Khaimah and Oman’s city of Muscat. From €309pp (about £260), cruise only. Celestyal can arrange pre- and post-cruise hotel stays. Qatar Airways has eight flights a day from London Heathrow to Doha.
The post Cruise review: Celestyal Journey brings together the Gulf states on one unforgettable voyage appeared first on The Travel Magazine.


