
CroisiEurope’s Venice Lagoon adventure cruise review on MS Michelangelo
Docked a five-minute walk along the waterfront from St Mark’s Square, CroisiEurop’s MS Michelangelo is perfectly positioned for exploring the canals and walkways of Venice yet is a haven from the hubbub that fills the city.
The five-day Venetian Treasures cruise calls this home but travels to both ends of the vast lagoon, visiting islands, the seaside and historic sights.
The cruise
Docked in the heart of Venice
This is a short break, a city break and a cruise with the air of an escorted tour by ship. Venice is at the heart of things and we arrive late in the sun-drenched afternoon.
Starting point is the easily accessible San Basilio waterfront, close to the bridge that links Venice to the mainland, as well as the now empty ocean cruise terminal where ships would cluster before the city banished the big boys. We carry only 154 guests and we’re off on what people would regard as a premium city cruise.
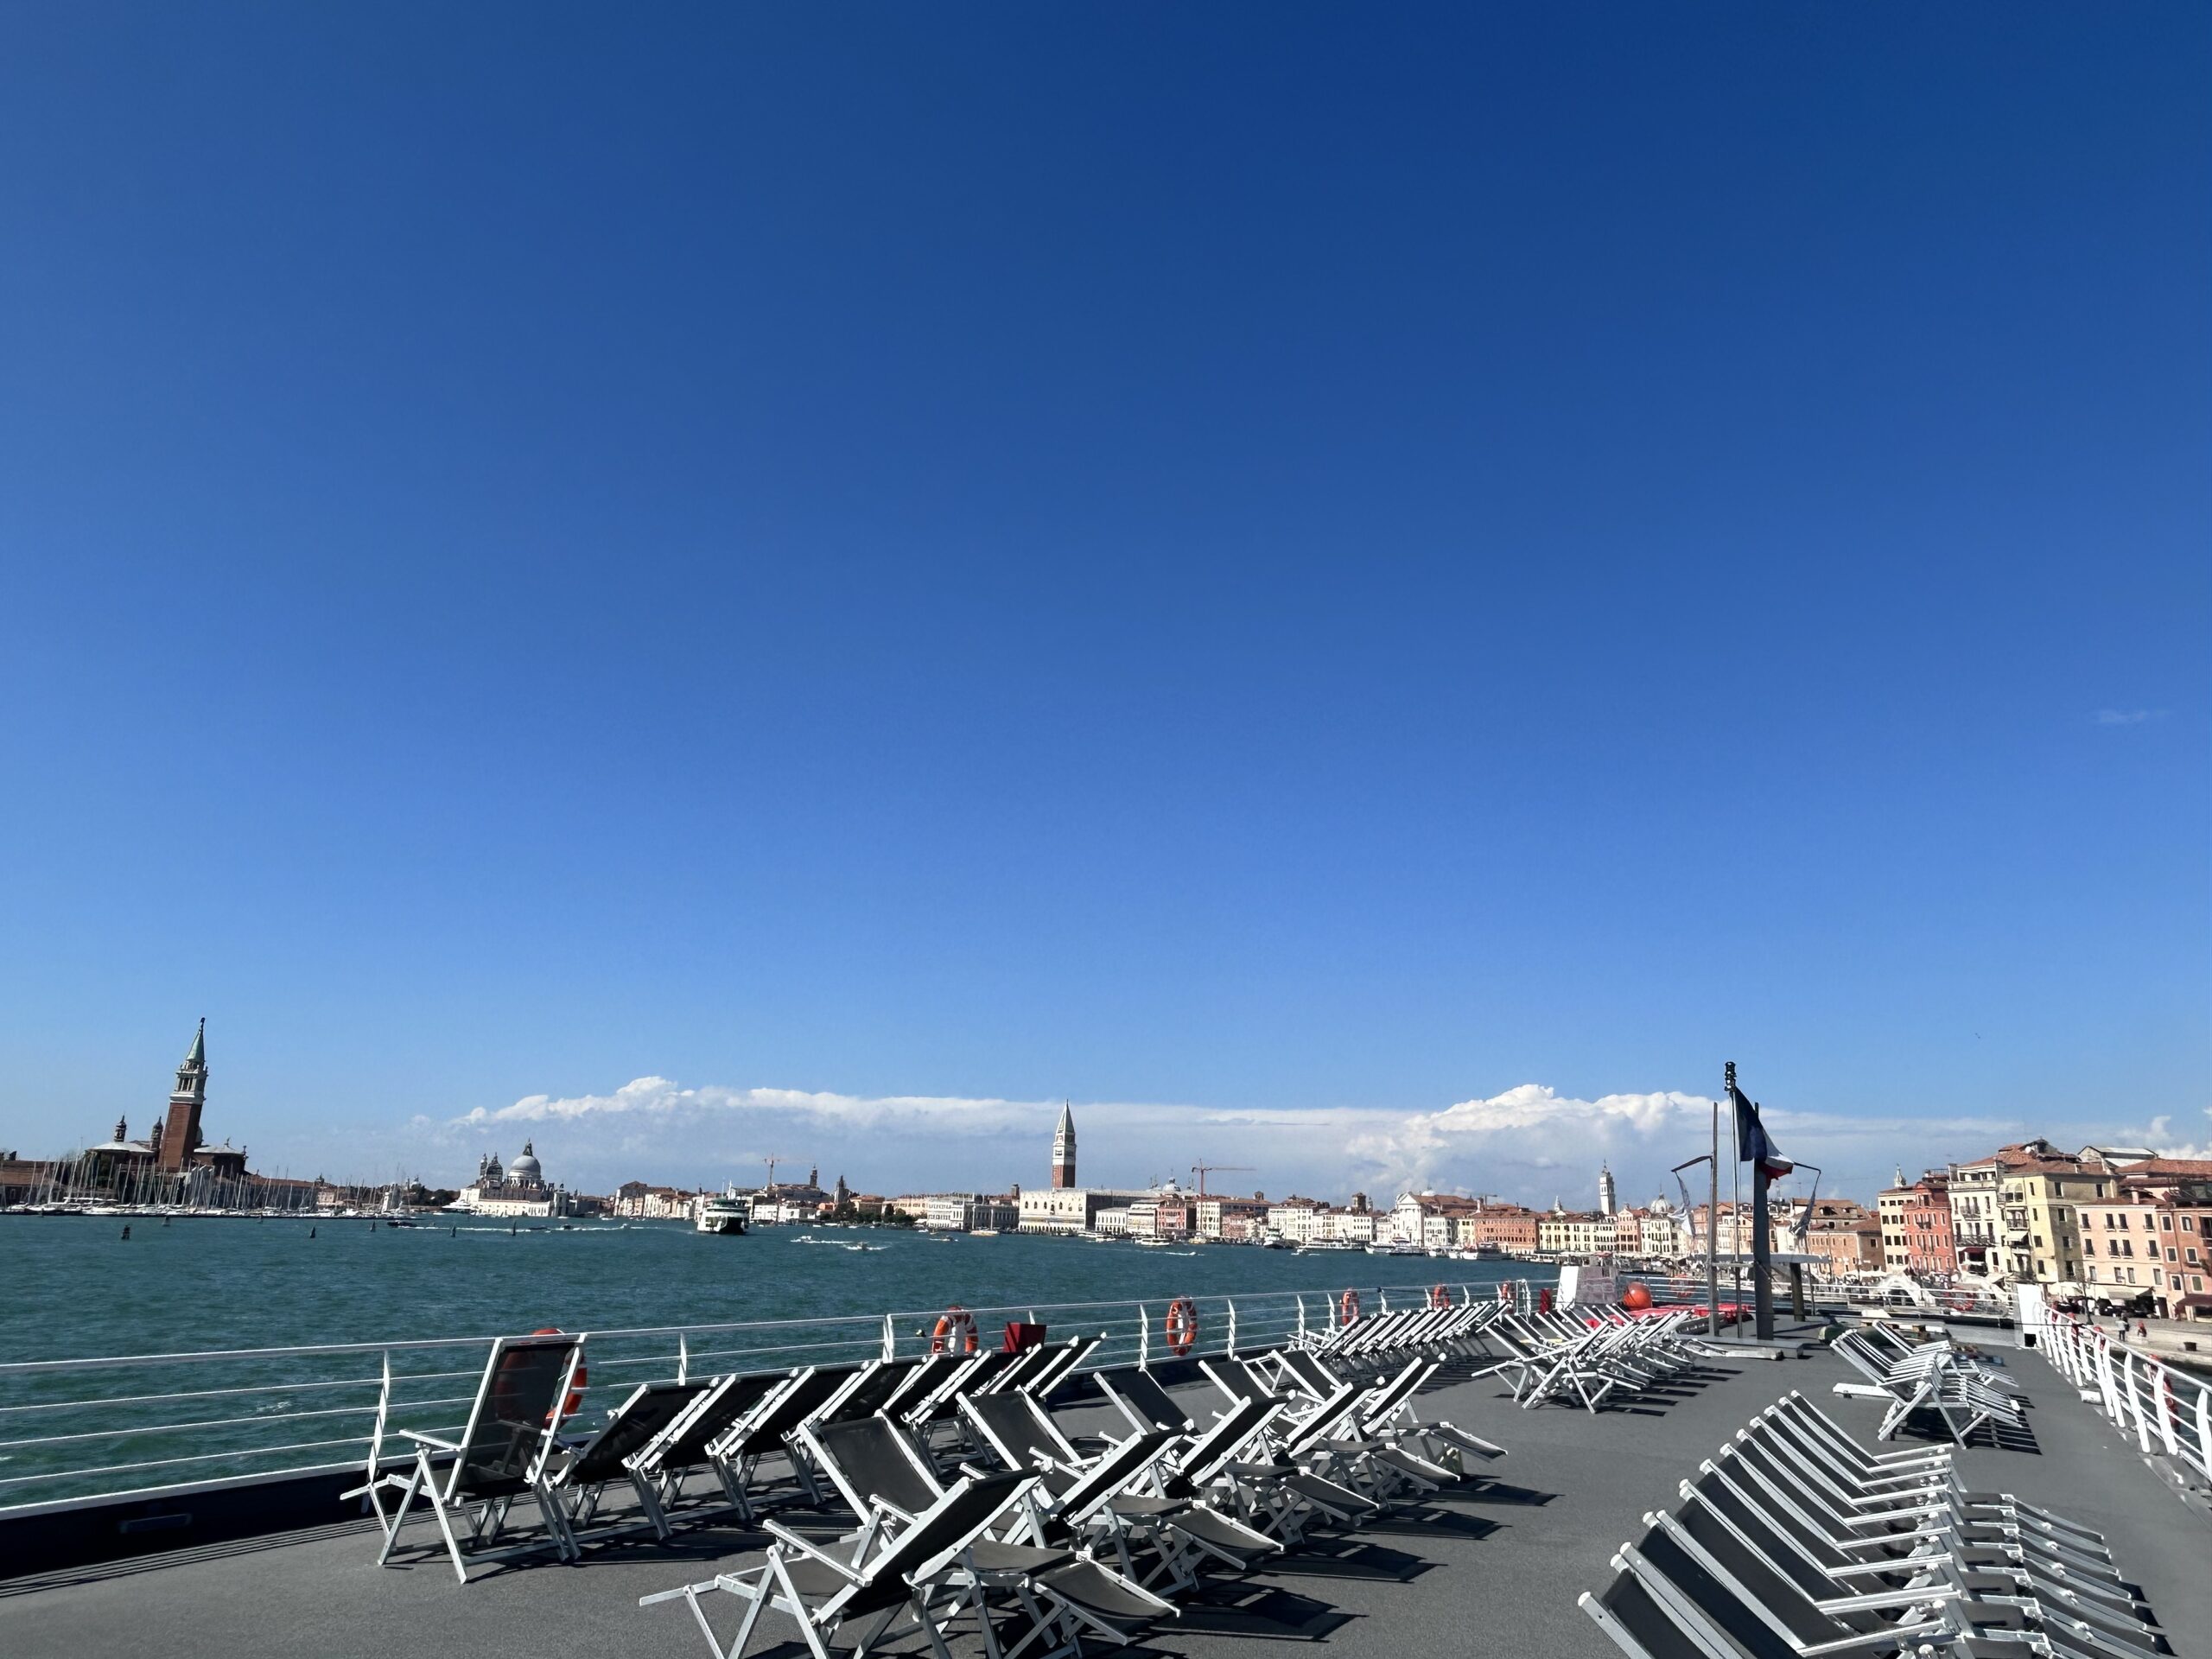
We set off along the main waterway, past the entrance to the Grand Canal, stirring close-up views of St Mark’s and grand Palazzo Ducale.
Just a little farther on is our mooring, past a string of footbridges across tiny rivers where gondoliers paddle, on the Seven Martyrs waterfront, by the start of Via Giuseppe Garibaldi, a long, straight street filled with restaurants, bars and shops. The views, to the southwest, are astonishing, palaces, polished teak speedboats and the waters lapping in the fiercely setting sun. We’re all presented with a welcome glass of fizz as we marvel at the sights.
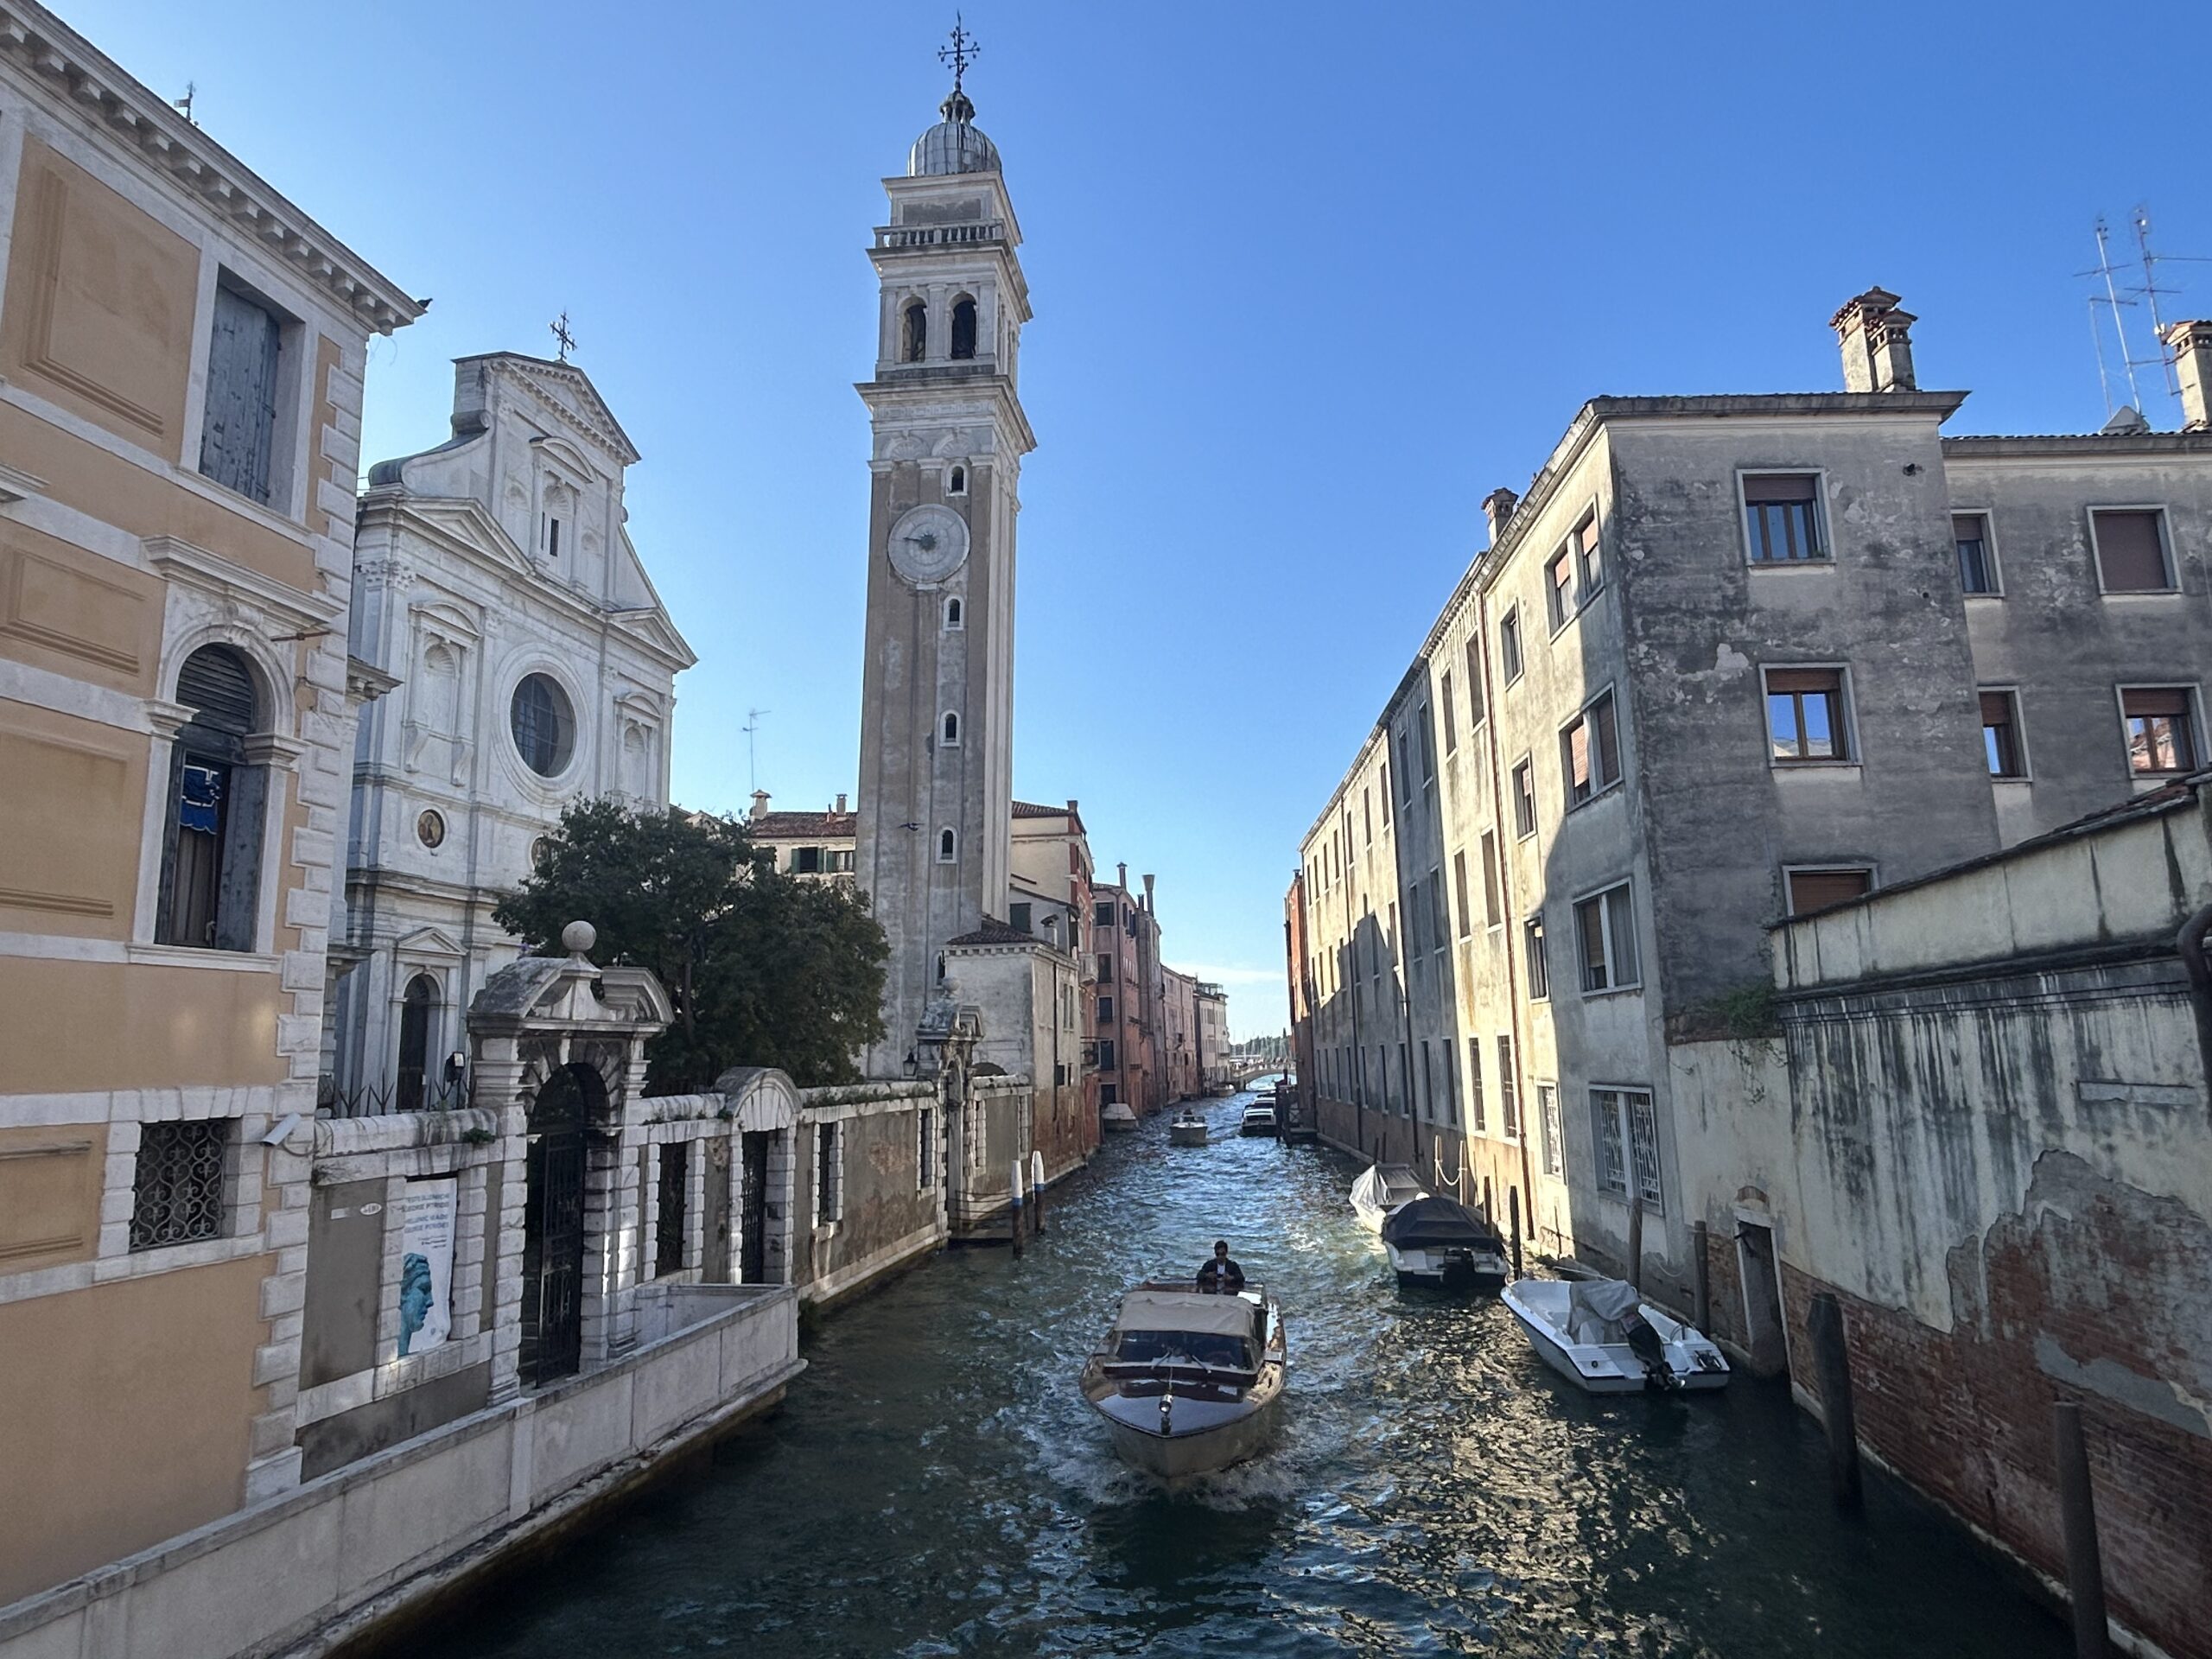
One of Venice’s ‘back streets’
Next day it’s an early breakfast, properly continental with coffee, cheese and croissants, before a walking tour that takes us over bridge after bridge, down hidden streets and paths, looking in shop windows that appear to have been the same for centuries, wandering through the Rialto fish market then having coffee and nibbles in a waterfront café by the busy Rialto bridge.
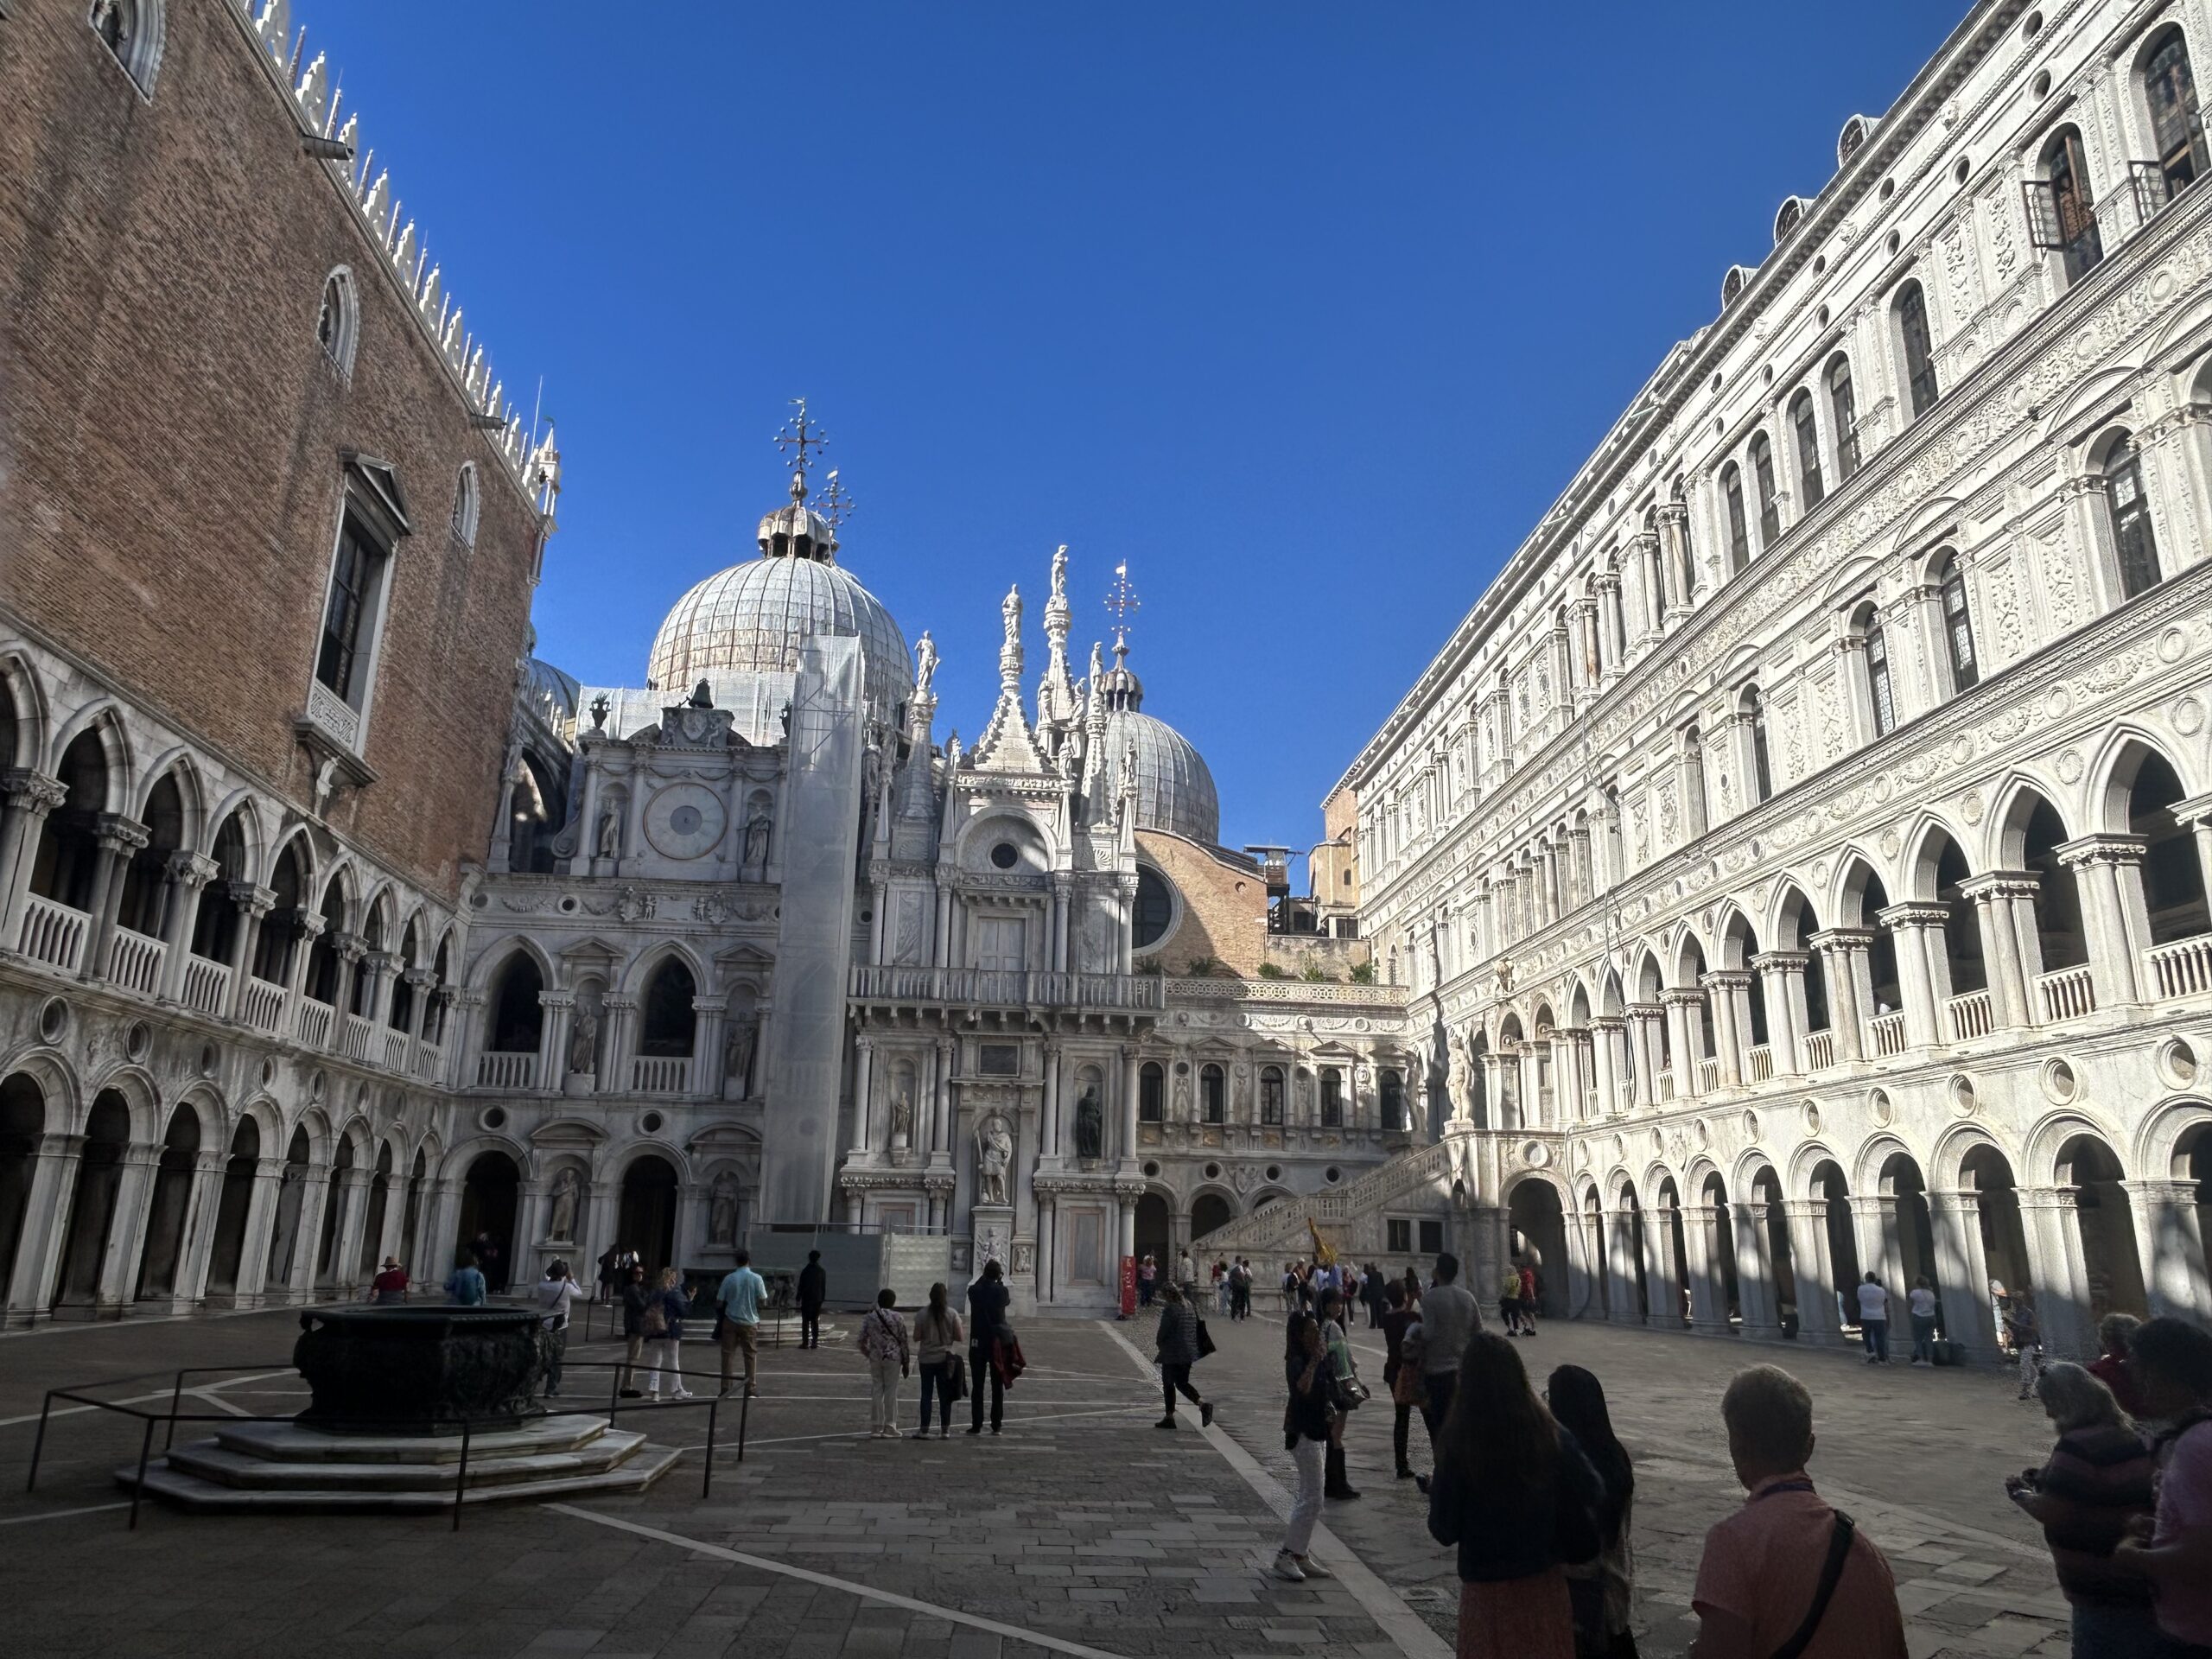
The courtyard of the Doge’s Palace
Lunch on board as we set sail across open water (there are 118 islands in the lagoon) for the placid island of Mazzorbo. A brief waterside walk and we’re across the little bridge to Burano, a busier island with a small cathedral thronged by visitors.
After time to explore, those on our excursion board a smaller boat and head for Murano. There’s a demonstration of glass-blowing in a historic workshop, with plenty of the arty pieces the island is known for on sale at eye-watering prices. Thankfully, the delicate ornaments would never make it home in our luggage so no one is tempted. We sail back to Venice in a thunderstorm where MS Michelangelo is waiting.
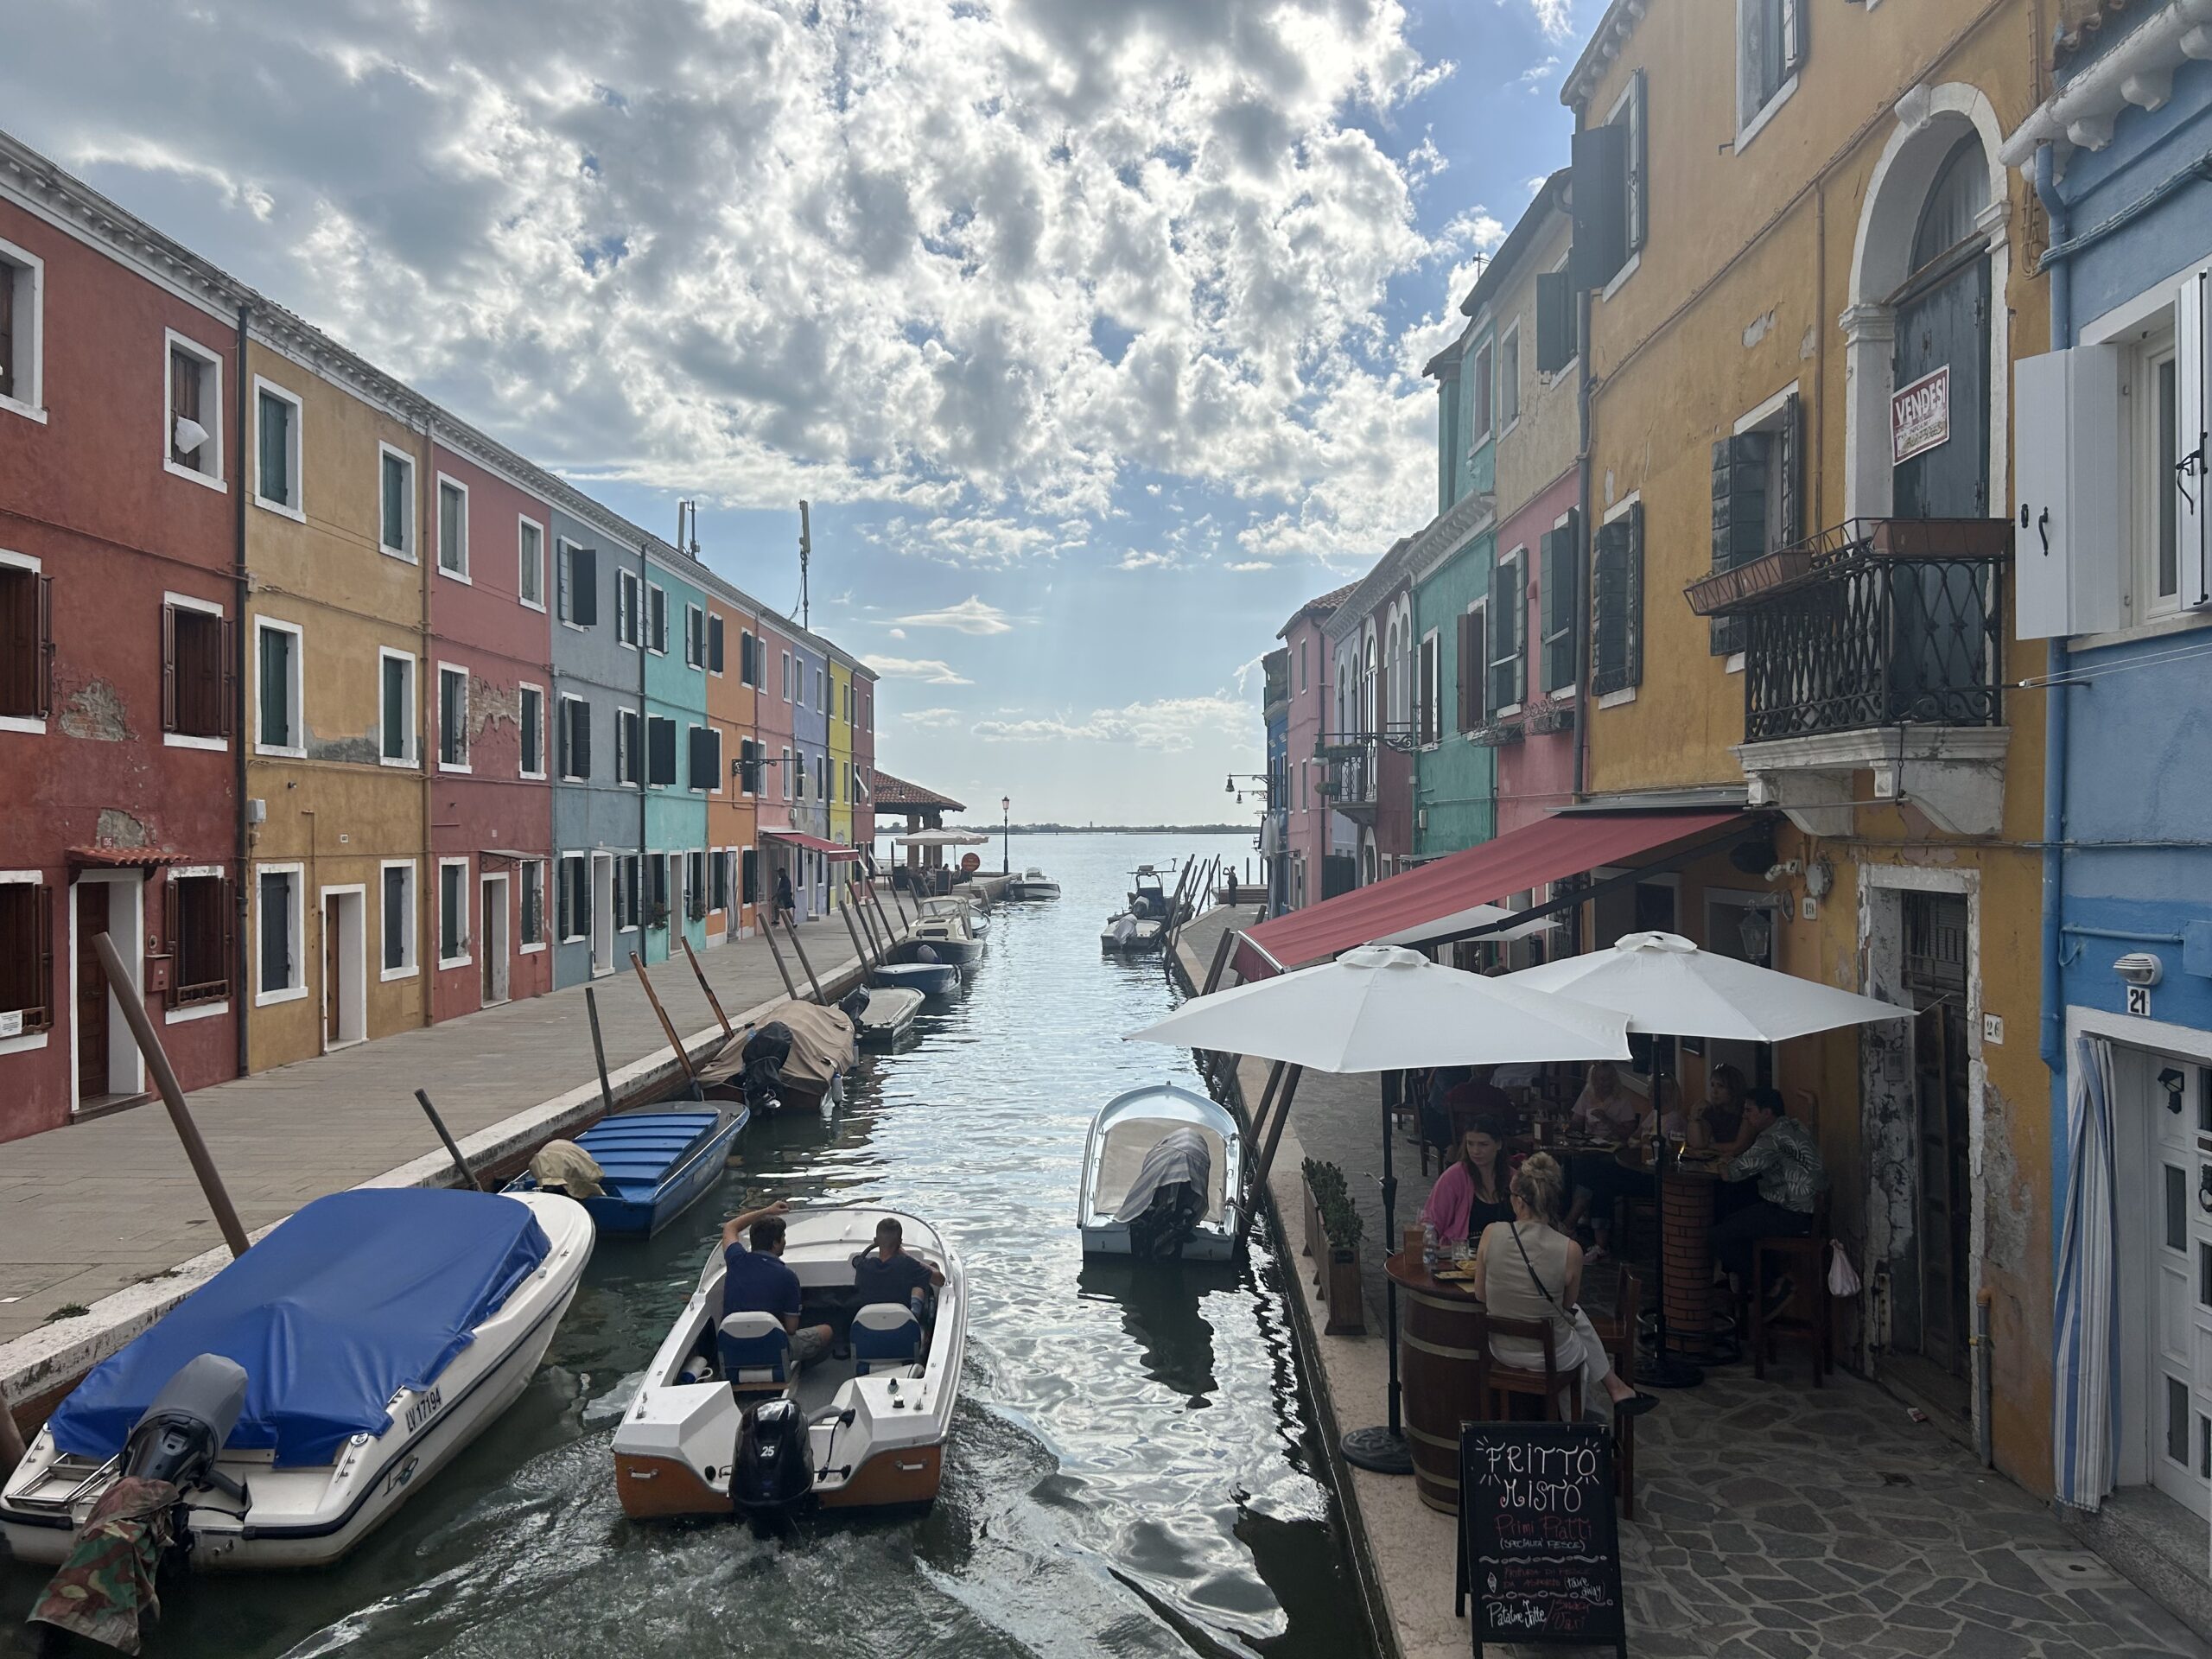
The colourful island of Burano
Next day we have the morning to ourselves so wander across bridges, through squares and along waterfronts, seeing the off-the-beaten-track Venice that day visitors tend to miss.
There’s time to pop into the fabled Harry’s Bar, refined and with waiter service, for its signature drink, the bellini, a soothing coming together of peach juice and prosecco. The afternoon treat is a tour of the Doge’s Palace, a Venetian Gothic masterpiece on St Mark’s Square, residence of the head of the ancient Venetian Republic. Hidden in the vast complex is the dark, stone Bridge of Sighs, across which forlorn prisoners were led to their cells on the other side of a narrow canal.
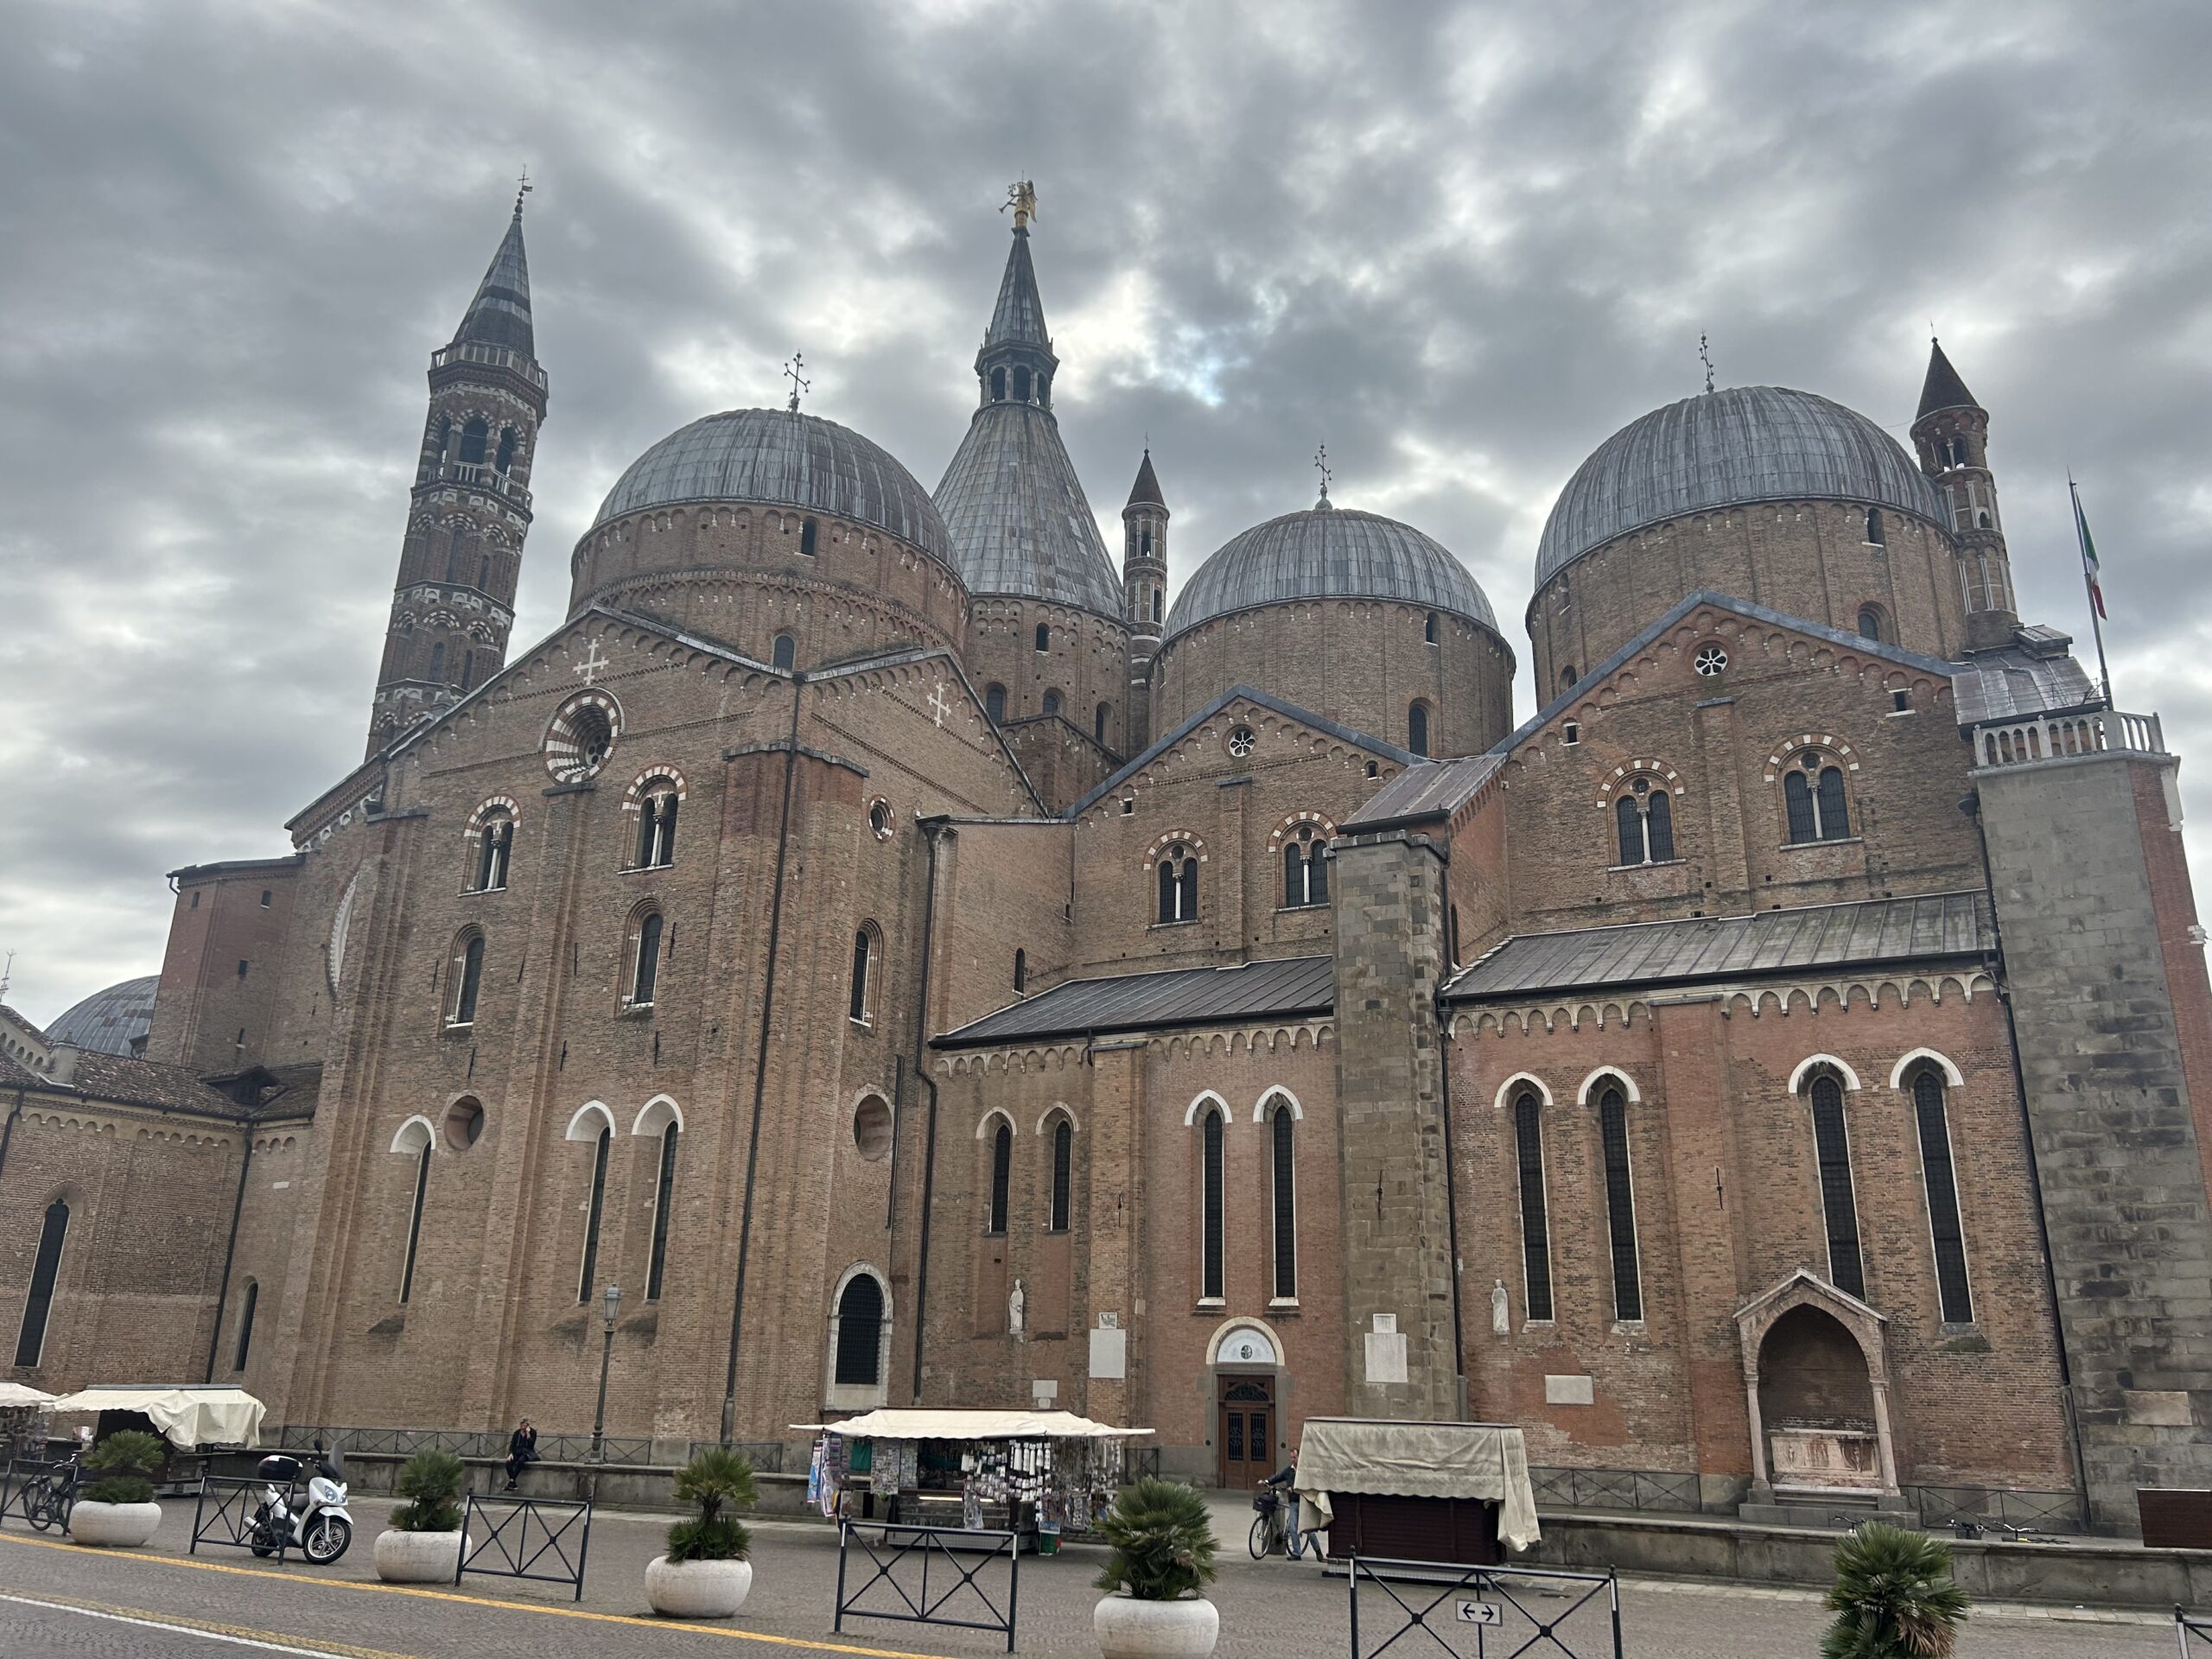
Padua’s mammoth Basilica of St Anthony
Our final day is more cruising, heading west across the lagoon to the town of Chioggia, pretty with its waterways and a gorgeous ocean beach along its narrow peninsula. Our excursion, however, takes us inland, to the medieval city of Padua, highlight of which is the Basilica of St Anthony, massive with an architectural mix taking in Gothic and Byzantine. Our return sailing stays close to the long, wafer-thin islands that divide lagoon and sea, pretty spots lined with beaches, marinas, verdant greenery and pastel-painted buildings.
The ship
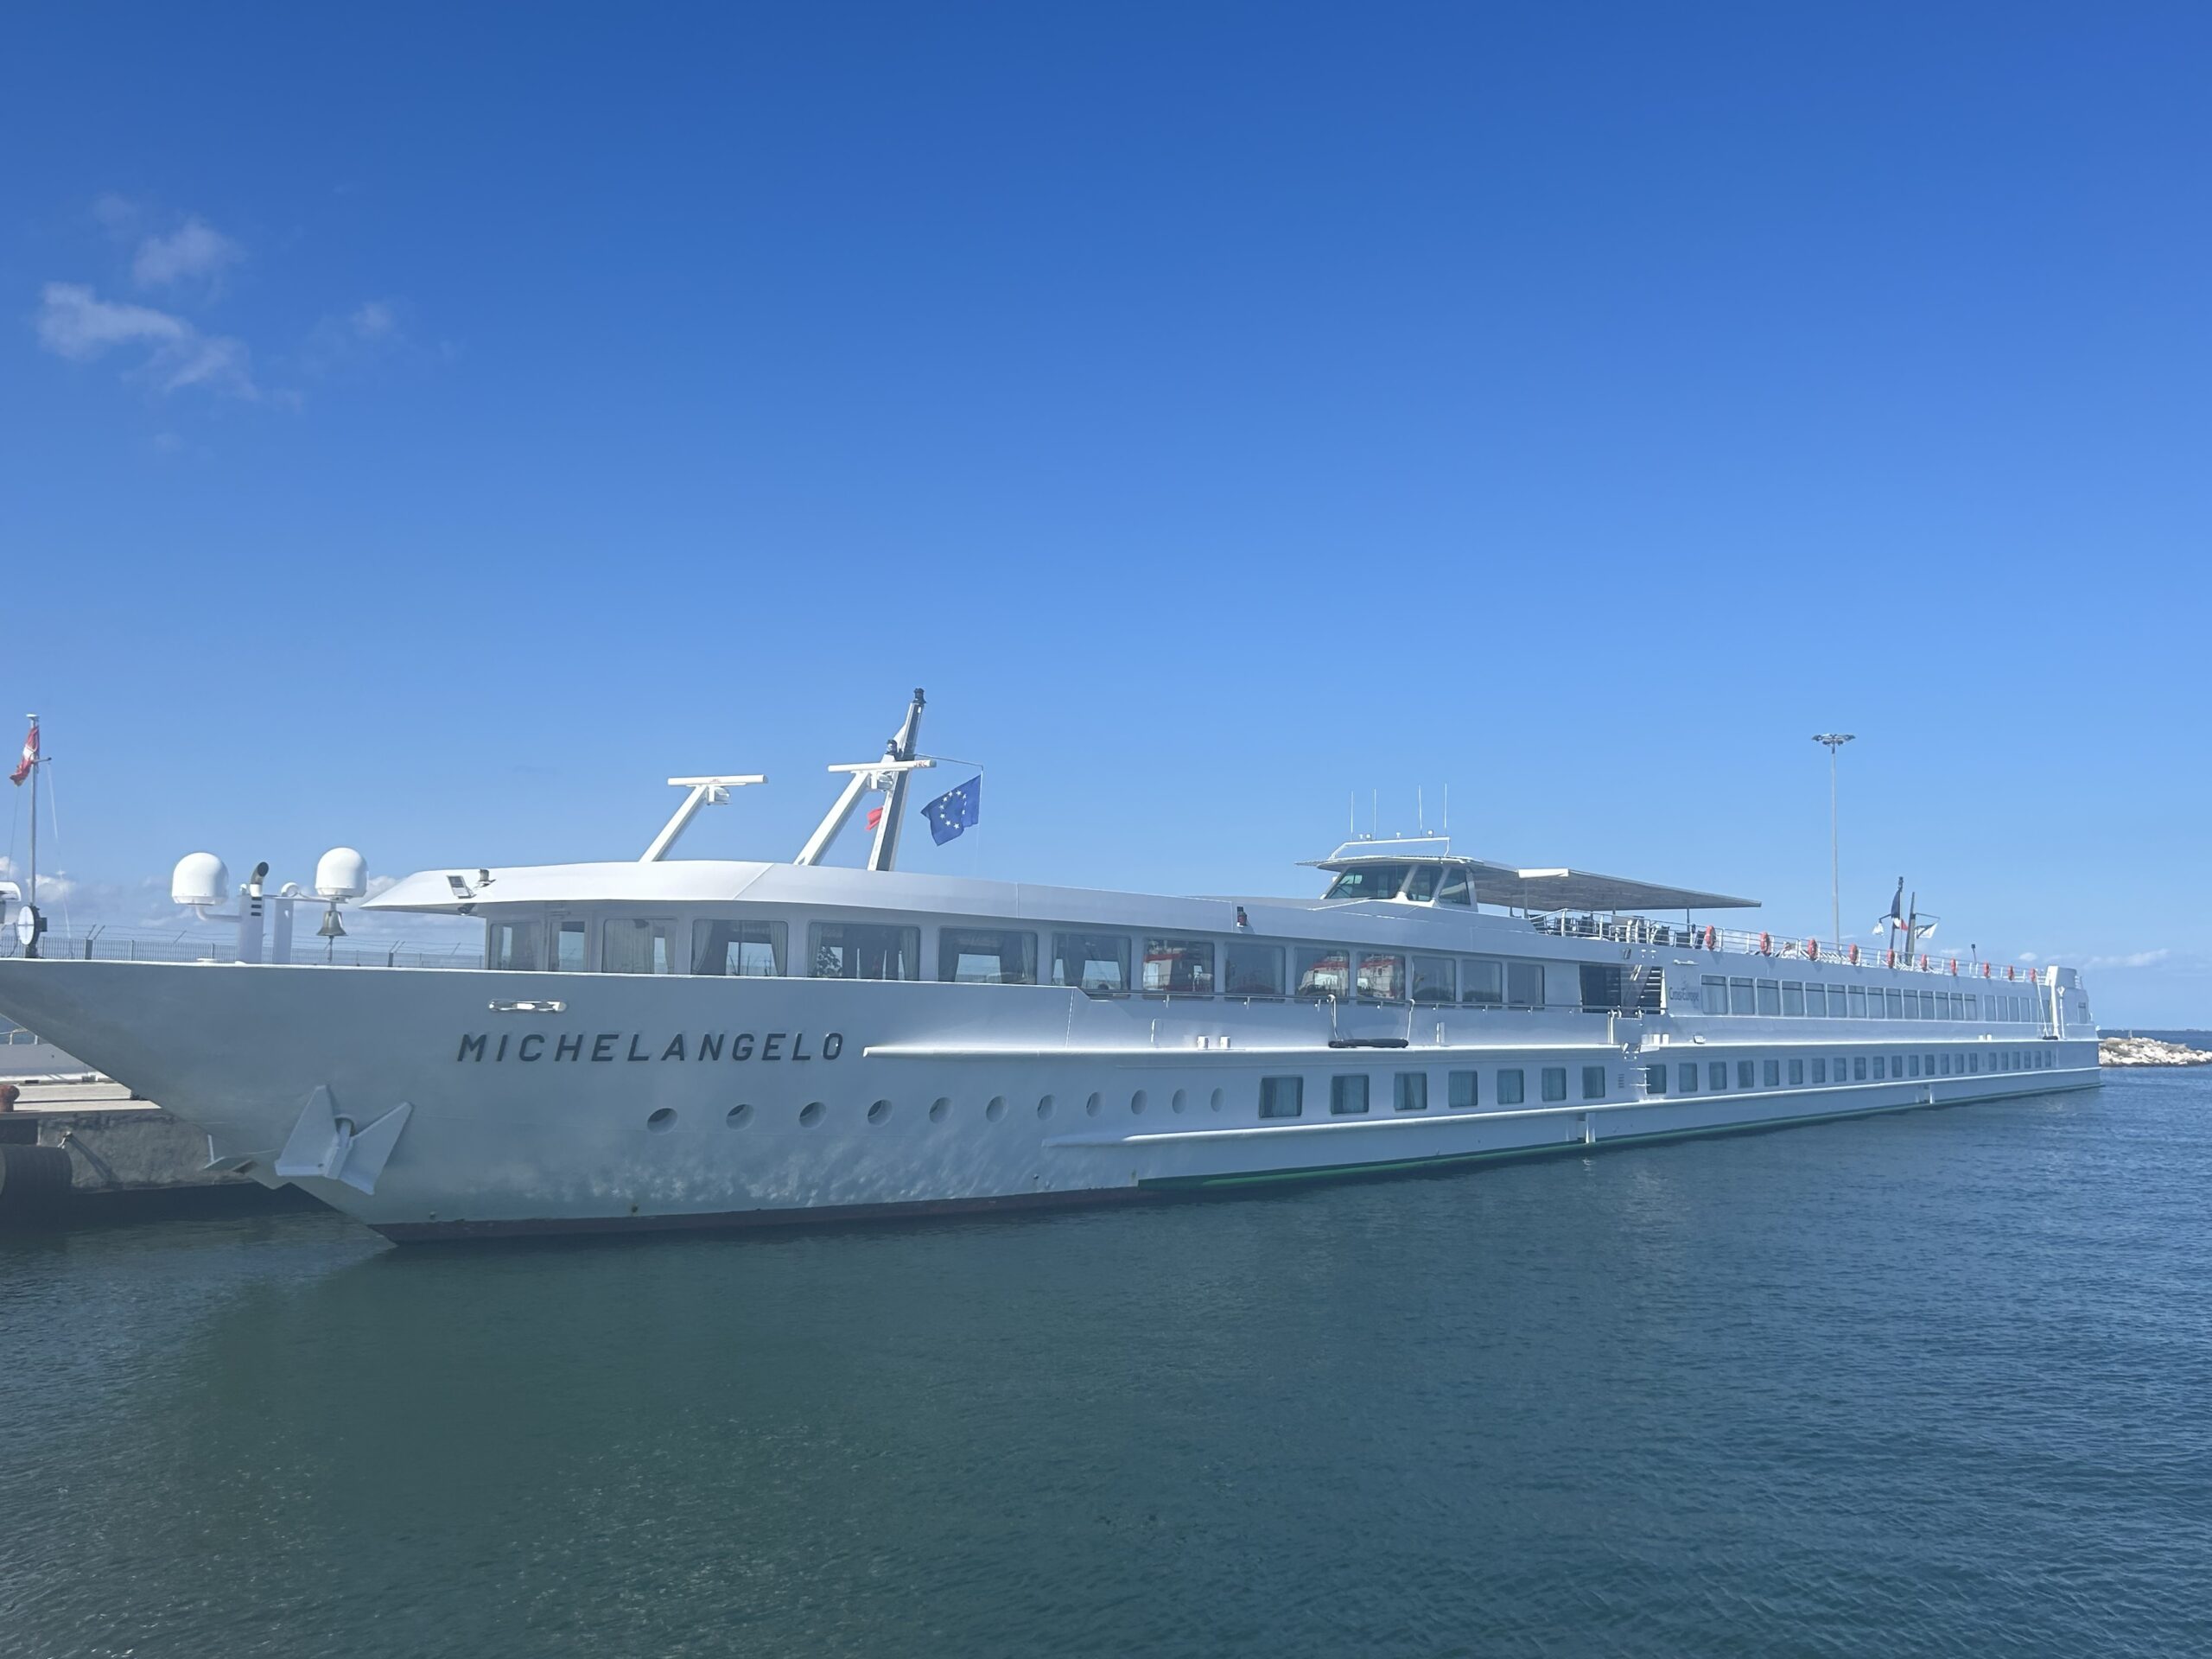
MS Michelangelo… sleek and stylish
Ms Michelangelo is sleek and white, small and easy to wander around. To one end are two decks of cabins, simple and unfussy, stylish in creams and browns. To the other is a lounge with bar (drinks are included in the cruise price), plenty of strikingly coloured sofa and a dance floor. On the deck below is a smart dining room. Both have windows running their length, giving fabulous views across the Venetian waters and their spellbinding sunsets. Top deck is given over to sun-loungers.
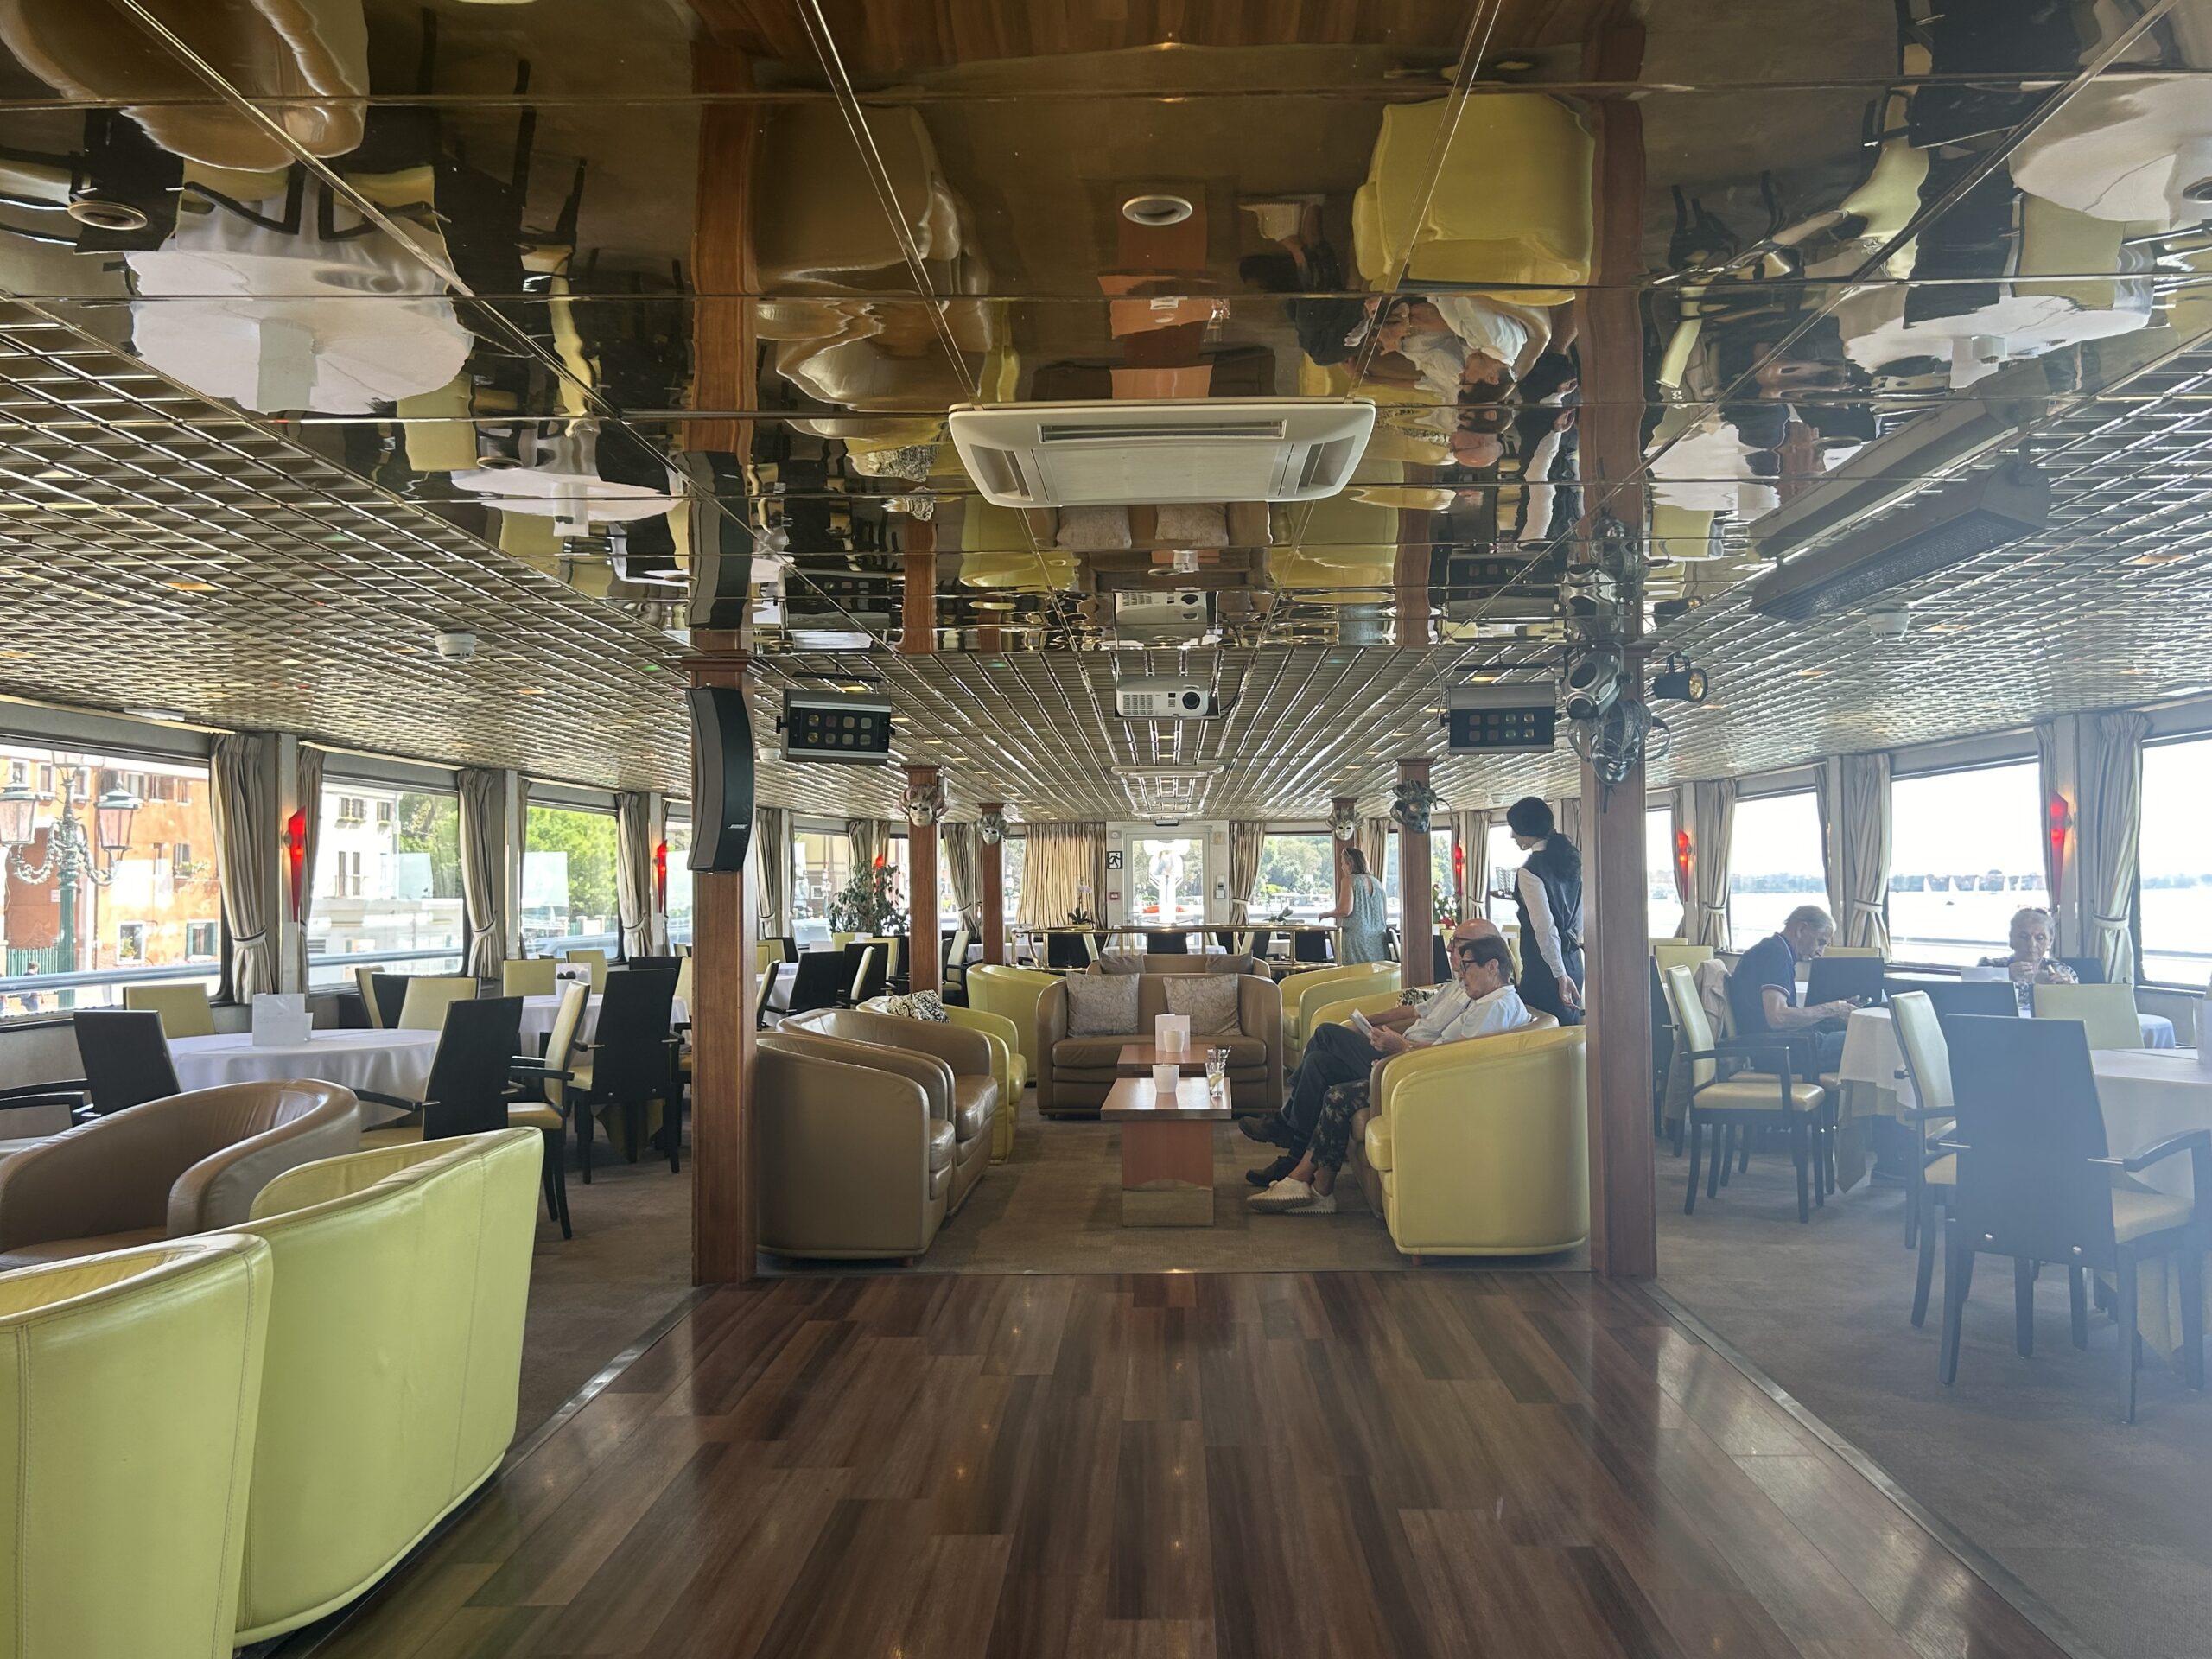
MS Michelangelo’s stylish lounge
Food is good and plentiful, as one might expect from a leading French cruise company – lunches are three-course meals rather than a simple buffet. There are Mediterranean and Italian flavours – the cured sopressa sausage, the dried and salted cod baccala –and the gala dinner features Andalusian gazpacho and foie gras as well as the cruise staple dessert, baked Alaska.
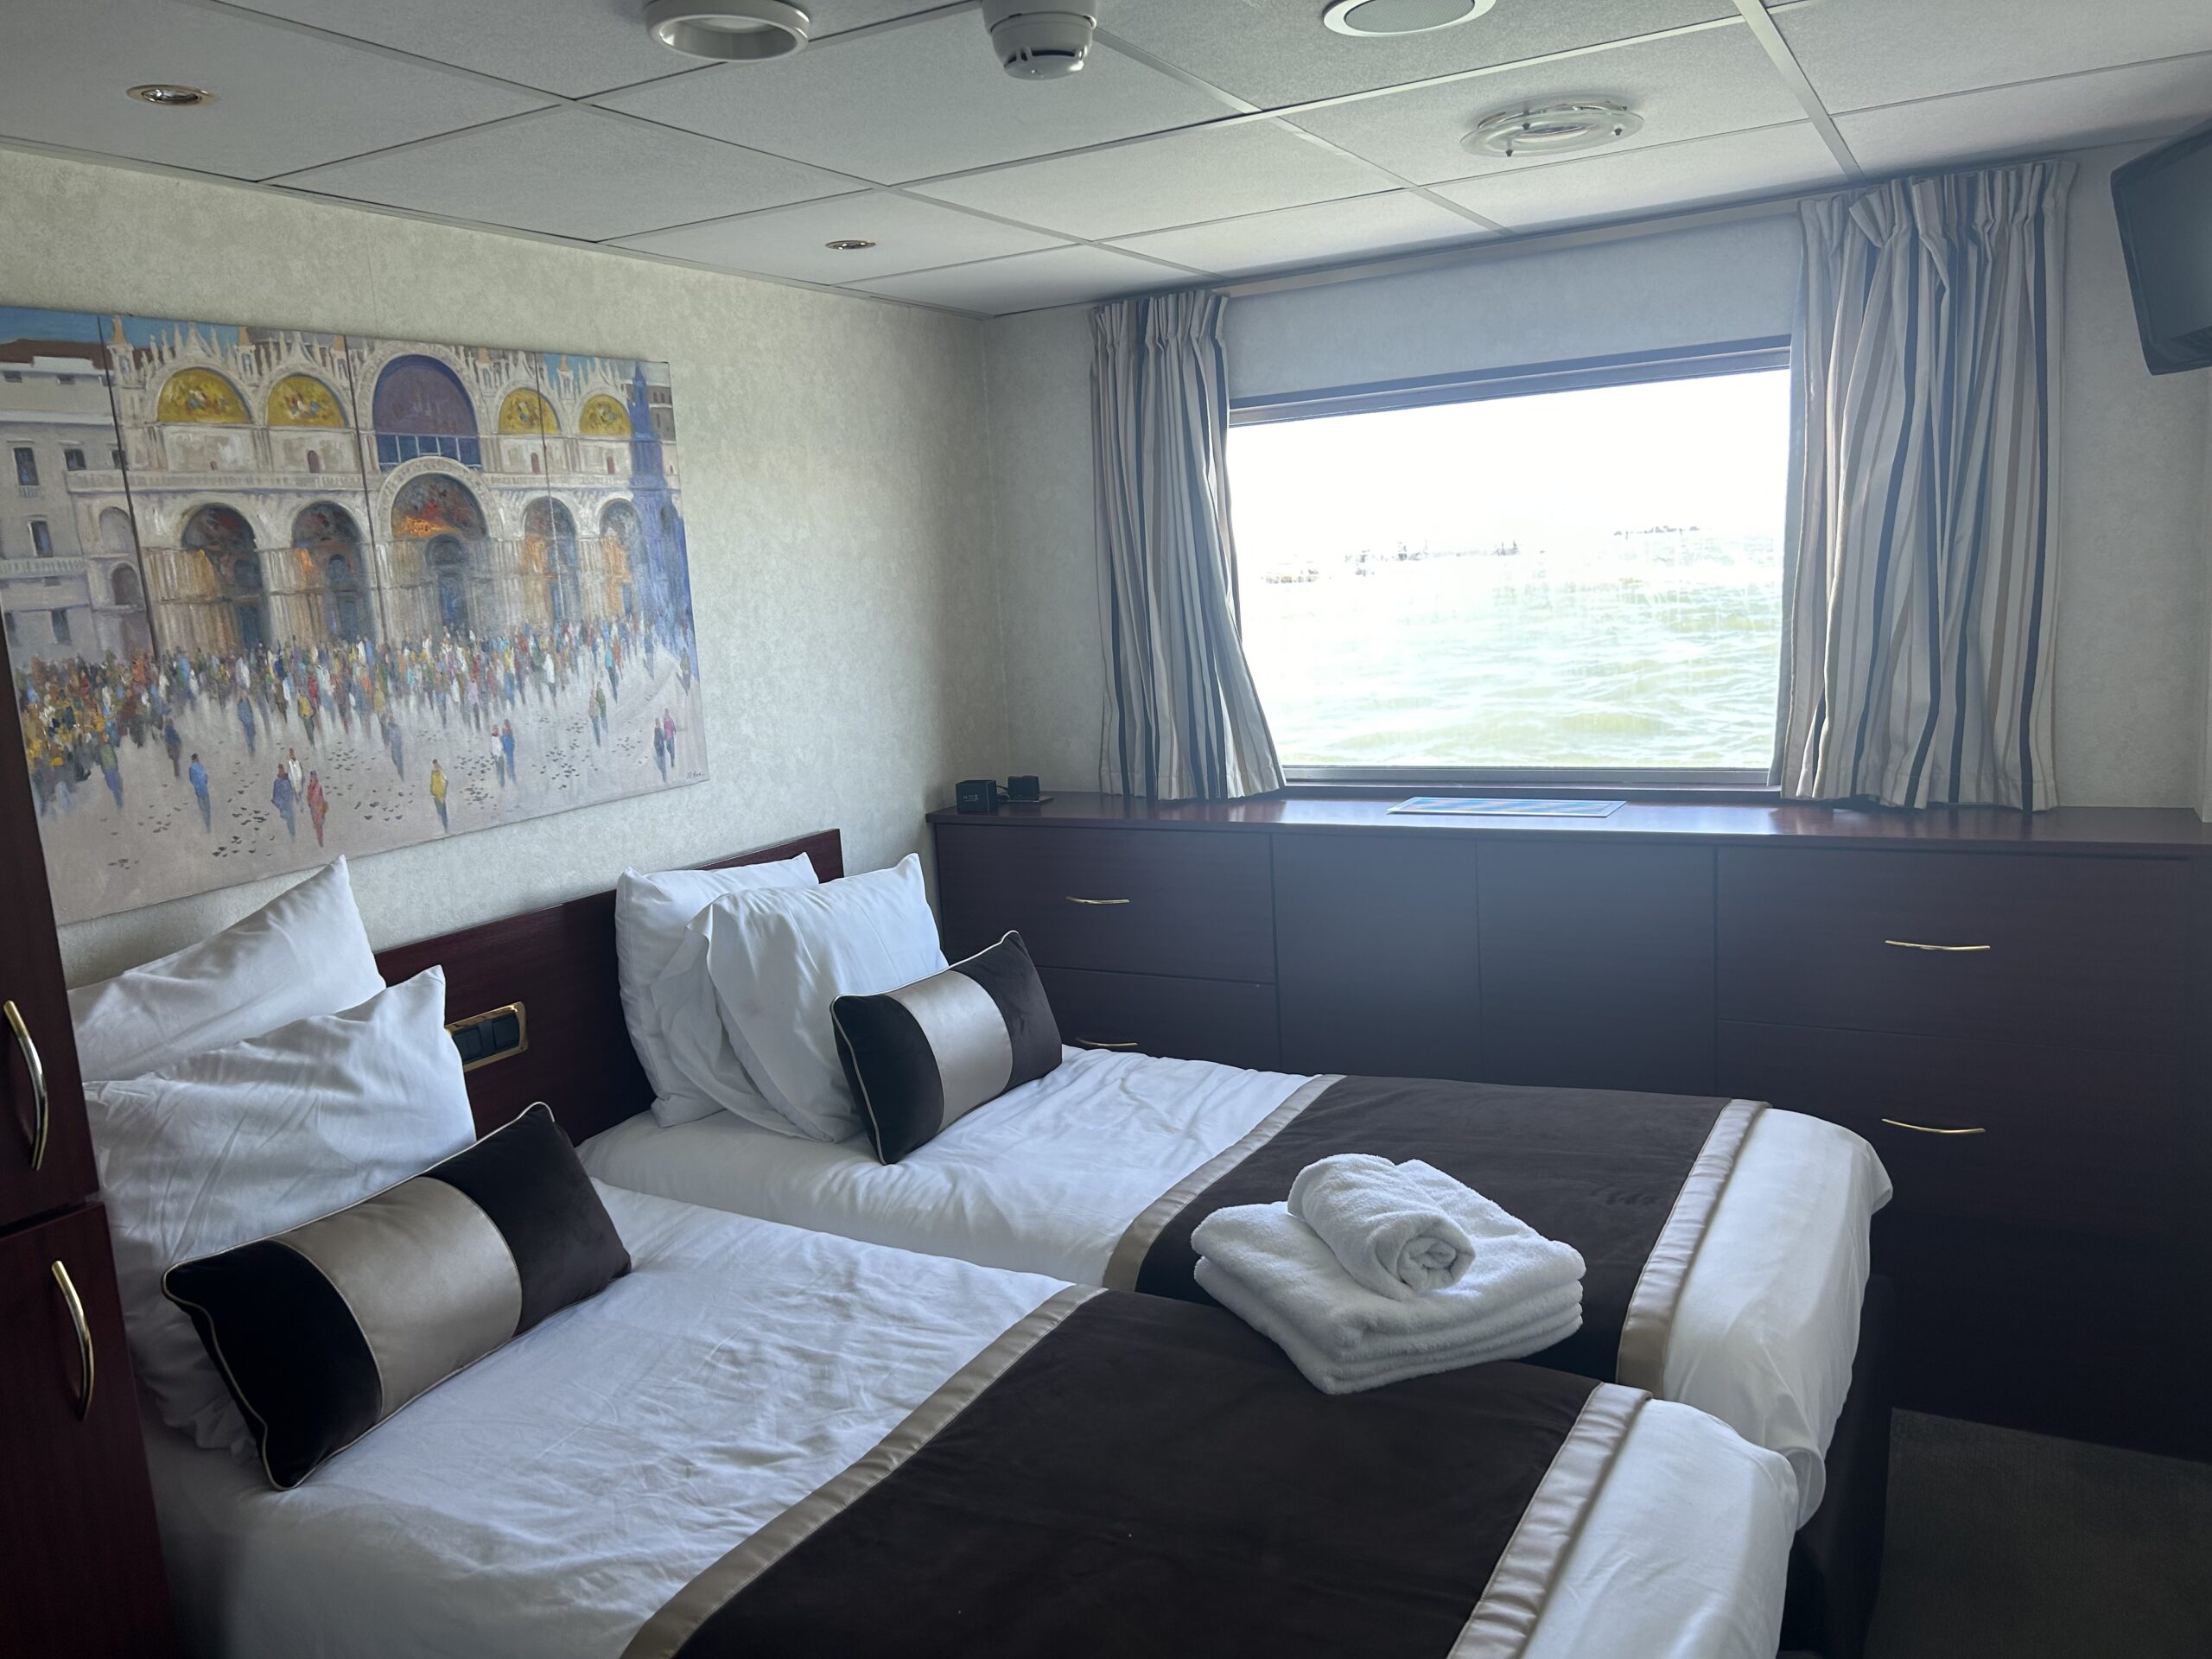
A smartly understated cabin
The trip
The five-day Venetian Treasures cruise sails in March, July, October and November, fly-cruise from £783pp, two sharing, including all meals and drinks and wifi. Excursions extra. No single supplement for solo travellers. croisieurope.co.uk
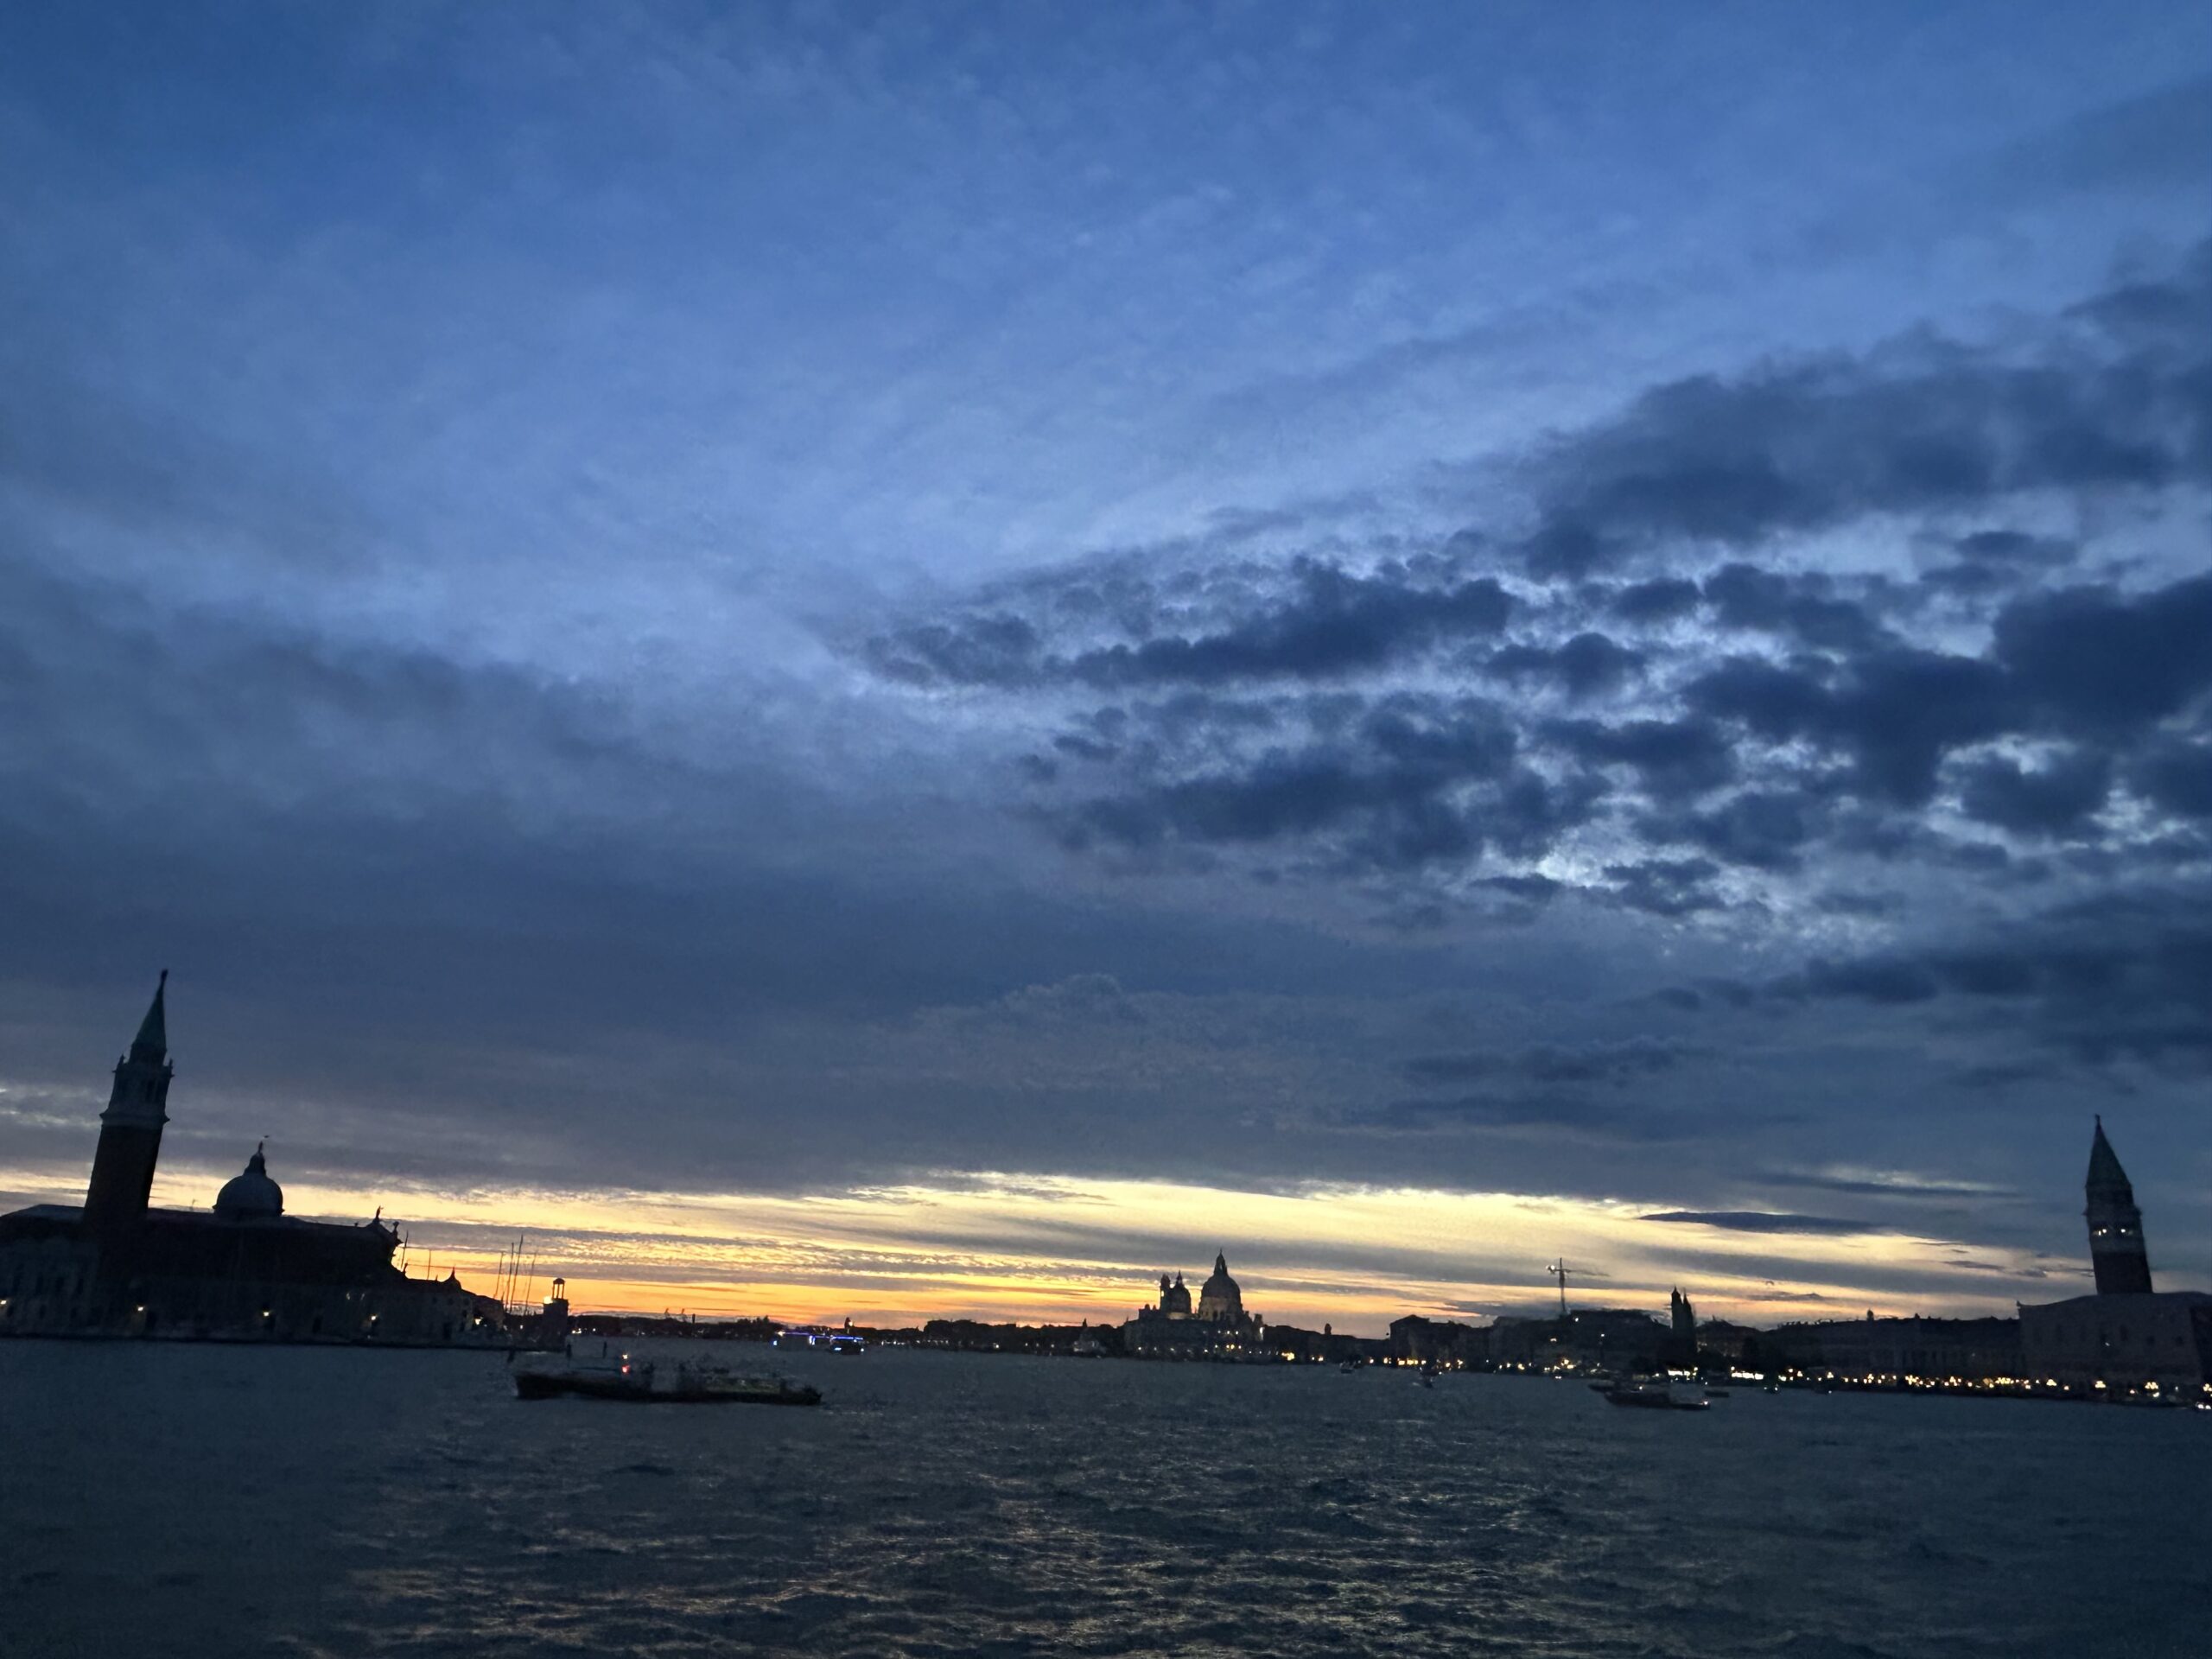
Night falls in Venice…
The post CroisiEurope’s Venice Lagoon adventure cruise review on MS Michelangelo appeared first on The Travel Magazine.


