Small Wonder: Fujifilm GFX100RF
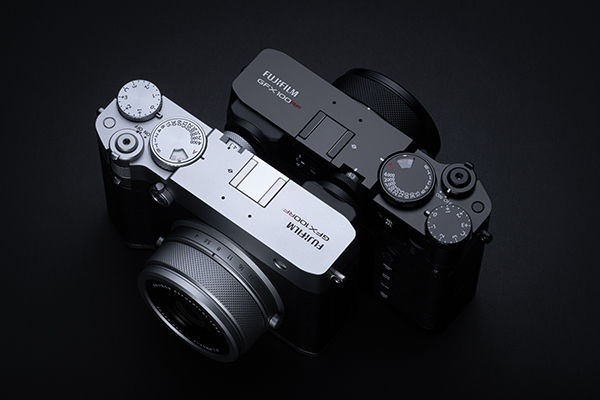
 Fujifilm just announced the GFX100RF, a super-compact, large-sensor, fixed-lens camera that appears to have been conceived from a Vulcan Mind Meld between the Fujifilm GFX100S II and Fujifilm X100VI. In other words, it’s compact and nimble like the X100VI and at the same time delivers most of the benefits of the high resolution GFX100S II. Fujifilm clearly spent an extraordinary amount of time and resources in development and design, distilling all of the expertise they’ve collected producing both worldclass retro-style APS-C cameras and category-leading large-format system machines. Here’s the rundown on key features, pricing and availability.
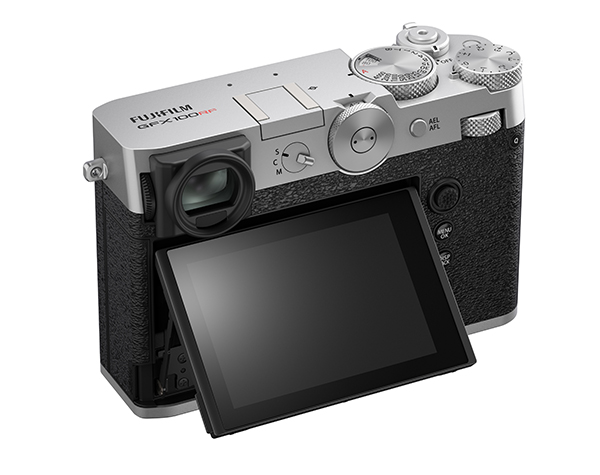
GFX100RF Key Features
Rangefinder-style design and handling
Top plate is machined from a single block of aluminum
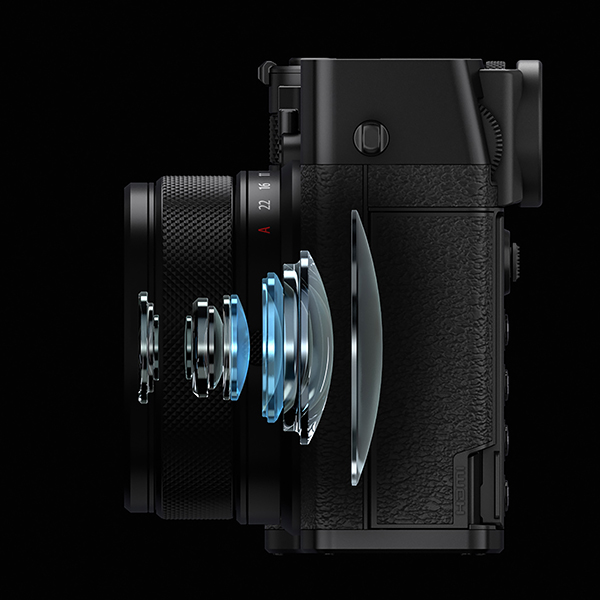
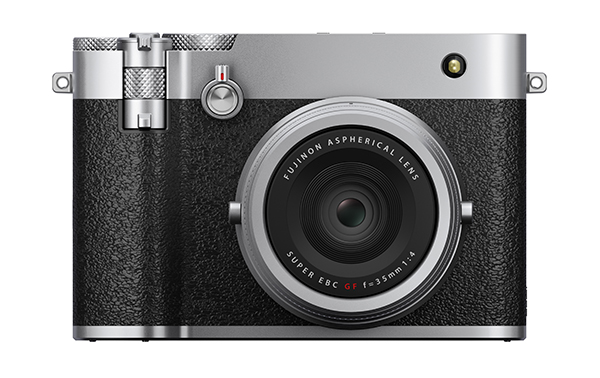
All-new FUJINON 35mm f/4 fixed focal length lens:
· Equivalent to 28mm in 35mm film format
· 10 elements in 8 groups, including 2 aspherical lenses
· Minimum aperture f/22
GFX100RF Key Features (cont.)
Fujifilm’s GFX 102MP CMOS II HS image sensor
Image size 11648 x 8736 pixels
X-Processor 5
Close focus to 7.9 inches (20 cm) from the front of the lens
Built-in 4-stop ND filter
High-speed, high-precision AF
TTL 256-zone metering system

GFX100RF Key Features (cont.)
Leaf shutter (enables ultra-level compactness)
High-definition Electronic Viewfinder (5.76 million dots)
3.15-inch tilt-type touchscreen 2.1-megapixel LCD monitor
20 film simulations
14 and 16-bit Raw support, 10-bit HEIF
4K/30P video recording
Compatible with Frame.io Camera to Cloud functionality
Base ISO of 80 (expandable to ISO 40-10240)
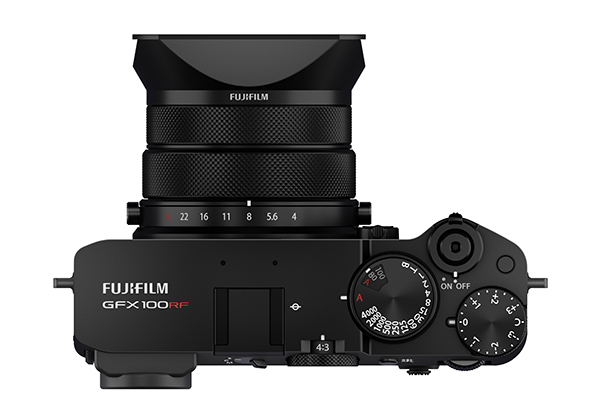
External Aspect Ratio Dial (very useful on 102-megapixel camera!)
Externally controllable, 3-step digital tele-converter
Surround View function facilitates composition
Dual SD card slots
GFX100RF Key Features (cont.)
Available in black or silver-color finish
Familiar NP-W235 rechargeable battery
Dimensions 5.25 x 3.55 x 3.0 inches (133.5 x 90.4 x 76.5mm)
Weight 1.62 pounds (735g). One can of Coca-Cola weighs about 370g, so…
Includes 49mm protective filter, metal lens hood w/adapter, neck strap
Watch the YouTube video here.
Pricing & Availability
Preorder now. Fujifilm GFX100RF delivery is anticipated in late April 2025 at the MSRP of $4,899.95 in the US, and $6,999.99 CAD. For more information visit this dedicated website.
Weighs less than two cans of Coca-Cola. Think about that.
Join the Shutterbug Community!
Sign up for a free account—it’s easy and free. Subscribe to our newsletter (find the sign-up form on our homepage) and bookmark Shutterbug as a Favorite on your browser to stay updated.
Visit our Gallery section and spend five minutes or less uploading your best shots once a week. You might even become a Shutterbug Photo of the Day photographer!
In the Galleries, you’ll see the incredible work of thousands of photographers from around the world. You are hereby invited to add your own images to our ever-growing collection. It’s an excellent platform to connect with other photographers and share your knowledge and passion for photography.
(If you’re worried that submitting images to the Photo of the Day gallery might be complicated or time consuming, it’s neither. Check out these short 1-2-3 directions.)
—Jon Sienkiewicz


