By my estimation, Colindale near Hendon, seemed an unlikely place to find top-notch oriental dining. Even more confusing, I was looking for J M Oriental, but what I found at Heritage Avenue was a restaurant called Jun Ming Xuan. Nevertheless, I ventured in, and as it turns out, I was in the right place. And I was impressed.
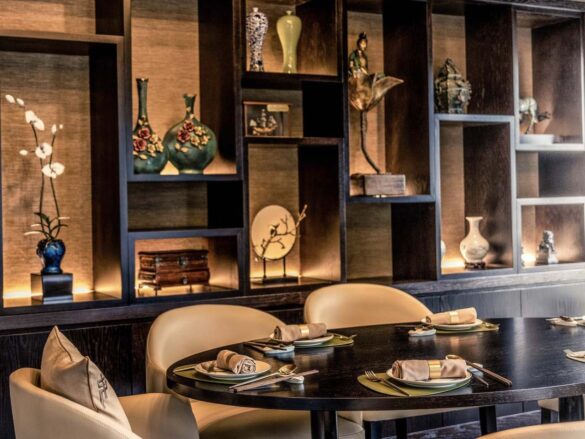
J M Oriental restaurant is a plushly decorated space with black walls adorned with brass patterns, wood floors, and plush golden balls of lighting hanging down throwing warming orange hues over diners and the Chinese artefacts dotted around.
I was part of a party of nine diners to try out various dishes. I took my place at the table made stylish with ornamental black plates. That’s when Michelin-starred chef Andrew Hung, founder and creative director of JM Oriental hopped over to offer an overview of his contemporary Cantonese cuisine and traditional dim sum.
The effervescent hands-on chef hails from Hong Kong and told us of his vision of bringing a new twist on Oriental dining, not just to this unassuming part of London, but globally. Andrew opened this restaurant in 2021 with a team of dim sum specialists and pastry chefs and as the evening rolled on I couldn’t help thinking it would be criminal if that vision was not fulfilled.
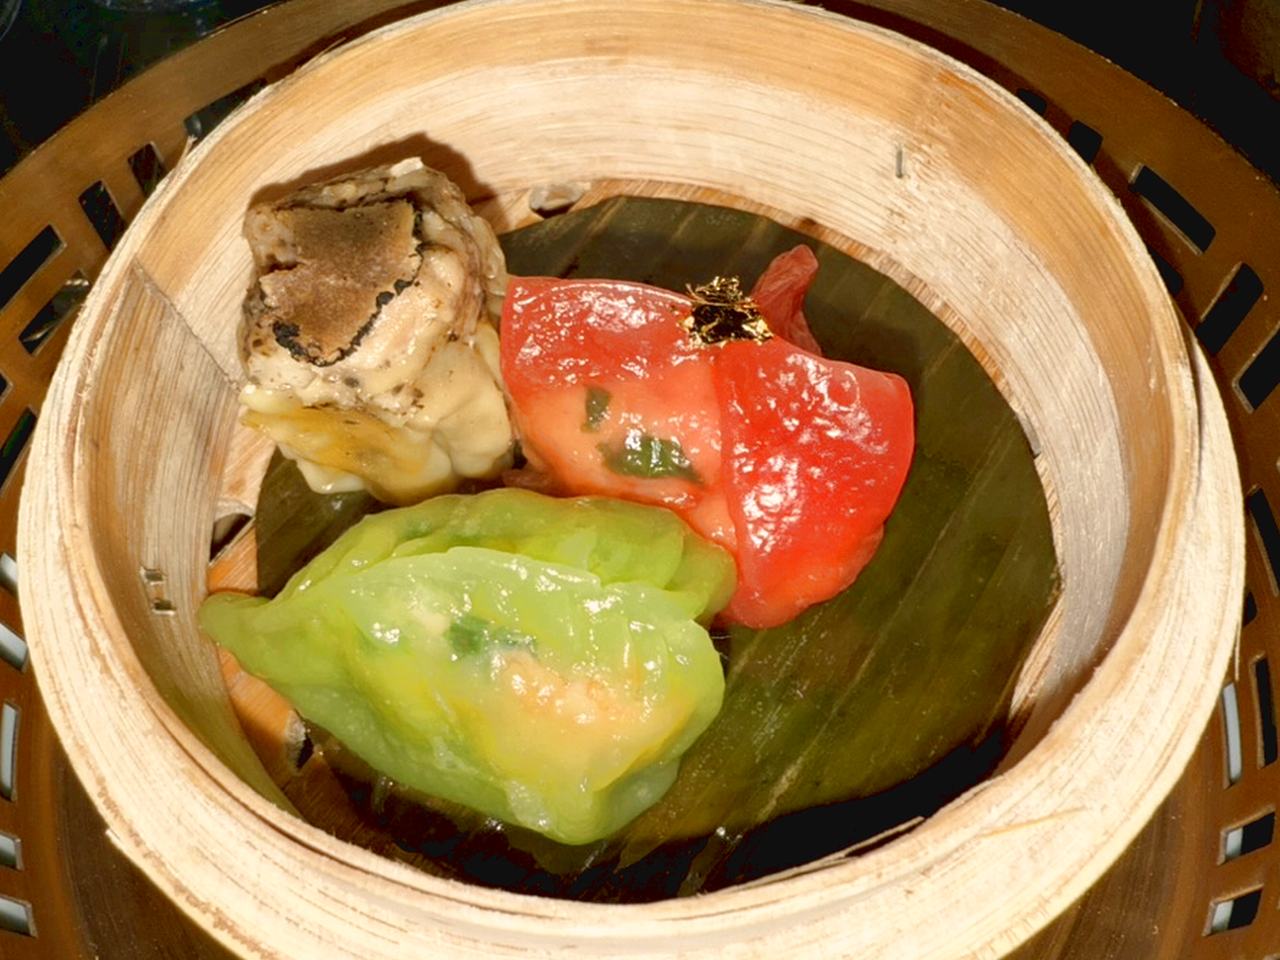
Prawn crackers for the table followed by a Dum Sun trilogy; of scallop, pork and prawn, the reddish prawn and beetroot and the green-coloured pork, prawn, spinach and chives. truffle or “Sui Mai”. It was visually entertaining and delicious.

Dim Sum trilogy
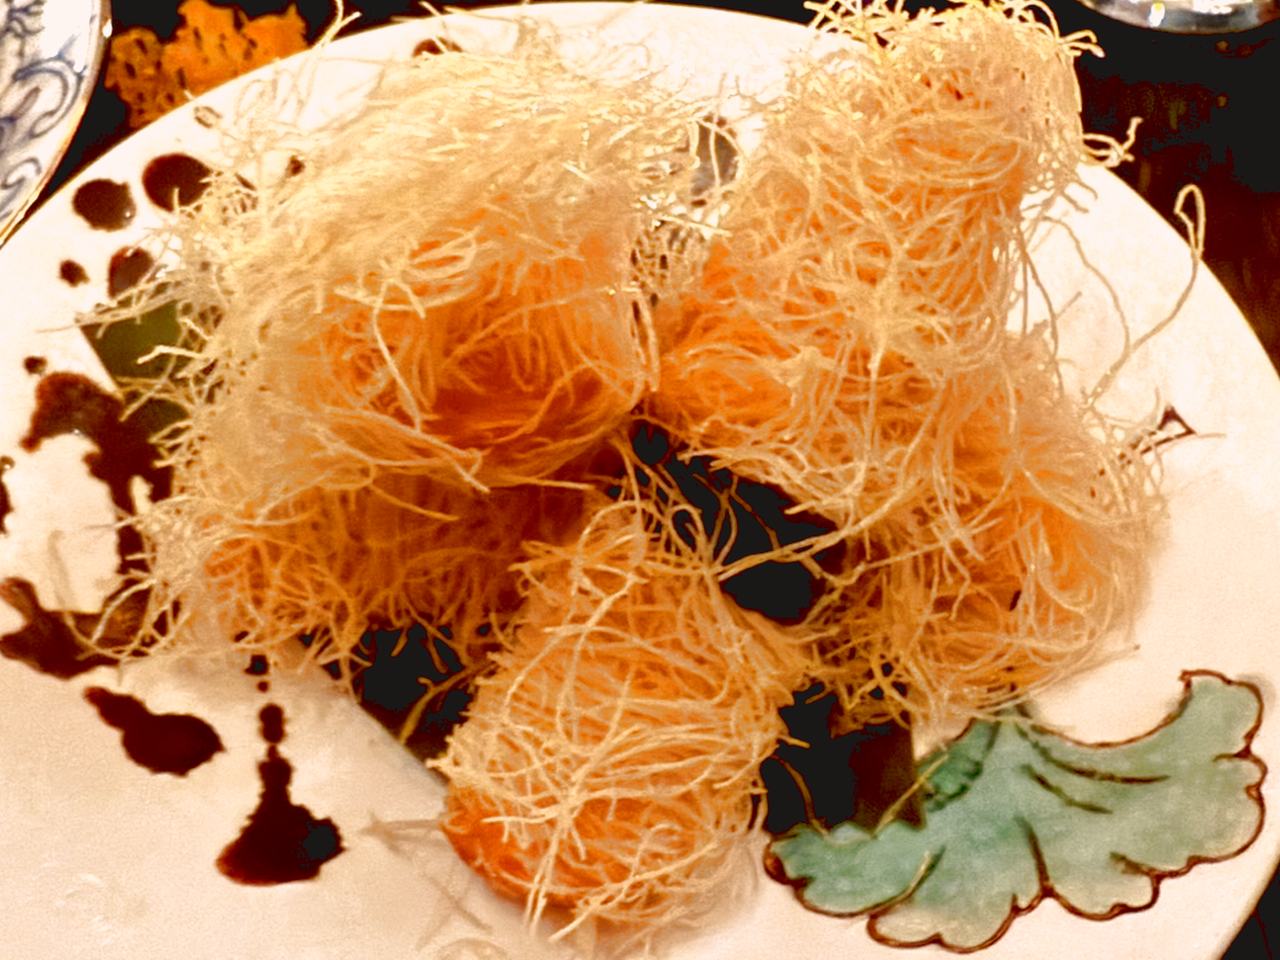
This was followed by three starters; Crispy King Prawns with a Thai orange mayo and pomegranate which arrived with a tuile, duck spring rolls with Hoisin sauce in a gently crispy filo pastry and Langoustine Kataifi pastry with a mango dip. The optics of the latter were incredible seemingly enveloped in a sort of crunchy noodle.

Langoustine Kataifi pastry J M Oriental
Chef Andrew Hung was indeed delivering on his promise to reinterpret Chinese cuisine and what followed was a real departure from what we in the UK have come to expect from Chinese cuisine.
The main courses were truffle barbeque roasted duck arrived alongside spicy vermicelli noodles and gyoza and steamed Chilean seabass fillet with yellow bean, soya and pine nuts. These dishes are to be savoured, but there was more.
Then came the succulent melt-in-the-mouth wagyu beef short ribs imbued with a savoury yet slightly sweet sauce and served with Chinese broccoli and a bowl of teriyaki chicken in fried rice and vegetable Singapore vermicelli.
The desserts were a Hong Kong tea-flavoured ice cream, a warm chocolate fondant with oozing green matcha and an interesting green boa bun decorated with a gold strip with custard lava waiting to be spooned out.
Verdict: I’ve always been a fan of Oriental cuisine, though it can be hit and miss. Michelin-starred chef Andrew Hung delivers a sumptuous twist on Cantonese cuisine and traditional dim sum. Delicious and creative food is served in luxurious surroundings. Add brilliant service and J M Oriental is most definitely a big-time hit.
—
J M Oriental restaurant click for more
28 Heritage Avenue, Beaufort Park, Colindale, London NW9 5GE
The post J M Oriental restaurant review, London appeared first on The Travel Magazine.


