
Do Colors in Your Photos “Look all Crazy?” Use a Secret Lightroom Tool (VIDEO)
Sooner or later all photographers confront a frustrating disparity between how the colors of an image appeared through the viewfinder or on a camera’s rear LCD in the field, and what they look like on the computer screen. Unfortunately, when this happens it’s typically the computer representation that tends to be inferior.
This interesting tutorial from professional photographer Andre Morgan describes why this may occur, and then he reveals the power of an oft-ignored “secret” for rehabilitating images with disappointing colors; namely, Lightroom’s “hidden” Camera Color Profiles.
Morgan uses three environmental portraits to demonstrate the effectiveness of these simple tools, and the good news is this: By unlocking the power of Lightroom’s Color Camera Profiles you can significantly enhance the colors and balance of landscapes, macro photos, wildlife images, and just about any other photographs you capture.
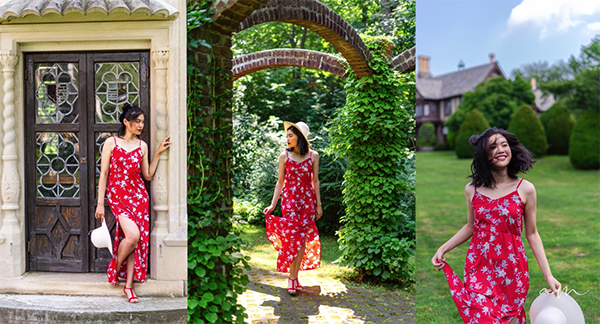
Best yet, this image-saving technique is so ridiculously easy to use that it takes barely five minutes to explain. Morgan’s examples were shot with available light, and they’re all pretty dull and somewhat underexposed. But watch what happens when he selects the appropriate profile for the images at hand.
As you’ll see, Lightroom offers a choice of Profiles, like Adobe Standard, Adobe Color, Adobe , and others—each designed for specific purposes. When Morgan chooses Adobe Standard, the color in his images appear even more washed out than in the original photo.
However, when you click on the appropriate tab in the panel, the Camera Matching options immediately appear, as do a selection of thumbnails with different values. The magic occurs when Lightroom generates a unique profile corresponding to the specific brand of camera you used to capture the image. Then you can scroll through the aforementioned thumbnails and choose the option that best reflects your vision for the photo at hand.
Morgan provides a few more tips and refinements that are easy to achieve, and by the time you’re done watching you’ll want to add Camera Color Profiles to your Lightroom workflow.
There are a variety of helpful lessons like this one on Morgan’s instructional YouTube channel, so check there often and explore what’s available.
And don’t miss another tutorial we posted recently on a similar topic, explaining what another pro says is a “revolutionary” Lightroom tool for giving photographs professional quality color.


