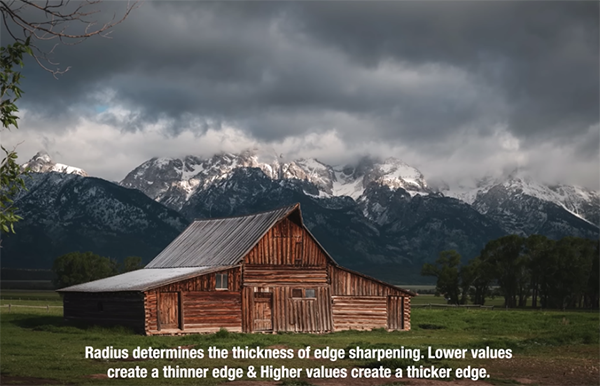
DON’T Do This When SHARPENING Your Photos (VIDEO)
The failure to attain precise focus is a sure way to ruin an otherwise great photo, but fortunately there are post-processing methods to sharpen blurry images IF you use the right tools. Taking the wrong approach, however, will only make things worse.
We promise that you’ll never look at sharpening the same way again after watching this eye-opening tutorial from acclaimed landscape photographer Mark Denney—especially after experimenting with the process on your own images.
Sharpening soft photos is one of the most important image-editing tasks, and there are varying opinions about the best way to proceed. Denney quickly cuts through the grease and introduces the 14-minute episode like this: “I’ll share with you a technique that’s seldom discussed, but it produces the best results in my humble opinion.”

Denney uses Lightroom to demonstrate his “foolproof” method, while noting that it’s equally effective with any software you use. The conventional approach is to open Lightroom’s Details panel and crank up the Sharpening slider, and then hold down the Option key while dragging the Masking slider over so that everything in white is where the sharpening is applied.
This may be a “decent” technique, but Denney explains why it falls short. He says that with this method “you’re sharpening the entire scene, and that isn’t how the human eye interacts with a photograph.” His explanation goes like this: “When we see an image our eye naturally goes toward the brightest area of that scene or the area that’s the most detailed and enhanced.”
In other words, if everything within the frame is equally sharp, “the eye just wanders around” and that’s counterproductive for creating a compelling visual flow and telling a story with a photograph.

By now you’ve probably guessed that Denny’s technique involves selectively targeting and sharpening a specific element (or elements) in an image, while letting the rest of the shot recede. By employing this localized approach you’ll repair blur only where it’s distracting, thereby accentuating the key subject of a shot.
This method requires a bit more work, but it’s the only way to go if optimum results are your goal. There’s much more to see and learn on Denney’s instructional YouTube channel, so be sure to check it out.
We also recommend watching a tutorial we featured with another accomplished pro who demonstrates how the creative use of shutter speed settings enable you to up your game and capture landscape photographs with a unique look.


