Don’t Let an Ugly Color Cast Ruin Landscape or Portrait Photos (VIDEO)
There’s an interesting dichotomy when it comes to adjusting color during post processing. Most of the time our goal is to use various techniques to make an image appear exactly as it did through the viewfinder for a believable, natural looking result. Other times, however, our intent is to is to employ lens filters, camera settings, or editing enhancements to achieve special effects or change the mood and feeling of an image.
This video addresses a different and unintentional situation; namely, when extreme color casts of various sorts destroy an otherwise great shot. Fortunately, there’s a very effective Lightroom remedy for banishing those unwanted tones.
Roy van der Wens is a self-taught Dutch pro with a unique style of shooting and editing a broad range of photos, from landscapes and portraits to wedding photos and more. He’s also a self-proclaimed visual storyteller, and in this episode he demonstrates a quick-and-easy fix that just about anyone can accomplish in minutes. So if you’ve done your best and tried everything in your toolbox, Roy’s tips will set you free.

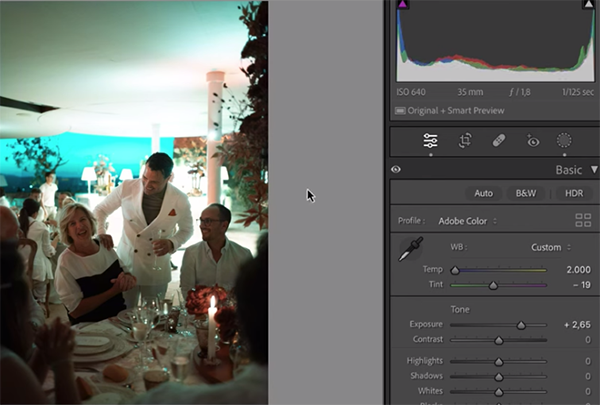
As you’ll see, unwanted color casts are not uncommon and they occur for a number of reasons. One of the most objectionable distractions is when heavy magenta tones overwhelm an image. That’s the case with Roy’s first example, and the problem is so severe that modifying White Balance doesn’t get the job done. Same thing with Lightroom’s Color Mixer and other common tools.
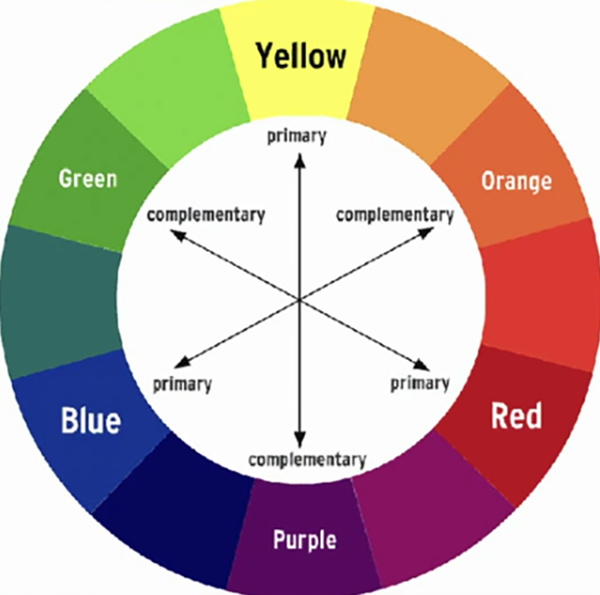
The solution to this unsightly image lies within Lightroom’s Tone Curve panel and the easy-to-use Calibration sliders, and Roy walks you through the simple steps for rehabilitating the shot. He provides an illustration of the Color Wheel to help you understand this technique.
The point of this graphic is that every primary color has a complimentary color “and the other way around.”

After banishing the magenta Roy explains how to tackle situations in which photographs appear too orange or too red. The process works in a similar fashion, but by tweaking tones in a different way. Once you get the hang of it, and it doesn’t take long, you’ll be able to remove any other color cast you confront to create a perfectly balanced image.
If you’re interested in more post-processing lessons like this one head over to Roy’s instructional YouTube channel and explore what’s available. You won’t be disappointed.
And on a related note, don’t miss our recent post with a comprehensive beginners guide to color theory that will help you achieve natural-looking photographs or create a variety of interesting effects. It’s useful for experienced photographers too.


