Exposure Bracketing Made Easy: Beginners Guide to Getting the Light Right (VIDEO)
There are numerous reasons for poorly exposed photos when shooting in the field under difficult lighting conditions, including harsh light, dark foregrounds, and bright washed-out skies to name a few. When you’re faced with challenges like these, photos often turn out to be a compete mess.
Fortunately there’s a very effective solution known as exposure bracketing that easily solves the problem as you’ll see in the straightforward beginners guide below from the instructional Behind the Tripod YouTube channel. Thus, the next time you encounter difficult light you’ll know exactly what to do.
Instructor Steve Mills begins this episode with a question: “How often have you framed up a beautiful shot, only to find that the sky is blown out or the foreground has become a dark murky mess?” If this sounds familiar take heart because Mills explains why exposure bracketing is the easiest way to manage these frustrating situations.

Mills offers a quick overview of dynamic range, so you’ll understand why you got into the mess in the first place. Simply put, dynamic range describes the amount of tone that a camera’s sensor can record between full black and full white. That’s why a camera with high dynamic range can capture more shades of gray (and details) between the two extremes of brightness.
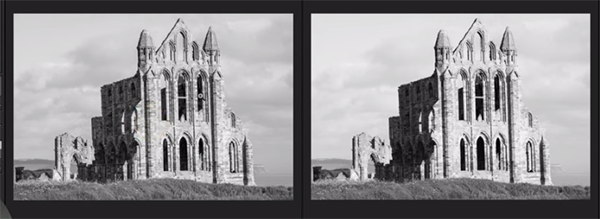
With this understanding under your belt you’re now ready for Mills’ quick primer on using exposure bracketing to get things right. This technique involves taking multiple photos of the same scene, each with a slightly different exposure setting, and then merging them together doing the editing process to arrive at one perfect shot.
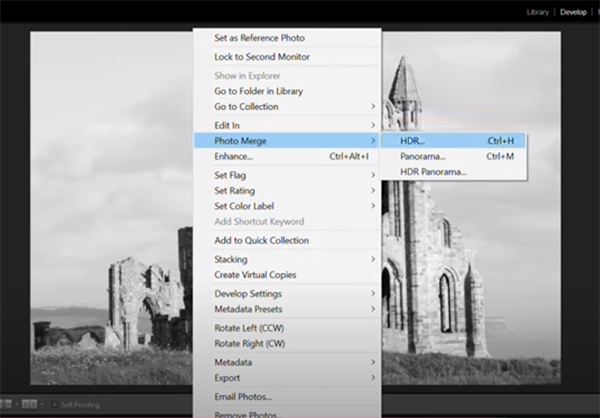
Essentially what you’re doing with this method is increasing dynamic range to create an image with perfectly exposed highlights, shadows, and everything in between. Mills reveals the appropriate camera setting to use in various situations, and then he walks you through a simple Lightroom process for merging the images you shot.

For all but the most complicated scenes three differently exposed photos will suffice. This means making one shot at the setting recommended by the camera, as well as another underexposed by one stop and a third that’s equally overexposed. While this technique is typically employed by landscape photographers, it’s equally appropriate for arriving at perfect exposures when shooting other types of images indoors or out.
After watching this very helpful video we suggest paying a visit to Mills’ YouTube website where you’ll find more of the same.
Behind the Tripod YTC Steve


